As promised we make a return visit to see the work we have been doing on the development of our pond and hide at our allotment site, Bowbrook Allotment Community. In this part we shall look at our hide, some tree surgery and our new duck tube.
So first let us return to our new hide. If you remember those pictures of us rolling the battered and rather shaky old shed you will be surprised by the photos of it finished. So how about a before and after pair of pics? We made the hide for our allotment youngsters, our Roots and Shoots group, to give them the chance to secretly and quietly watch the life of our pond. With this in mind we set to work on our renovation which took an amazingly large number of volunteer hours.
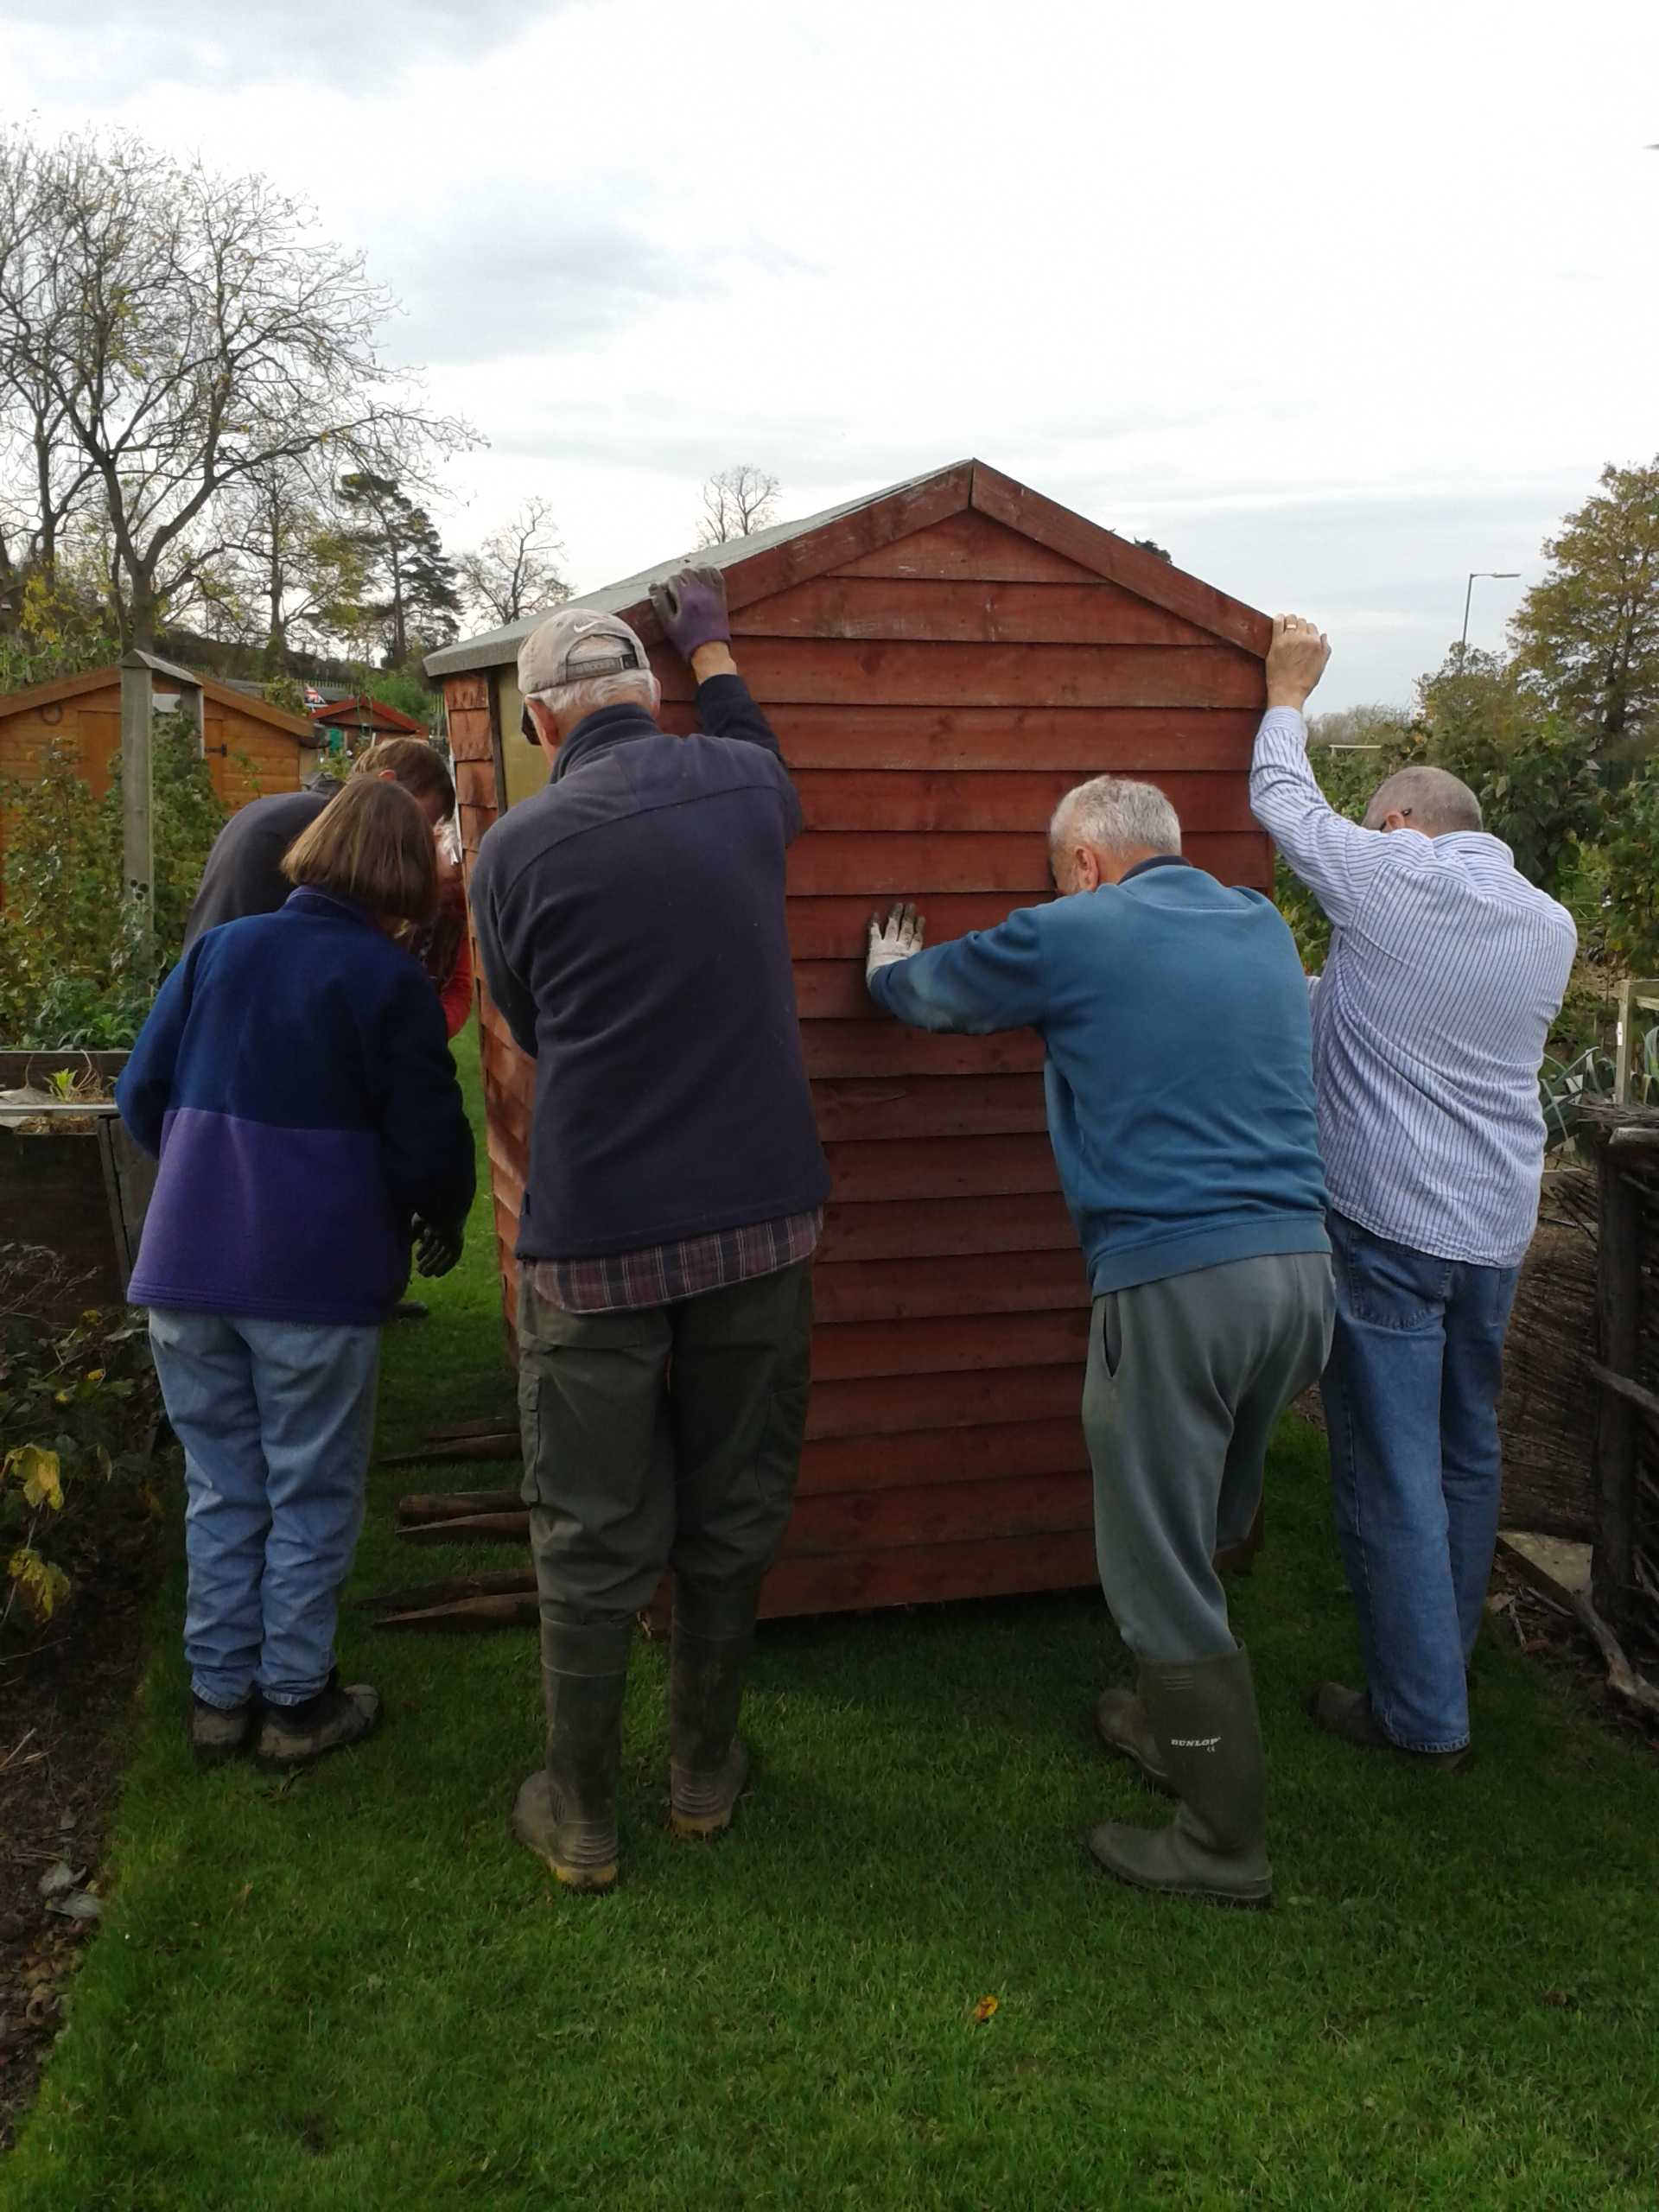
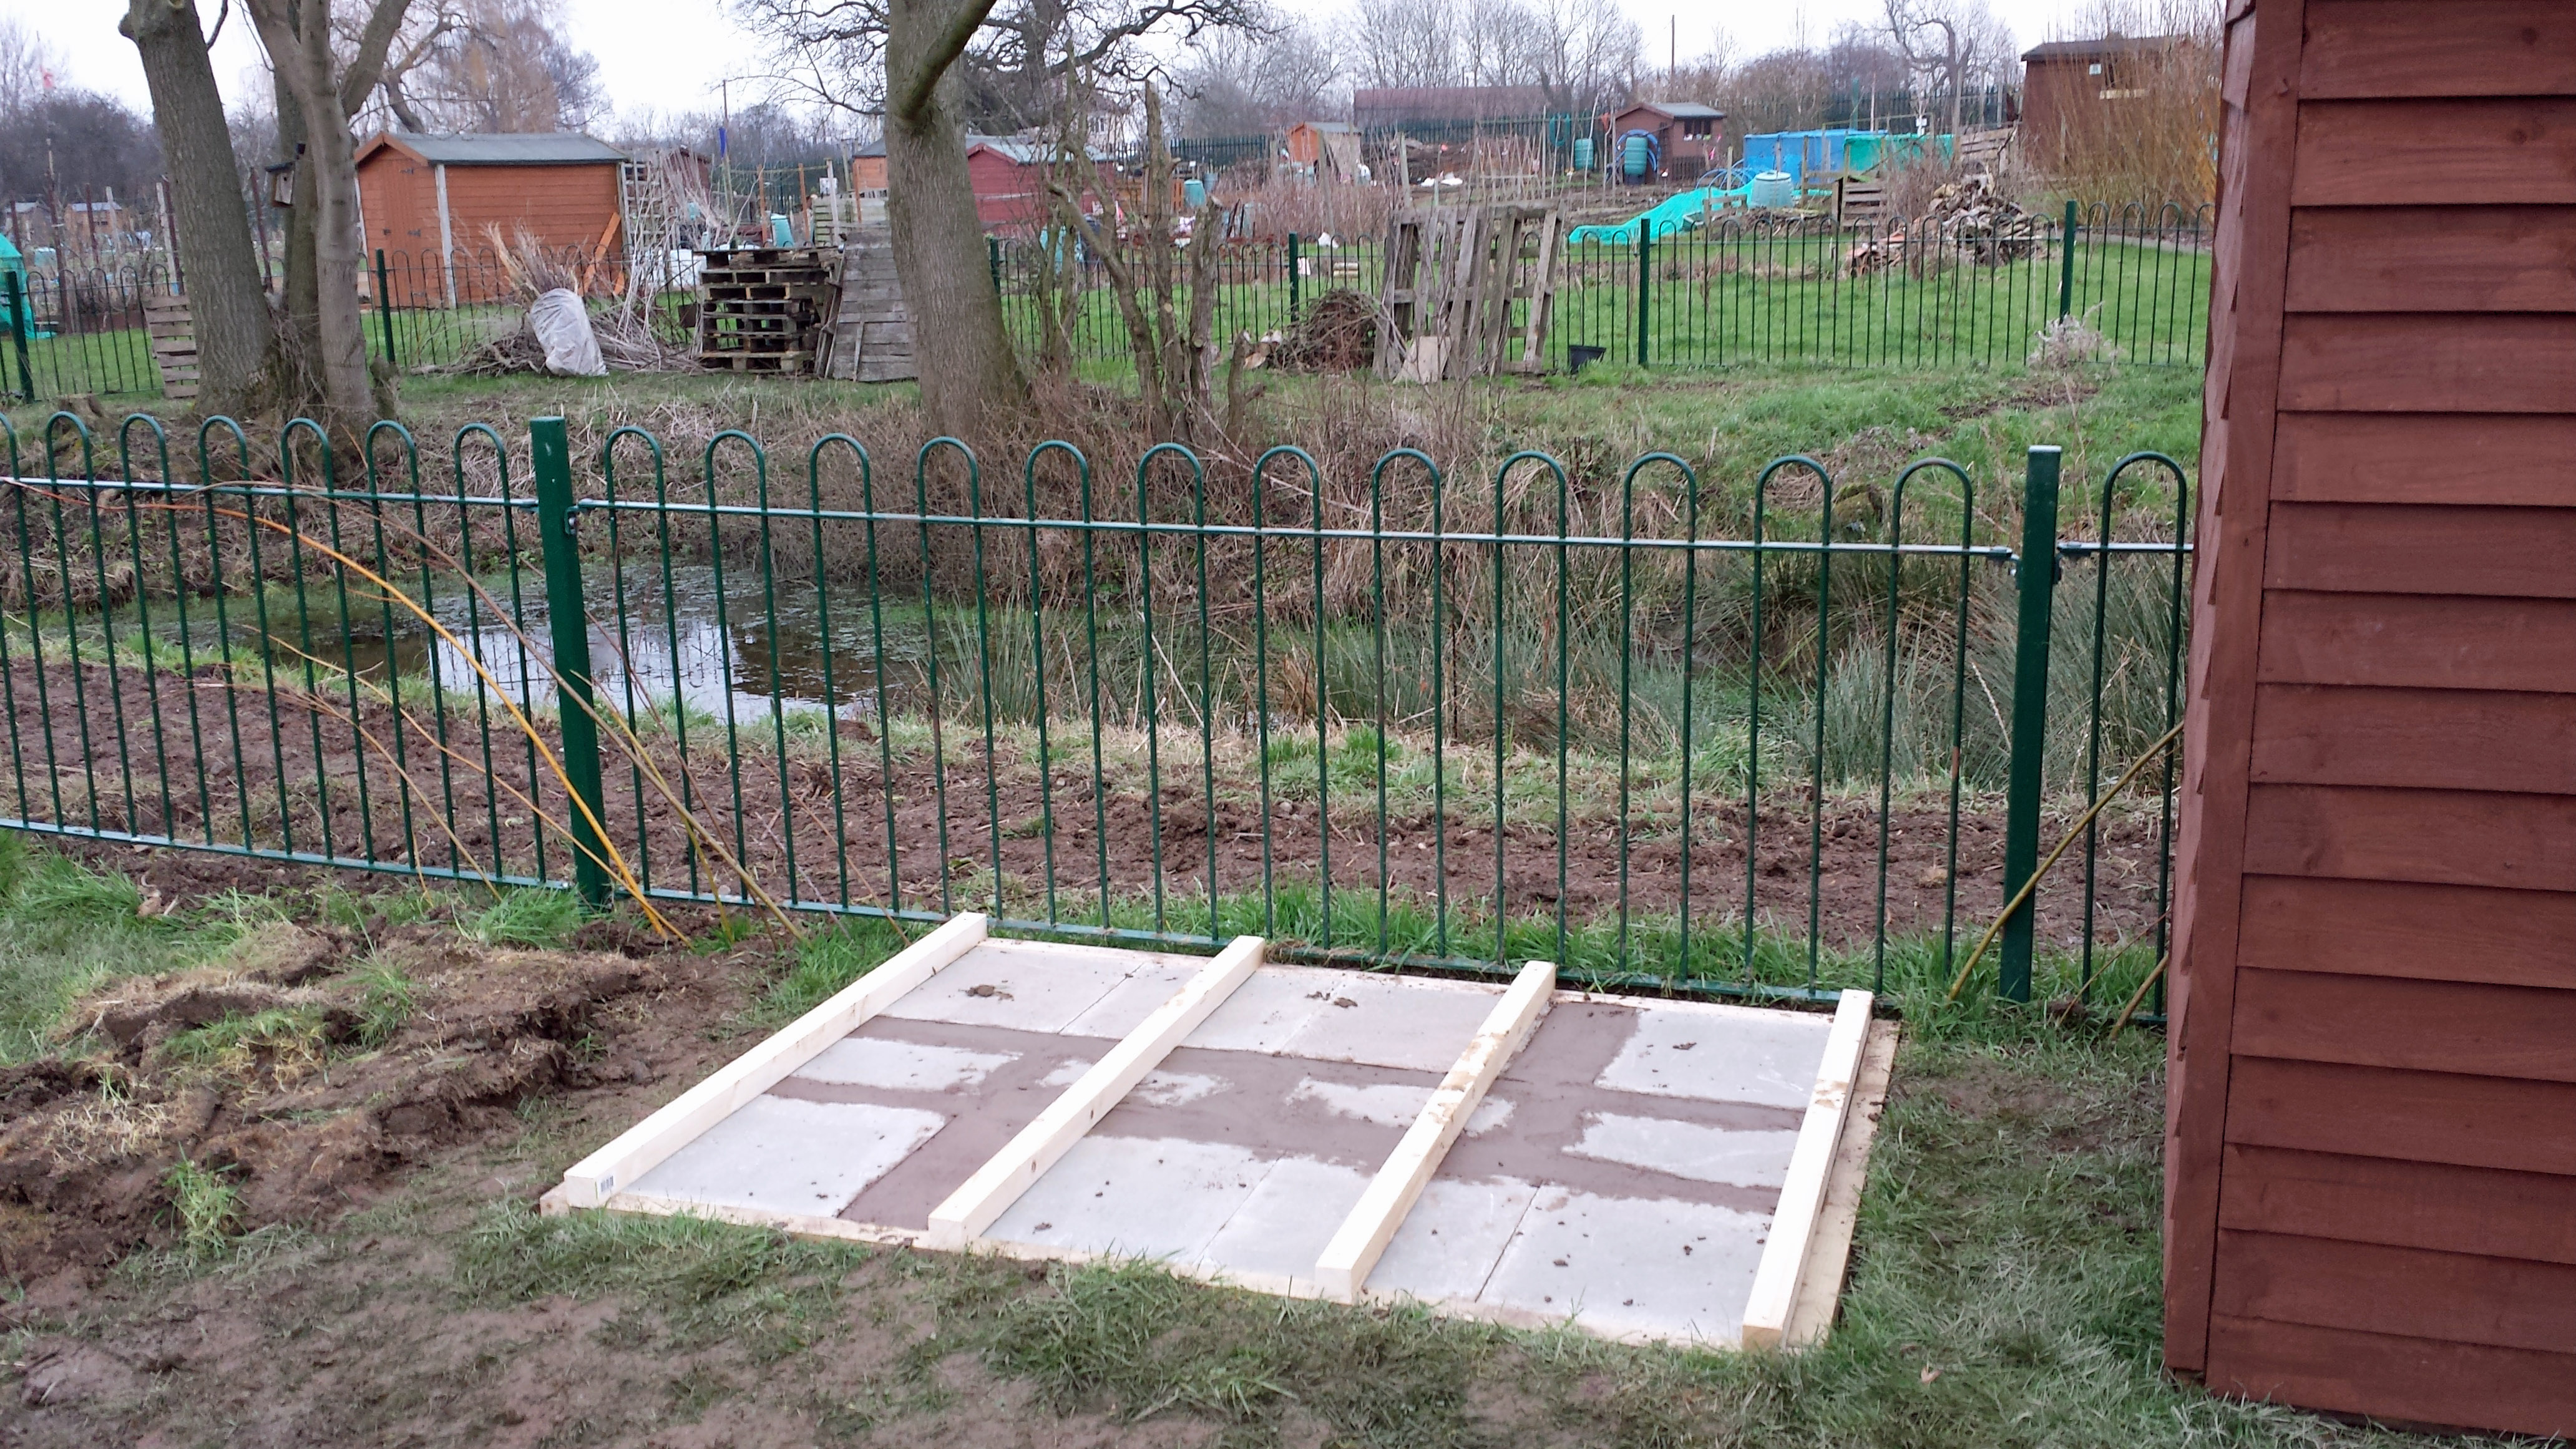
Whenever we go by the pond we can’t help but smile at the transformation! As you can see the old hide was firstly repainted outside by my young apprentice Thomas before we handed it over to two volunteer helpers Sean and his Dad Vince. They are great carpenters so brilliant volunteer helpers to have on board. They put fresh felt on the roof and fabricated a strong framework inside the shed. They made a concrete and slab base and placed the newly strengthen shed on a framework of wooden struts.

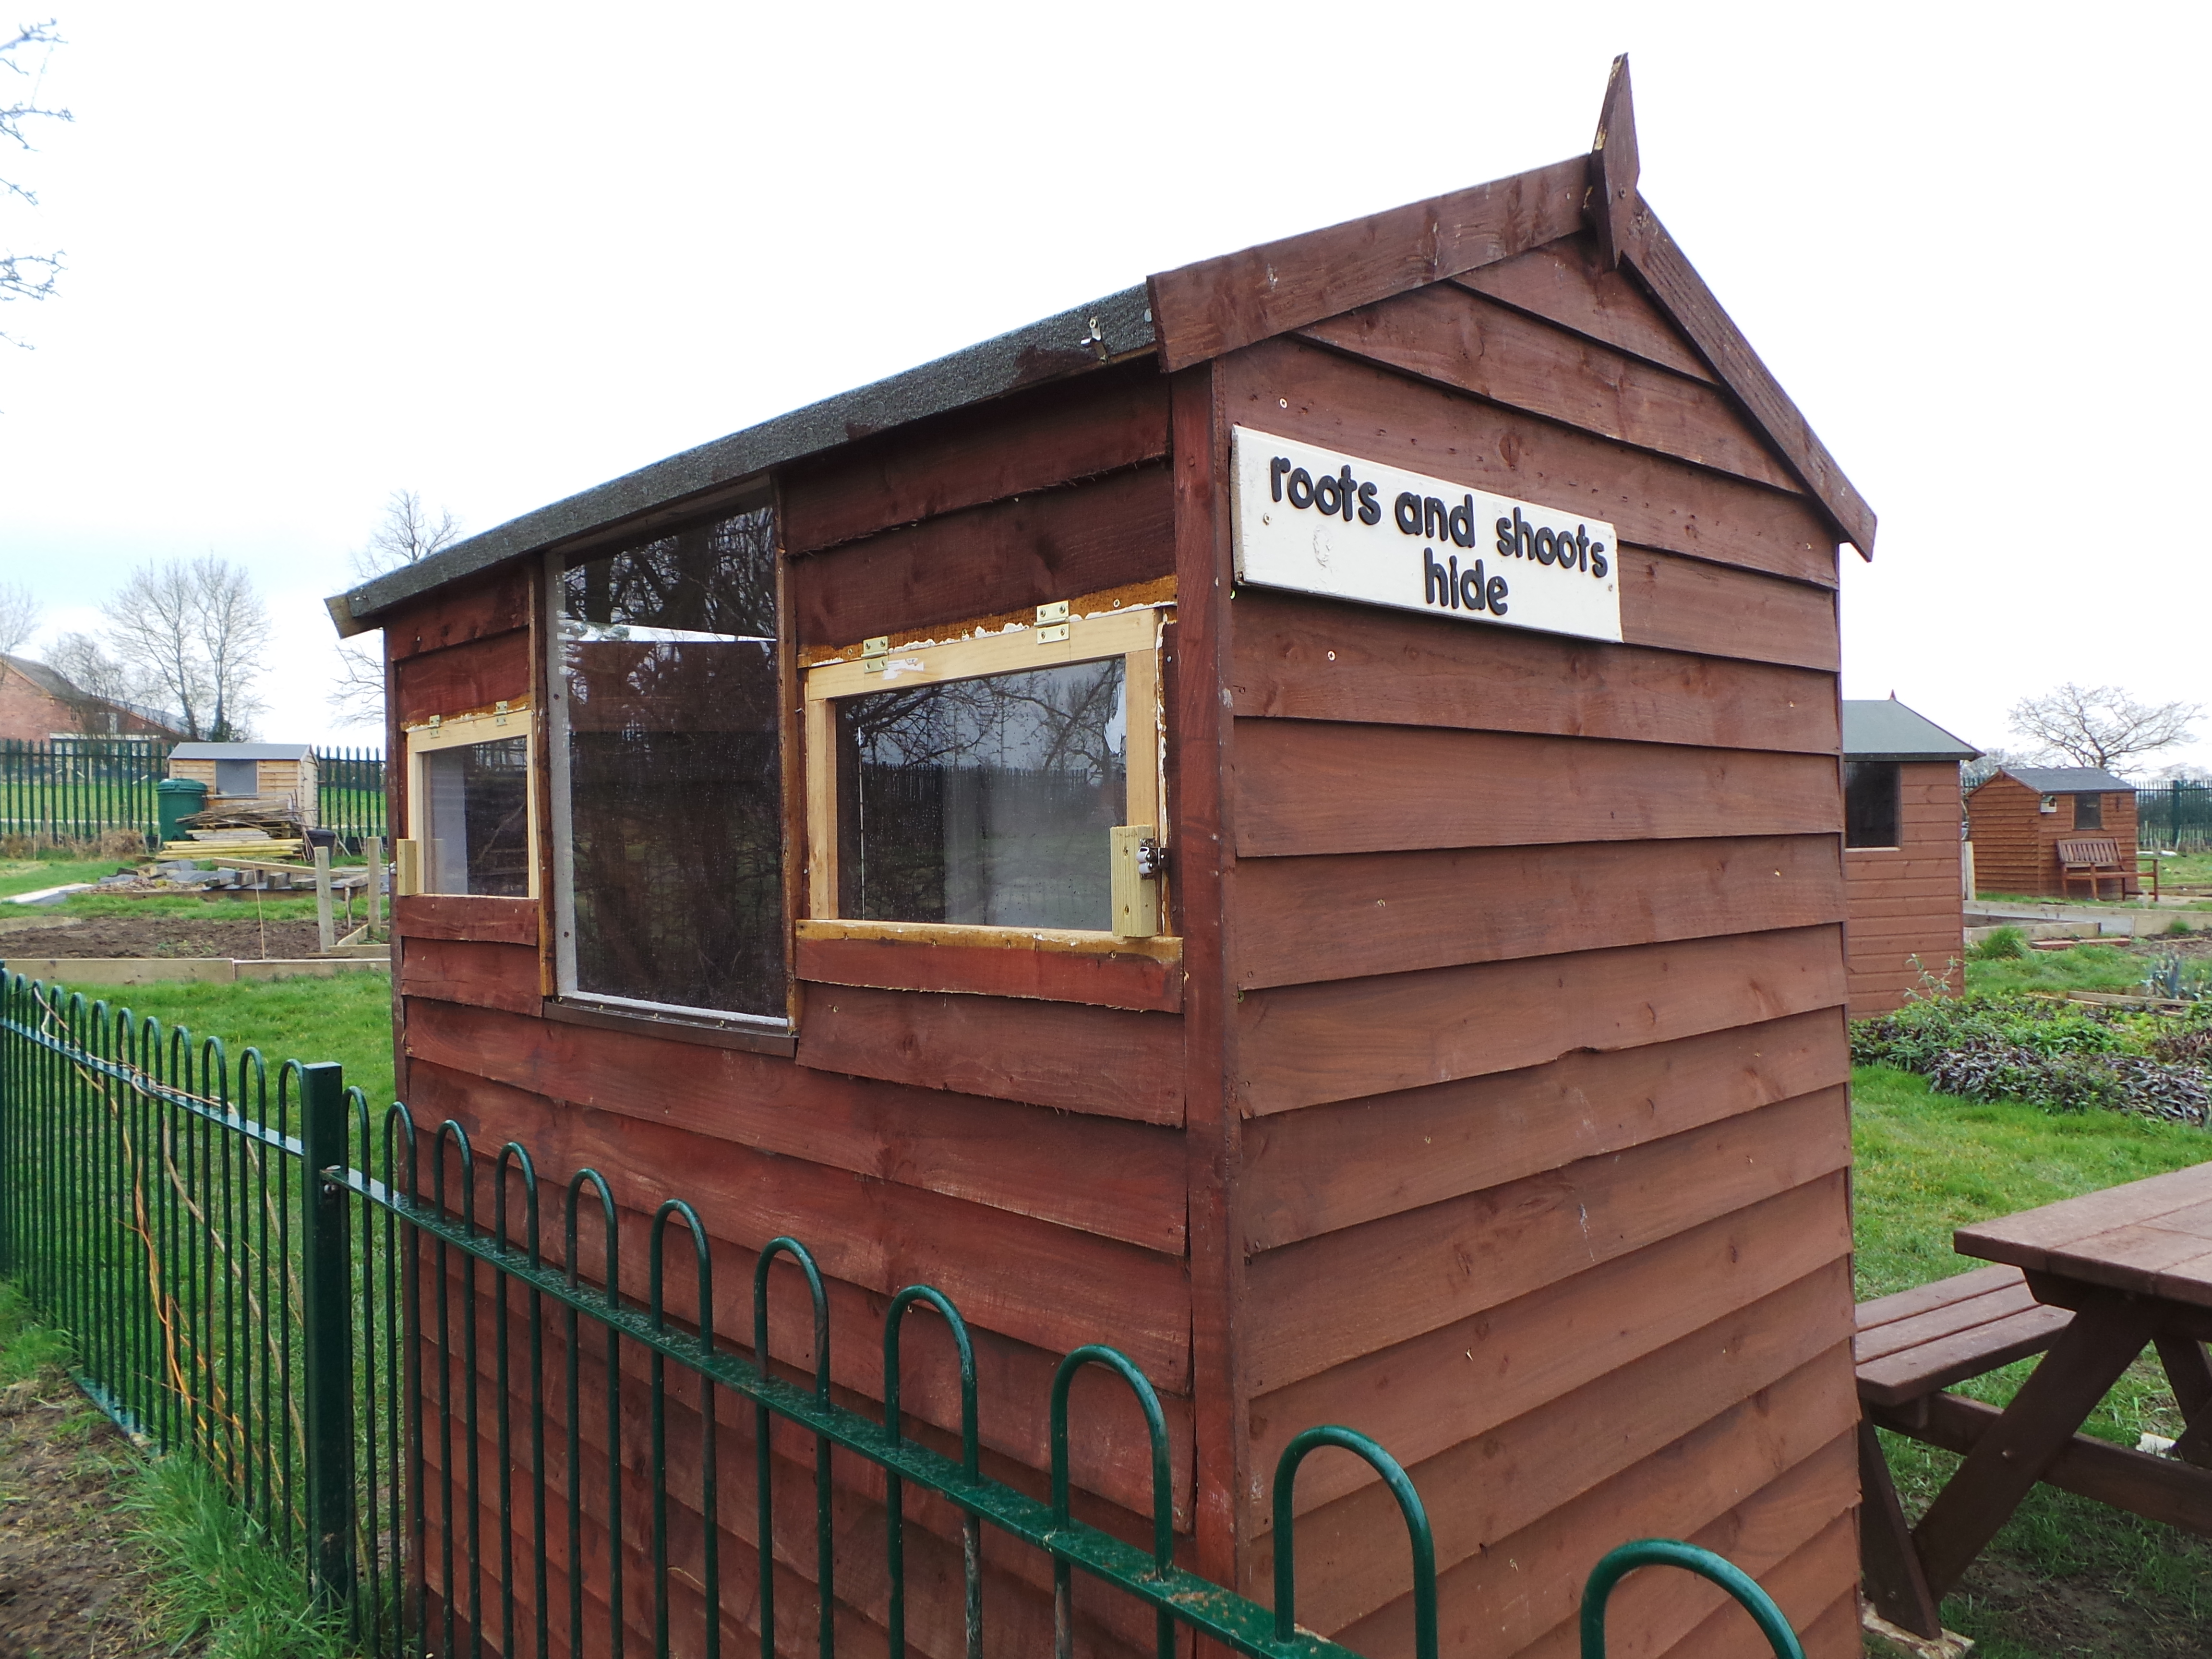
Thomas returned to give the shed another coat of wood preserver and I added a sign I created from wooden letters. It began to look the part from the outside but even more so once the two men added a new sheet of perspex to the window and added two hatches for clear viewing on dry days. These can be seen in the photo below.

Within a few weeks Sean and Vince with extra help from Sean’s children had put up a noticeboard, made a kneeling bench and shelf for leaning on when the children used the hatches and window. The pictures below show first the bench and secondly the view the children get from the hatch.


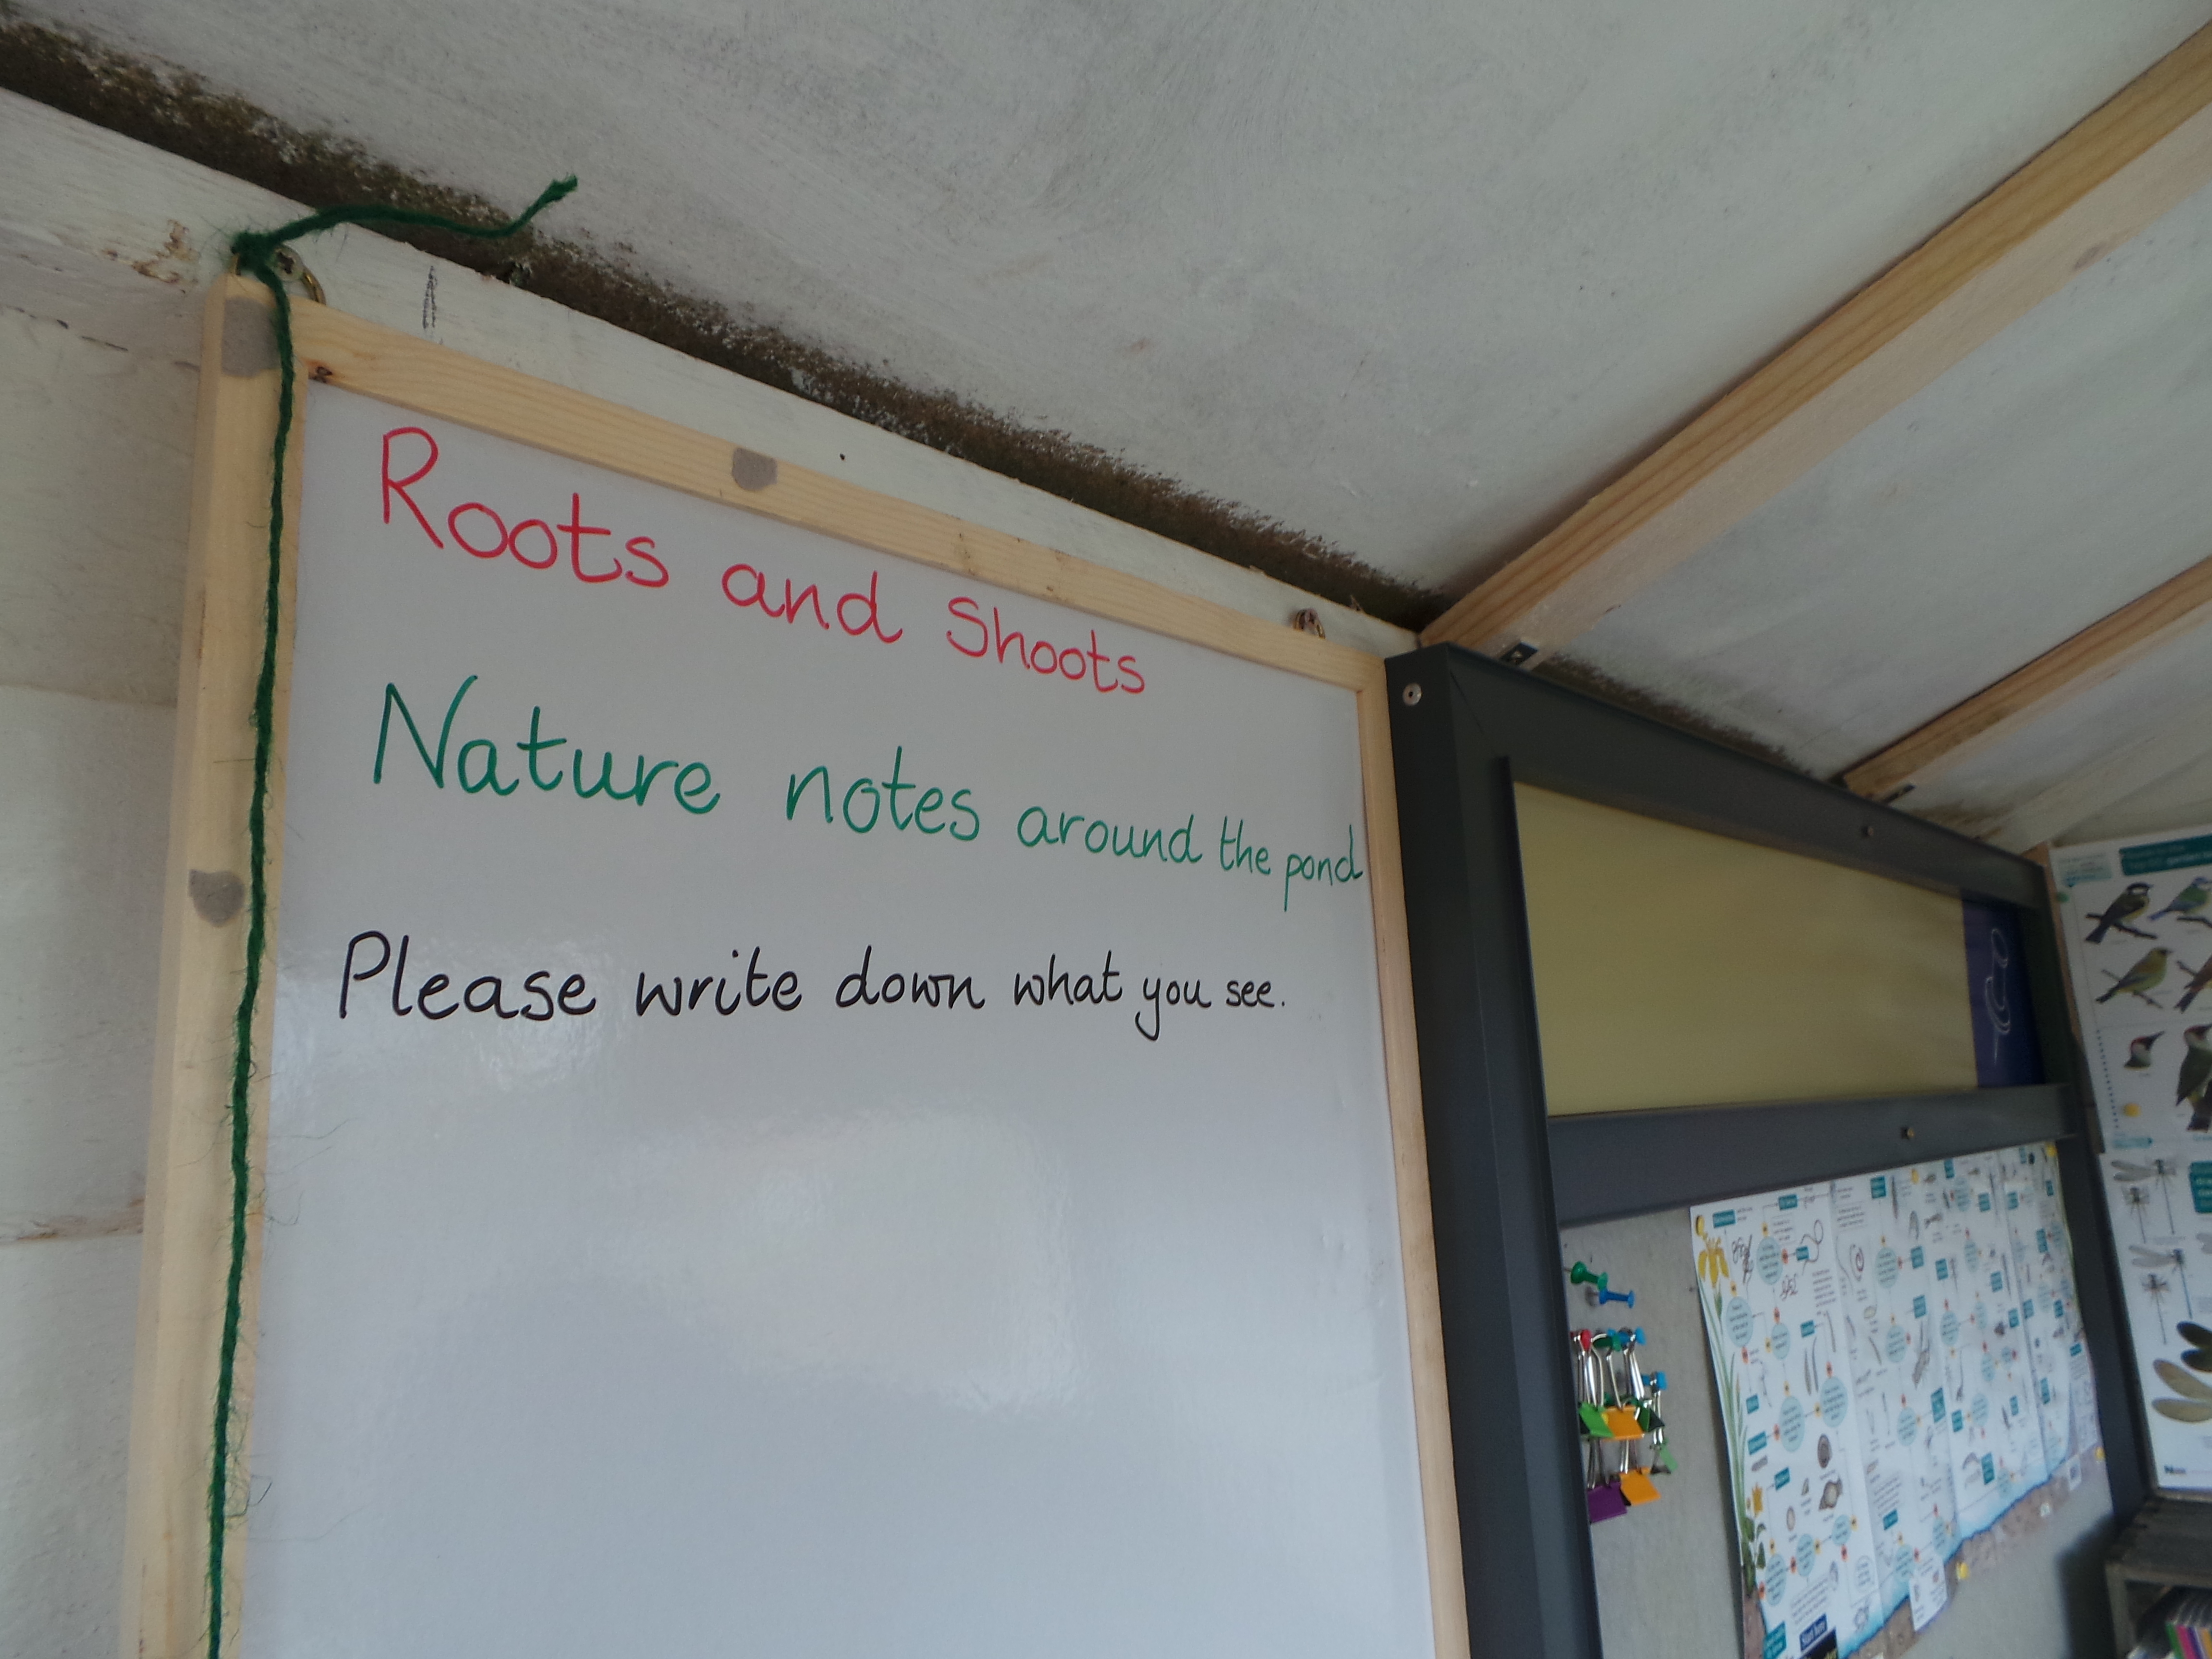
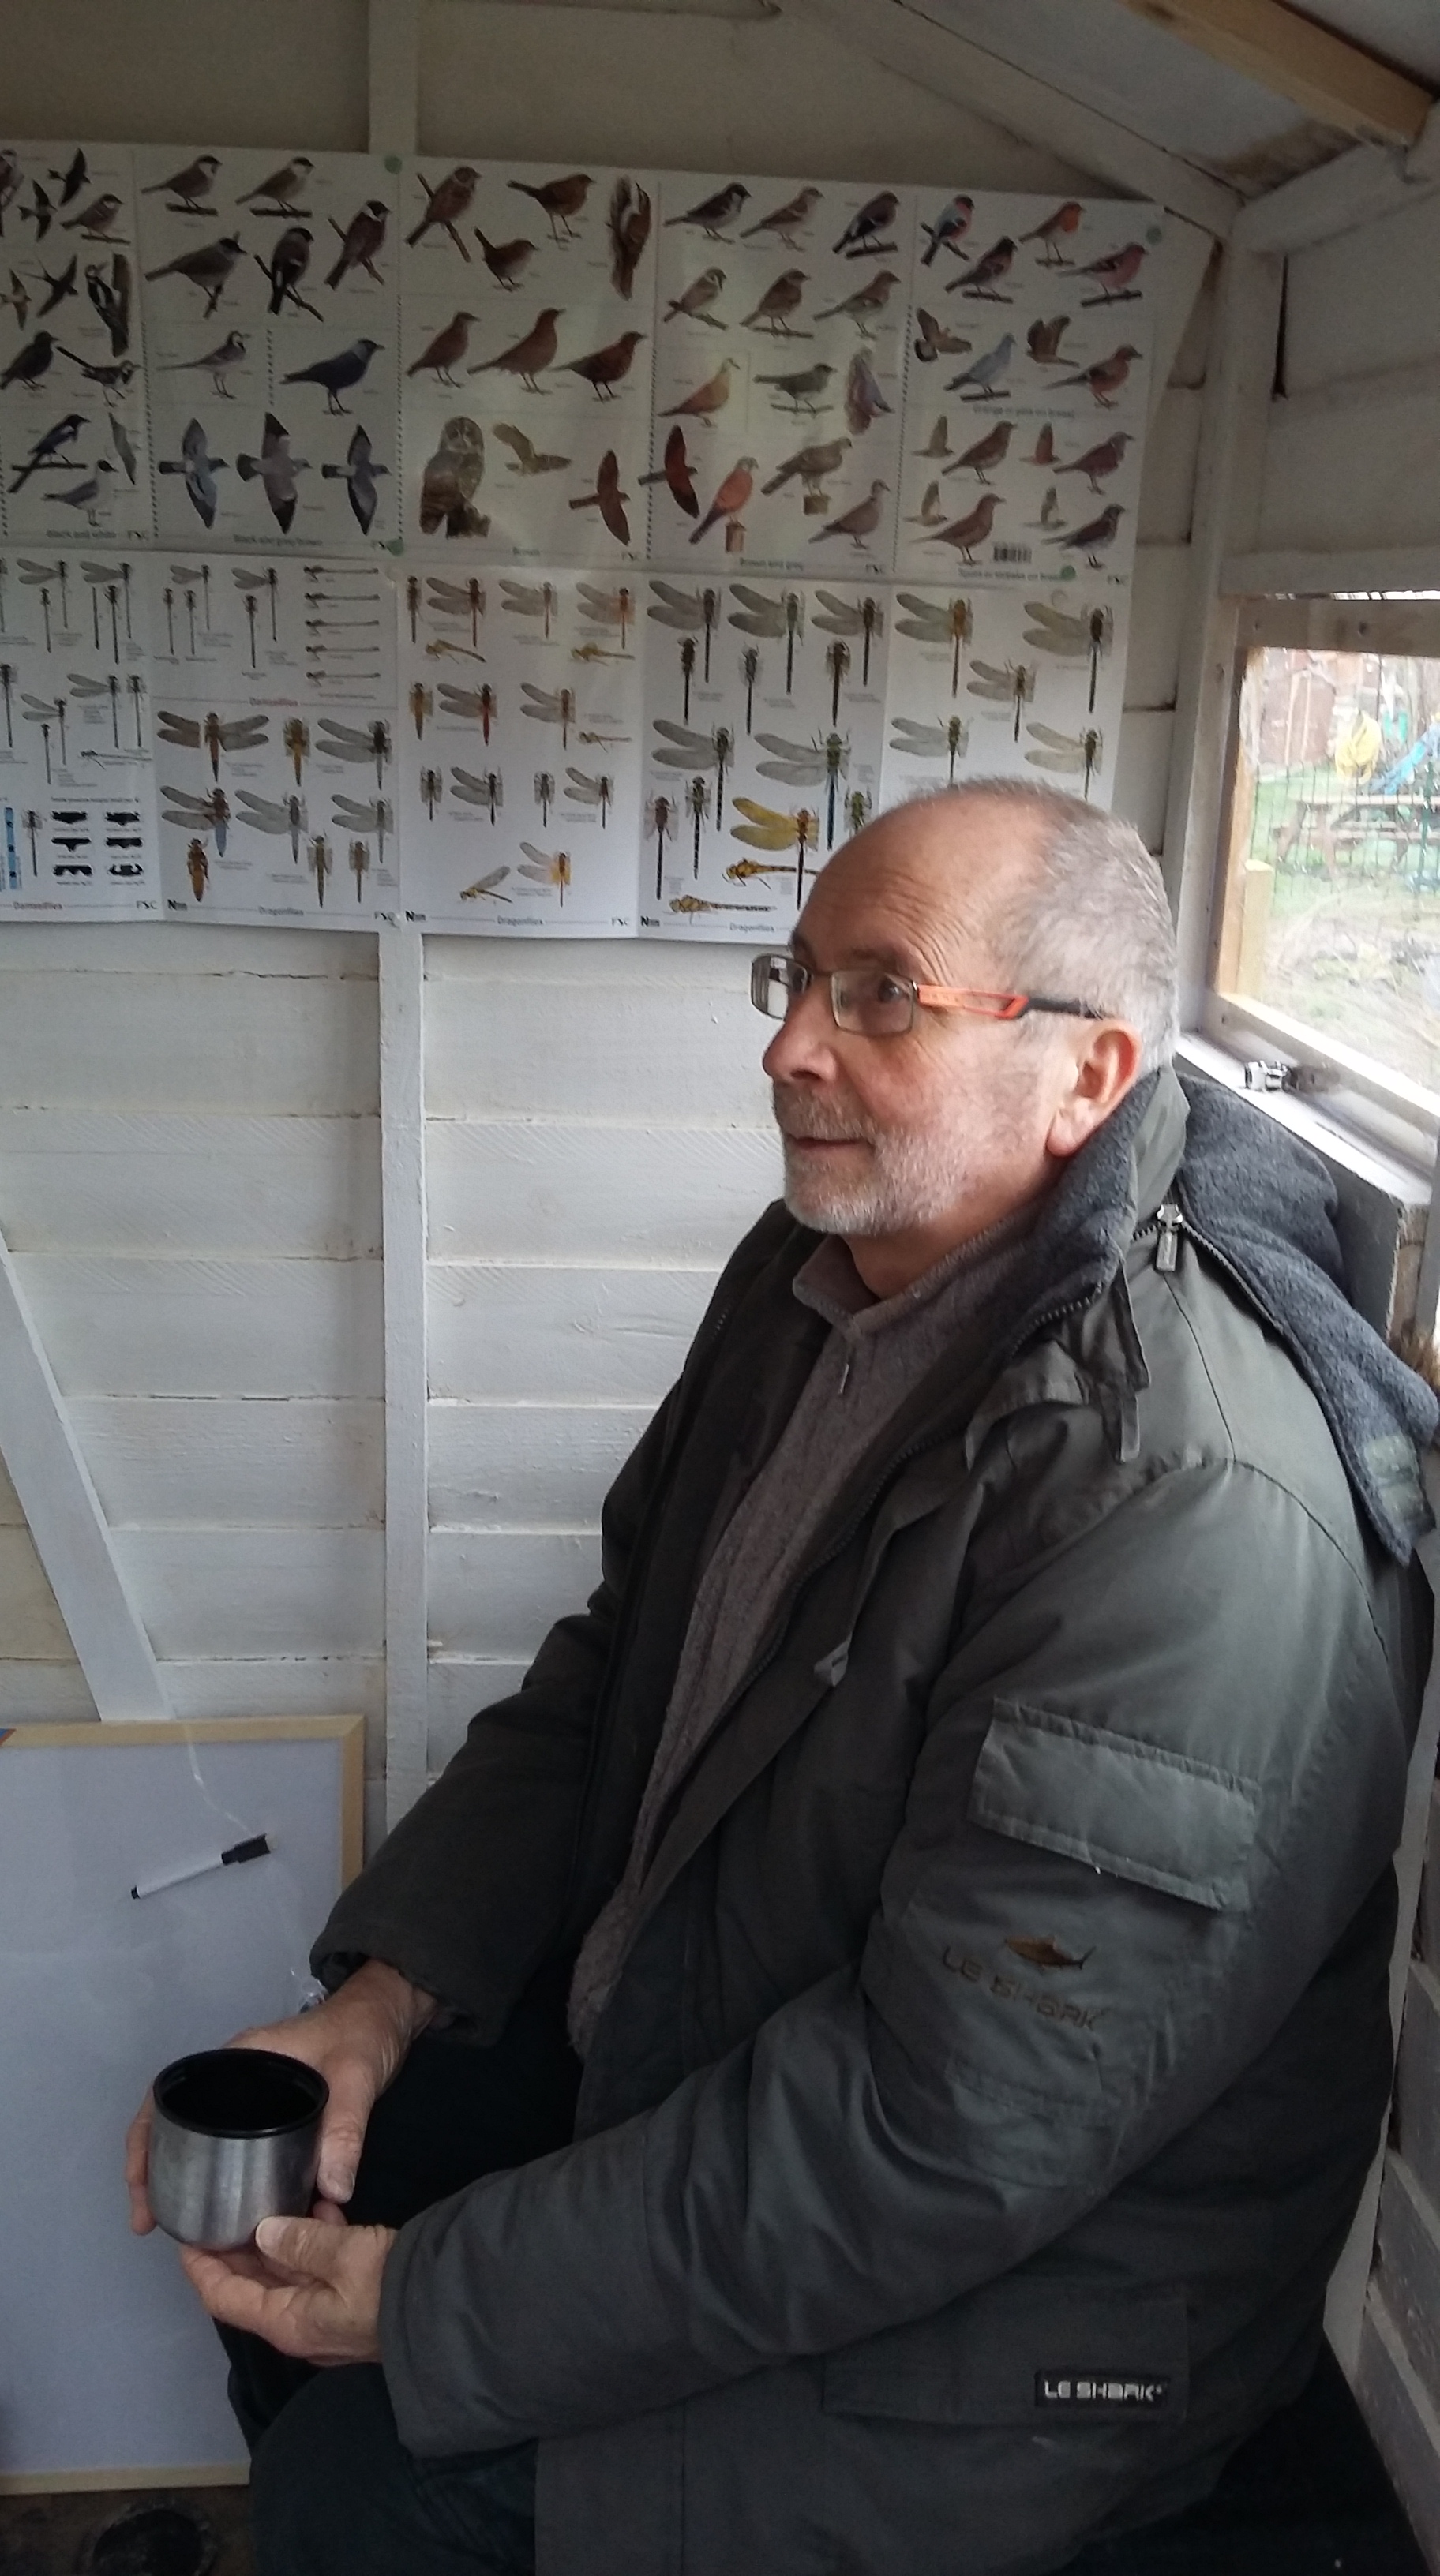
This is the view our Roots and Shoots youngsters will get as they open the hide door. You will see that Jude and I have added identification charts for birds and dragonflies and damselflies and a poster displaying the life on and under the surface of a pond. We also made a little bookcase from a vegetable crate and placed in it some wildlife books for youngsters. We also mounted a whiteboard on which we are inviting the children to note their observations. The final touches are a pair of binoculars a notebook for children to jot down their nature notes.


Last job of course was a celebratory cup of coffee perching on the children’s bench and admiring everyone’s handiwork and great efforts.
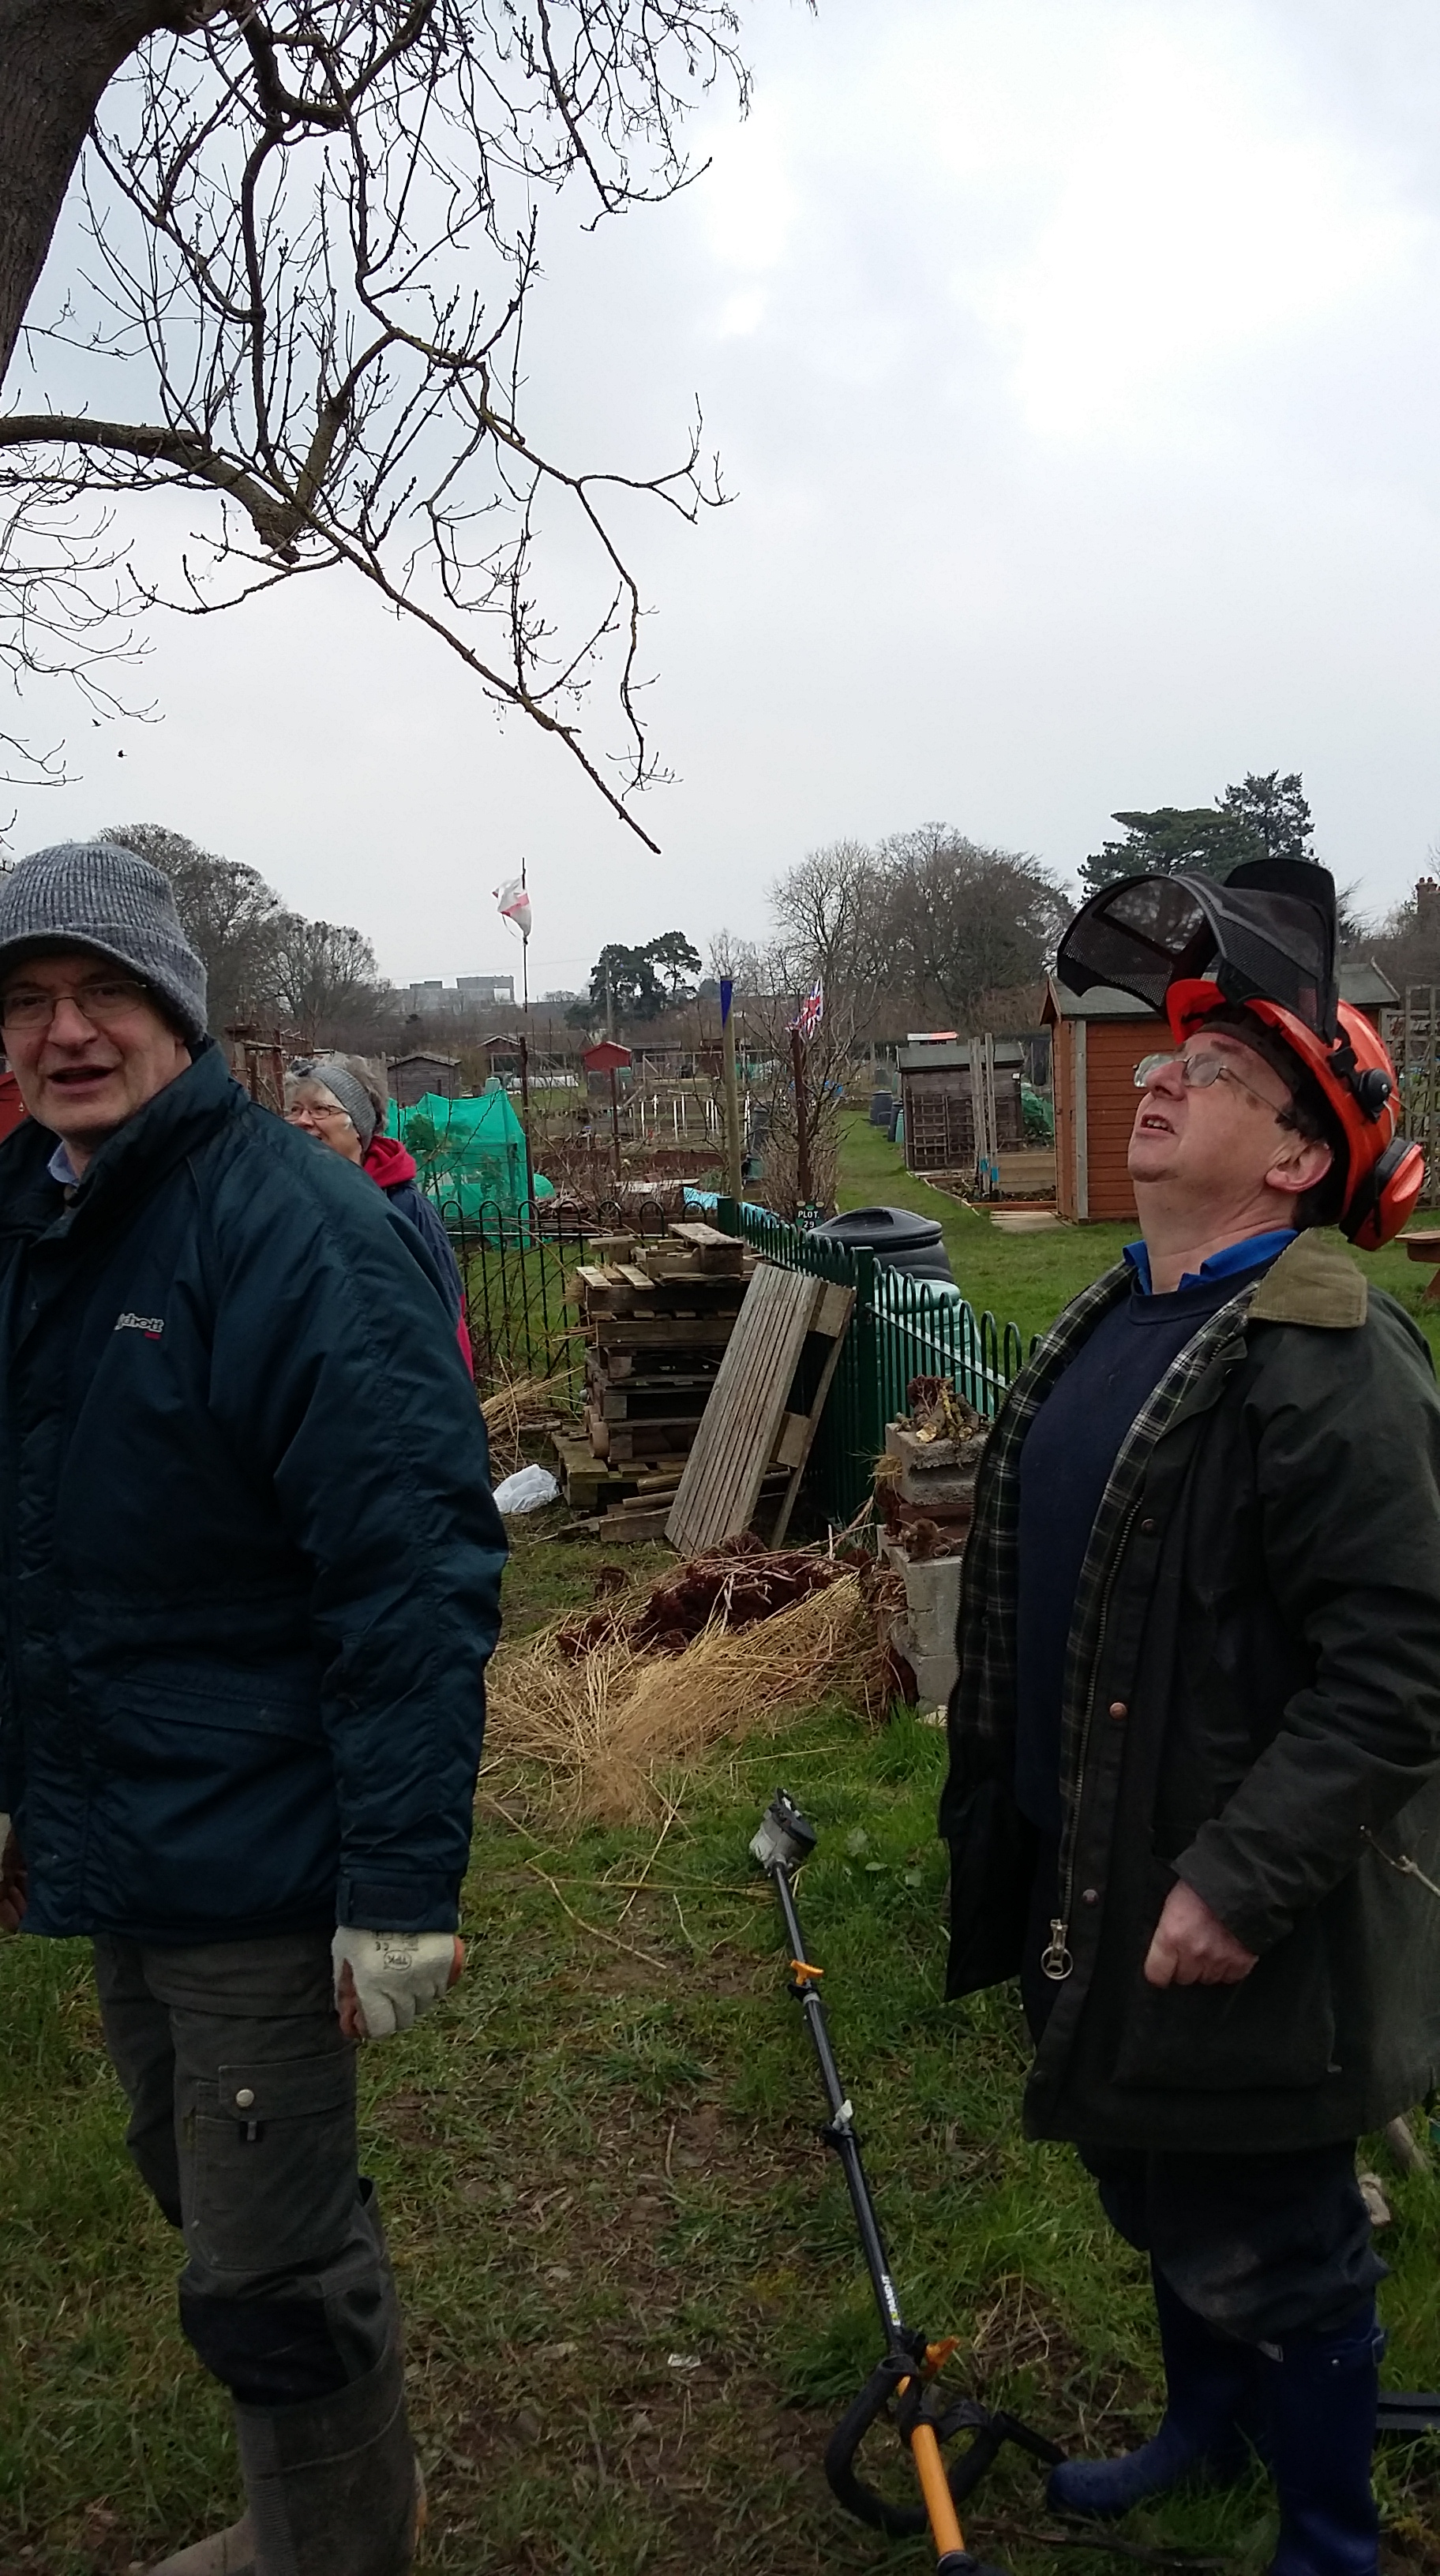
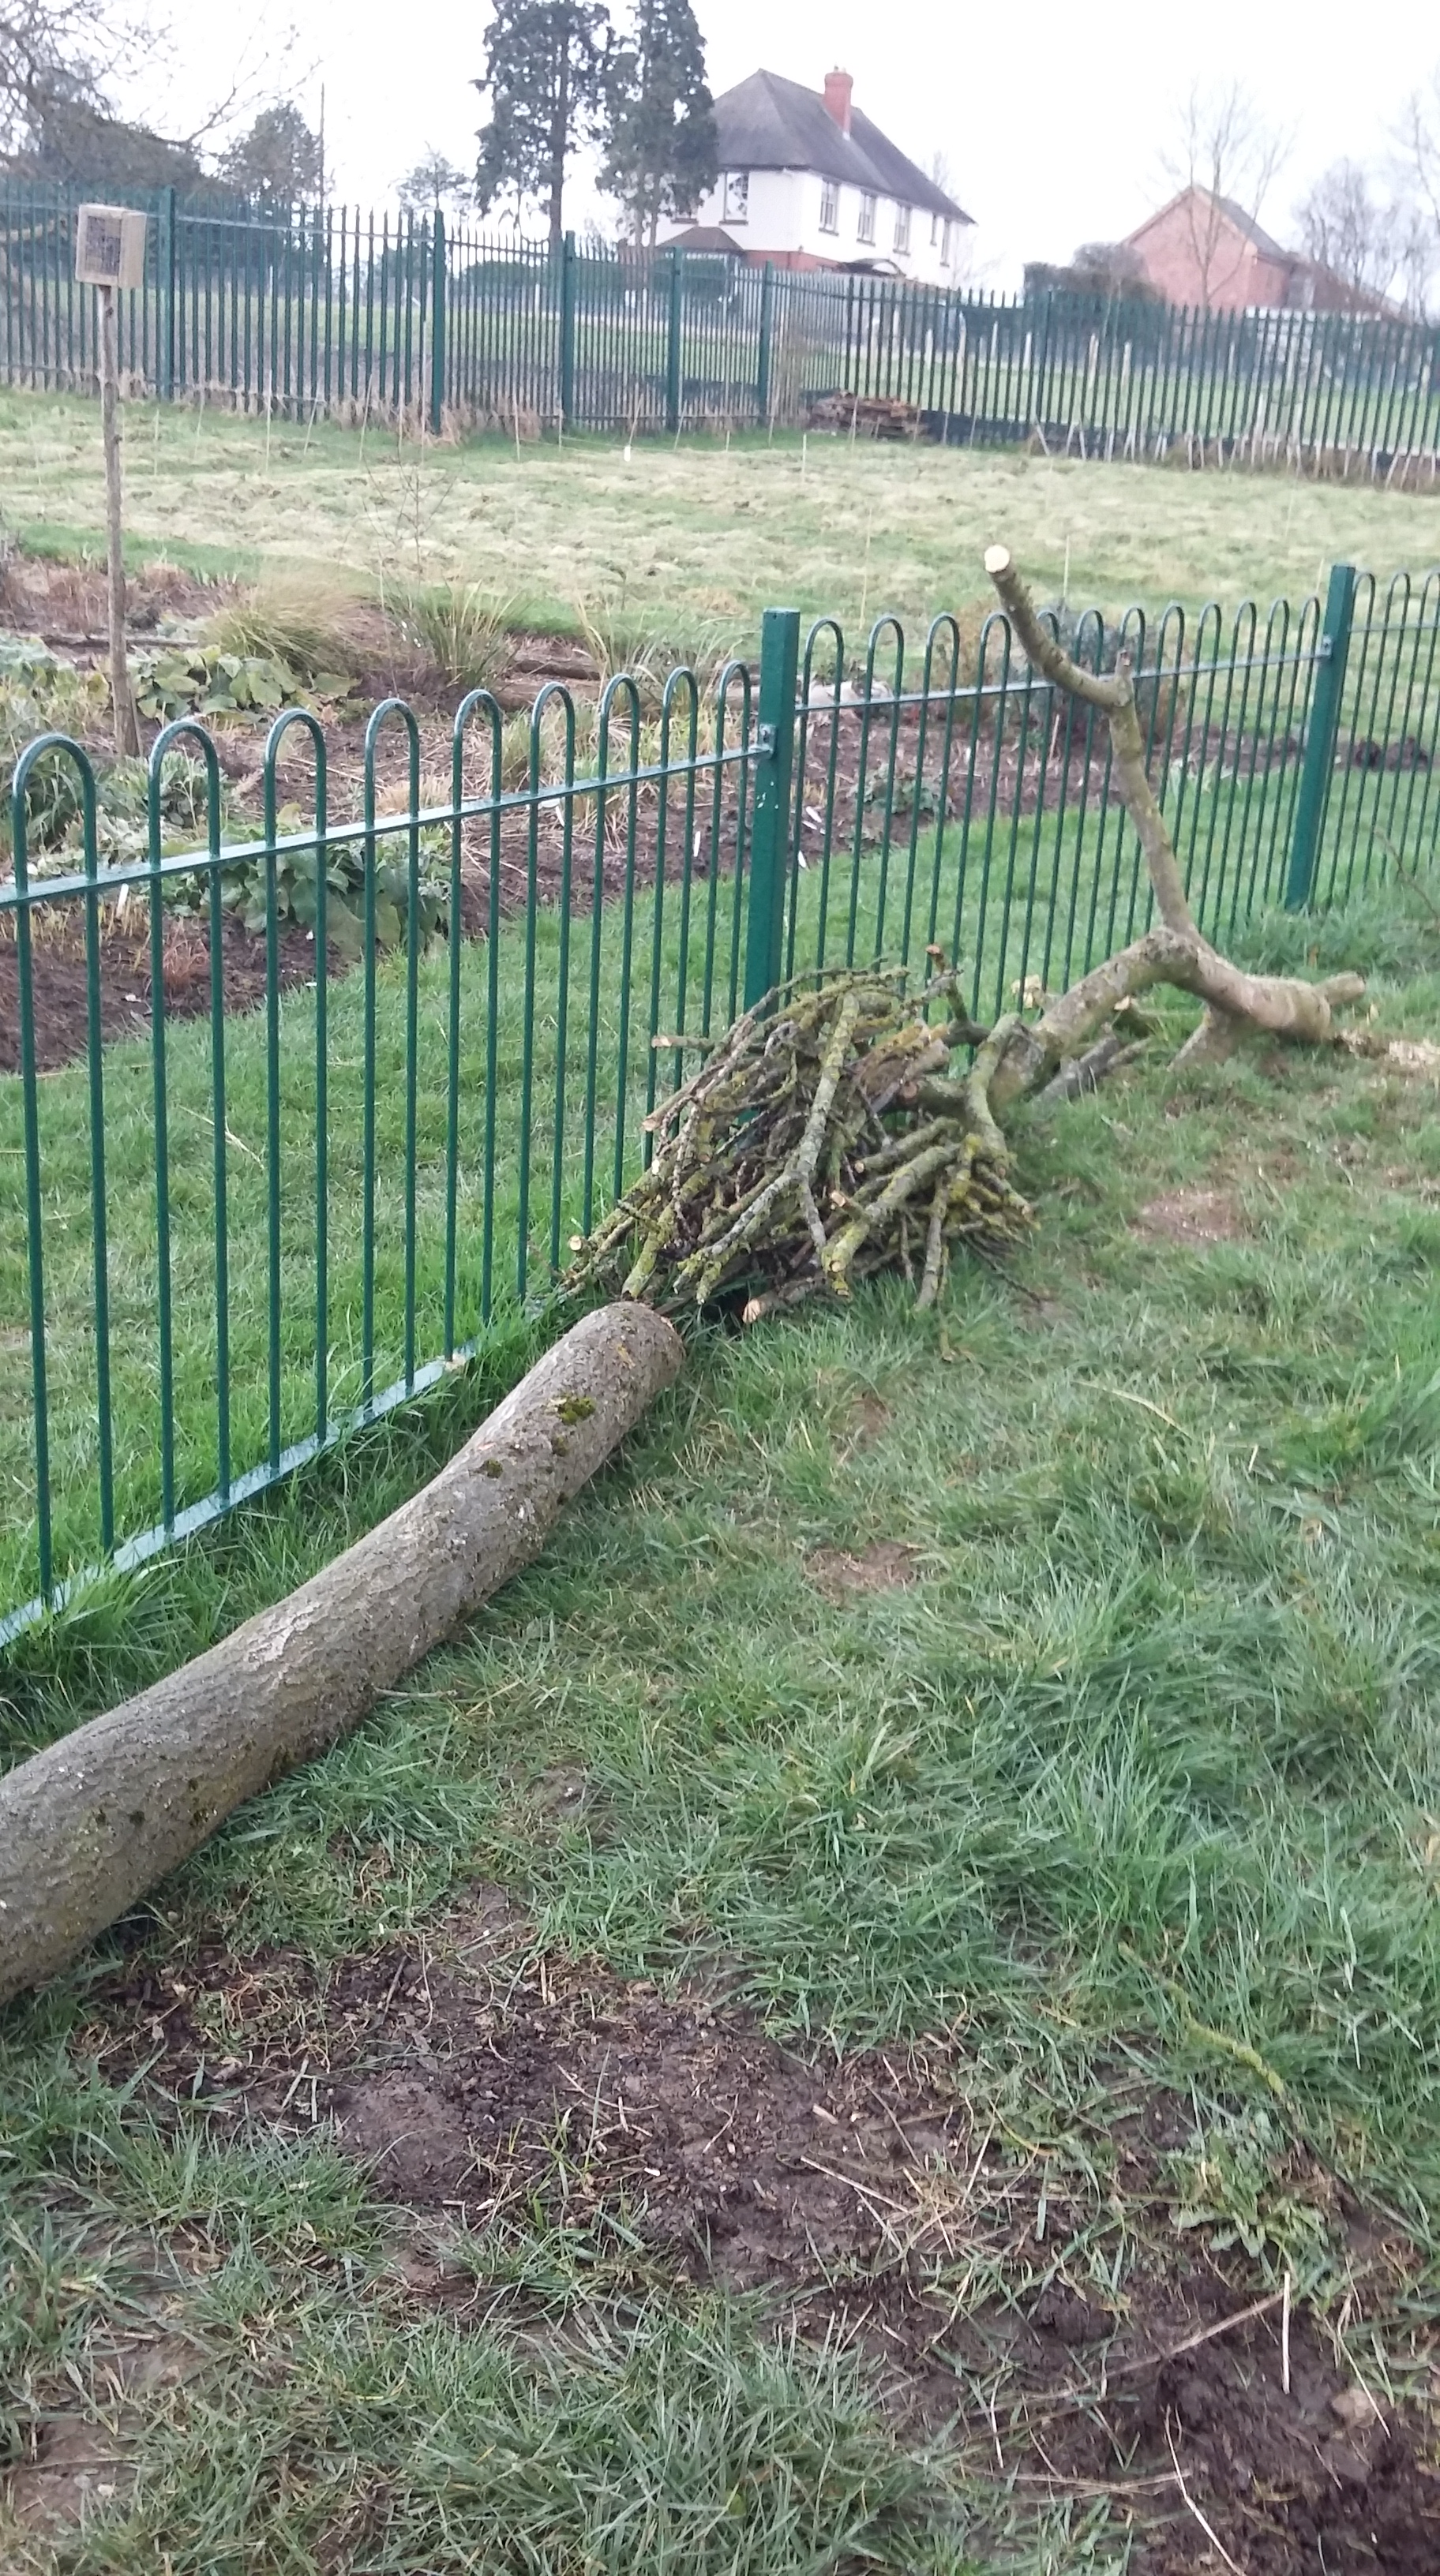
Now let us enjoy a bit of tree surgery carried out so professionally by some more of our volunteers, Pete and Mike. As mentioned in part one we have a few elderly Ash trees around the pond which for safety sake need remedial work. Earlier on we managed to pull down broken branches that had rotted but got tangled in the lower branches as they fell, but this day was a day for the chain saw attachment on our strimmer head to get in the action. One large branch hung right over the pond to the far bank and was slowly splitting so getting lower and lower. The final cut shows the weakness.

First Mike and Pete looked and stared and studied! They needed a strategy!!

This strategy involved rope thrown up and over a much higher and stronger upper bough, with which they could keep control of the branch once it was sawn through.

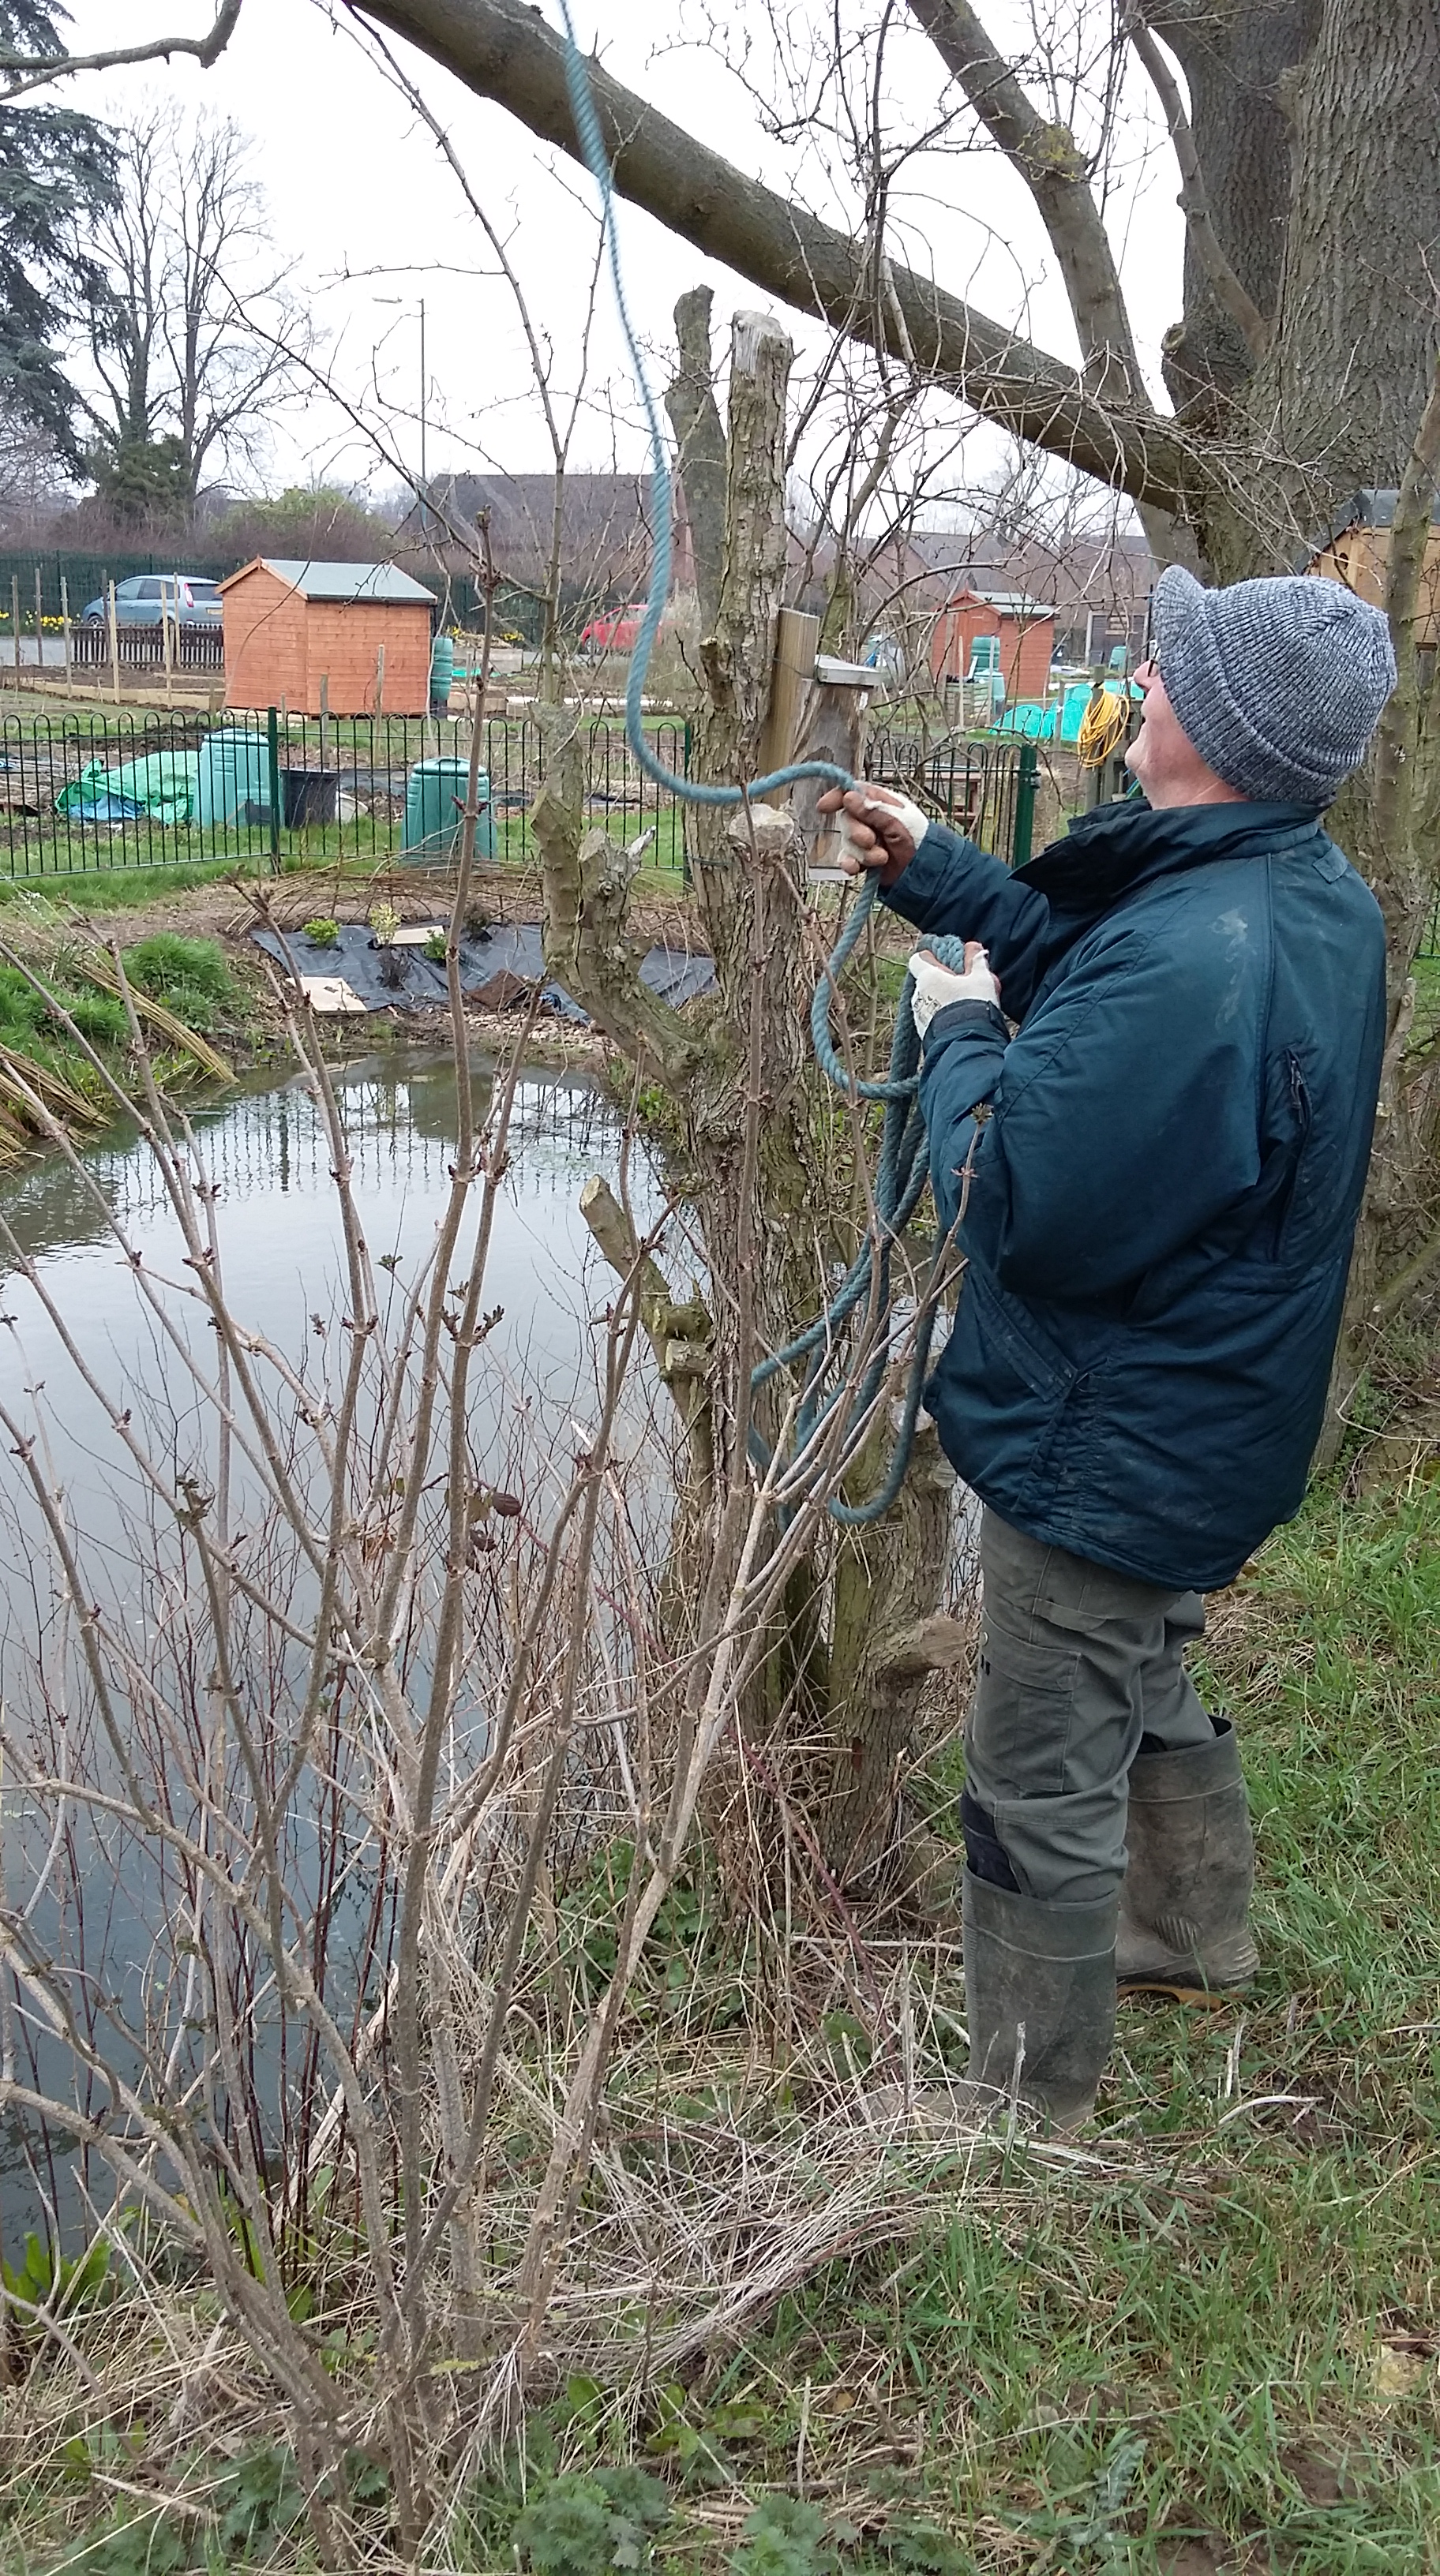

Attachment attached and they were off!
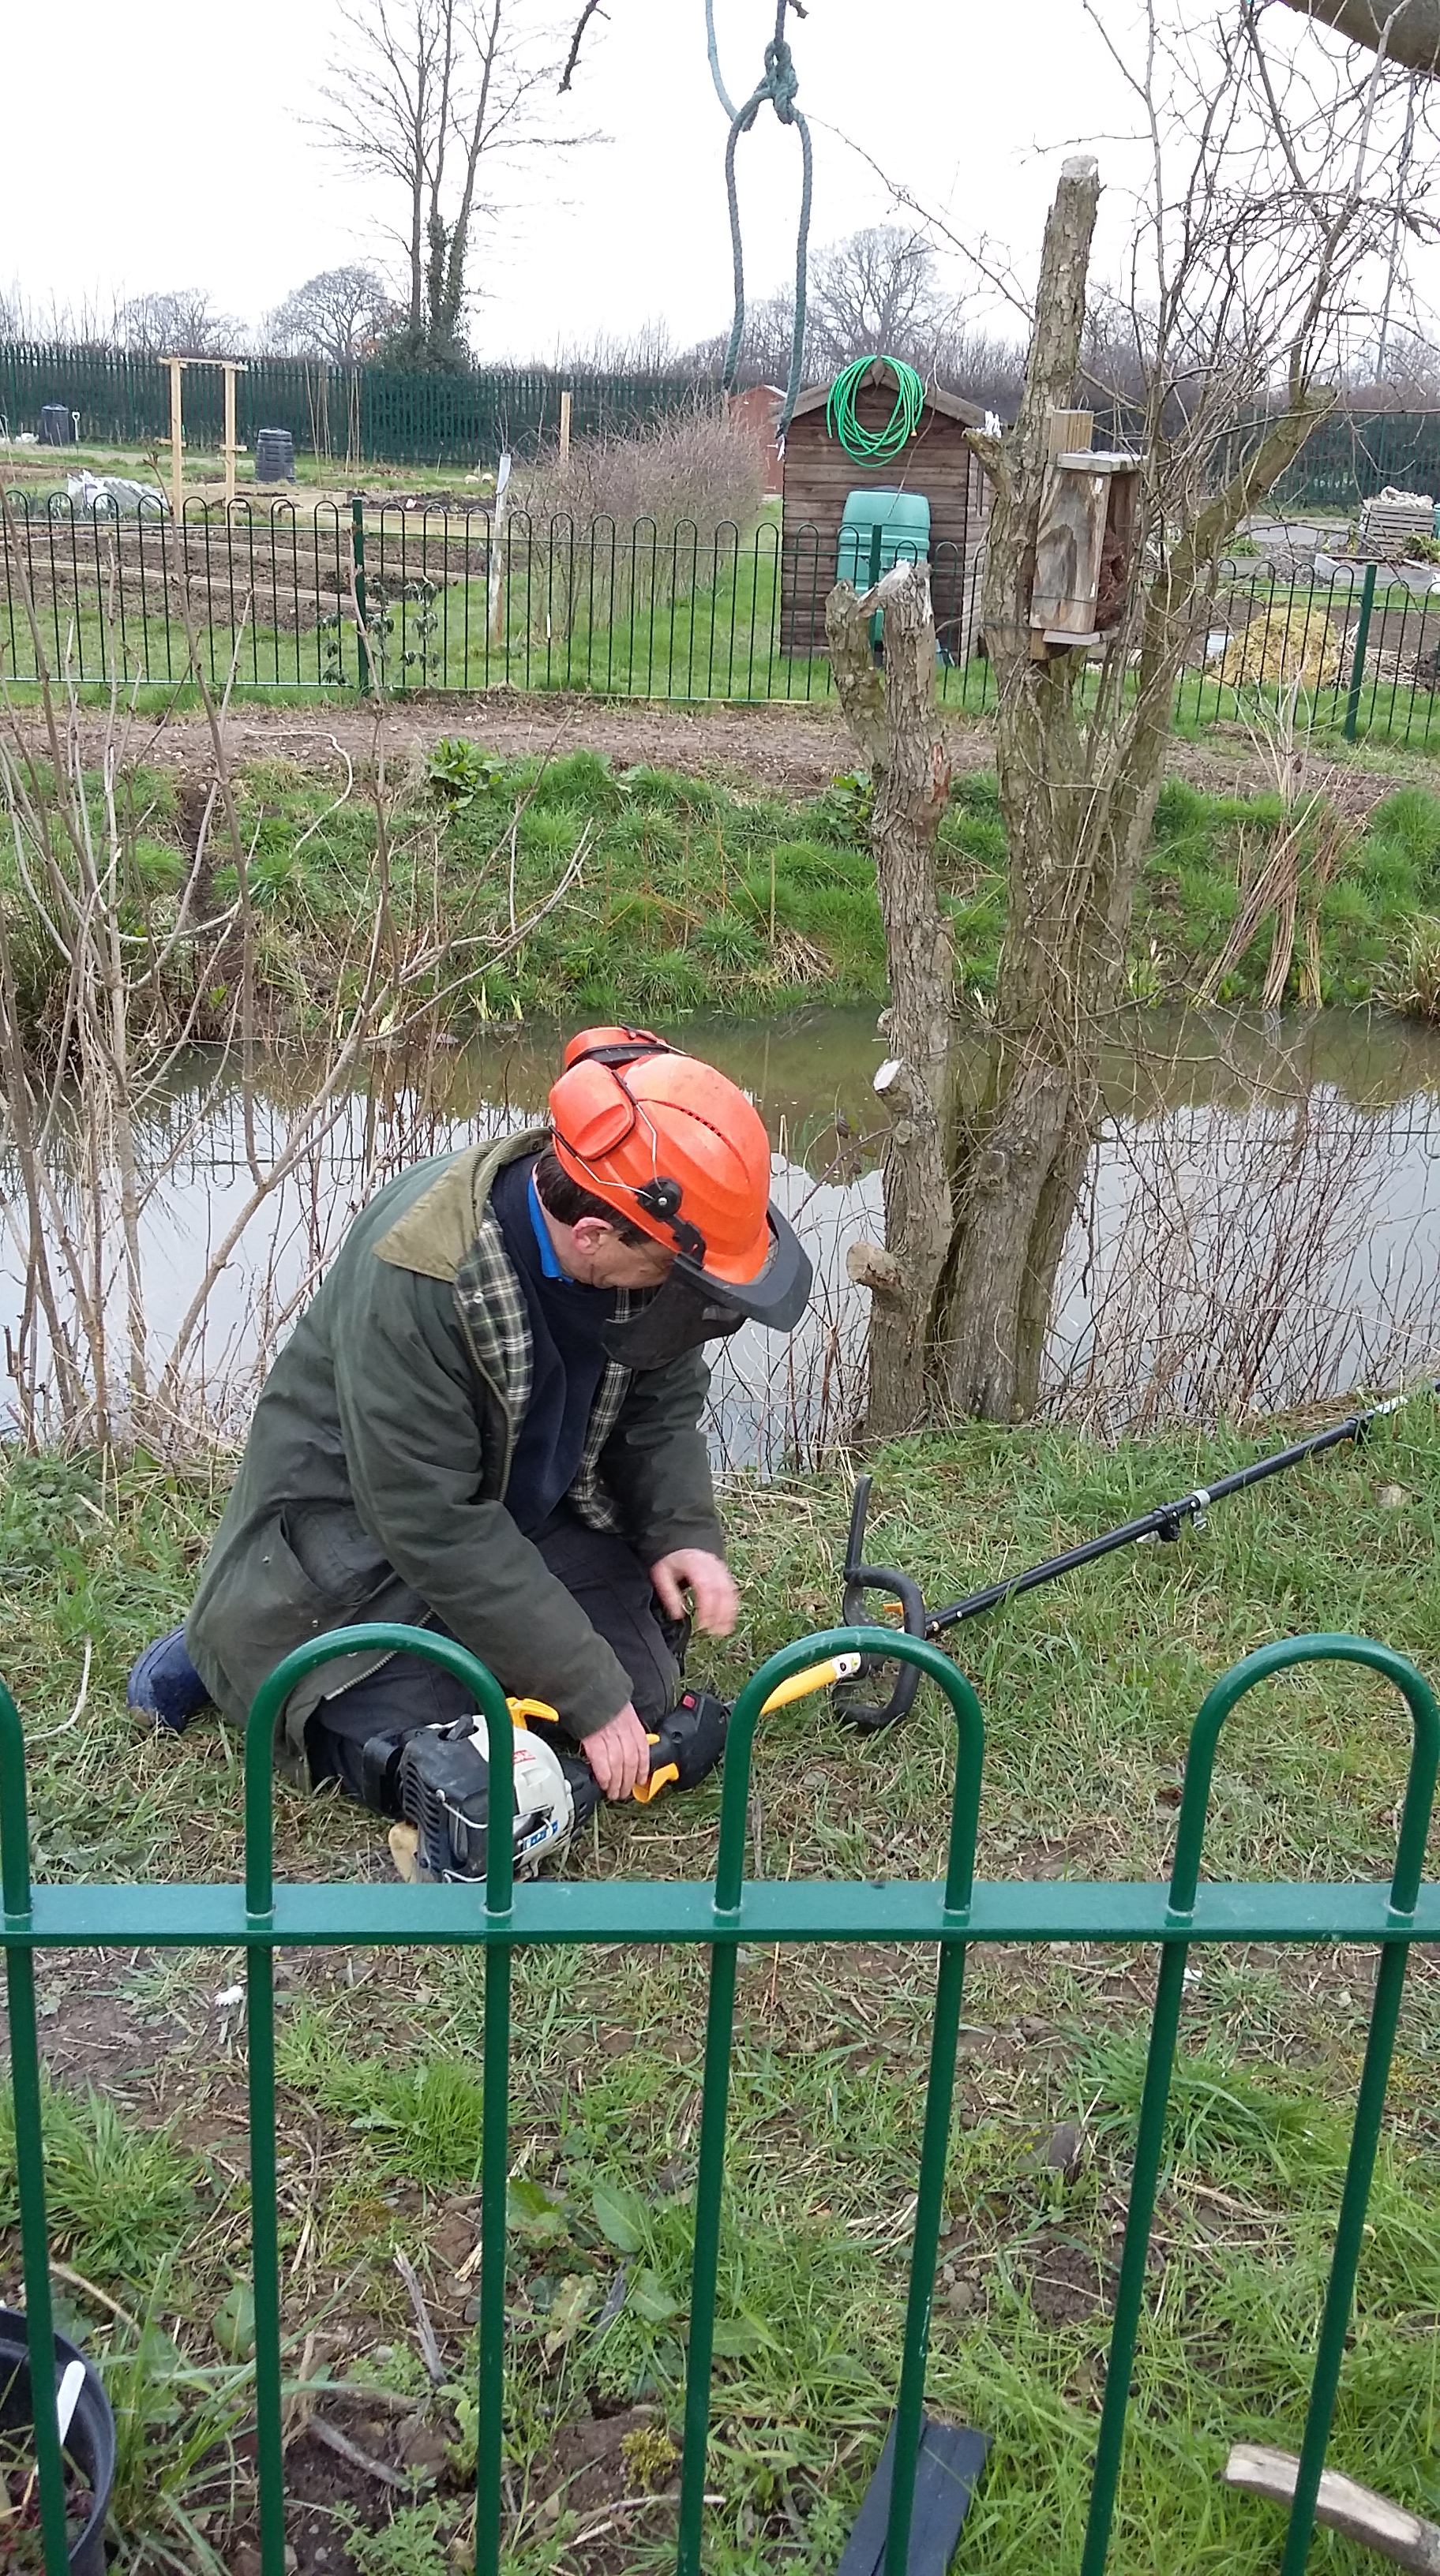


The cut bough hanging obediently could then be pulled in and dealt with on dry land. It will soon be seating for the youngsters, edging for borders and parts of insect homes and log piles and brash heaps to help attract ads shelter wildlife. We discovered an awful lot of rot within the bough so it was great relief to see it down. Trouble is there are a few more going the same way.


Finally we need to look at our duck tube! The photo below shows why we need one! A pair of Mallards patiently waiting!

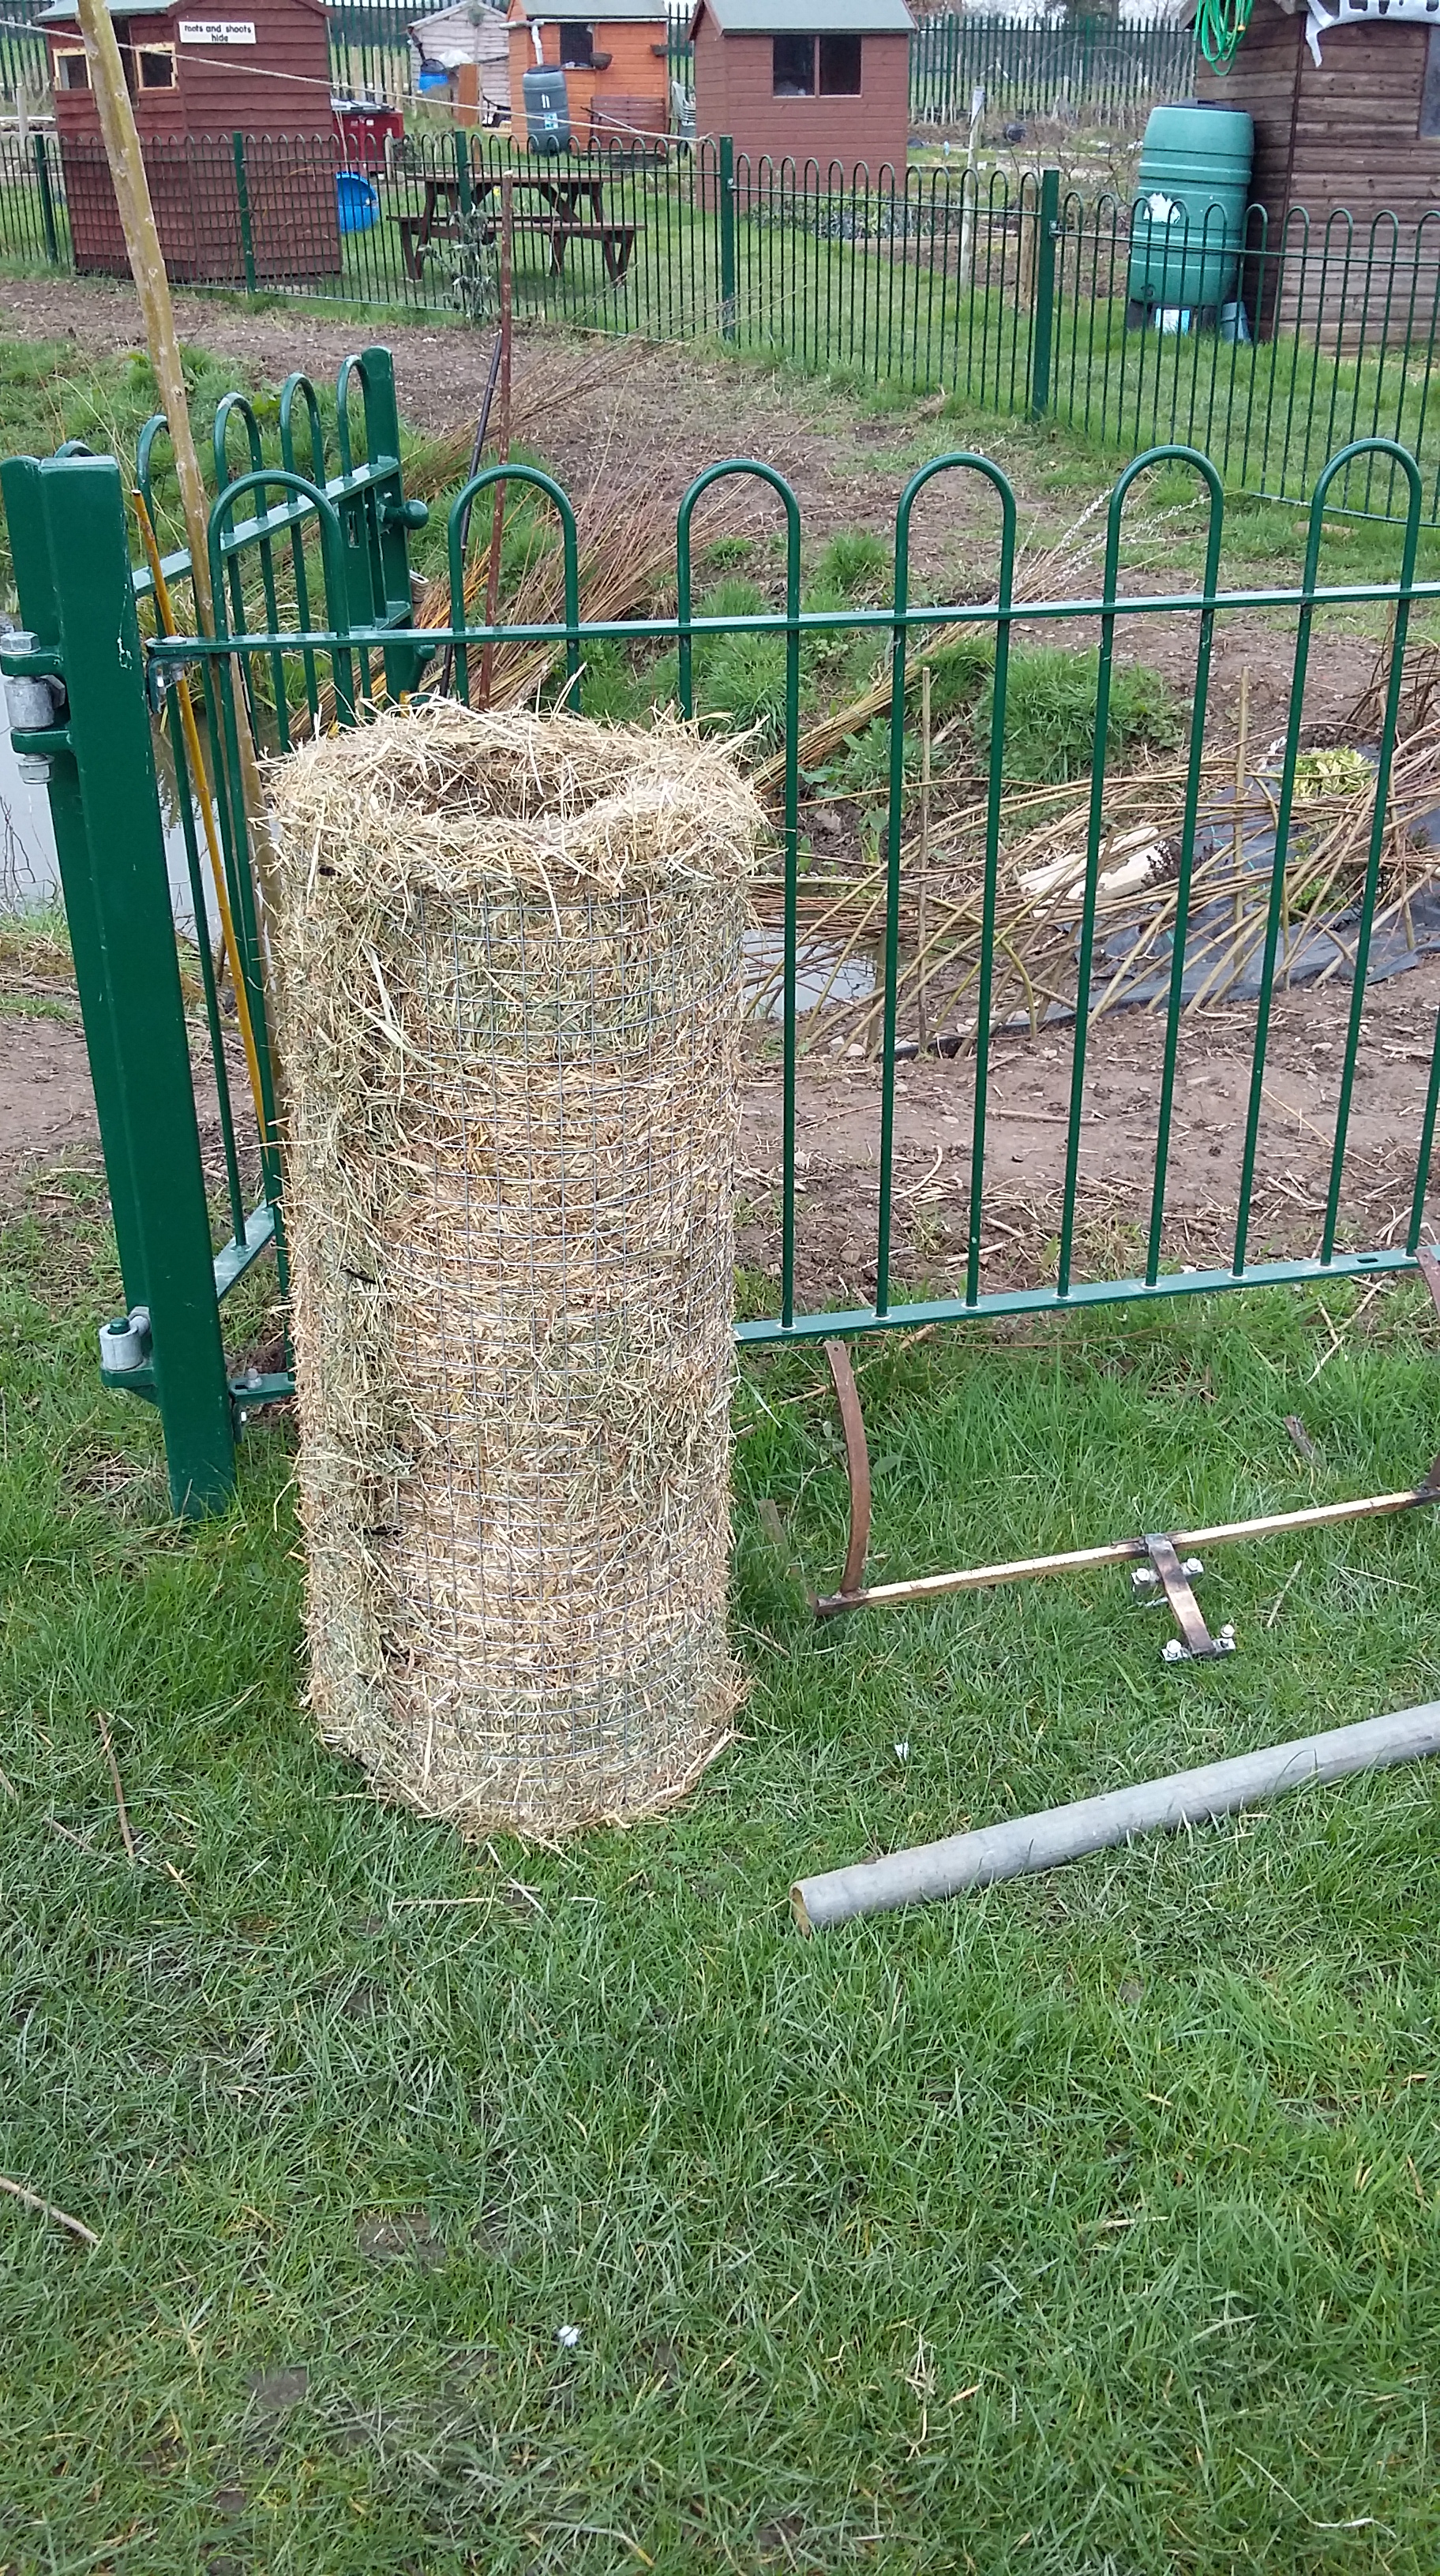
Just follow the picture sequence below and watch Mike’s adventure. Before we made the dam and changed the drainage around it to gain depth for wildlfie the pond was rarely more than 6 inches or so deep!

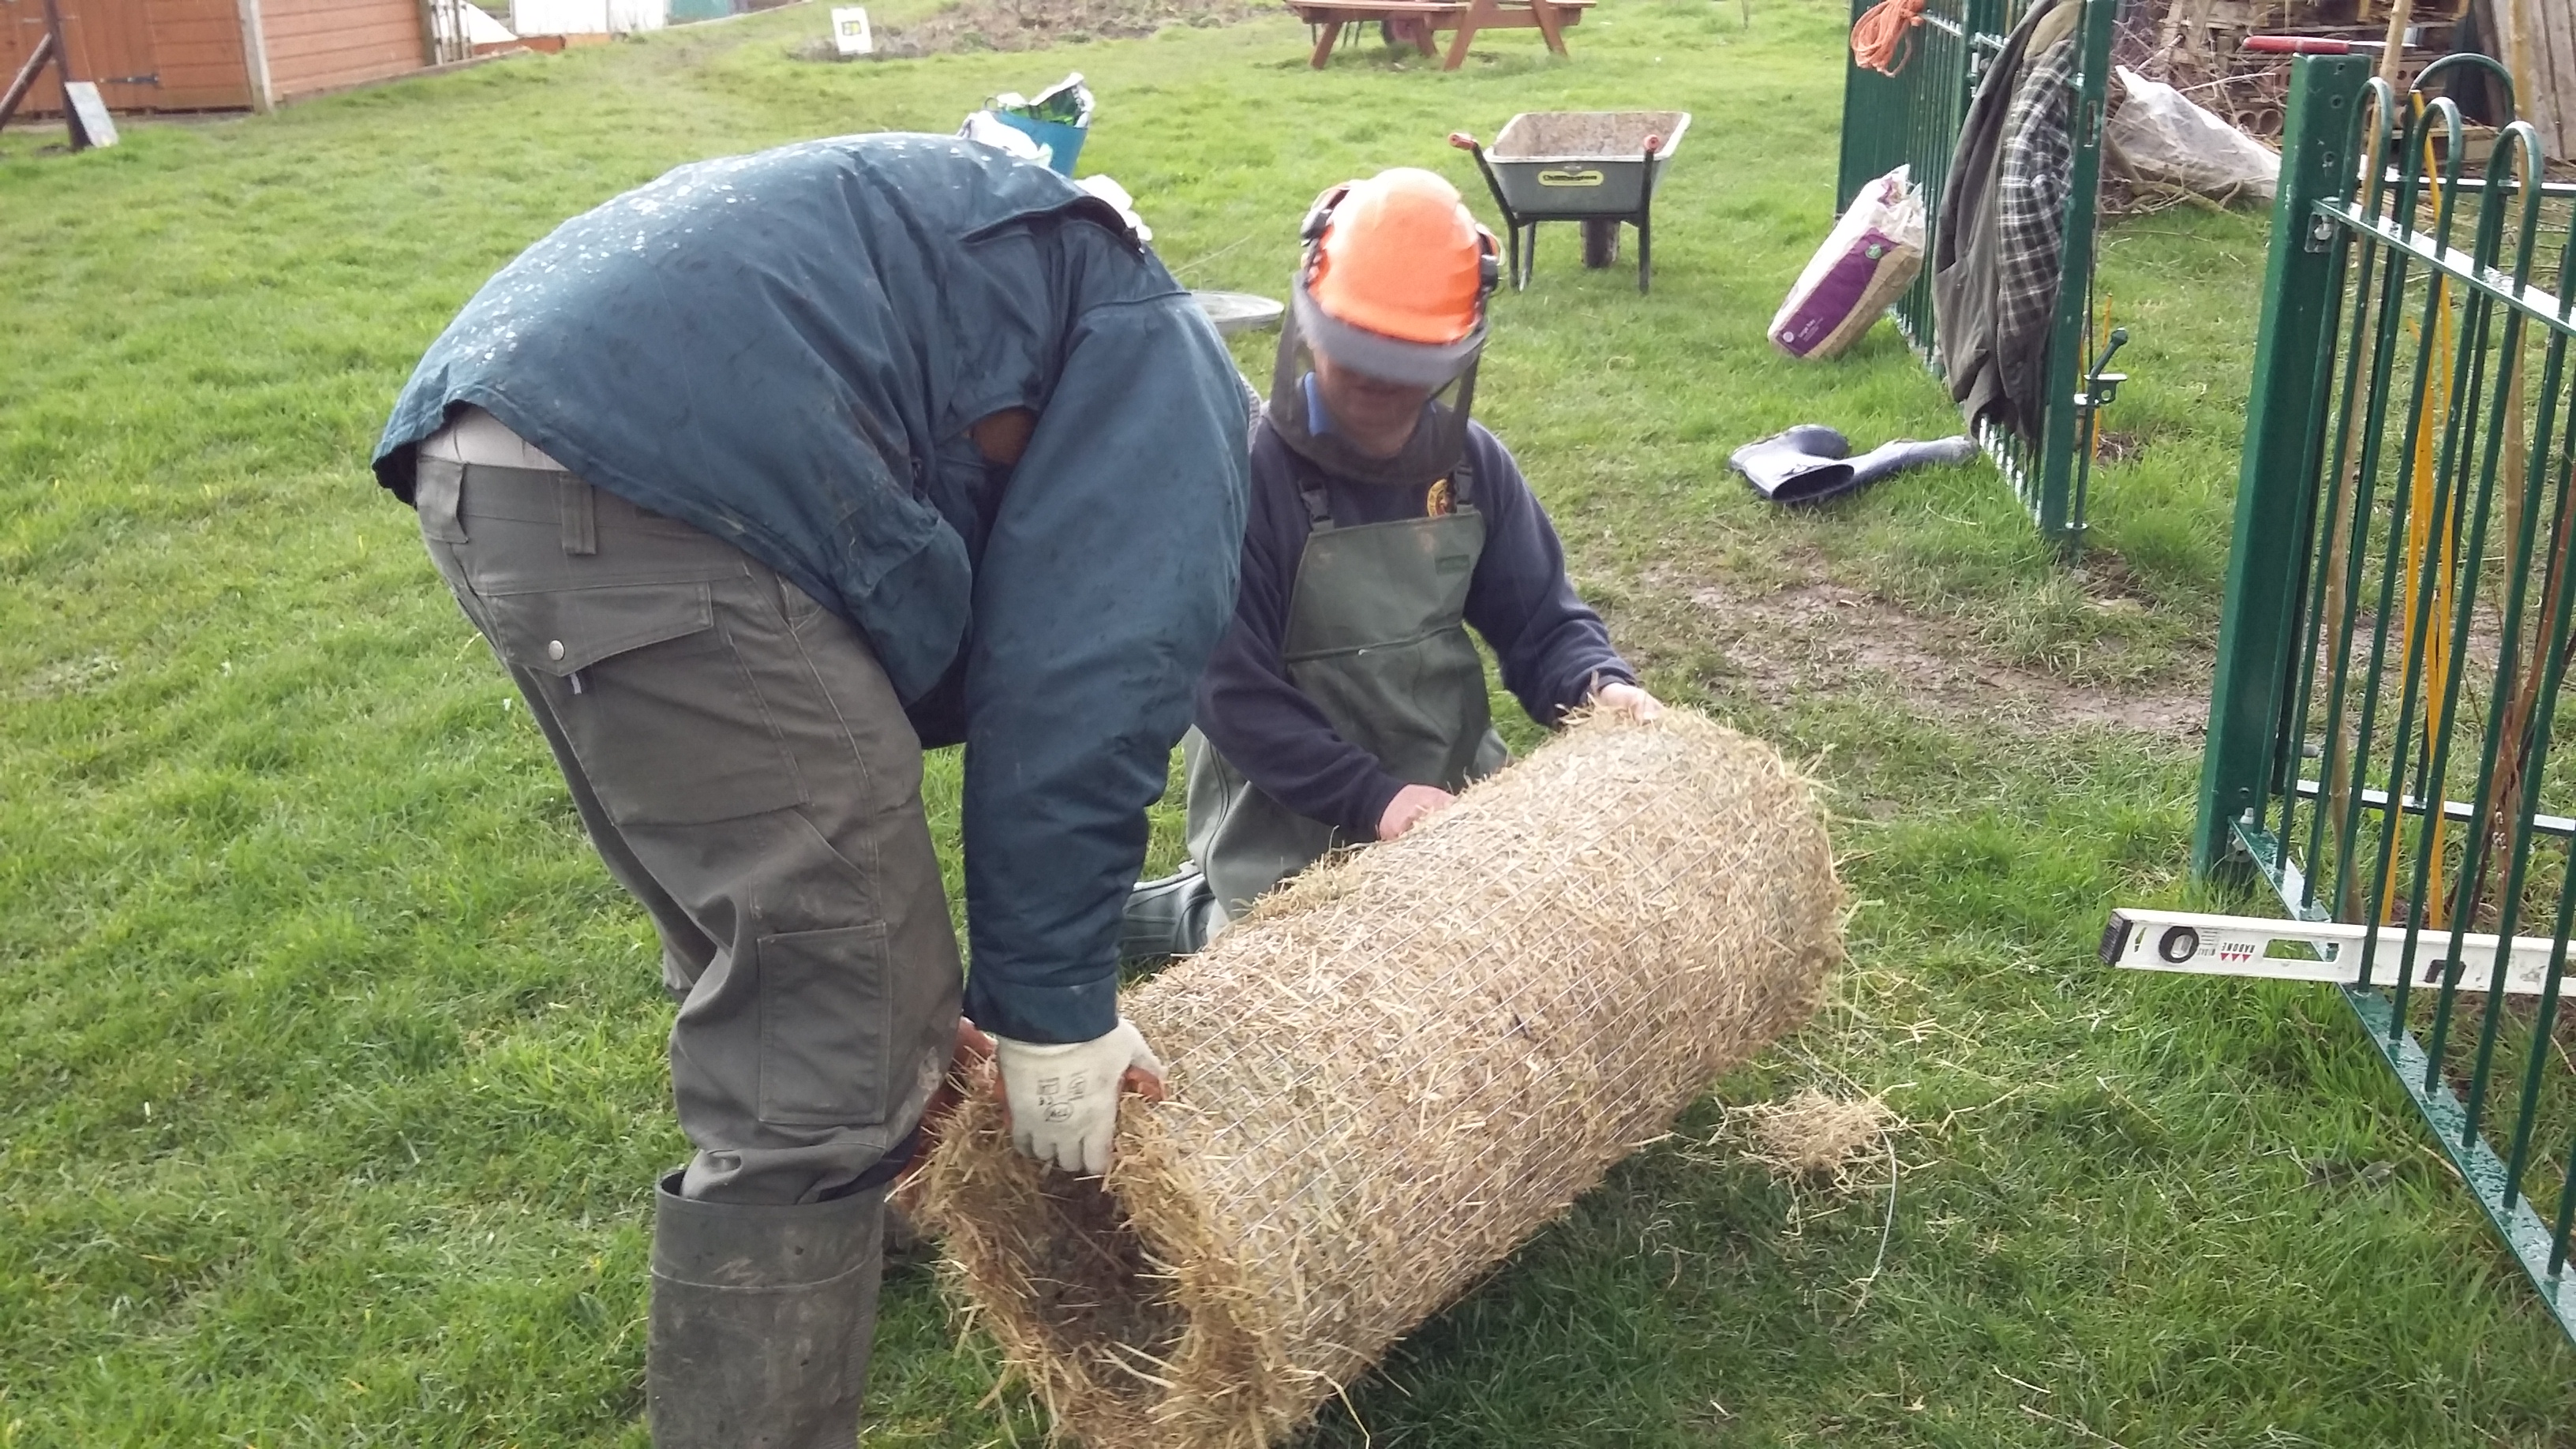
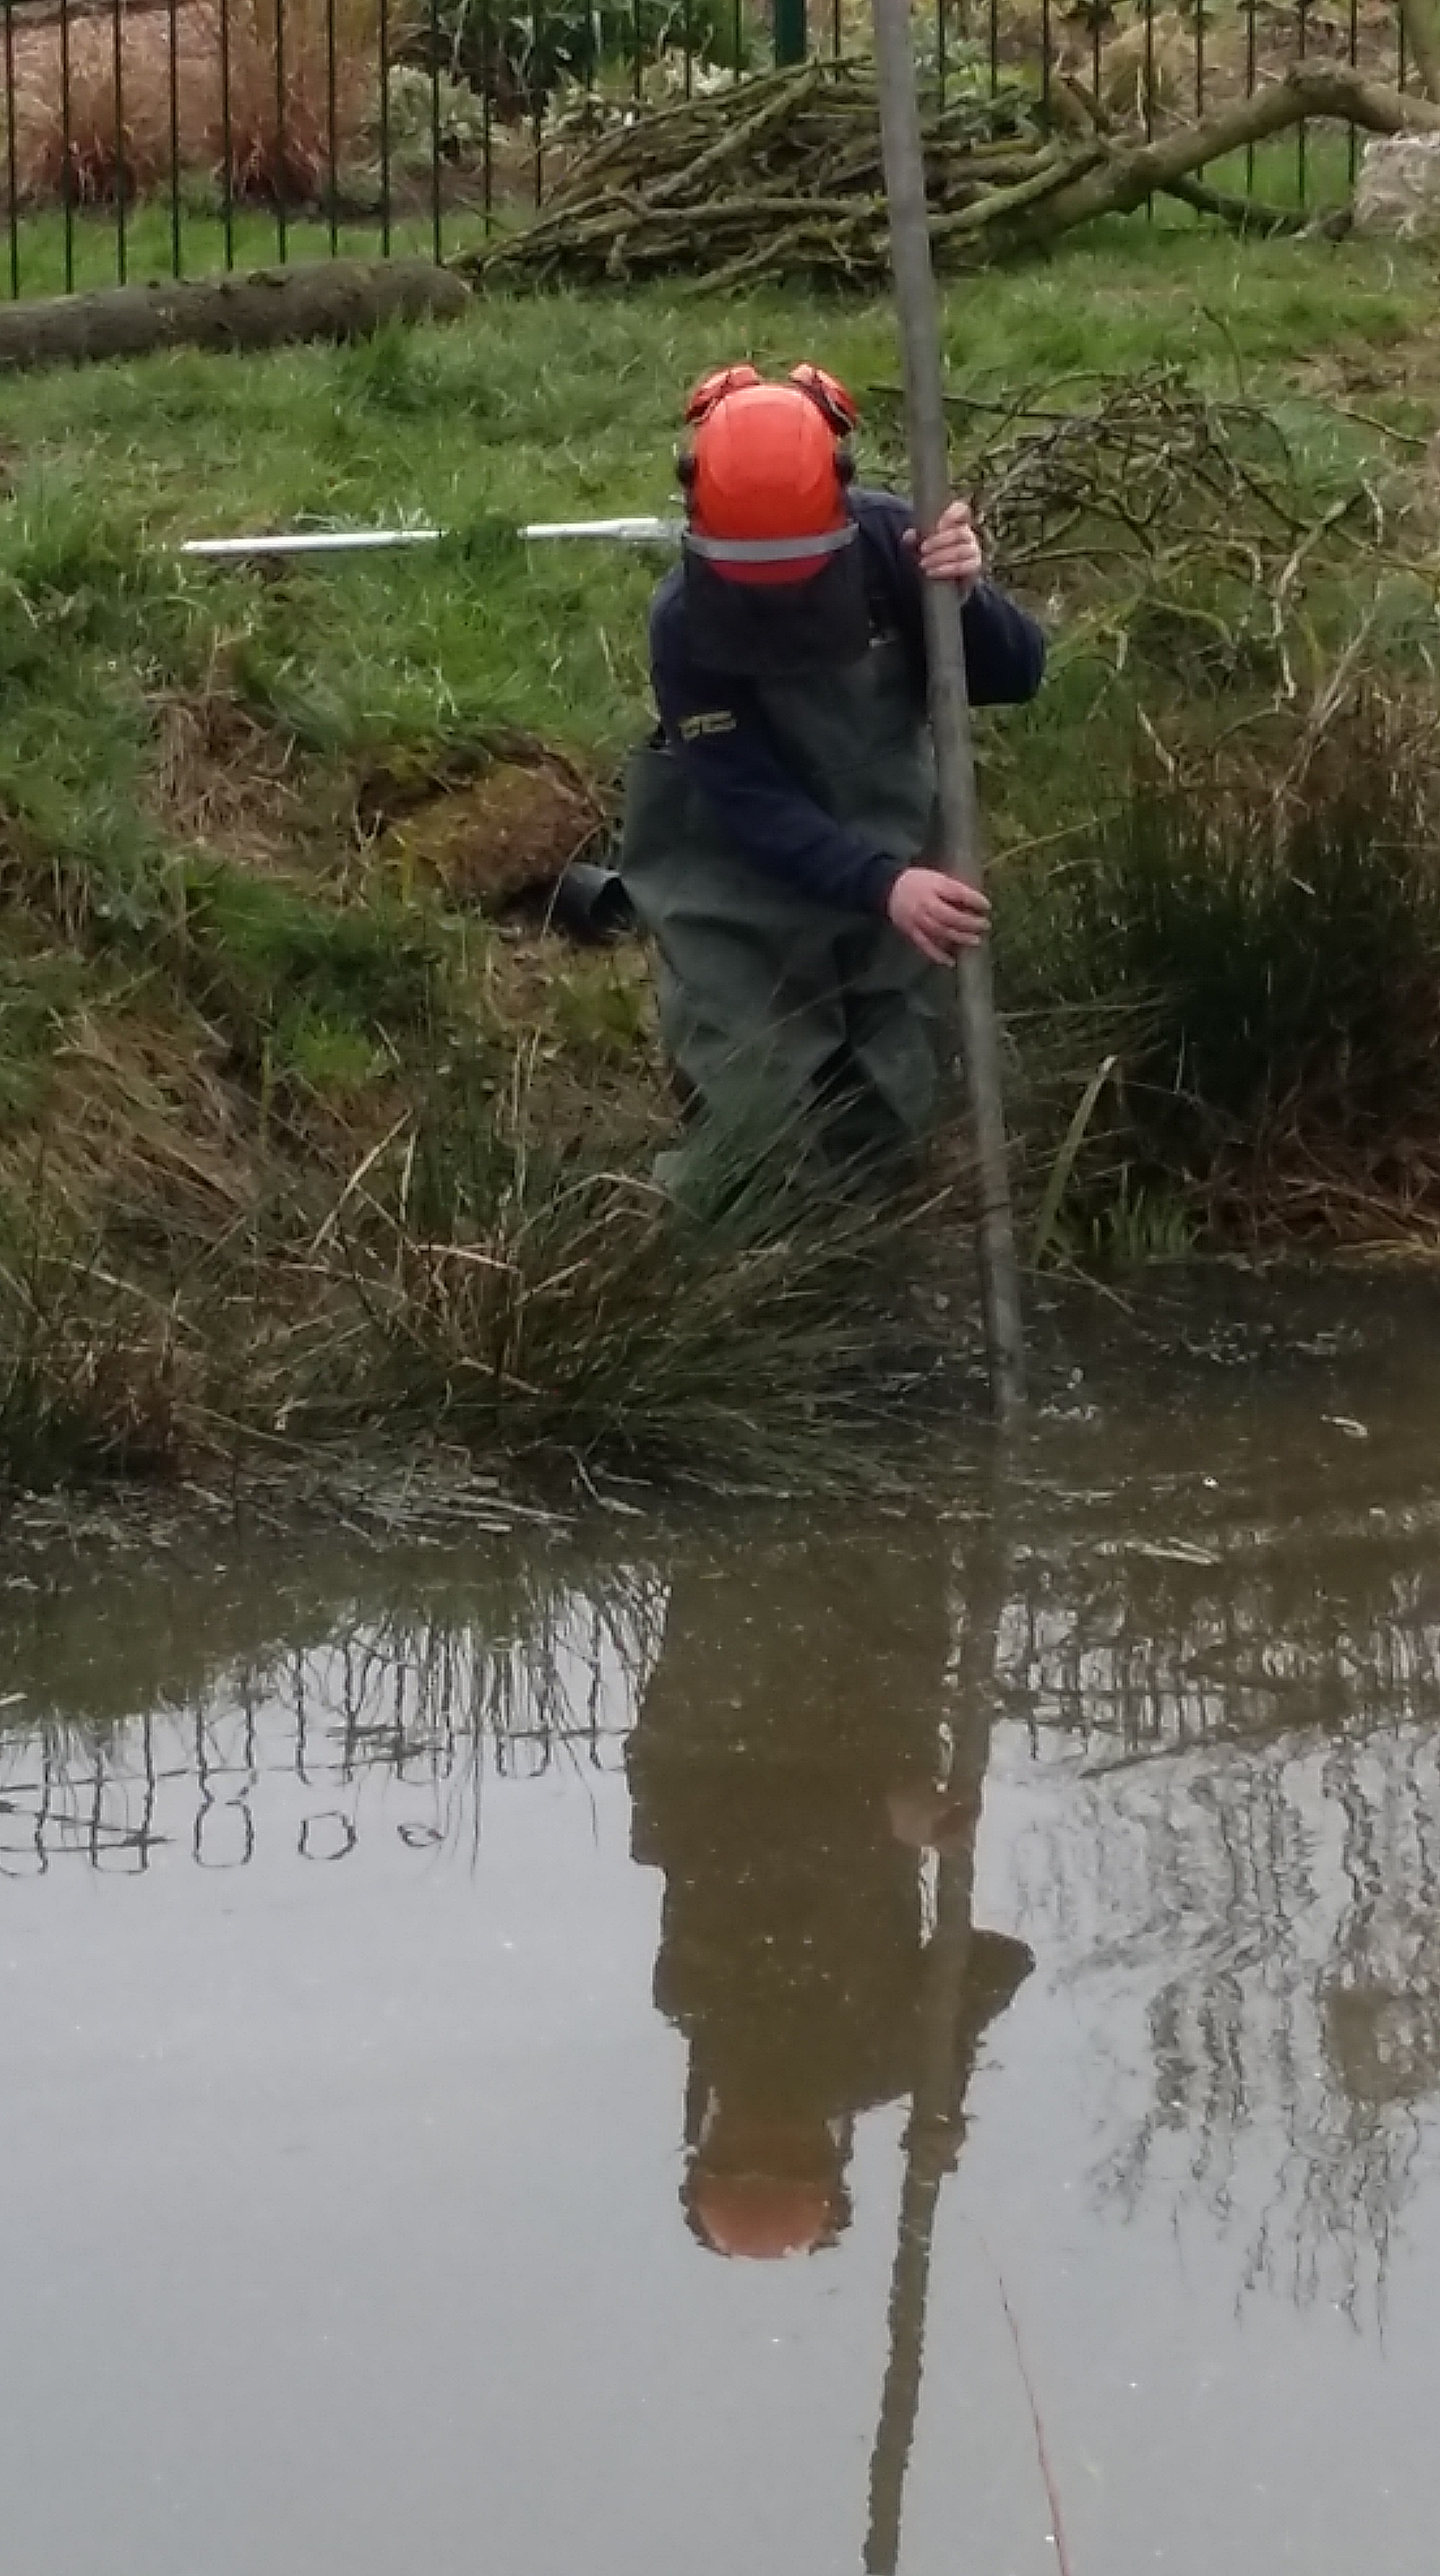
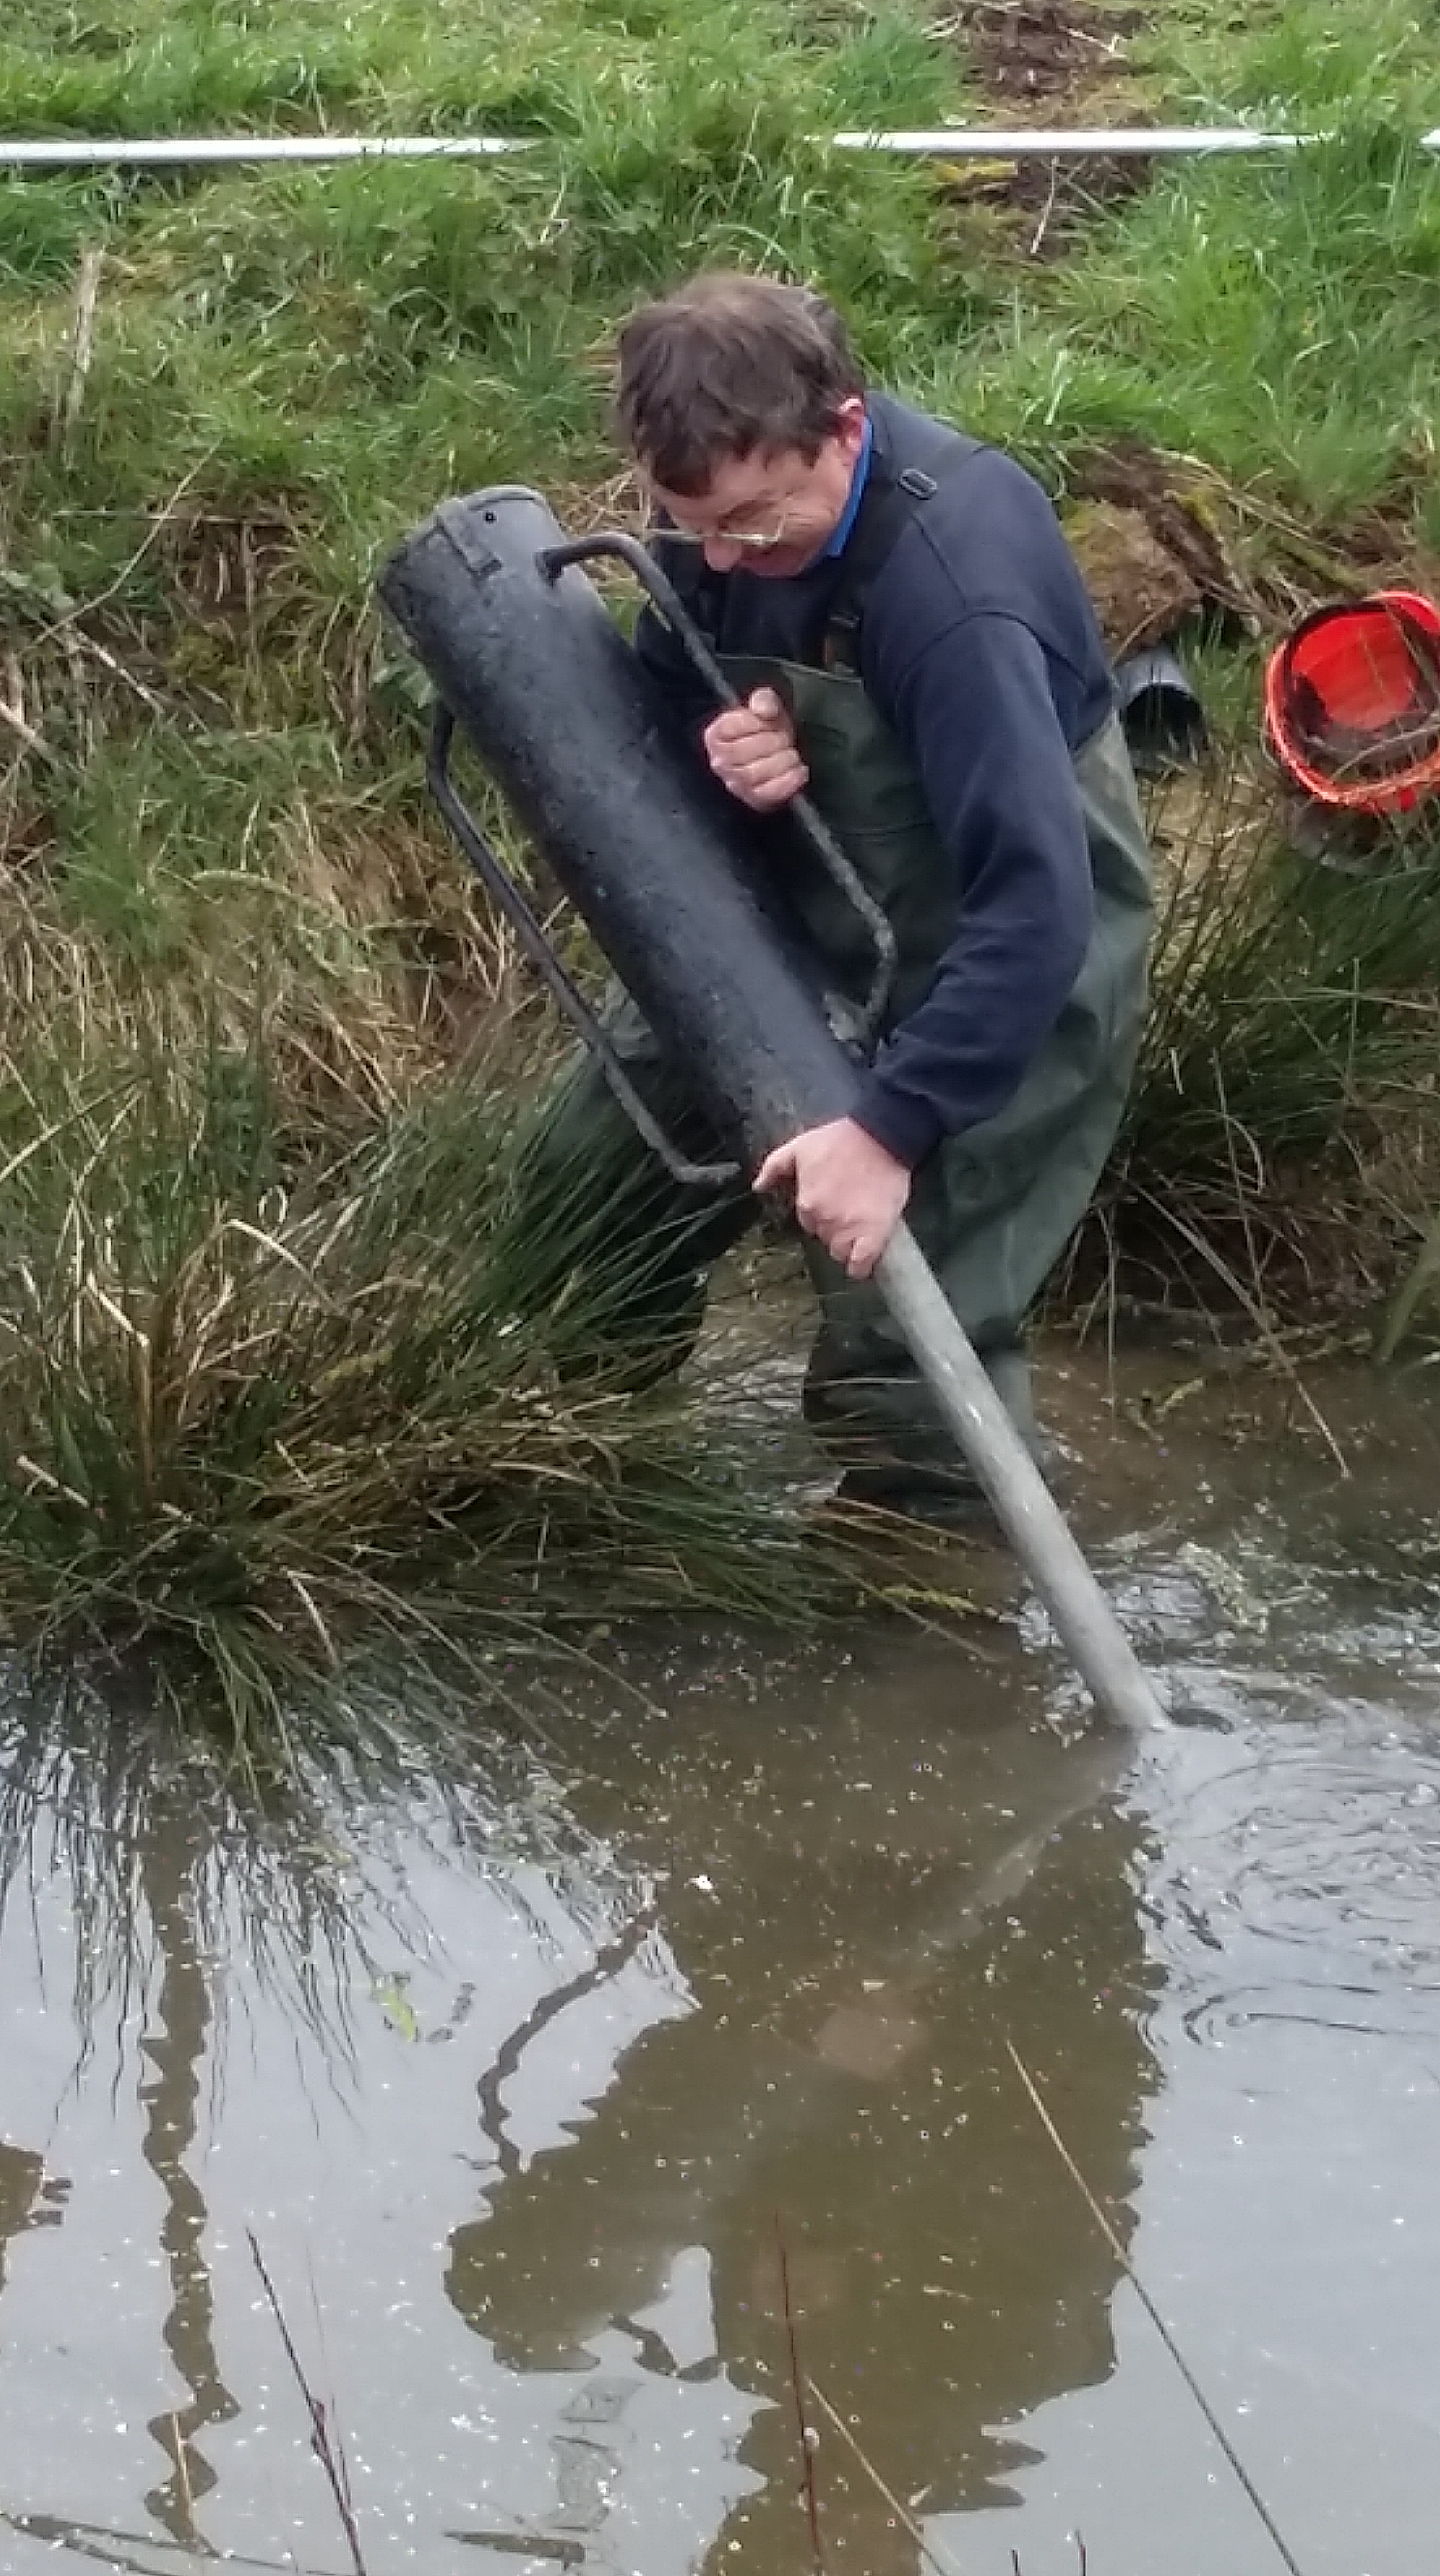
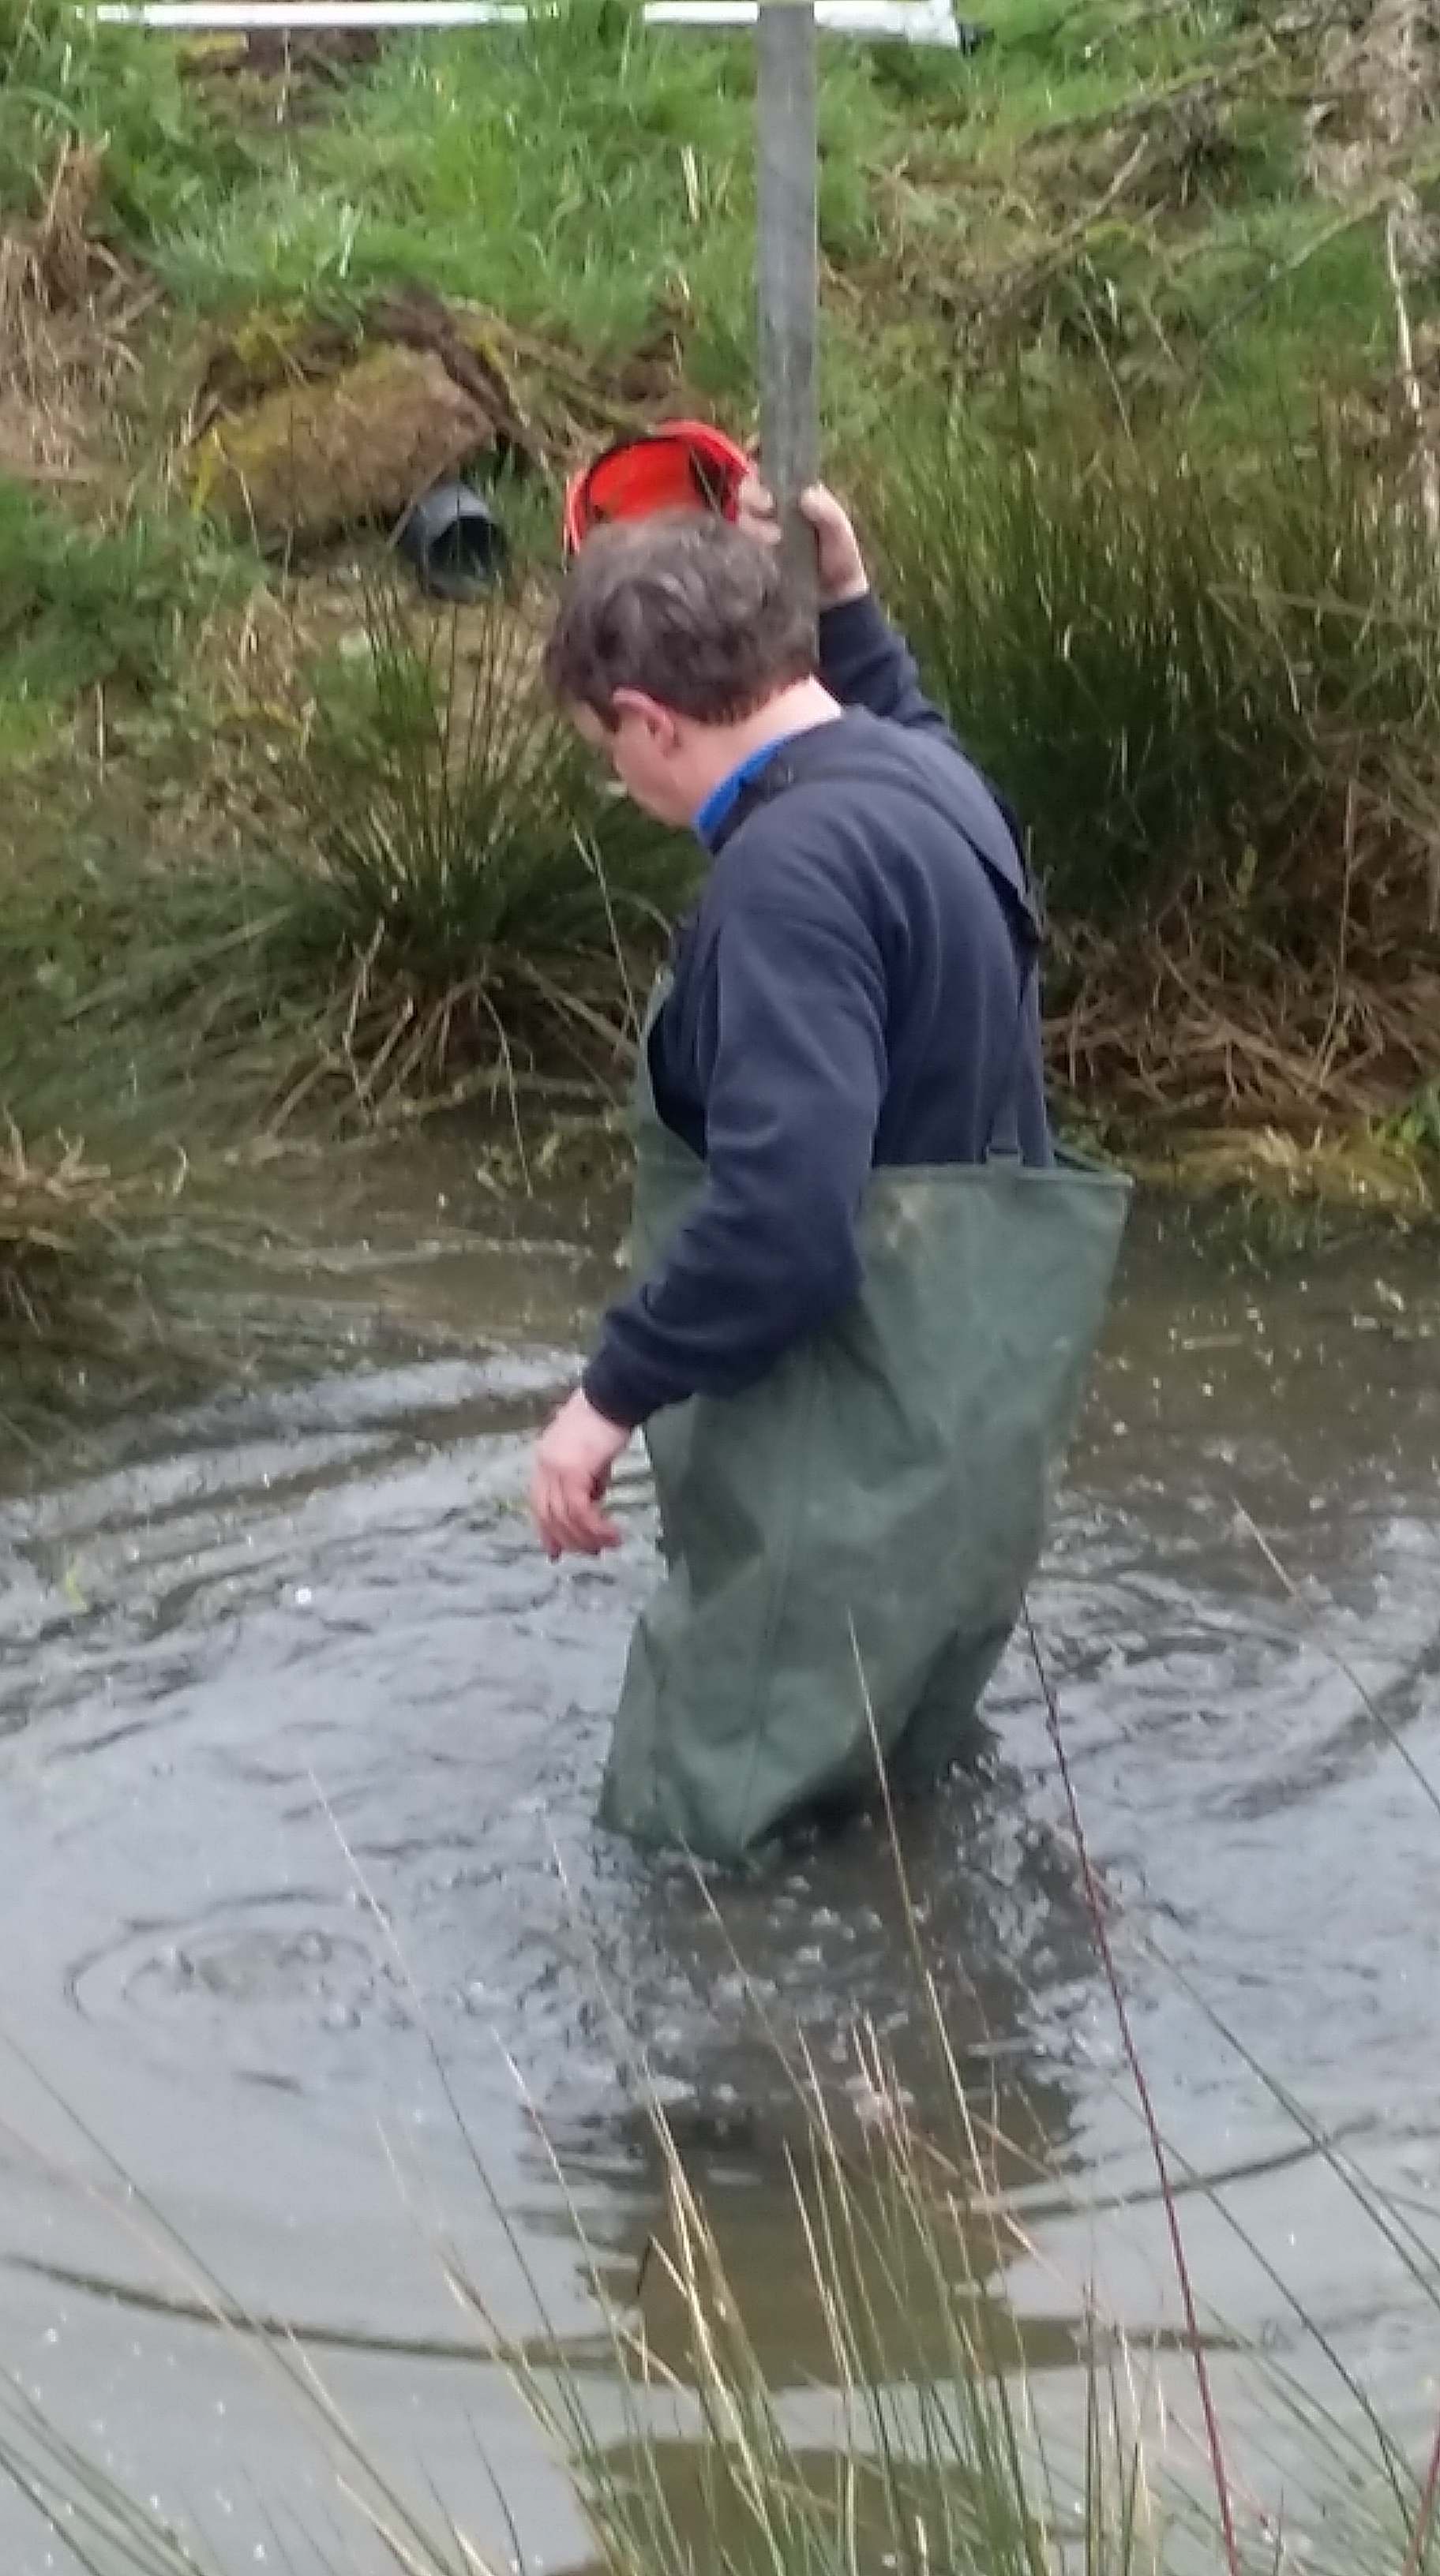


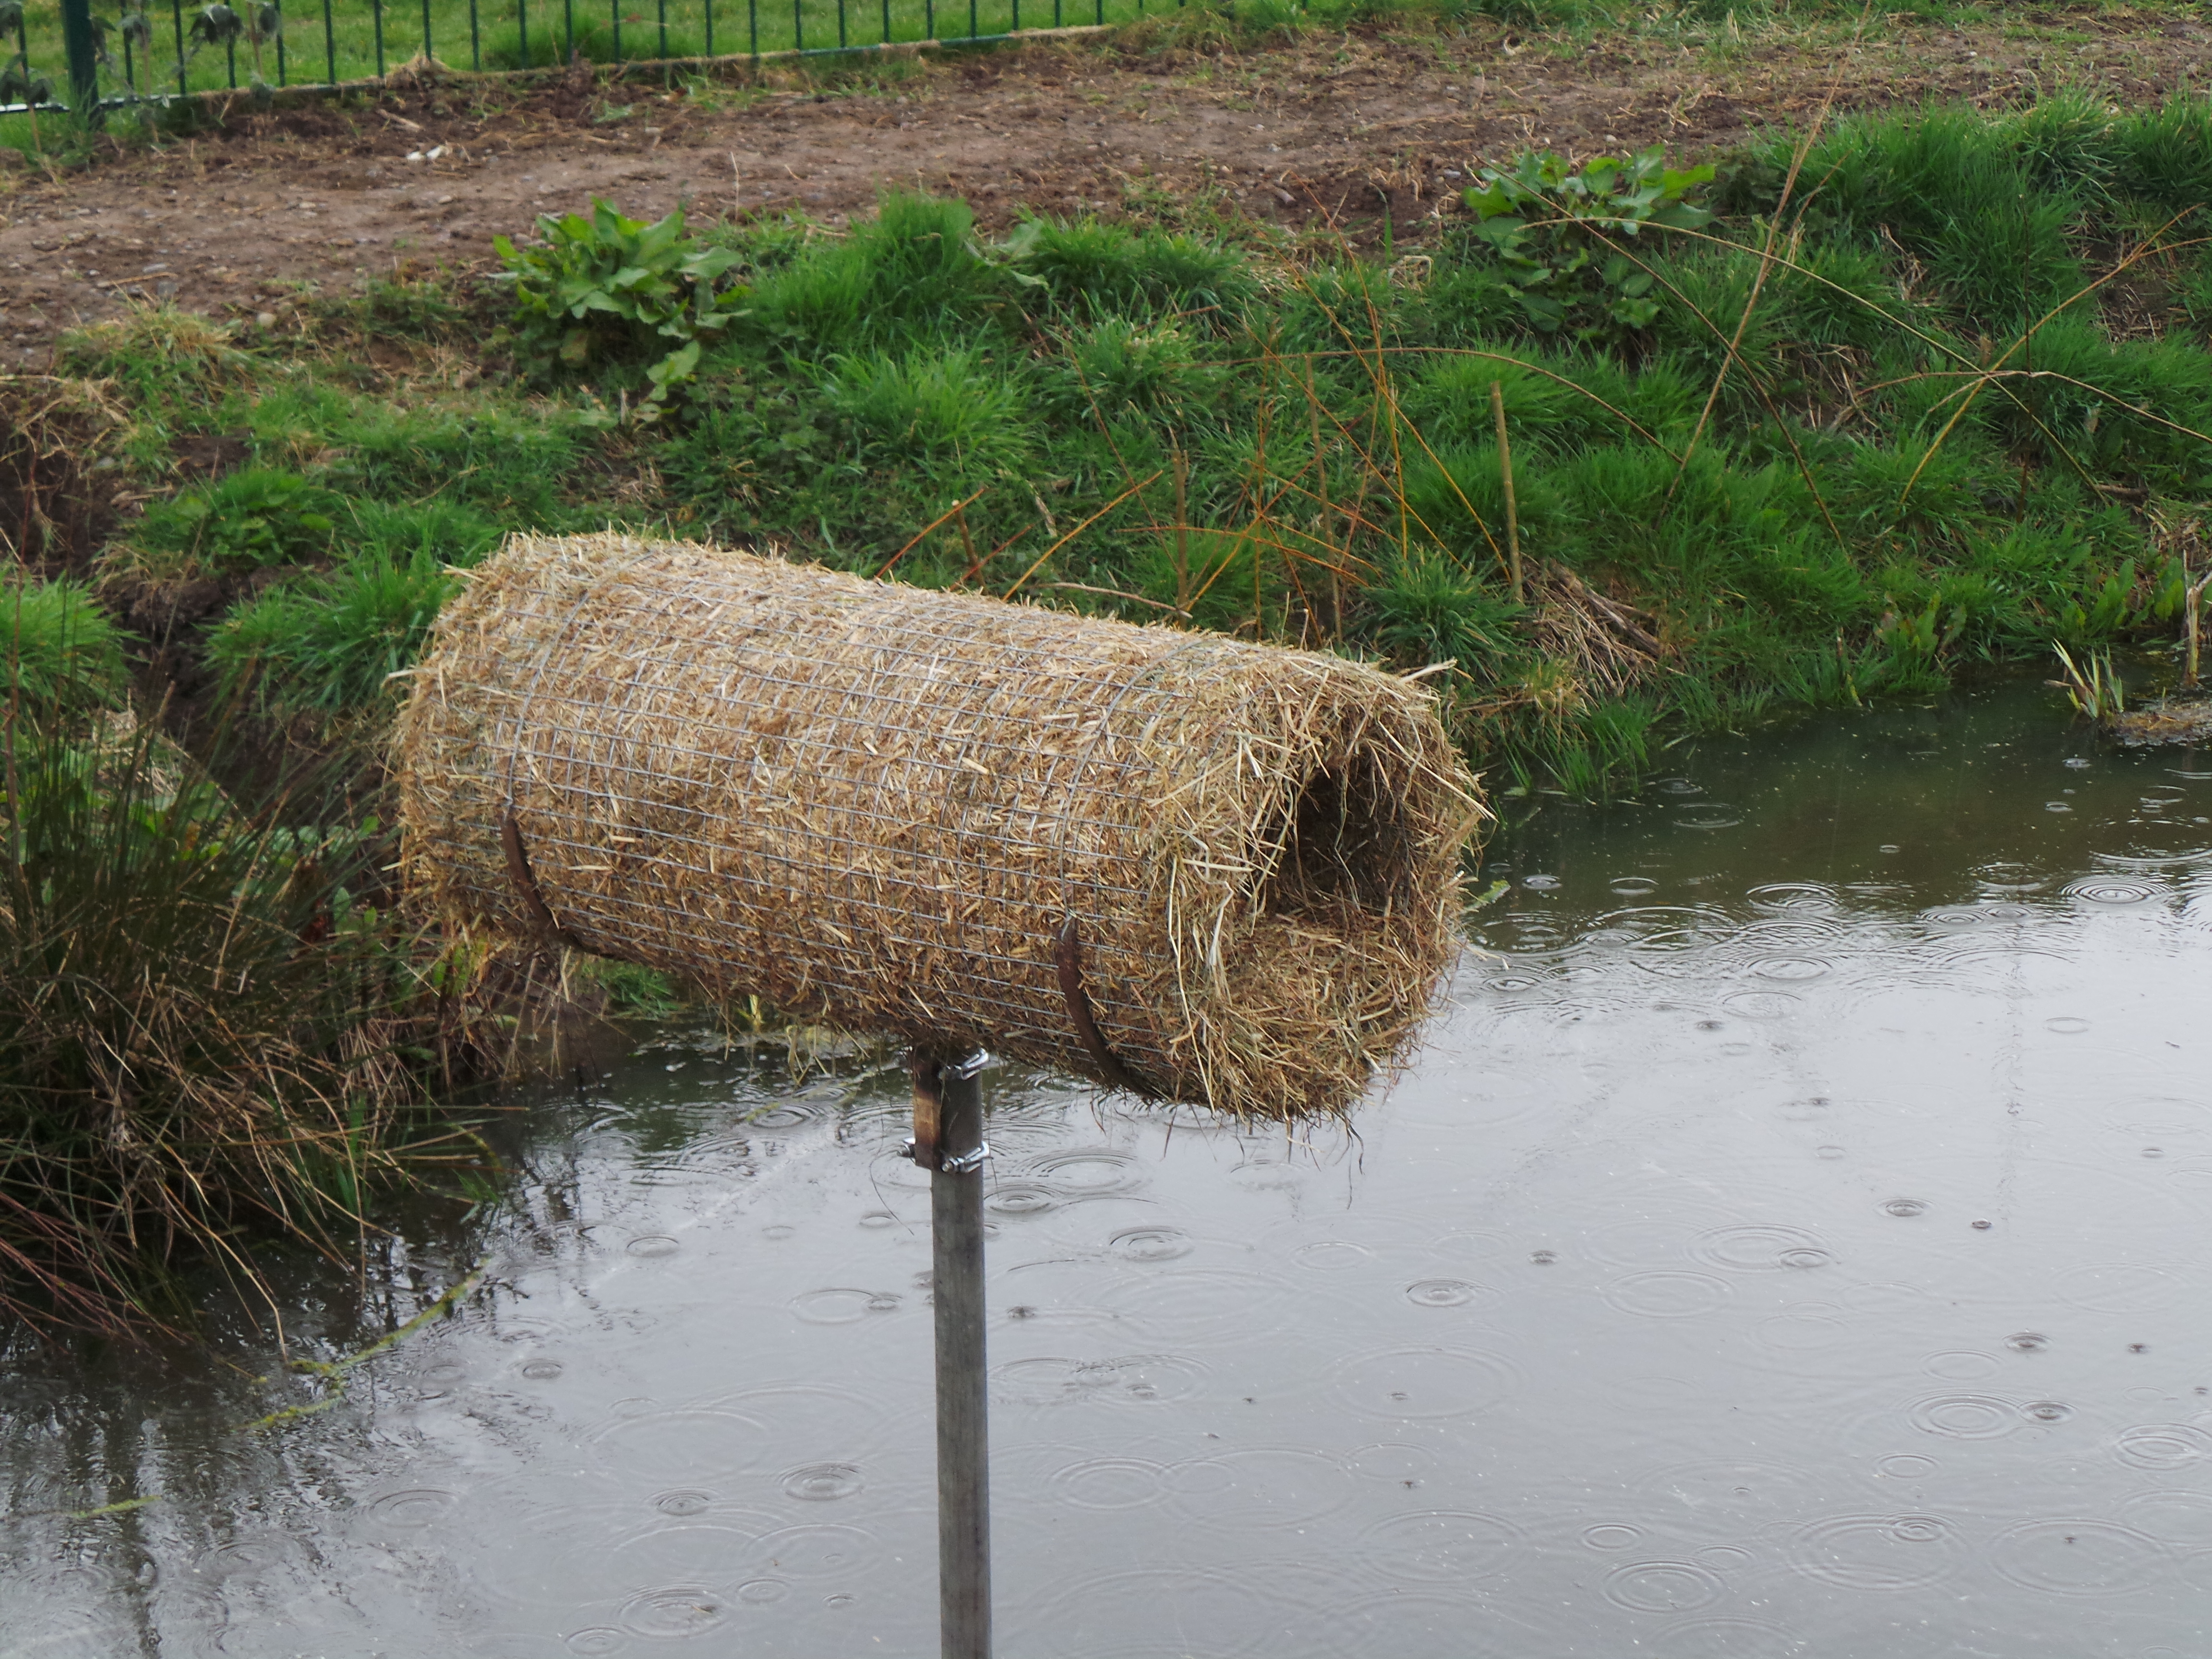
He is a good chap is Mike! What would we do without him? And below the duck tube in pride of place in the pond in a position where the children can watch activity from their new hide. Brilliant!
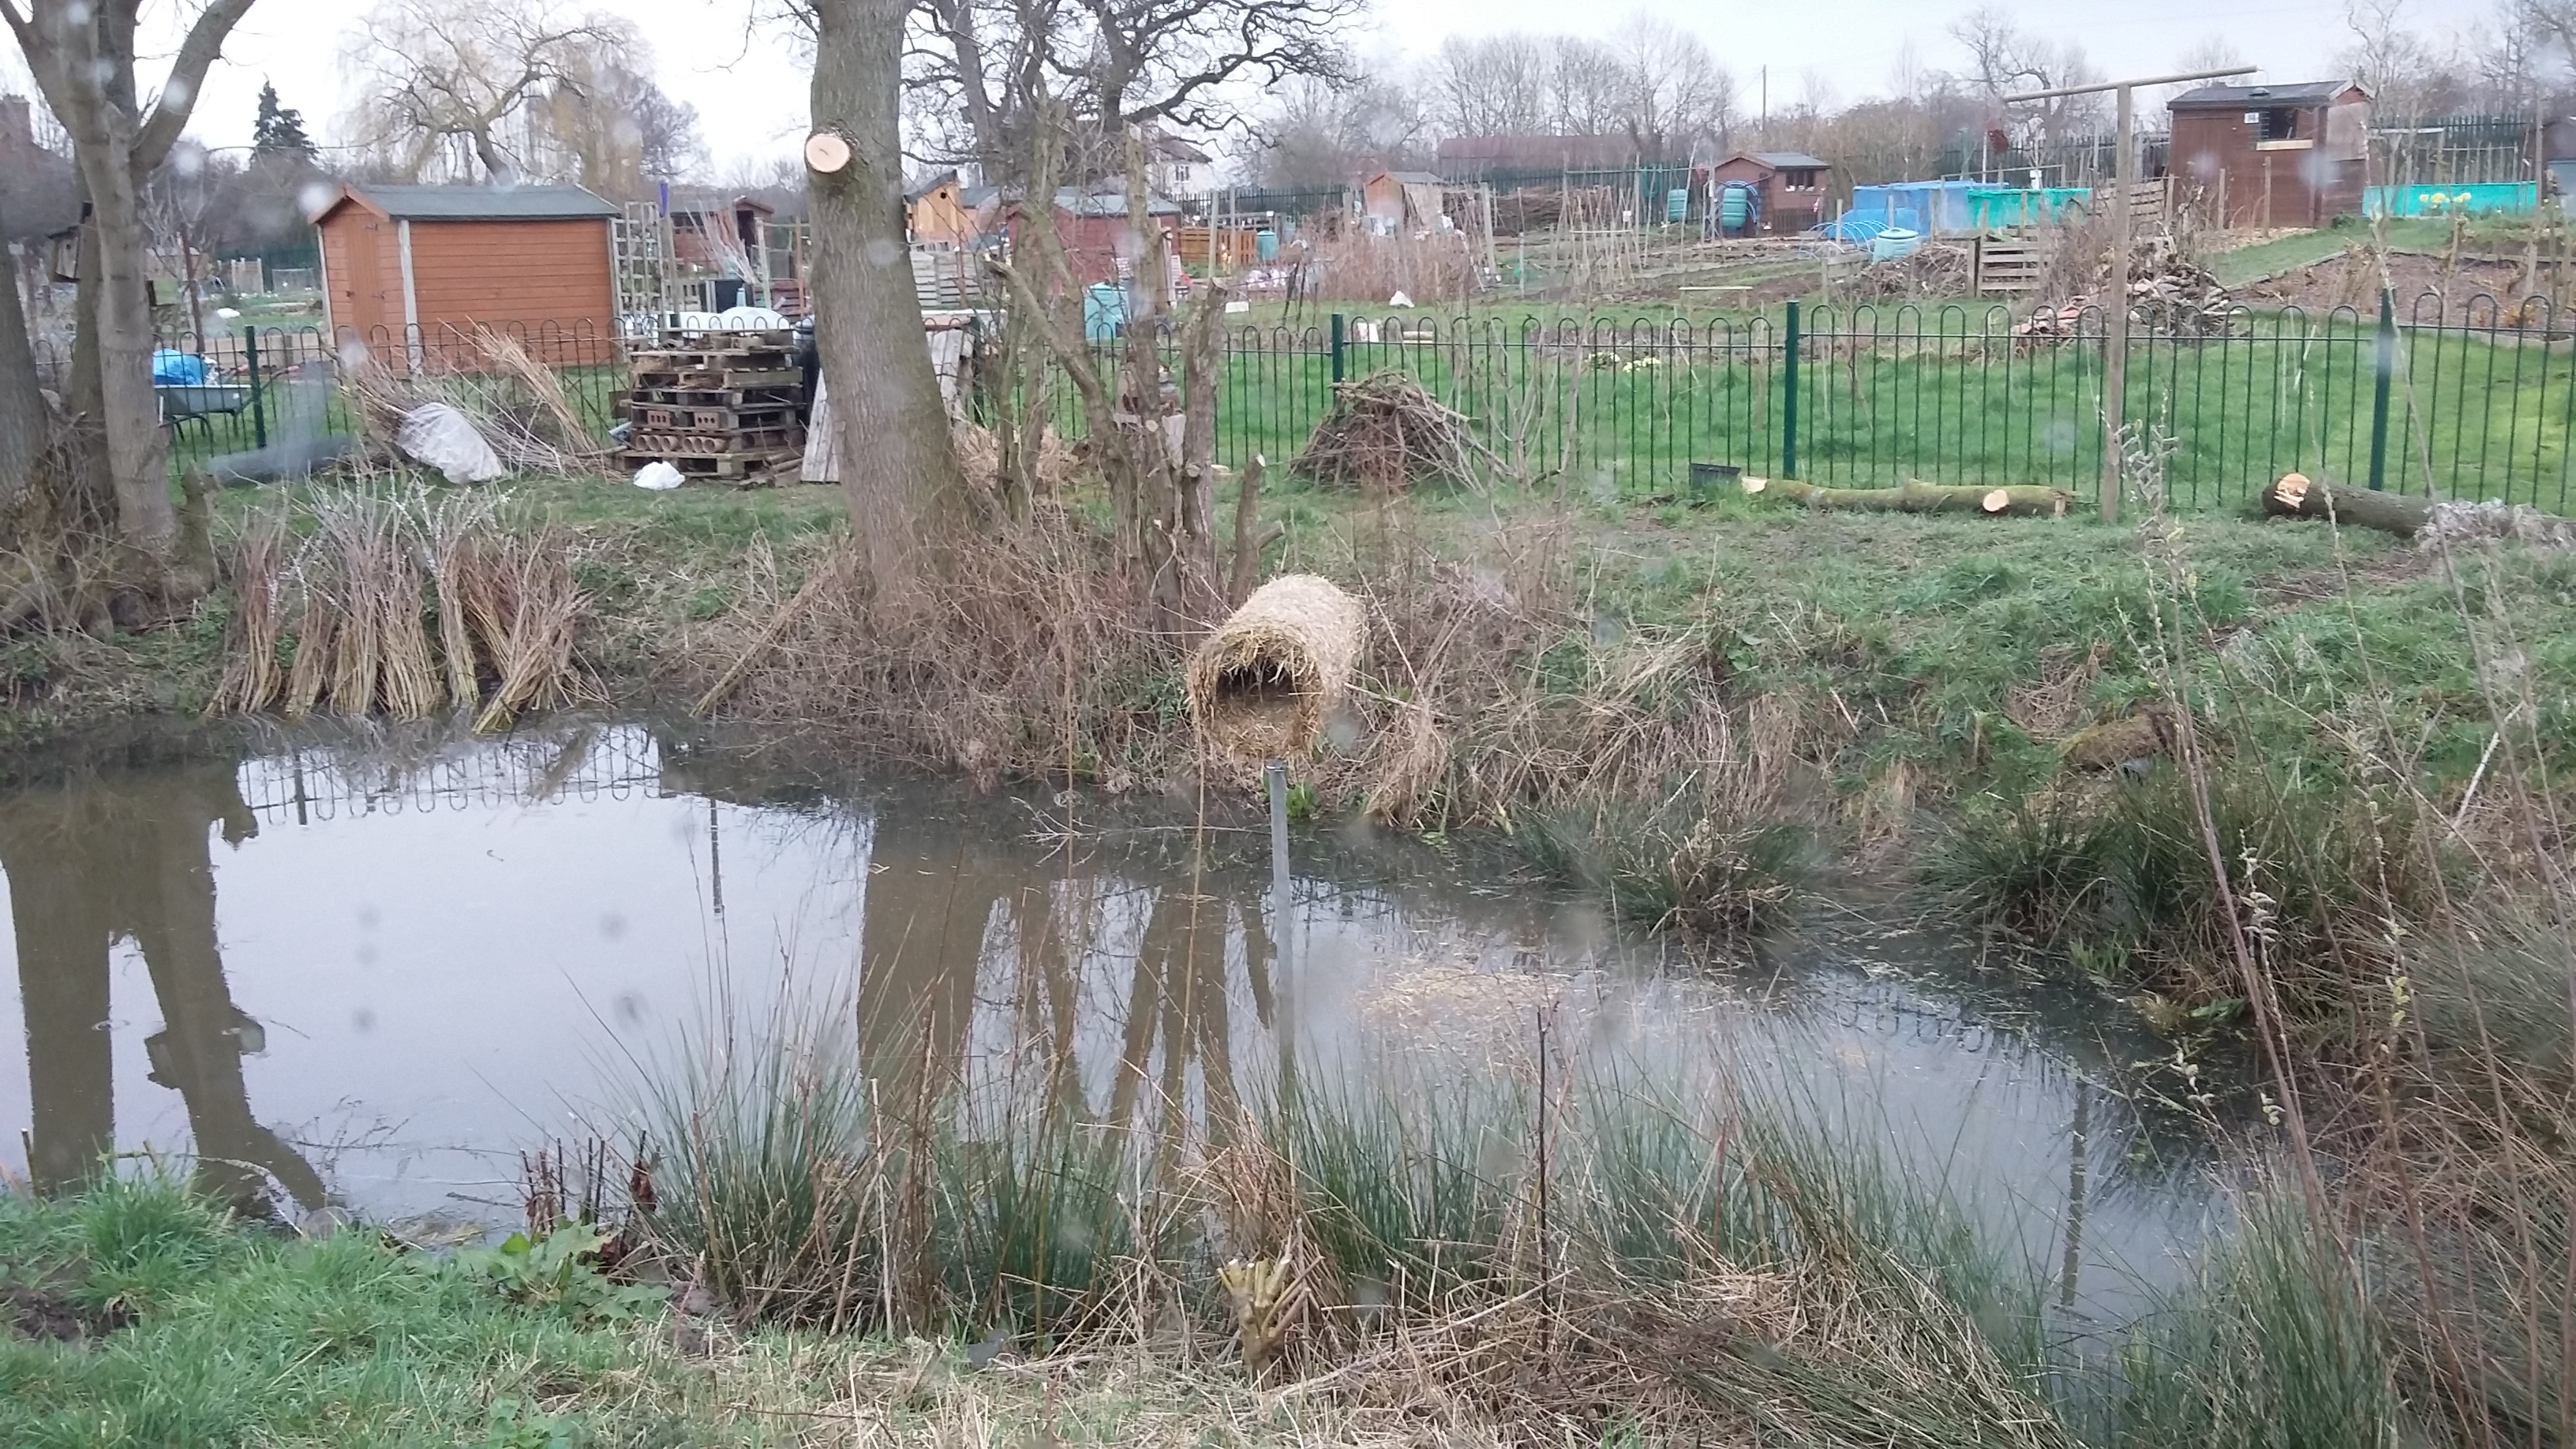
We still have further work on the pond mostly planting but we have a plan for a floating island to give wildlife somewhere to find safety and shade. Pete and Mike have a plan as you might have guessed! But of course that may be the subject of a future post visiting our super wildlife pond! One piece of info I have not mentioned are the dimensions of the area, useful I think to put things in perspective and to emphasise the size of the project. The pool is 22 yards long by 11 yards at its widest point, and the marsh area at the one end is 9 yards by 7 yards at the widest point. Around the pool and marsh between the pond and the fence, the walk around together with the planted areas vary from 3 yards to 5 yards. Quite a size!
