Categories
garden buildings garden design garden garden arches garden paths garden photography gardening gardens gardens open to the public half-hardy perennials hardy perennials ornamental trees and shrubs outdoor sculpture recycling sculpture Wales

Pembrokeshire coast and gardens – a week away in June – Part 5- Dyffryn Fernant

Dyffryn Fernant is one of those gardens that makes such a lasting impression that I can walk through it in my mind in great detail whenever I wish to. It is one of the best gardens we have ever visited, so atmospheric and so romantic, with such a great choice of plants all beautifully and sensitively combined to show each at its best. It even had a library of gardening books where we were able to shelter from the rain and enjoy drinking coffee.

You know this is going to be a special garden when you feel so welcome as you approach the house.

The library was a great place to shelter from the showers, a place for coffee and cake and a place to study some great gardening and art books. In front of this lovely deep pink building was an area of planting, really original planting with interesting plants.

Sculpture adds so much to good gardens giving them a lift. Gardens can provide great places to display sculptural pieces including found objects of interest. This was definitely the case at Dyffryn Fernant.


We really enjoyed the planting and the atmosphere at this wonderful garden.


Categories
community gardening fruit and veg garden wildlife gardening grow your own hardy perennials July National Garden Scheme NGS ornamental trees and shrubs outdoor sculpture Powis Powys recycling sculpture town gardens Wales Yellow Book Gardens

Ponthafren – an amazing community garden.

We love visiting community gardens whenever we can find one to explore. We like to see what they are trying to do and particularly how gardening is involved in their client activities. We were delighted to find one open under the auspices of the National Garden Scheme not far away just over the Welsh border into Powys. As we approached over a river bridge and first spotted the building we were taken aback by its sheer size. It looked an impressive building with its gardens sloping down to the river bank.

newtown-58 newtown-57

We received a warm welcome from the volunteers who ran the centre and enjoyed a tasty cup of tea and extravagant looking cup cake each as we chatted and learned more about the work of the group. We were amazed at what we heard and were full of admiration.

newtown-48 newtown-54

We couldn’t wait to wander around the garden and see what the volunteer leaders and their clients were up to on this steeply sloping wooded riverside site.

newtown-08 newtown-13


Bunting and flags always add to the feeling of being warmly welcome in any garden and here they fluttered in profusion.

newtown-01 newtown-32newtown-33 newtown-34 newtown-50 newtown-38

Mosaics were popular ways of decorating features here from table tops to sundials. The clients created these in their art and craft sessions.

newtown-02 newtown-03 newtown-04 newtown-07

There were clues at every turn that wildlife was welcome to share the garden with the clients, volunteers and visitors.

newtown-06 newtown-16  newtown-47 newtown-23 newtown-14

There was such a sense of humour prevailing throughout the community garden and many craft items created by the clients illustrated this.

newtown-11 newtown-05  newtown-55 newtown-56 newtown-53newtown-52 newtown-39newtown-24

As with any garden whatever its primary function fine examples of plants are good to see.

newtown-10 newtown-42  newtown-44 newtown-25

Productive gardening was all part of the work here with the produce grown and nurtured by the clients being sold to help raise funds for the community garden. Wormeries sat in one corner working away producing compost and liquid feed for the veg.

newtown-17 newtown-18 newtown-22 newtown-20 newtown-21

We found some fine examples of craftwork in metal and fabrics among the plants on the slopes.

newtown-27 newtown-28 newtown-29 newtown-30

We finished our tour by taking wooden steps and gravel paths down to the riverside where we ended beneath colourful cheerful bunting just as we had started. We were so glad to have discovered this special place run by such special people and they also told us of another community not too far away which may be a place for a future visit.

newtown-35 newtown-36

newtown-43    newtown-49

Categories
allotments community gardening fruit and veg garden furniture gardening recycling

Trug, trug, trug and trug!

It is strange how the word trug has come to mean slightly different things over the last decade or so. Until then the word trug referred to the wooden, hand-made garden carriers first made in Sussex and thus called the Sussex Trug.

This post is specially for one of my followers – she will know who she is – but I hope everyone likes it too.

The Sussex Trugs are still made from chestnut and willow, the  sweet chestnut being used for the frame and willow for the body. The willow is a by-product of the cricket bat industry and the chestnut comes from coppiced wood.

We use our Sussex Trug in the garden when we harvest fruit from our trees, to hold bulbs ready to be planted and we find them convenient for lots of small jobs. We have been using Sussex Trugs for 20 years or so and we are only on our second one – they last for ages!

2015 12 16_7545

We also have a trug which we use for collecting cut flowers from the garden. This one is made from willow wands. This one has a flat bottom rather than the boat shape of its Sussex cousins so is great for holding our cut flowers as we cut them from the garden. The photo shows it being used to hold Nerine bulbs ready for planting.

2015 12 16_7522

The latest garden carrier to be given the name trug is made from recycled plastic and has proven itself to be one of the most useful pieces of garden equipment to hit the garden centres for years. These are available in lots of colours, sizes and dimensions so have a wide variety of uses around the garden.

We use ours when we are harvesting, pruning in the borders, watering and spreading compost as a mulch on our soil. On our allotment we even used a shallow but wide one to create a small wildlife pond. Every gardener has their own range of uses for the plastic trug.

2015 12 16_7520 2015 12 16_7546_edited-1 2015 12 16_7550  2015 12 16_7547 2015 12 16_7549

Trugs originated in Sussex, where they have been made for two centuries, because there was plenty of coppiced woods with Sweet Chestnut trees and plenty of willows found in marshy areas of the county. The word trug originated from the Anglo-Saxon word trog meaning a wooden vessel or boat-shaped article. They were used as measures or scoops for grain.

So just one more trug to show, the new veg trug. These big wooden raised beds for growing vegetables in are sold by several companies now but they are all virtually the same. The veg trug provides a growing space which is raised to a comfortable working height and allows anyone with the smallest space, even a patio, to grow vegetables and herbs. On our allotment site we have three which we use for our young gardeners to use. The first one we had was planted up by them as a pollinators garden. The other two are recent acquisitions so have yet to be planted by the youngsters of Bowbrook Allotment Community.

We spent a sunny spring day planting up the trug. The children worked with their parents, grandparents and committee members planting up herbaceous perennials and watering them in.

2015 06 28_3316 2015 06 28_3314 2015 06 28_3304 2015 06 28_3305 2015 06 28_3303

The children have been looking after their pollinator garden ever since. They particularly enjoyed the watering!

2015 08 06_4488_edited-1 2015 08 06_4616

Jude and friend Sherlie made up the two new trugs which arrived flat packed. In the spring the children will plant them up and will then have a trio of trugs to look after.

2015 11 01_7109-2

And here are our two new trugs built by Sherlie and Jude now filled with compost and planted with lots of different bulbs of every possible colour shape and size. Can’t wait until Spring wakes them up!

2015 12 25_7579 2015 12 25_7578

Categories
allotments community gardening gardening hedgerows recycling

New Toys for our Allotment Site

It is always exciting to get new equipment for our community allotments, Bowbrook Allotment Community (BAC), but when we get three close together, two of which are real boys’ (and girls’) toys then it really is extra exciting. You will notice as this post moves forward that the girls mix it with the boys at BAC however tough the tasks.

Our first new toy, or should I say piece of equipment, was an attachment for our Ryobi strimmers which allows us to prune thick branches, a bit like a mini-chainsaw. The second was a mighty petrol-driven chipper/shredder, and the third a pair of wooden raised vegetable trugs. Jude and I give talks to garden groups and together with other committee members provide “Walk and Talk” sessions for groups at the allotment. With the fees we charge we manage to buy extras for the site. Using some of this money together with a generous grant from our local town councillor we were able to acquire these helpful machines.

We were so excited when the huge box arrived with our big red toy inside. Michael soon got to work breaking the box open.

2015 11 01_7091 2015 11 01_7093 2015 11 01_7097

We quickly set about deciphering the instructions and putting all the extra bits and pieces together.

2015 11 01_7098

2015 11 01_7106 2015 11 01_7107

Once all put together and filled with fuel we wheeled the red chipper all the way up the big grass path to the mature trees around our picnic area, where a mighty big pile of prunings awaited chipping. We had produced the pile of prunings when we used our other toy, the Ryobi pruning attachment.

2015 11 01_7111 2015 11 01_7112

2015 11 01_7113 2015 11 01_7114 2015 11 01_71152015 11 01_7116 2015 11 01_71172015 11 01_7118 2015 11 01_7119

We have a policy at Bowbrook Allotment Community of following the 3-Rs, reuse, reduce and recycle. A key element of this is keeping as much green waste as possible on site where we can use it again. Thus all the cut branches from tree work and shrub pruning are now going into our new shredder.

Jude the Undergardener piled the shreddings into a wheelbarrow and wheeled them off to the Winter Garden where they gave us a fresh soft pathway.

2015 11 01_7120 2015 11 01_7122 2015 11 01_7124

Our 3-Rs policy also meant that we recycled the cardboard from the box that the big red chipper arrived in. Sherlie tore it all up into pieces and mixed it with grass cuttings and this will produce quality compost for using as a mulch on our communal borders.

2015 11 01_7100 2015 11 01_7102 2015 11 01_7105

Earlier on while Mike, Pete and I were unpacking and putting the new chipper together Jude and Sherlie got out the tools and put together our two new wooden raised trugs.

2015 11 01_7094 2015 11 01_7095           2015 11 01_7108 2015 11 01_7109

Quite soon after the big red chipper was rolled out again as we began our hedge cutting season.We chose an extremely wet and windy day but everyone had lots of fun fortified throughout by soup and cake provided by the committee and served up by our tea committee, “The Tea Bags”.

2015 11 30_7287 2015 11 30_7288 2015 11 30_7289 2015 11 30_7290 2015 11 30_7291 2015 11 30_7292 2015 11 30_7293 2015 11 30_7294 2015 11 30_7295 2015 11 30_7296

To discover more about BAC please check out our website http://www.bowbrookallotments.co.uk

Categories
gardening recycling spring gardening

Mary’s mini-garden

Towards the end of 2014 our great friend Mary gave us two old butler sinks to make into miniature alpine gardens. Soon after this a sudden illness took Mary from us. We turned the sinks into gardens just as she wanted us too, so we now think of them as Mary’s Mini-Gardens.

We gathered together a few big chunks of slate, a bag of slate pieces, a bag of John Innes No 3 compost, a bag of horticultural grit and one of horticultural sand together with a lump hammer and bolster chisel. The horticultural grit and sand were mixed with the compost in equal parts to create our growing medium.

2015 04 05_0437-1

We were lucky to have found two large pieces of slate with holes in to add a sculptural element to our mini-gardens.

2015 04 05_0435-1 2015 04 05_0436-1

One piece of slate had beautiful colour and texture to it to add further interest. It looked like a mountain range in miniature!

2015 04 05_0438-1

We added the growing medium to the sinks and put a mulch of grit on top for extra drainage around the base of the plants. We then played around with positioning the large slate pieces until we thought they formed the best arrangement we could manage.

2015 04 05_0440-1 2015 04 05_0441-1

We then began arranging the plants and once we felt they were in the best positions we planted them up.

2015 04 05_0439-1  2015 04 05_0446-1 2015 04 05_0442-1 2015 04 05_0450-1

When we opened our garden in mid-April for the National Garden Scheme they were beginning to look colourful and drew some complimentary comments from our visitors.

2015 04 17_0781-1 2015 04 20_09142015 04 05_0447-1

Here they are in mid-May. We really enjoyed the project and feel sure Mary would have enjoyed them. Good example of recycling in the garden too!

2015 05 21_1843  2015 05 21_1845 2015 05 21_1844


Categories
colours fruit and veg garden ponds garden pools garden seating gardens gardens open to the public grow your own kitchen gardens National Garden Scheme ornamental trees and shrubs outdoor sculpture poppies recycling sculpture shrubs trees walled gardens water garden water in the garden Yellow Book Gardens

Yellow Book Gardens – 4 – Upper Shelderton Hall

We set out to visit our fourth Yellow Book garden on a cloudy day that promised showers and with a chill in the air. However as we drove down through the Shropshire countryside the skies cleared and the temperature rose. We left the main road and traveled down lanes that got more narrow as we got closer to our destination, the village of Shelderton.

The garden at Upper Shelderton Hall spread to over 6 acres and was mostly a wooded garden with areas of Rhodendrons and borders of herbaceous plantings. As usual we began with tea and cake which we enjoyed sat in the strangest walled garden we had ever experienced. The walls were a truly original creation. Each section was a sculpture in its own right made from a conglomeration of found or collected bricks and stones and ephemera.

2015 05 25_1966 2015 05 25_1964 2015 05 25_1987

From our seat where we enjoyed our refreshment we could enjoy these amazing walls and also take in glimpses of the kitchen garden nearby. An old water trolley now unused sat alongside.

2015 05 25_1965 2015 05 25_19882015 05 25_1990

After a wander around the fruit and veg beds we made our way towards a border that glowed with bright yellows, oranges and reds. We discovered that the bright blooms were those of a collection of deciduous Rhodendrons. Our noses were also delighted by these shrubs as the yellow ones had the richest sweetest of fragrances.

2015 05 25_19672015 05 25_1977 2015 05 25_19782015 05 25_1979

We wandered on through the shade of wooded areas with the sound of a stream wandering through it and the scent of Bluebells following our every step.

2015 05 25_19762015 05 25_1970 2015 05 25_1969

Leaving the shade of the tall trees we stumbled across a beautifully planted pond with crystal clear water. On one bank we discovered a lovely little stone carving, the first of several interesting pieces of sculpture we were to find in the gardens.

2015 05 25_19732015 05 25_1975 2015 05 25_1972 2015 05 25_19852015 05 25_1971 2015 05 25_1989

On the edge of the main garden was an area of more mature woodland of mixed deciduous and coniferous specimen trees. Beneath them larger evergreen Rhodendrons provided splashes of colour.

2015 05 25_1986 2015 05 25_1983 2015 05 25_19802015 05 25_1981 2015 05 25_19822015 05 25_1984

This comfortable set of table and chairs was simply too enticing for us. We just had to have more teas and cakes in order to try them out!

2015 05 25_1963

As we enjoyed our refreshment we also enjoyed the colourful planting around us.

2015 05 25_1991 2015 05 25_1992 2015 05 25_1996

We also looked up to spy this imposing cockerel windvane.  Once we had enjoyed our refreshment we left the gardens of Upper Shelderton Hall having enjoyed yet another brilliant Yellow Book garden. We can’t wait for the next!

2015 05 25_19942015 05 25_1993


Categories
allotments garden buildings recycling

The Wonders of Willow – Even more willow magic!

We enjoyed a day playing with willow recently in the garden of friends Liz and Rich’s new home. They wanted us to build a play feature from willow for their youngsters Ella and Edward. So we arrived amongst the mess of builders’ vans, wheelbarrows encrusted in concrete, and piles of materials stripped out of the old house which is undergoing renovation.

We used some of the prunings from the pollarded Violet Willow in our garden which I shared in my recent post about my garden journal in February, along with lots of different coloured prunings from our allotment community garden which was also featured in an earlier post concerning the magic of willows. We found a suitable spot in the bottom of the garden partly shaded under mature trees and with a good amount of moisture in the soil under a layer of gravel. We collected our tools together, marked out the shape and loosened the top layer of soil.

2015 02 17_9584-1 2015 03 13_9864 2015 03 13_9865

Before we could start placing the willow wands we had to remove the many little seedlings that had found their way into the moist gravel, an ideal seed bed. The first pic below shows just how many we found. They will find a new home at the allotments bartered in exchange for the willow prunings.  There was a good selection with wildlife value including Primroses, Pulmonarias, Arum Lily and seedling Hollies and Cotoneasters. Once clear the willows were put in place but we had to make a hole with an augur to get them in deeply. The shape was soon forming – an igloo of willow.

2015 03 13_9867 2015 03 13_9866  2015 03 13_9868

We made a low entry tunnel and then moved on to the main body. The area around the cuttings and the ground inside was mulched with bark chip partly to keep the prunings moist to help rapid rooting but also to make a comfortable play surface.

2015 03 13_9869 2015 03 13_9870 2015 03 13_9871 2015 03 13_9873 2015 03 13_9874 2015 03 13_9875

Five hours later it was finished and we had tidied up. We admired our handywork over a last cup of coffee and slice of Victoria Sponge. We reminded Liz to keep it well watered and took our tools back to the car, which was much more empty on our return journey than on our way  there in the morning.

2015 03 13_9877   2015 03 13_98792015 03 13_9878

As the new house is not ready to move into yet we had to wait to see the children’s reaction until Liz brought them over to see it. When they came it was very well received! Liz said the children were so pleased with it that it made an enjoyable day even more worthwhile. Ella soon realised that it would be a good place for playing hide and seek and Edward took his role as an explorer very seriously. Here’s to loads of fun, smiles and shared times with friends for years to come. And of course it is another fine example of recycling in the garden.

2015 03 13_9857 2015 03 20_0037

Categories
allotments colours community gardening gardening ornamental trees and shrubs recycling trees Winter Gardening

The Wonder of Willows – part three

So for the third in my posts about the wonder of willows we move to our allotment community garden site, Bowbrook Allotment Community (www.bowbrookallotments.co.uk)

2015 01 18_9332_edited-1-1

Here we grow many different varieties of Salix, willows with different habits, leaf shapes and in particular coloured bark. but before I move on to look at these I thought I would reminisce a little and cast my mind back to my childhood where willows played an important role. I lived in the vale of the River Severn in Gloucestershire and here, the lowland nature of the farmland meant that ditches had been dug for centuries around field boundaries to help with drainage.These ditches, and indeed every stream and brook was flanked with willows. These were pollarded and regularly harvested to be used by local craftsmen and women, the basket makers, trug makers and hurdle makers amongst them. But to me as a country lad they meant places to search for wildlife, to hide from the fishes I was angling for and in the case of the old giant hollow trunked willows they were dens to hide in. Below is a picture of a little clump of such pollarded willows in Herefordshire we spoted on our journey back from Croft Castle.

2015 02 26_9659

2015 02 26_9658_edited-1

Most of our allotment willows  grow in our Withy Bed designed to help drain a particularly wet patch of land but mostly to provide vivid colours when they are stripped of their leaves in the autumn and winter months. We also grow them to help drain a wet part of our Winter Garden. The photo below was taken looking through the willows towards the white barked Betulas and the coloured stems of the Cornus (Dogwoods). As well as draining this area so effectively they add so much winter structure and colour of their own to the picture. In the second picture of these same willows you can see they have just been subject to their annual haircut.

2015 01 18_9338-12015 03 16_0011

The contorted willow below is one of two being trained up tall to weep over the top of the path behind the Winter Bed to form an archway.

2015 01 18_9343-1 2015 03 16_0024 2015 03 16_0023  2015 03 16_0012

Each spring as the weather gets a little more conducive to outside work a group of us have our work cut out pruning so many willows, some we coppice and others we pollard at different heights. We have about twenty different cultivars here to enable us to achieve the effects that we are after. It takes a small team of volunteers a day’s work to get the task completed, resulting in some aching backs the following day. The first pair of photos shows a pair of before and after shots of one of our yellow stemmed coppiced willows.

2015 01 18_9347-1 2015 03 16_0009

We set off with a wide range of pruners from small secateurs up to hefty loppers and slowly move from one end of the Withy Bed to the other with a good few tea breaks. We find it helpful to be bendy and wriggly to get in among the willows, bending low to the coppiced stools and reaching high to the tallest pollards and every combination in between.

2015 02 26_96652015 02 26_9666 2015 02 26_96602015 02 26_9664 2015 02 26_9663  2015 02 26_96612015 03 16_0010 2015 03 16_0008

The prunings created when we cut them are used around the site to make structures and to create plant supports. But for this year many have been used while developing our new wildlife pond. The photos below show the prunings being kept fresh by being lain into the pond and illustrate the range of colours available to us.

2015 02 26_96692015 02 17_9600

We have Violet Willow growing in the allotment’s Spring Garden which was a cutting off our tree at home and after four years it is a beautiful specimen which has sparkling silver catkins in Spring.

2015 03 16_0020 2015 03 16_0021

Last year we created a Fedge with the prunings to give us a brightly coloured living willow fence. This acts as a useful windbreak and also hides part of the site’s manure/compost compound. In the winter when I took these pics it doesn’t hide much but the diamond shaped trellice effect shows up.

2015 03 16_9980 2015 03 16_9981 2015 03 16_9982

The final post in this series about willows will show how we have used some prunings from home and from the allotments to create a children’s play feature.


Categories
allotments bird watching birds community gardening conservation diy garden buildings garden ponds garden pools garden wildlife gardening irises log piles natural pest control recycling renovation Shrewsbury Shropshire trees water garden water in the garden wildlife

The wildlife pond and hide at BAC – part two

As promised we make a return visit to see the work we have been doing on the development of our pond and hide at our allotment site, Bowbrook Allotment Community. In this part we shall look at our hide, some tree surgery and our new duck tube.

So first let us return to our new hide. If you remember those pictures of us rolling the battered and rather shaky old shed you will be surprised by the photos of it finished. So how about a before and after pair of pics? We made the hide for our allotment youngsters, our Roots and Shoots group, to give them the chance to secretly and quietly watch the life of our pond. With this in mind we set to work on our renovation which took an amazingly large number of volunteer hours.

2014 12 08_8466 2015 03 16_0004

Whenever we go by the pond we can’t help but smile at the transformation! As you can see the old hide was firstly repainted outside by my young apprentice Thomas before we handed it over to two volunteer helpers Sean and his Dad Vince. They are great carpenters so brilliant volunteer helpers to have on board. They put fresh felt on the roof and fabricated a strong framework inside the shed. They made a concrete and slab base and placed the newly strengthen shed on a framework of wooden struts.

20150207_162506-1 sean 3-1

Thomas returned to give the shed another coat of wood preserver and I added a sign I created from wooden letters. It began to look the part from the outside but even more so once the two men added a new sheet of perspex to the window and added two hatches for clear viewing on dry days. These can be seen in the photo below.

2015 03 16_0005

Within a few weeks Sean and Vince with extra help from Sean’s children had put up a noticeboard, made a kneeling bench and shelf for leaning on when the children used the hatches and window. The pictures below show first the bench and secondly the view the children get from the hatch.

2015 03 16_0018 2015 03 16_0016

This is the view our Roots and Shoots youngsters will get as they open the hide door. You will see that Jude and I have added identification charts for birds and dragonflies and damselflies and a poster displaying the life on and under the surface of a pond. We also made a little bookcase from a vegetable crate and placed in it some wildlife books for youngsters. We also mounted a whiteboard on which we are inviting the children to note their observations. The final touches are a pair of binoculars a notebook for children to jot down their nature notes.

2015 03 16_0019 2015 03 16_00142015 03 16_0015  2015 03 16_0017

Last job of course was a celebratory cup of coffee perching on the children’s bench and admiring everyone’s handiwork and great efforts.

2015 03 16_9952

Now let us enjoy a bit of tree surgery carried out so professionally by some more of our volunteers, Pete and Mike. As mentioned in part one we have a few elderly Ash trees around the pond which for safety sake need remedial work. Earlier on we managed to pull down broken branches that had rotted but got tangled in the lower branches as they fell, but this day was a day for the chain saw attachment on our strimmer head to get in the action. One large branch hung right over the pond to the far bank and was slowly splitting so getting lower and lower. The final cut shows the weakness.

2015 03 16_9993

First Mike and Pete looked and stared and studied! They needed a strategy!!

2015 03 16_9925 2015 03 16_9926

This strategy involved rope thrown up and over a much higher and stronger upper bough, with which they could keep control of the branch once it was sawn through.

2015 03 16_9932 2015 03 16_9928 2015 03 16_9929

Attachment attached and they were off!

2015 03 16_9933 2015 03 16_9934 2015 03 16_9936

The cut bough hanging obediently could then be pulled in and dealt with on dry land. It will soon be seating for the youngsters, edging for borders and parts of insect homes and log piles and brash heaps to help attract ads shelter wildlife. We discovered an awful lot of rot within the bough so it was great relief to see it down. Trouble is there are a few more going the same way.

2015 03 16_9937 2015 03 16_9938 2015 03 16_9939

Finally we need to look at our duck tube! The photo below shows why we need one! A pair of Mallards patiently waiting!

20150217_100524

Just follow the picture sequence below and watch Mike’s adventure. Before we made the dam and changed the drainage around it to gain depth for wildlfie the pond was rarely more than 6 inches or so deep!

2015 03 16_9930 2015 03 16_9940 2015 03 16_9941  2015 03 16_9944 2015 03 16_9945 2015 03 16_9946 2015 03 16_9947 2015 03 16_9948 2015 03 16_9949 2015 03 16_9950 2015 03 16_9951 2015 03 16_9994

He is a good chap is Mike! What would we do without him? And below the duck tube in pride of place in the pond in a position where the children can watch activity from their new hide. Brilliant!

2015 03 16_9954

We still have further work on the pond mostly planting but we have a plan for a floating island to give wildlife somewhere to find safety and shade. Pete and Mike have a plan as you might have guessed! But of course that may be the subject of a future post visiting our super wildlife pond! One piece of info I have not mentioned are the dimensions of the area, useful I think to put things in perspective and to emphasise the size of the project. The pool is 22 yards long by 11 yards at its widest point, and the marsh area at the one end is 9 yards by 7 yards at the widest point. Around the pool and marsh between the pond and the fence, the walk around together with the planted areas vary from 3 yards to 5 yards. Quite a size!

Categories
allotments bird watching birds community gardening conservation diy garden buildings garden photography garden ponds garden pools garden wildlife gardening gardens irises log piles natural pest control recycling renovation Shropshire trees

The wildlife pond and hide at BAC – part one

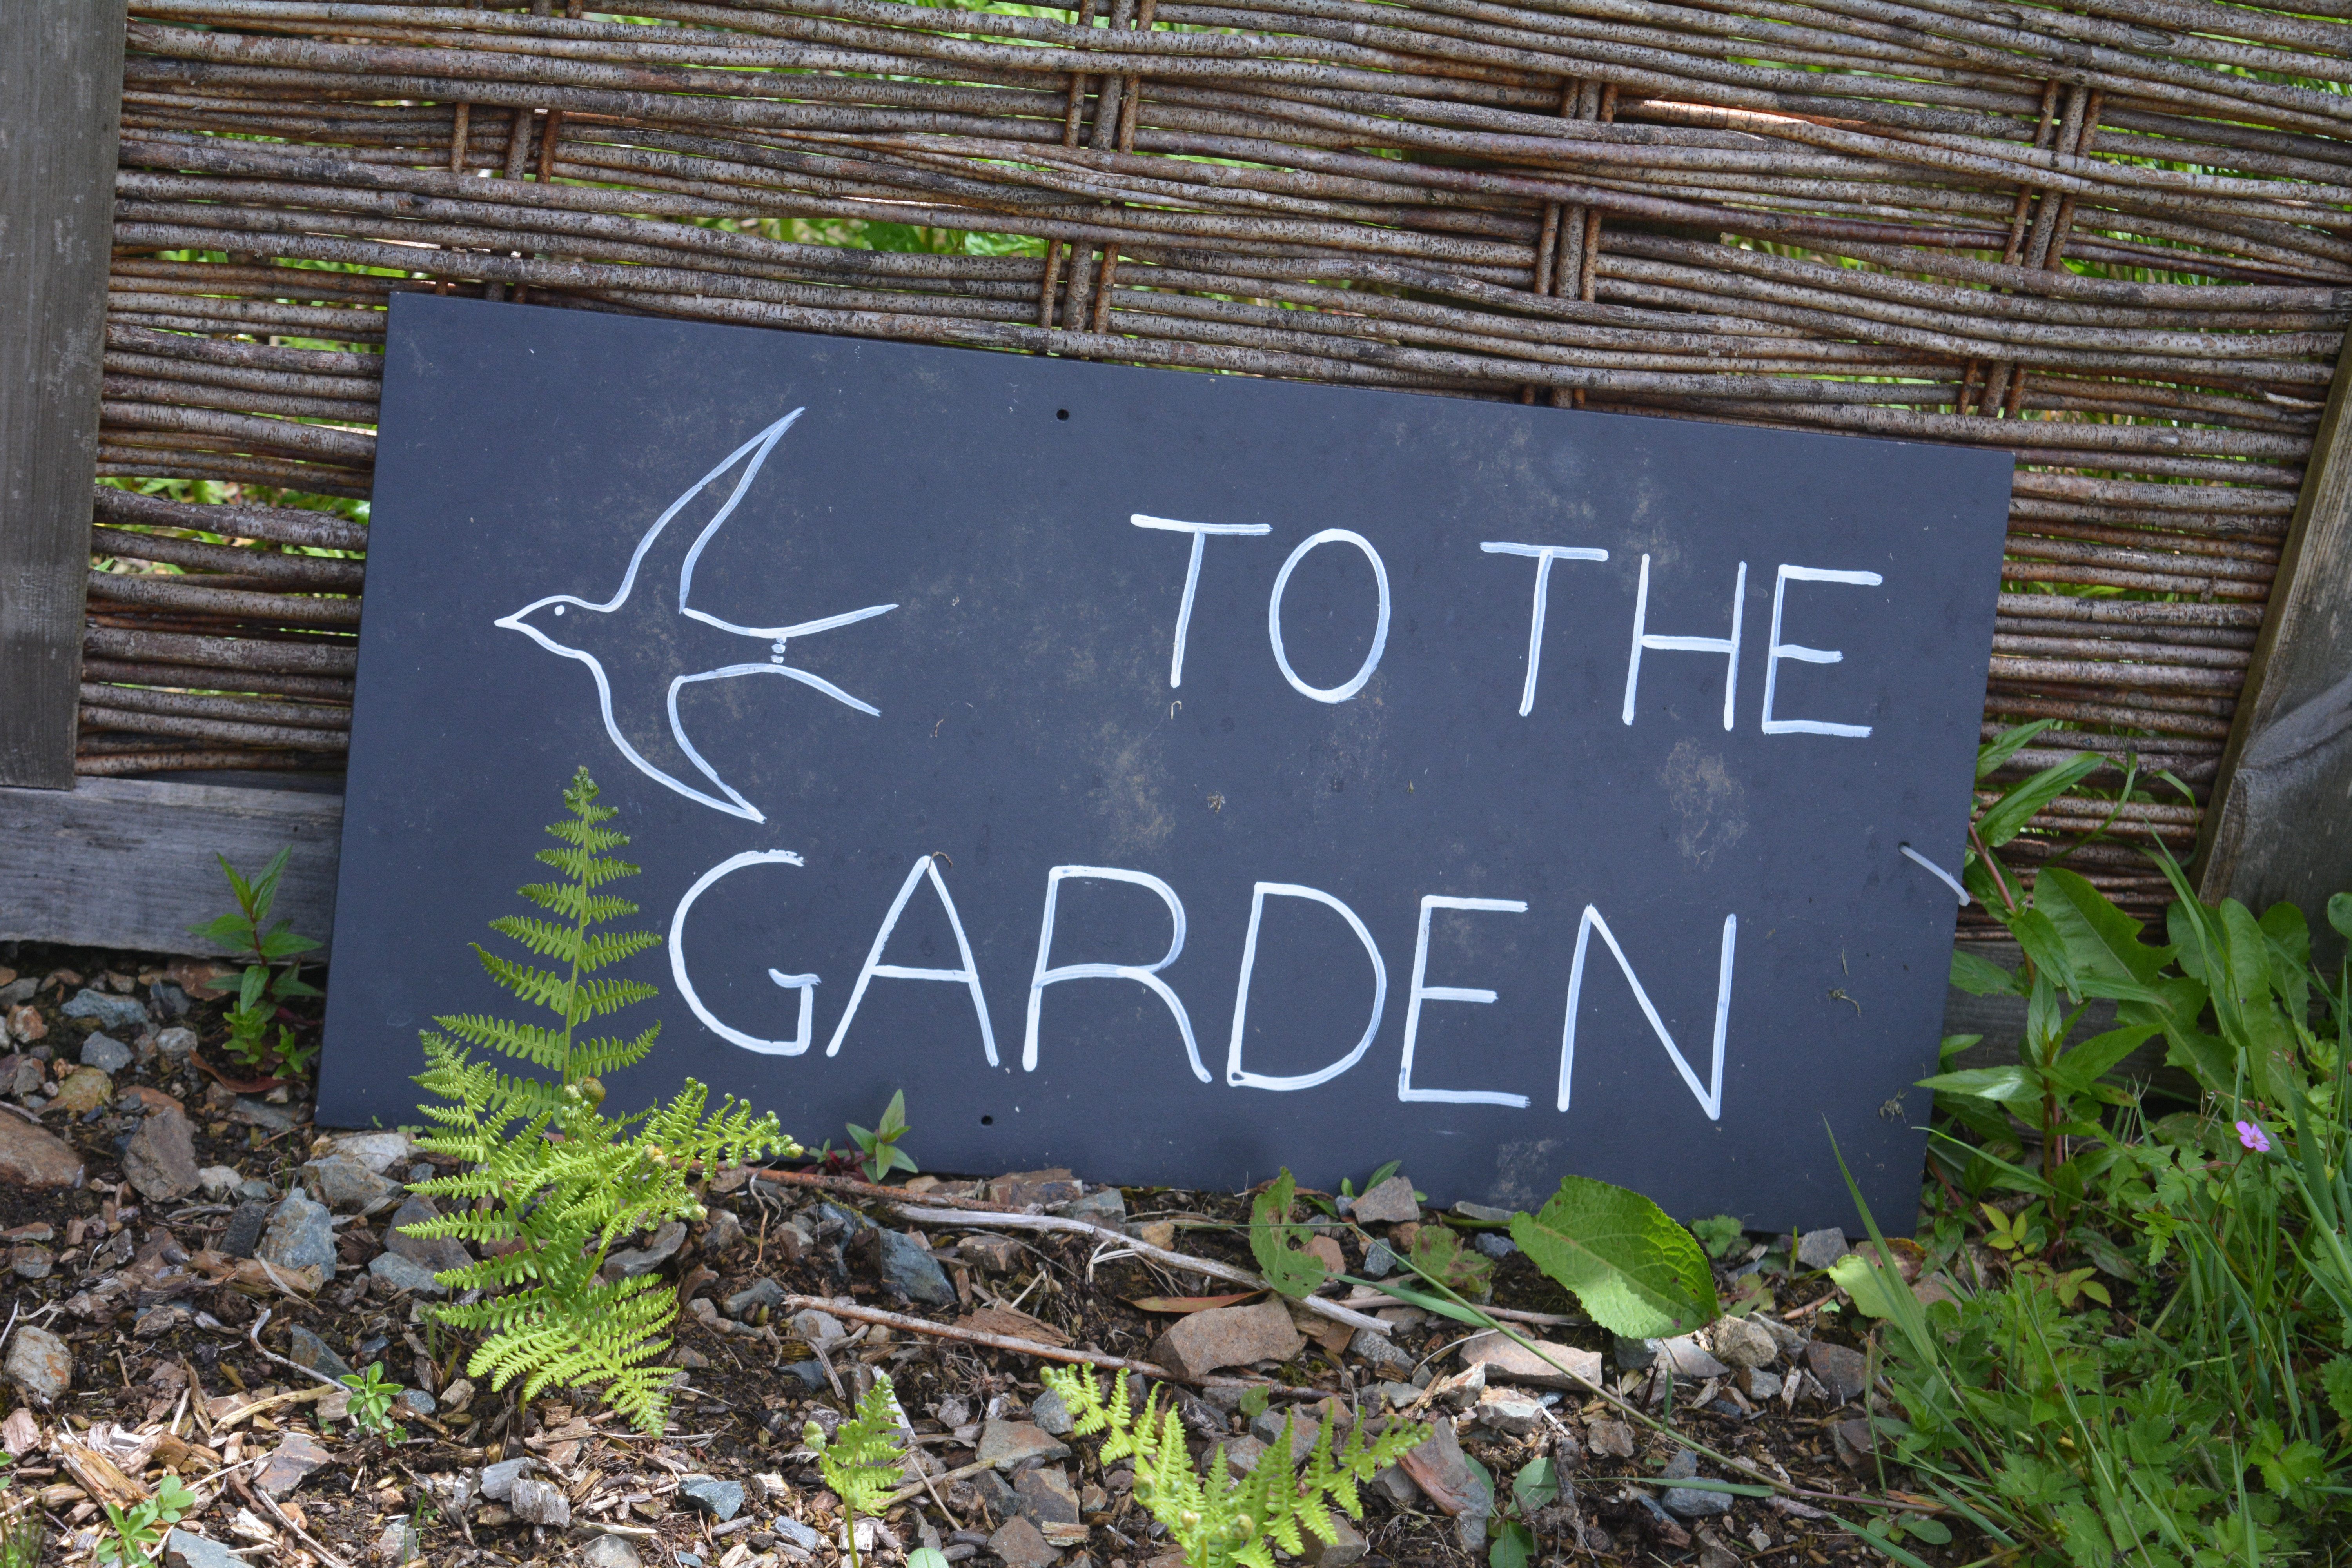
When Bowbrook Allotment Community first opened we had a old farm pond on our boundary fence but it was fenced off and we had no access to it. After a few years though as the site was extended on the pond side it was integrated into our gardens and the town council put a low security fence around it with a lockable gate. We then had to wait for it to be released into our care which finally happened early in the winter of 2014. This is the story of what we have done to it so far and about our plans for its future.

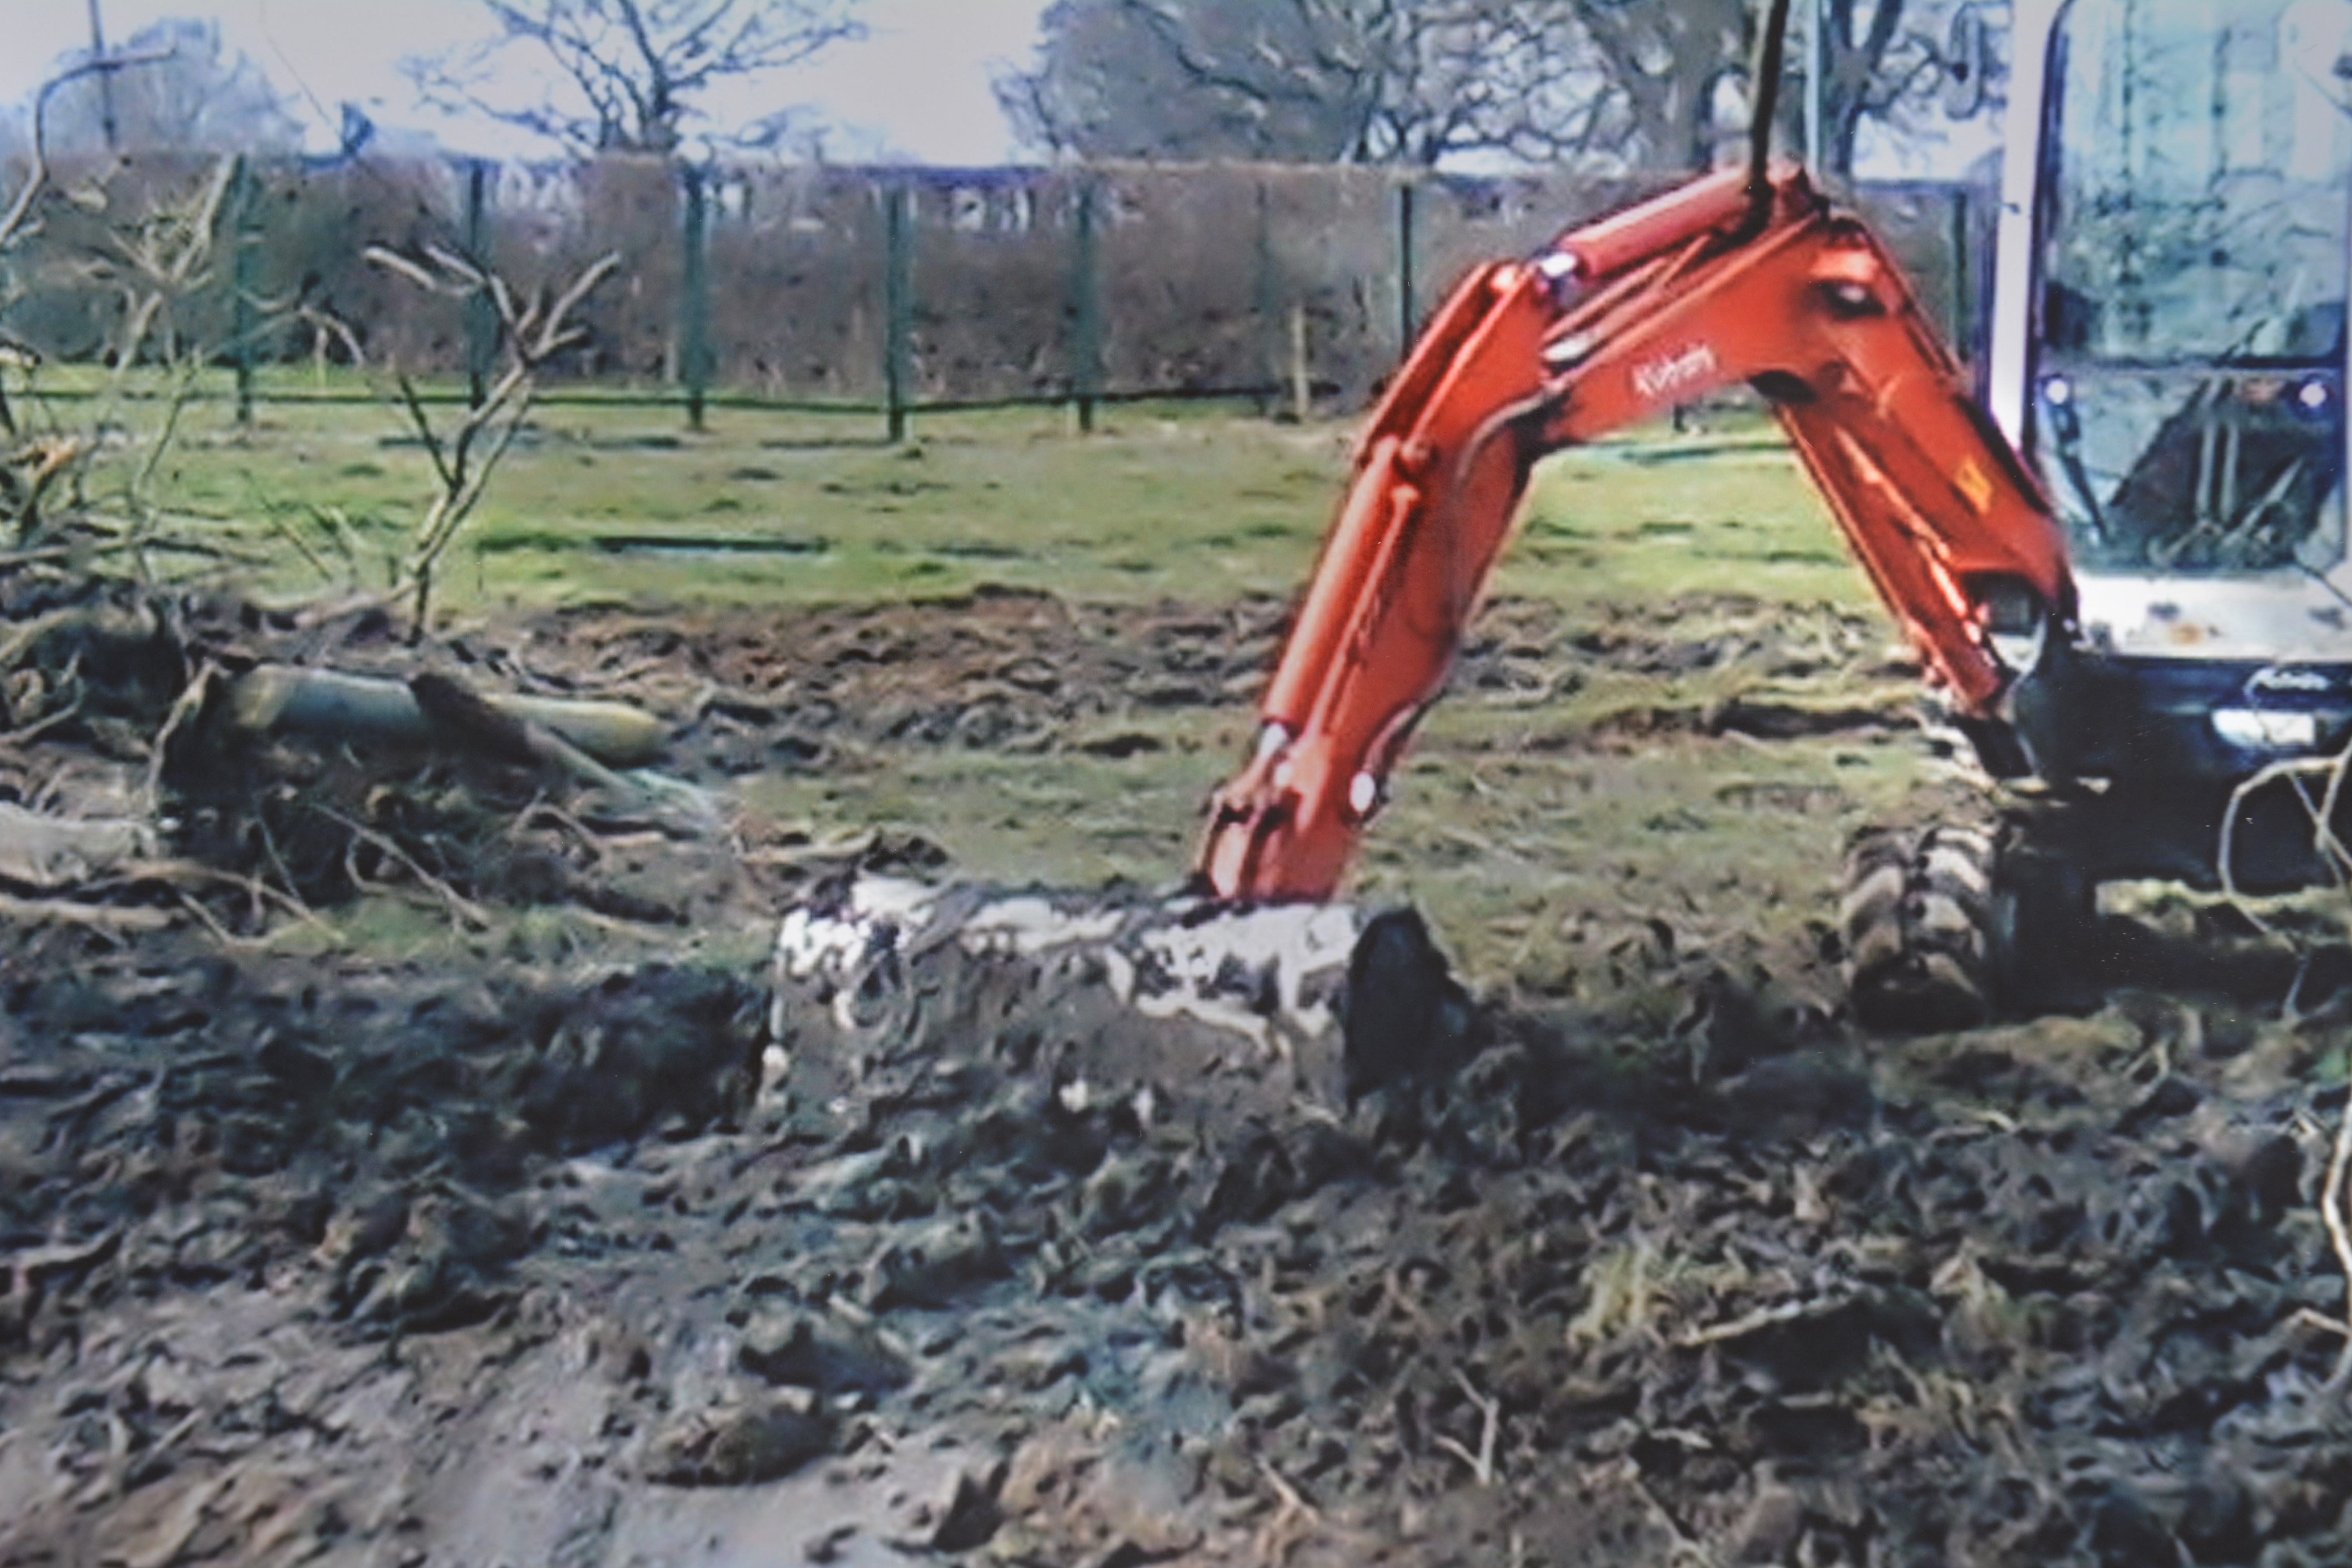
Diggers came in and scooped out all sorts of rubbish thrown into the pond by the farmer over the years, rusted coils of barbed wire, rotting fence posts, old metal fences, branches and boughs of trees. The old puddled clay layer was exposed and smoothed off. The aroma was disgusting! Sadly there was little sign of plant or animal life in the pond. At least all this disturbance didn’t upset the wildlife, the birds soon returned to the trees.

2015 03 04_9790

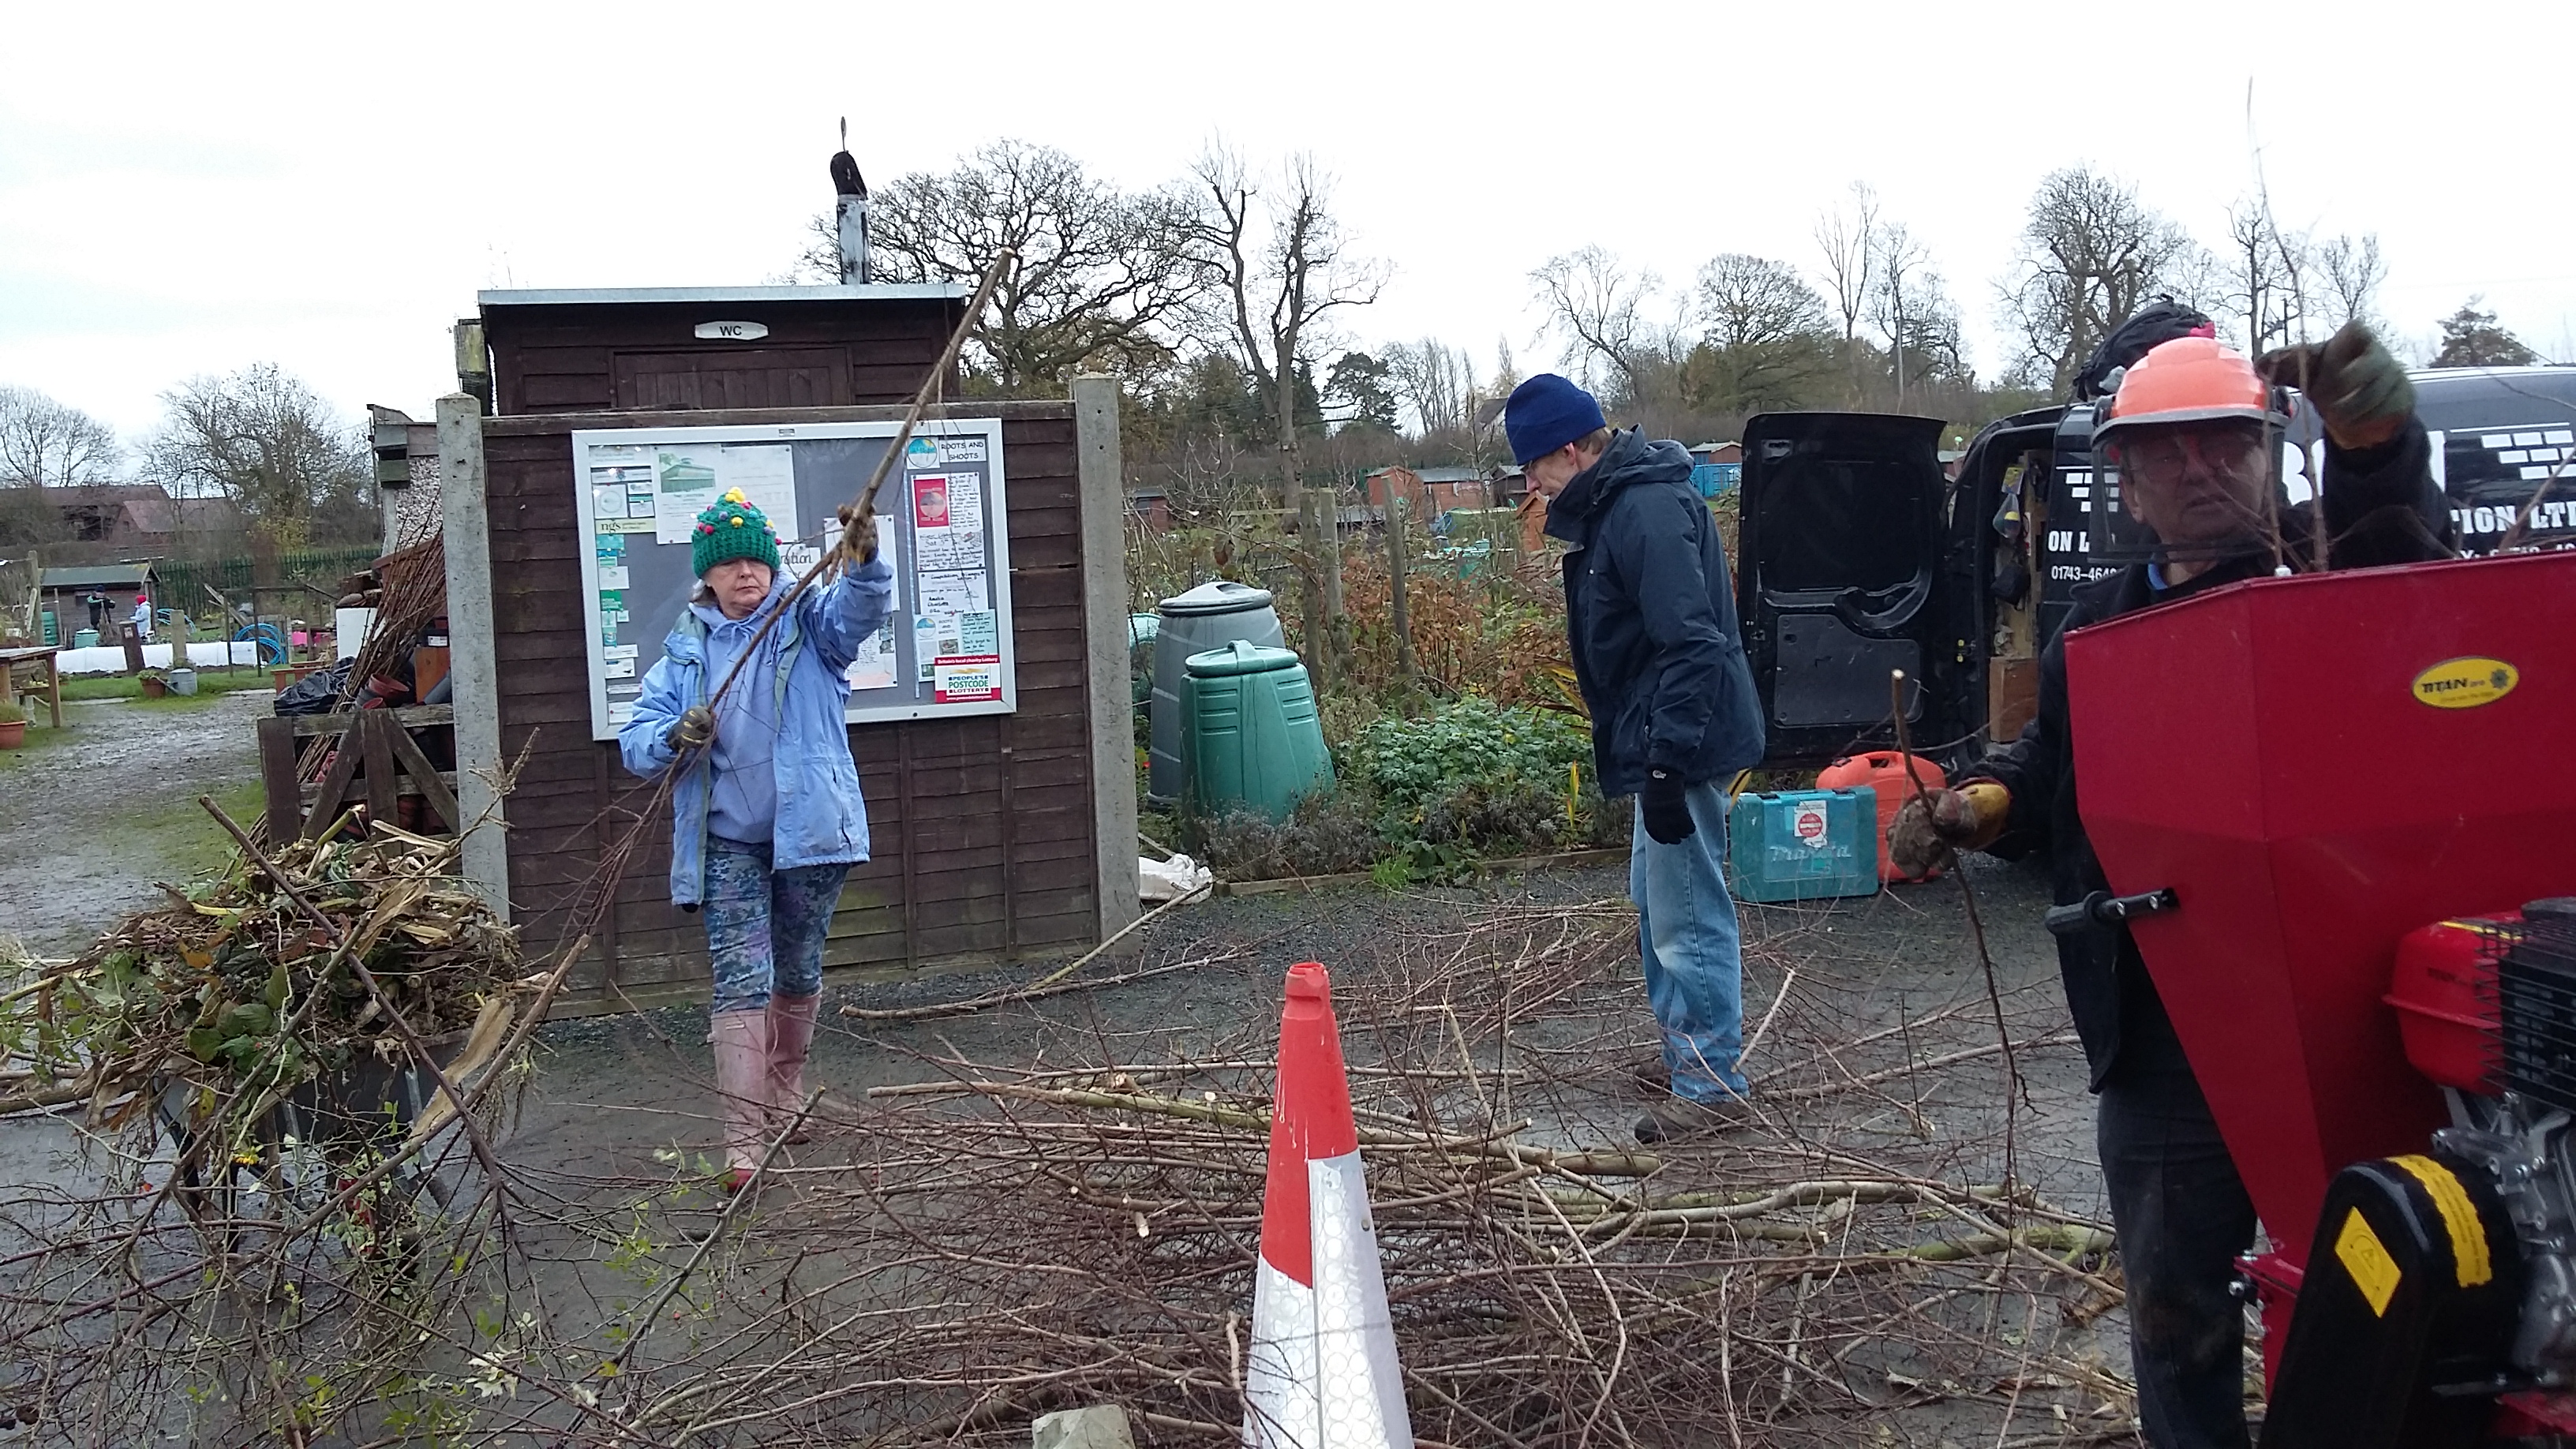
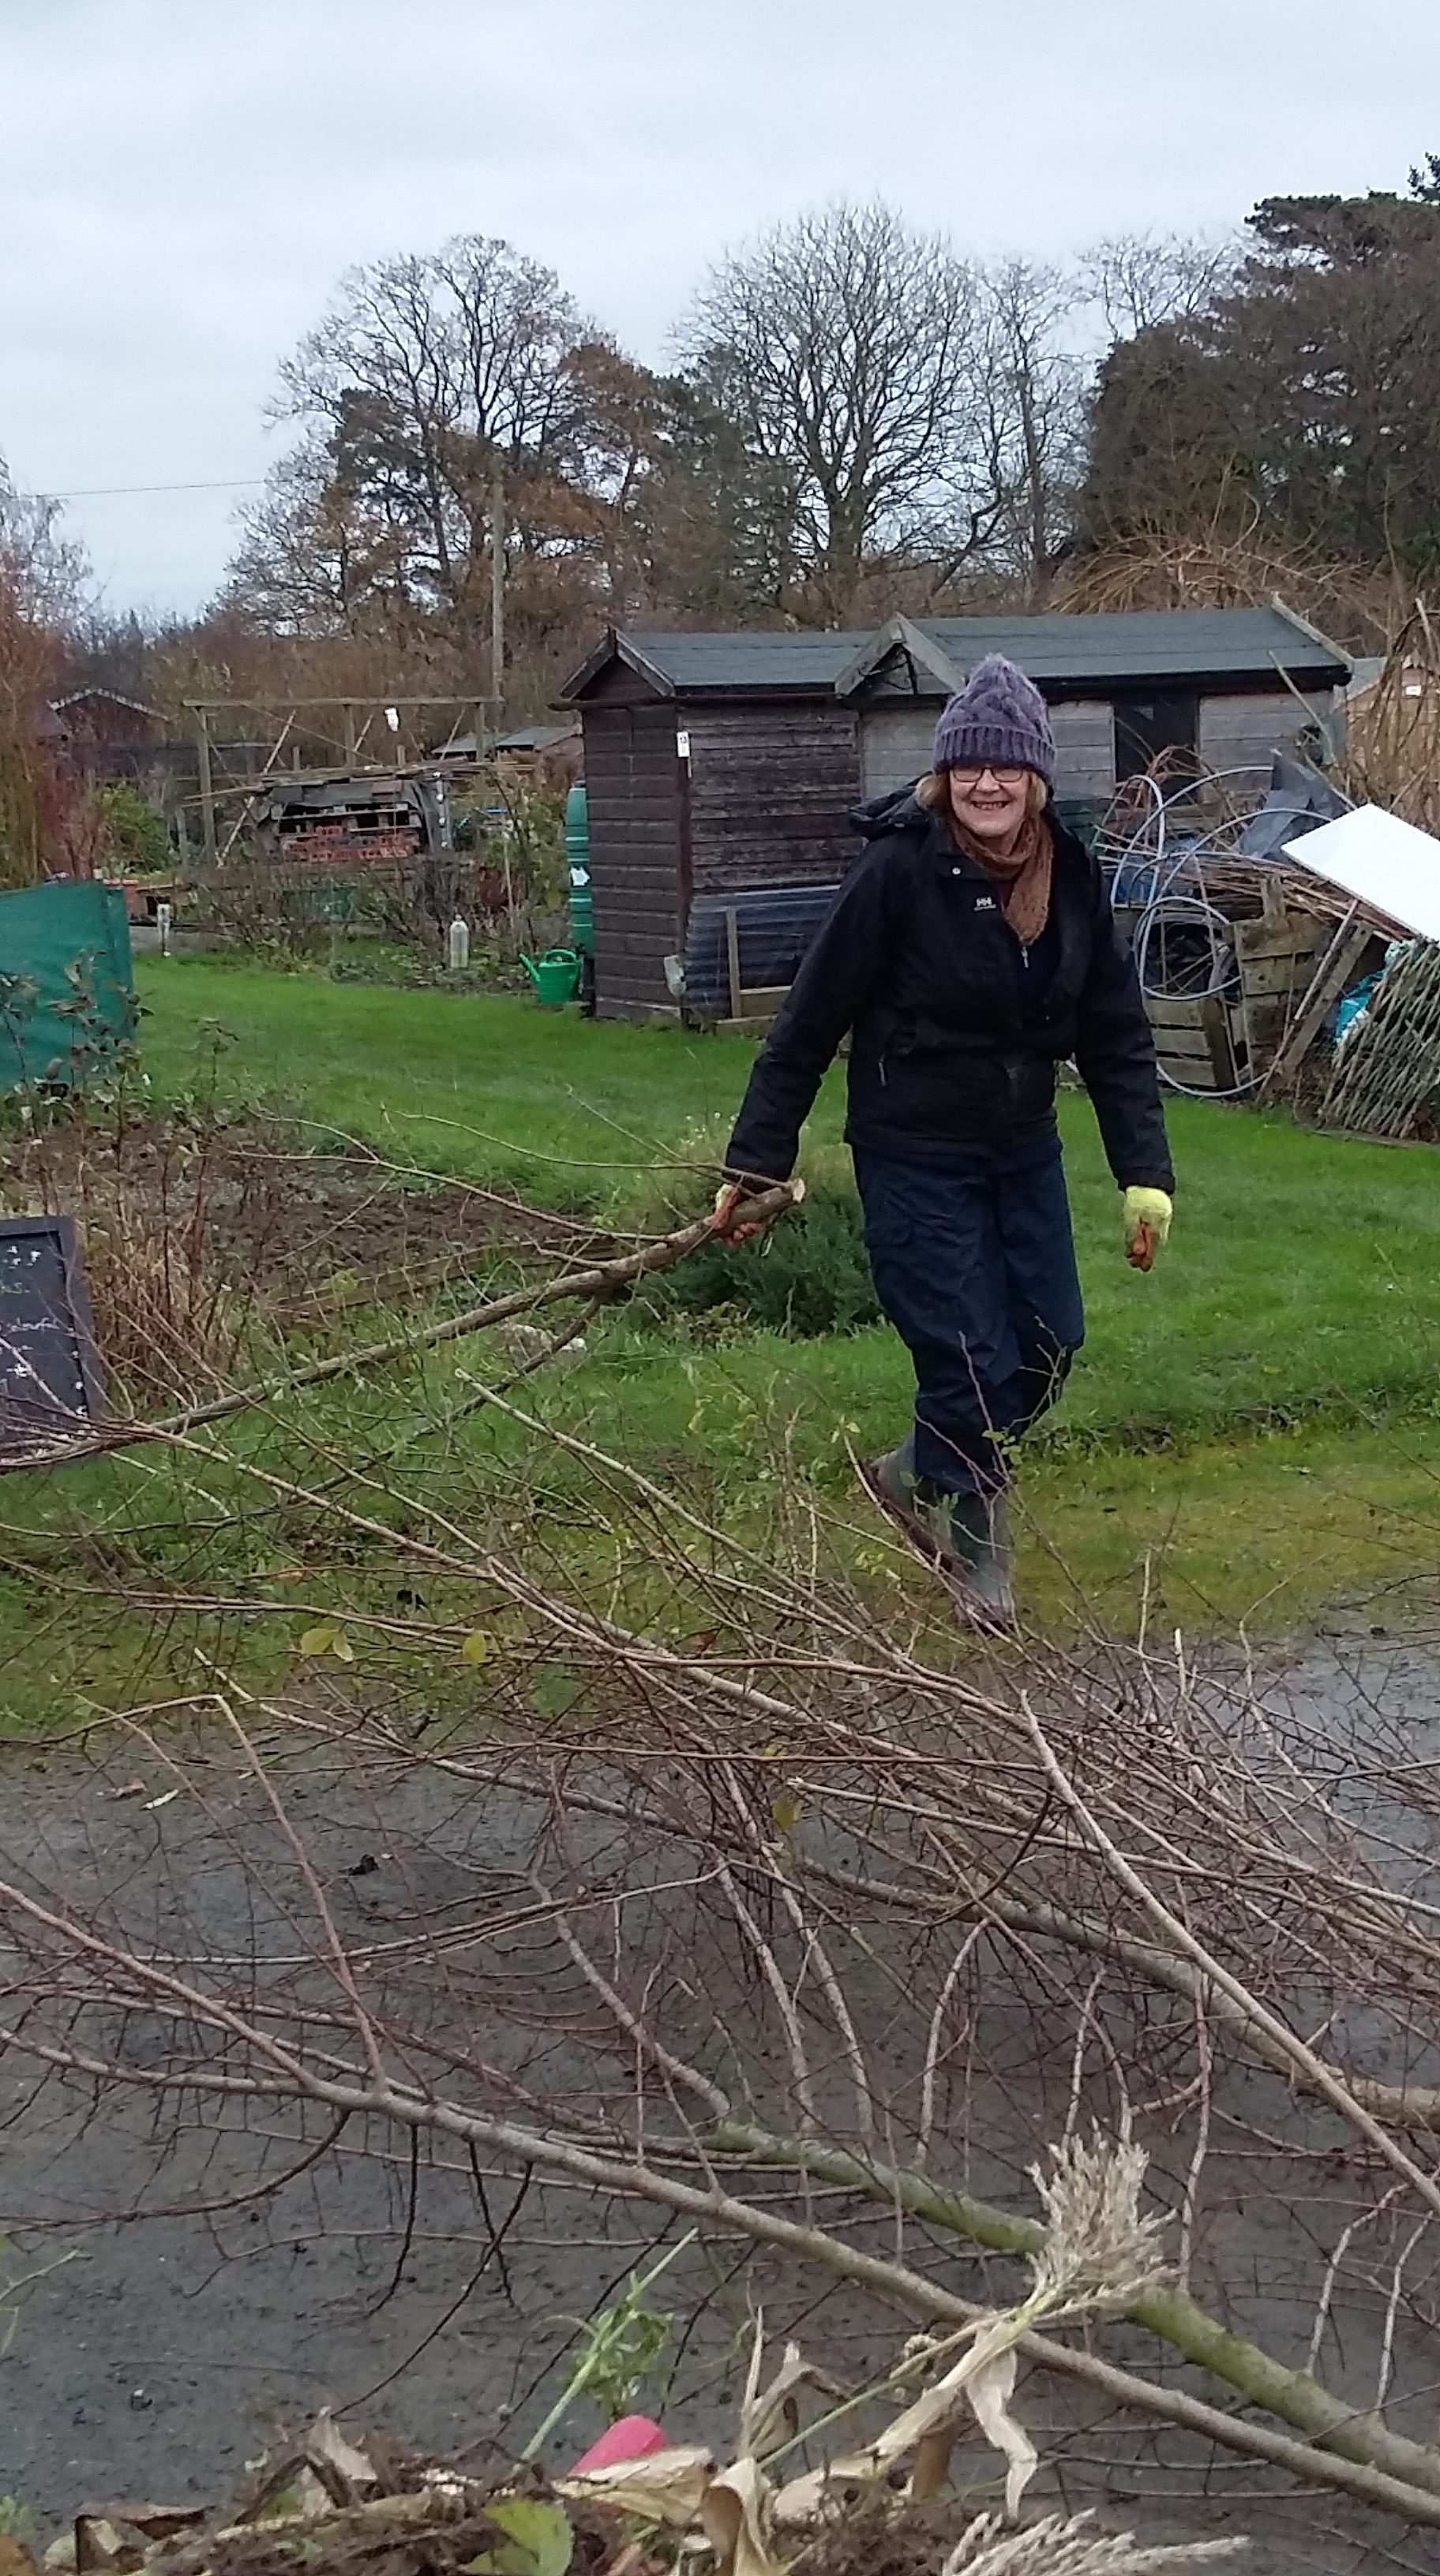
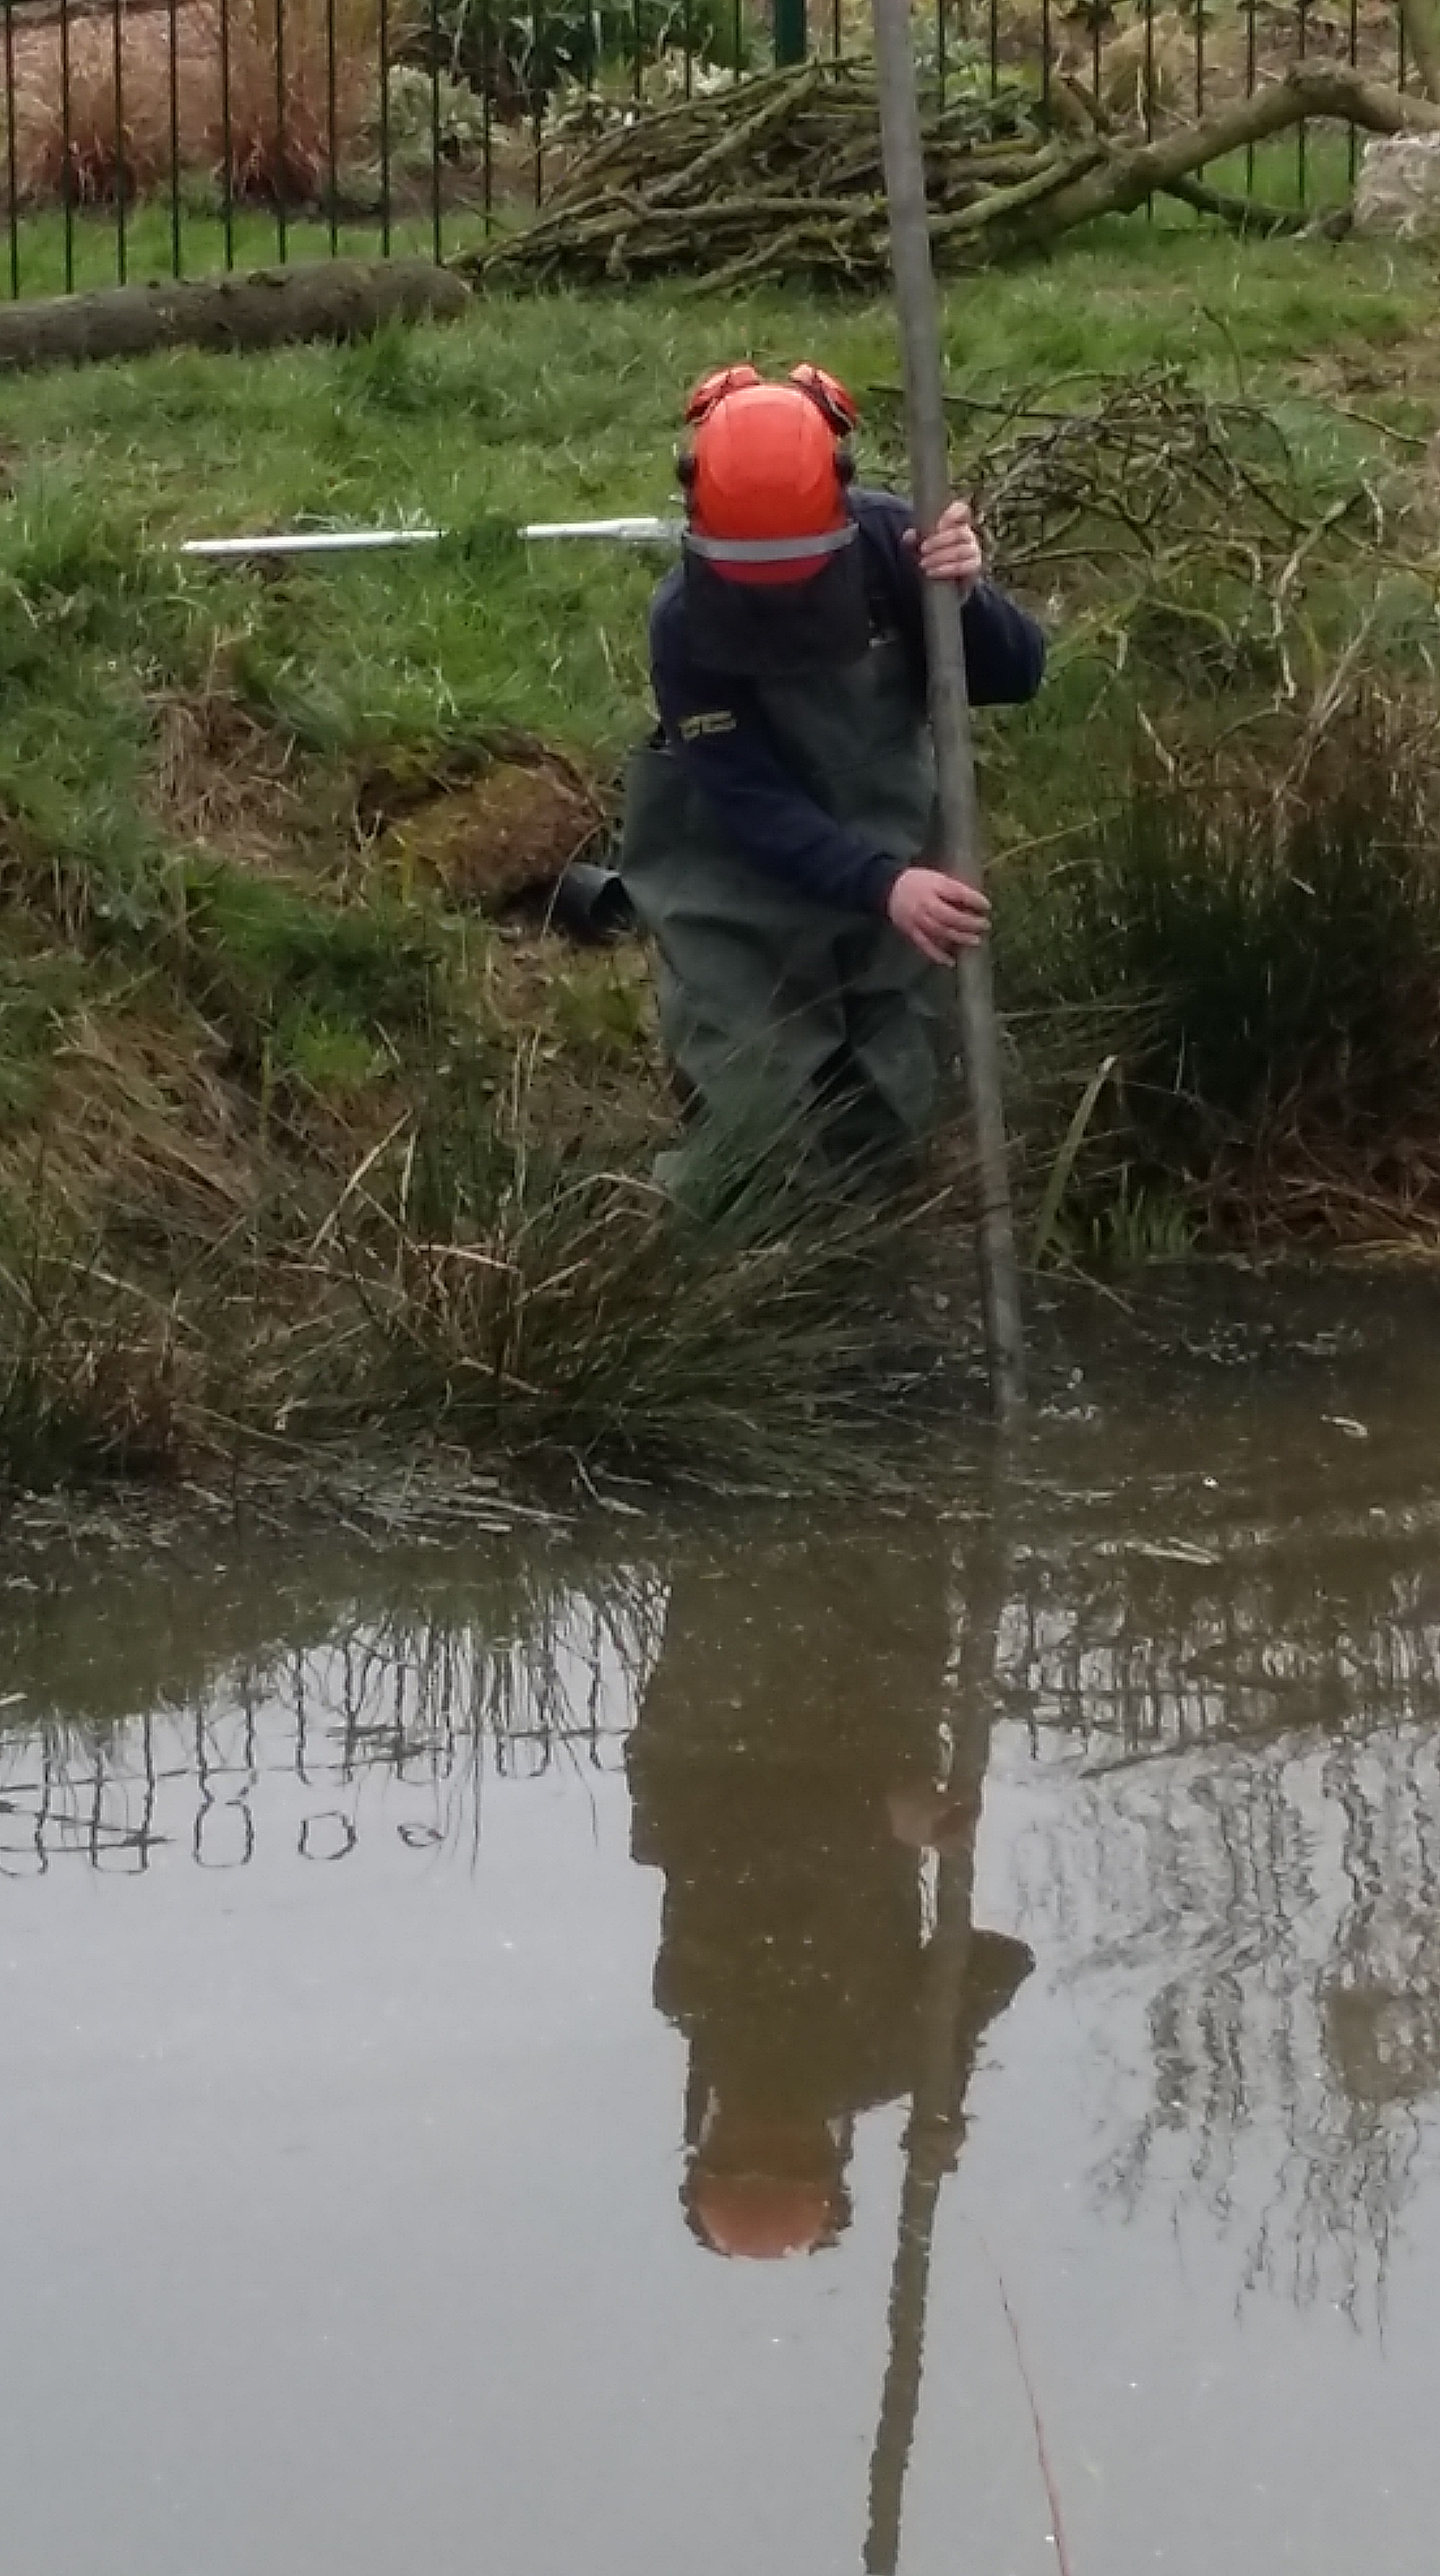
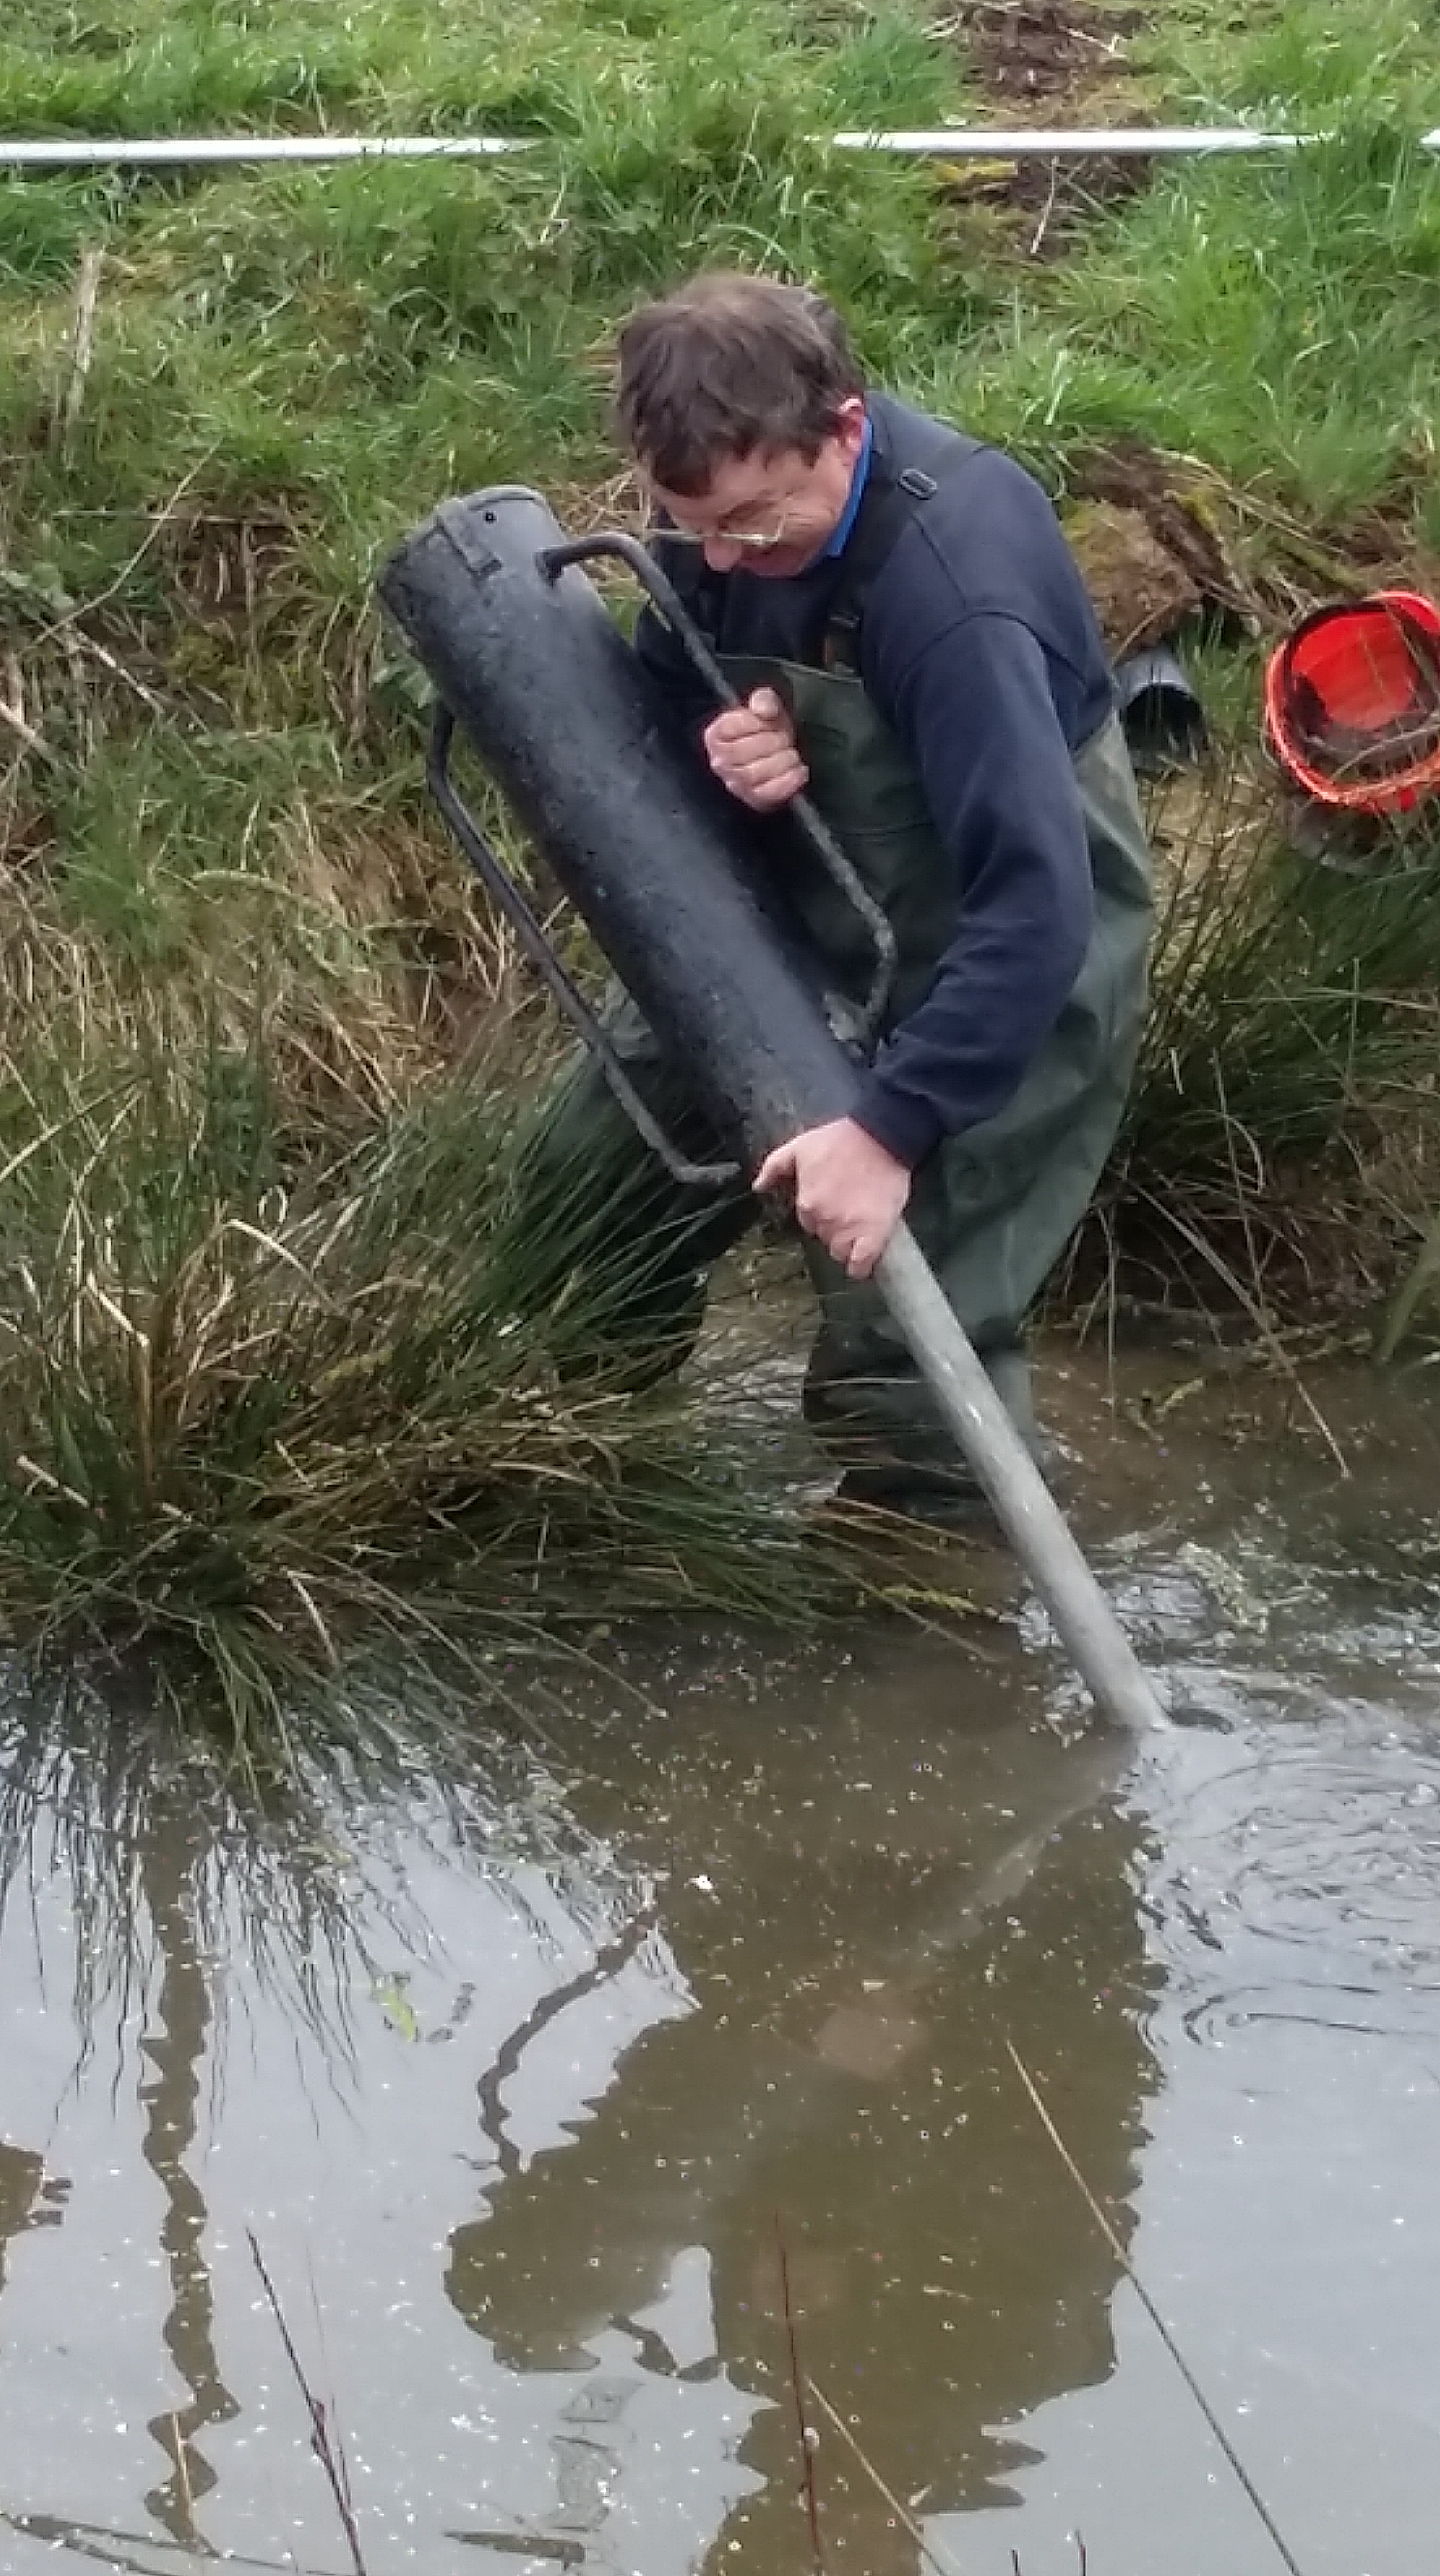
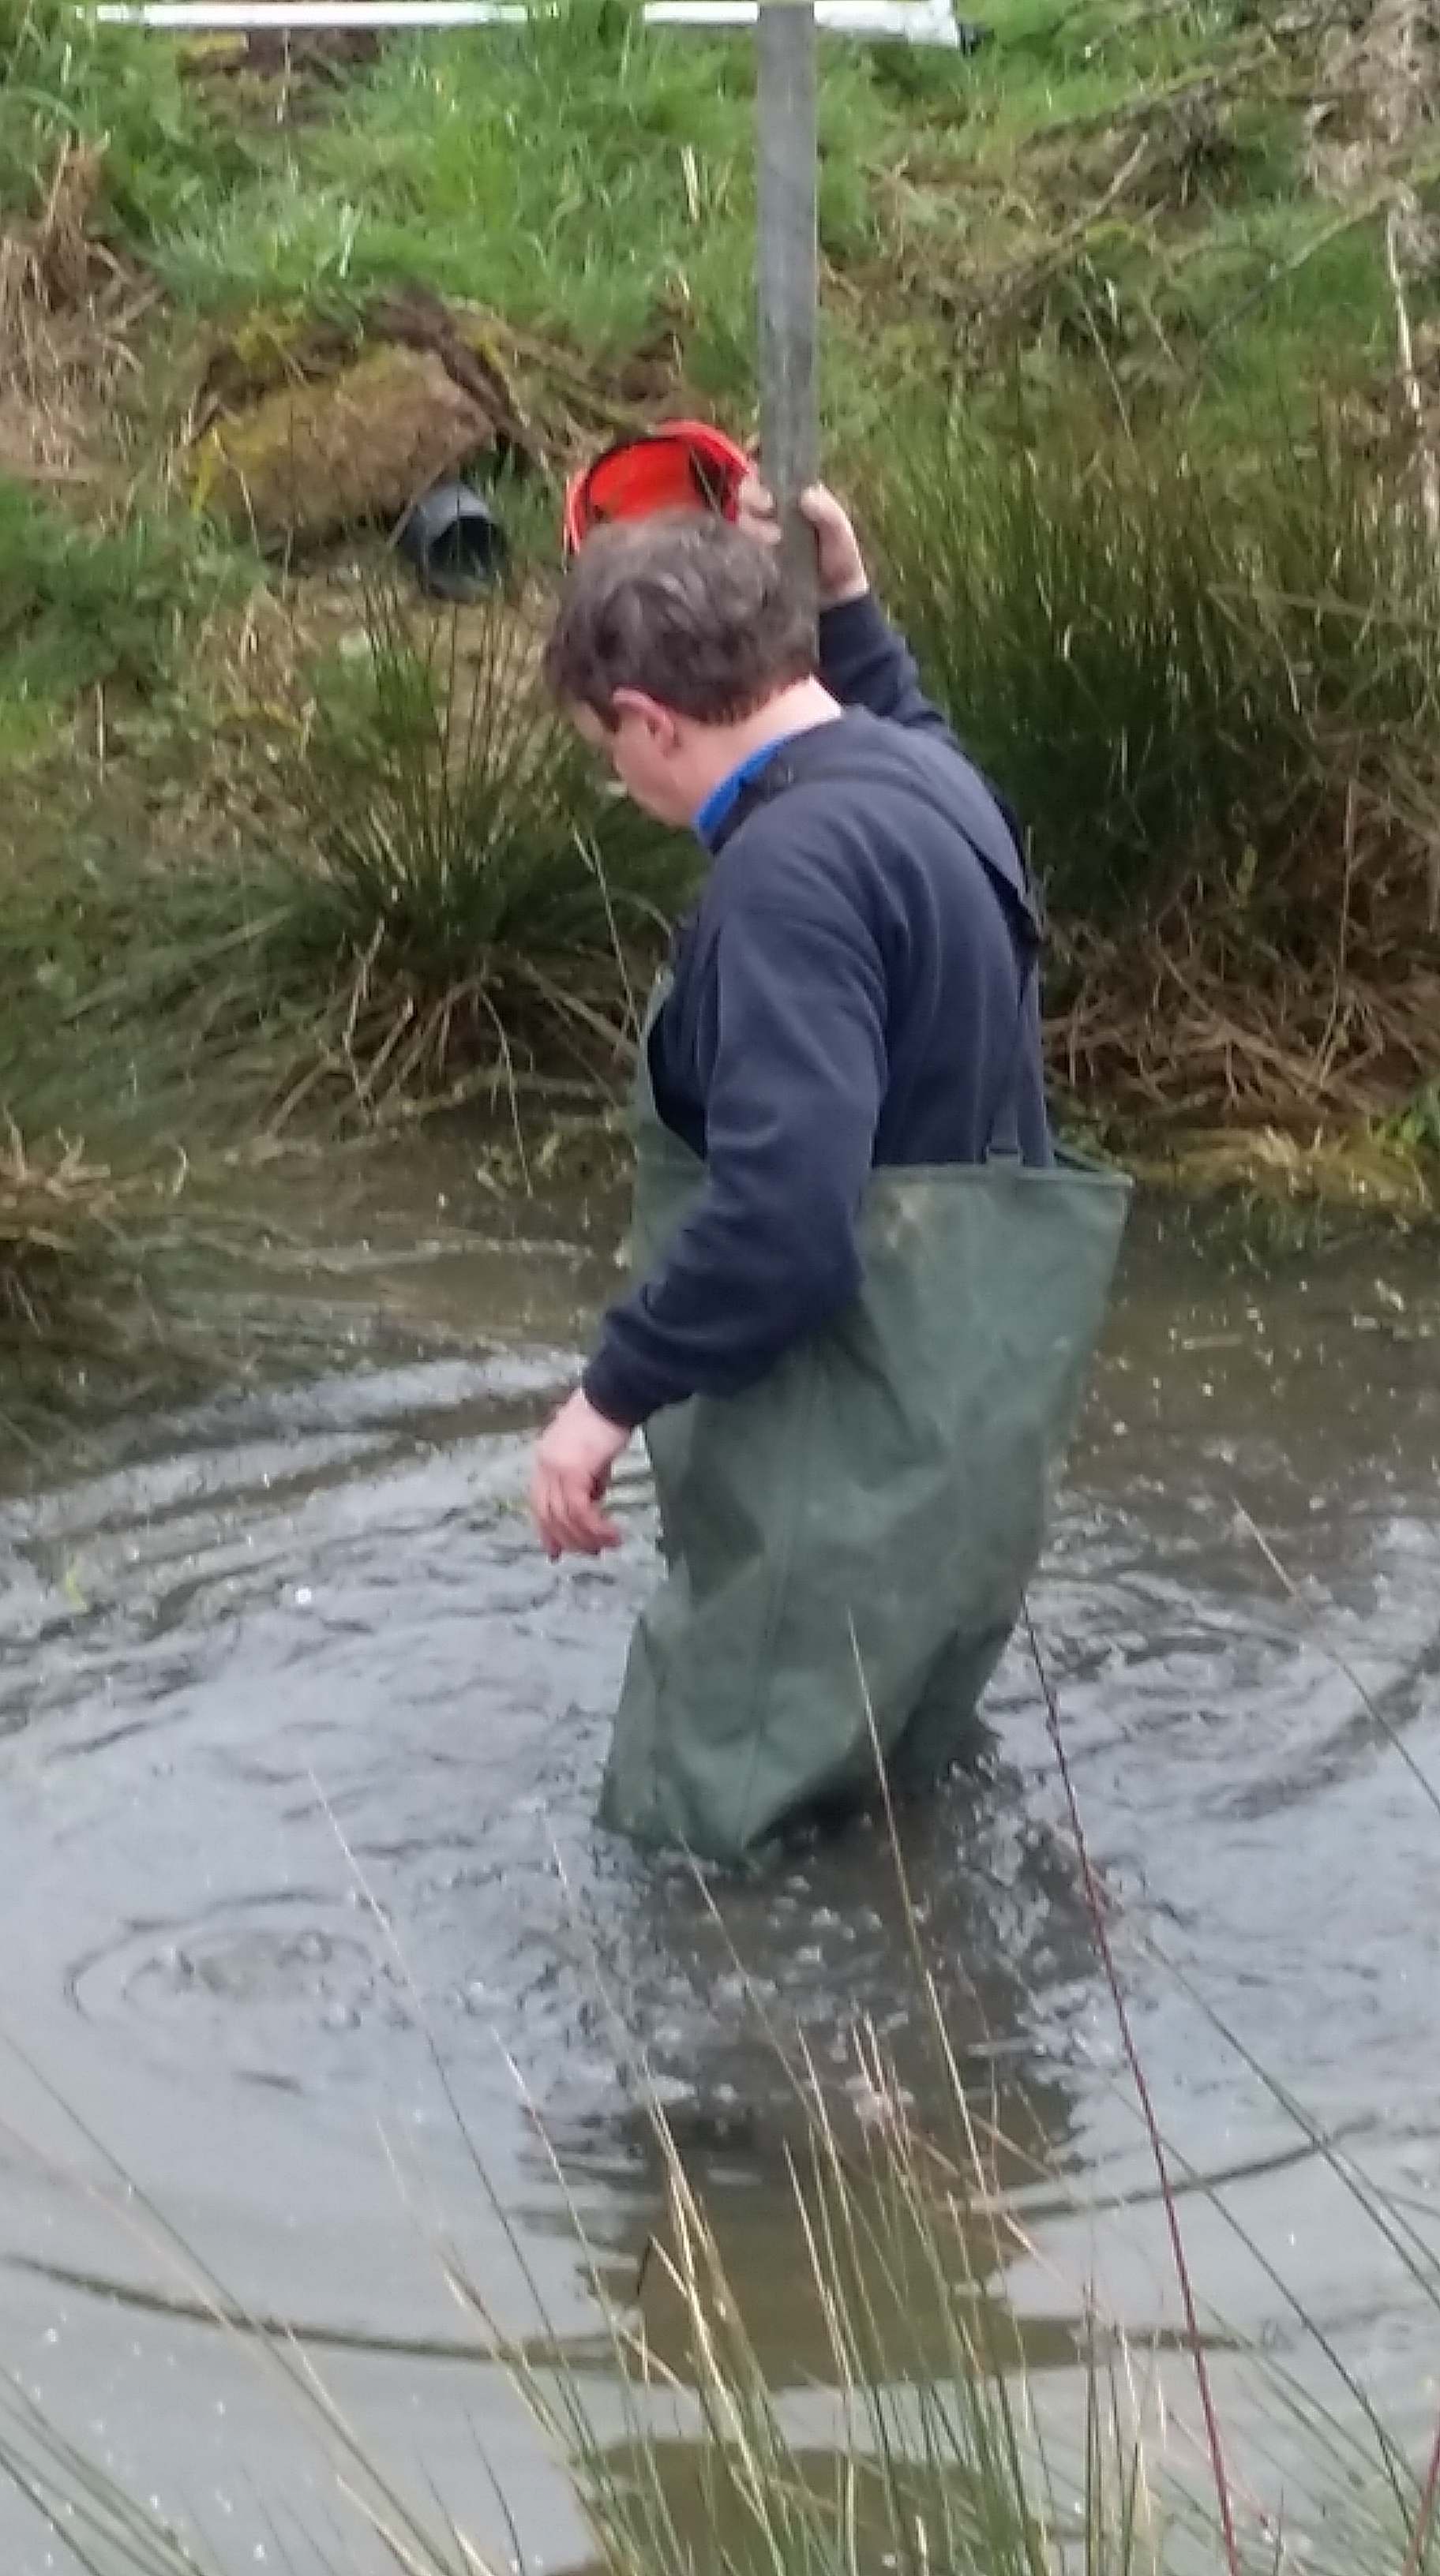
As a community garden determined to increase the biodiversity in our 6 acres there was no question that it would become a wildlife pond. To begin with we had to recontour the area between the pond itself and the fence to make passage around it easier and safer. It was hard graft and took a lot of volunteer hours to get it done.This will enable us to keep a path mown all the way around the pond for maintenance and enjoyment. But first we must rotavate the pathway to prepare it for grass seed sowing as soon as the weather allows.

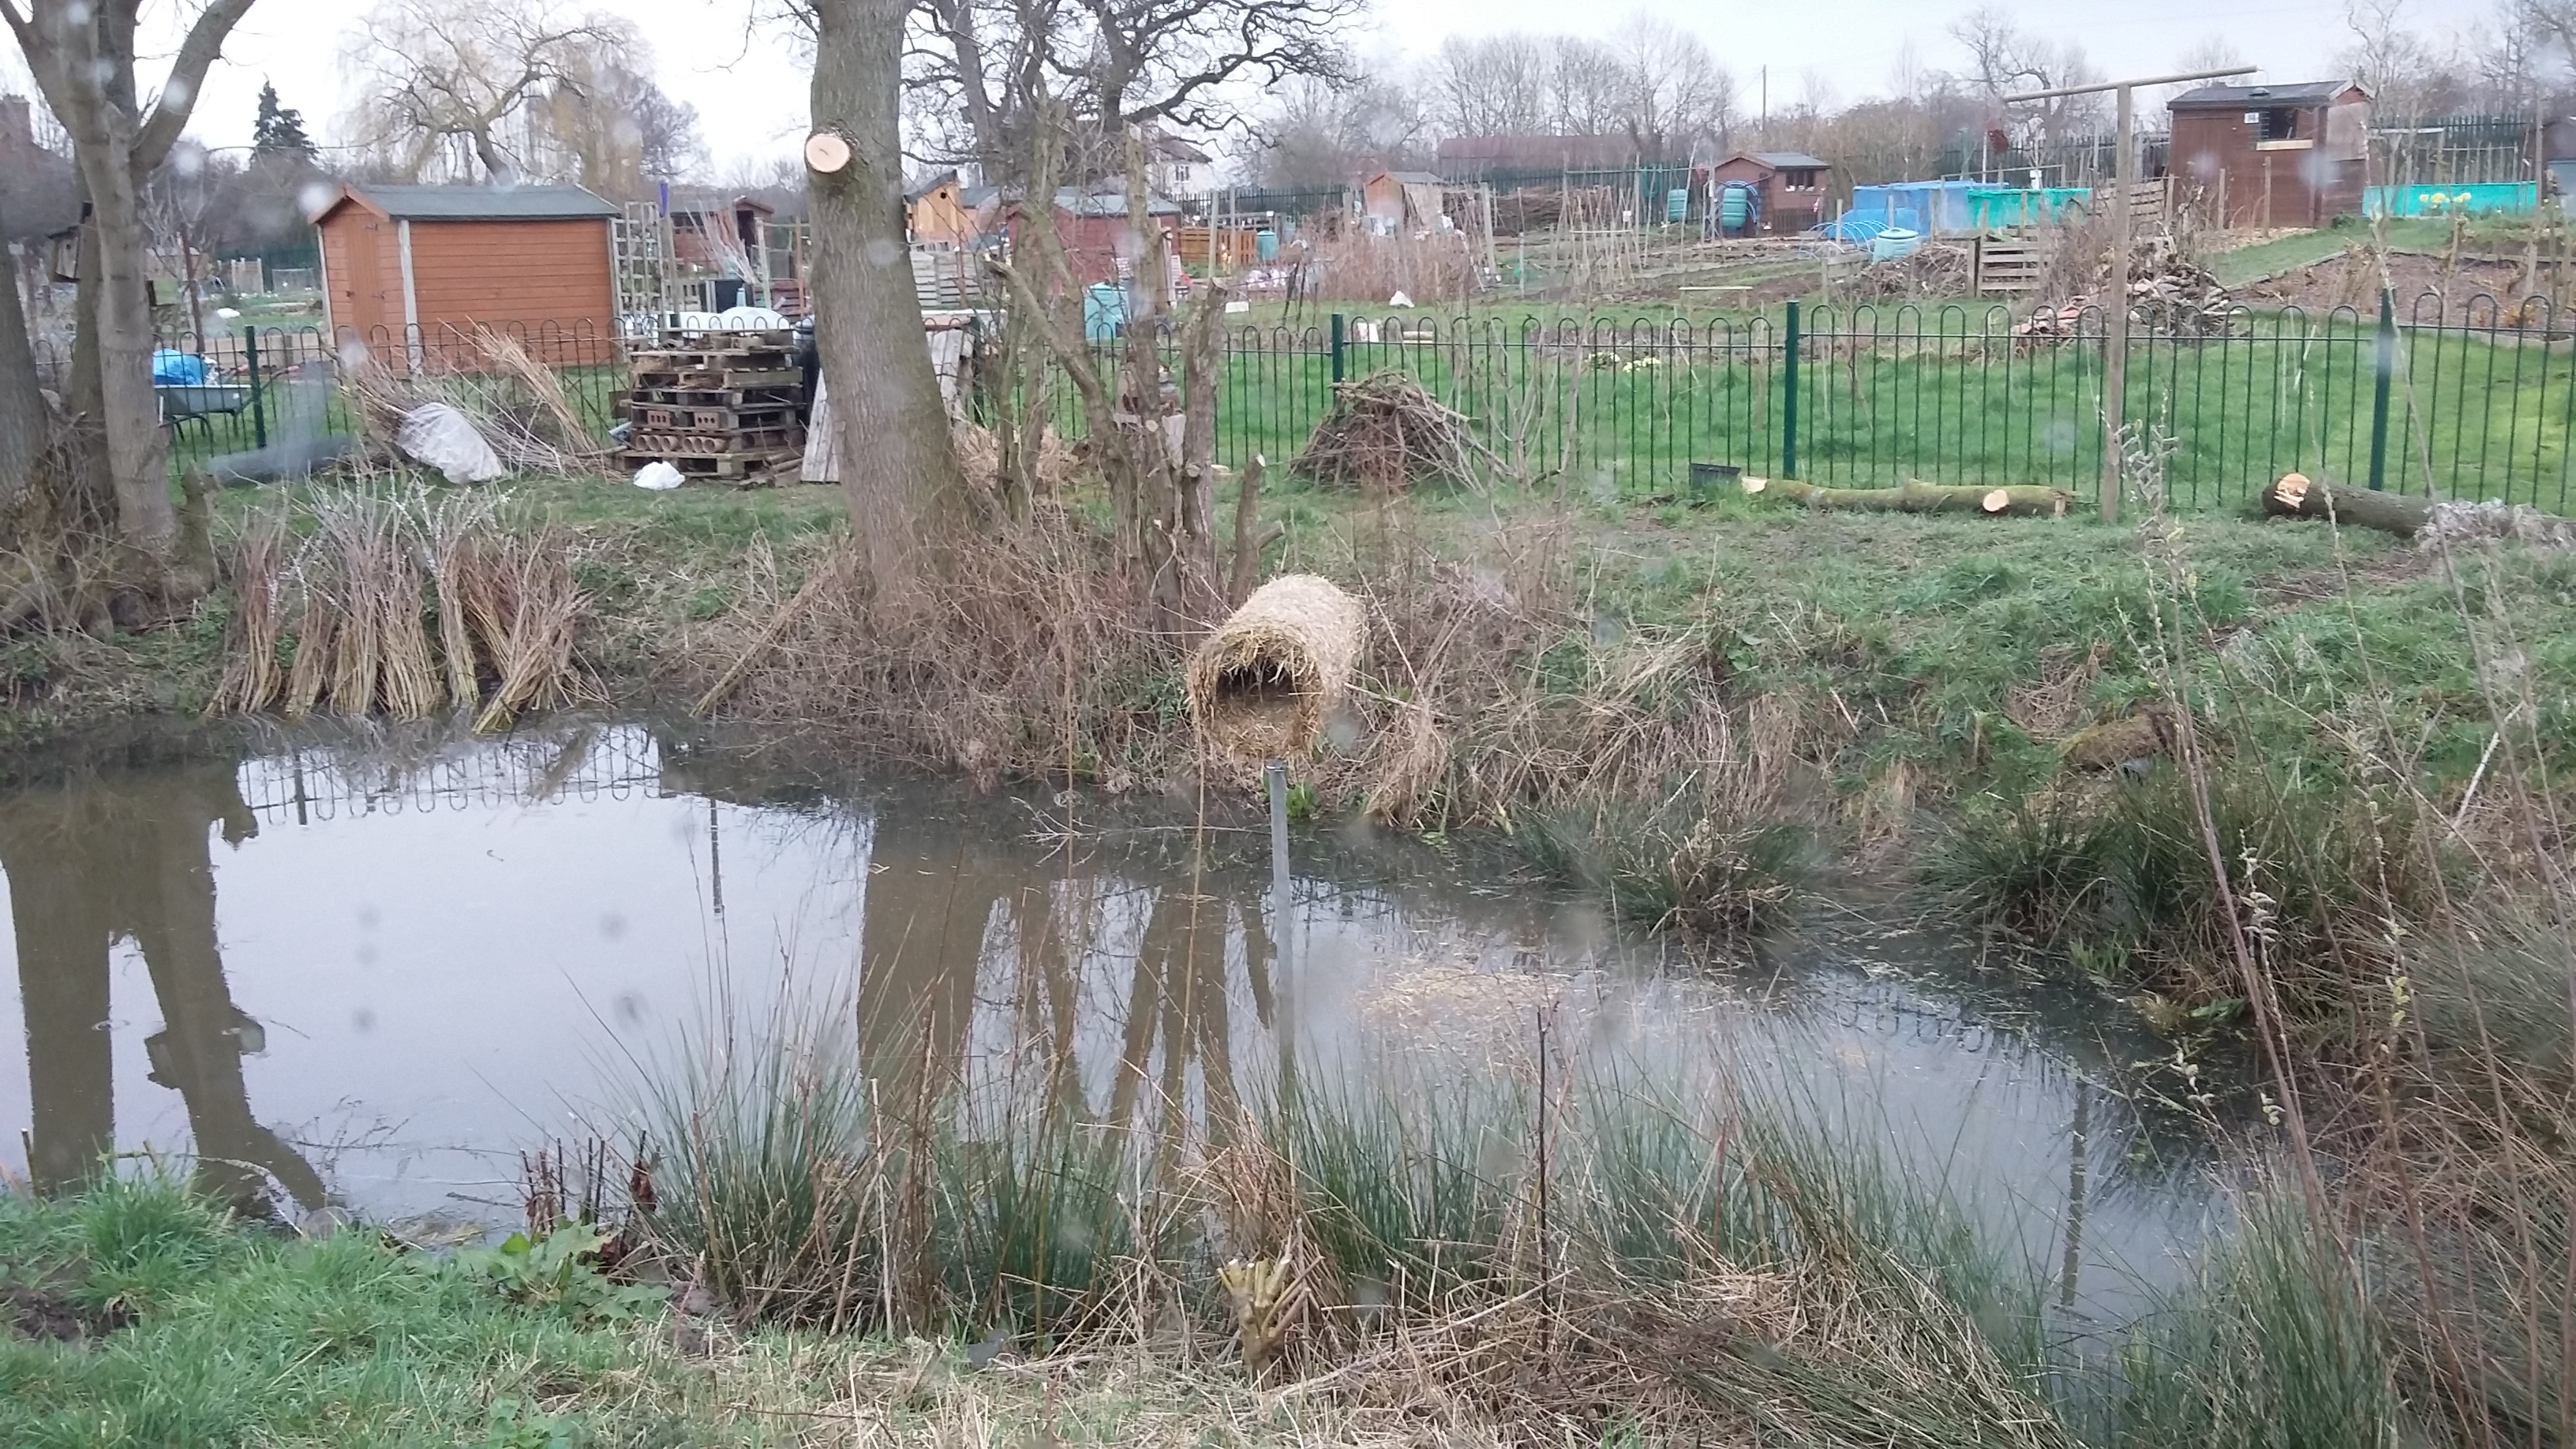
You can see from the group of photos below the area we have to work with and the work we have done so far, the lopping of the trees, the path leveling and the preparation of the bog garden. The pond itself is about 20 x 10 metres and the marshy patch about 8 x 7 metres so pretty impressive! And then there is a margin area varying in width between just over a metre to about 4 metres. W have set ourselves a mammoth task! But we have allowed ourselves a year to get it right. So far things are moving along much more quickly than anticipated as opportunities have come our way.

2015 01 18_9352-1

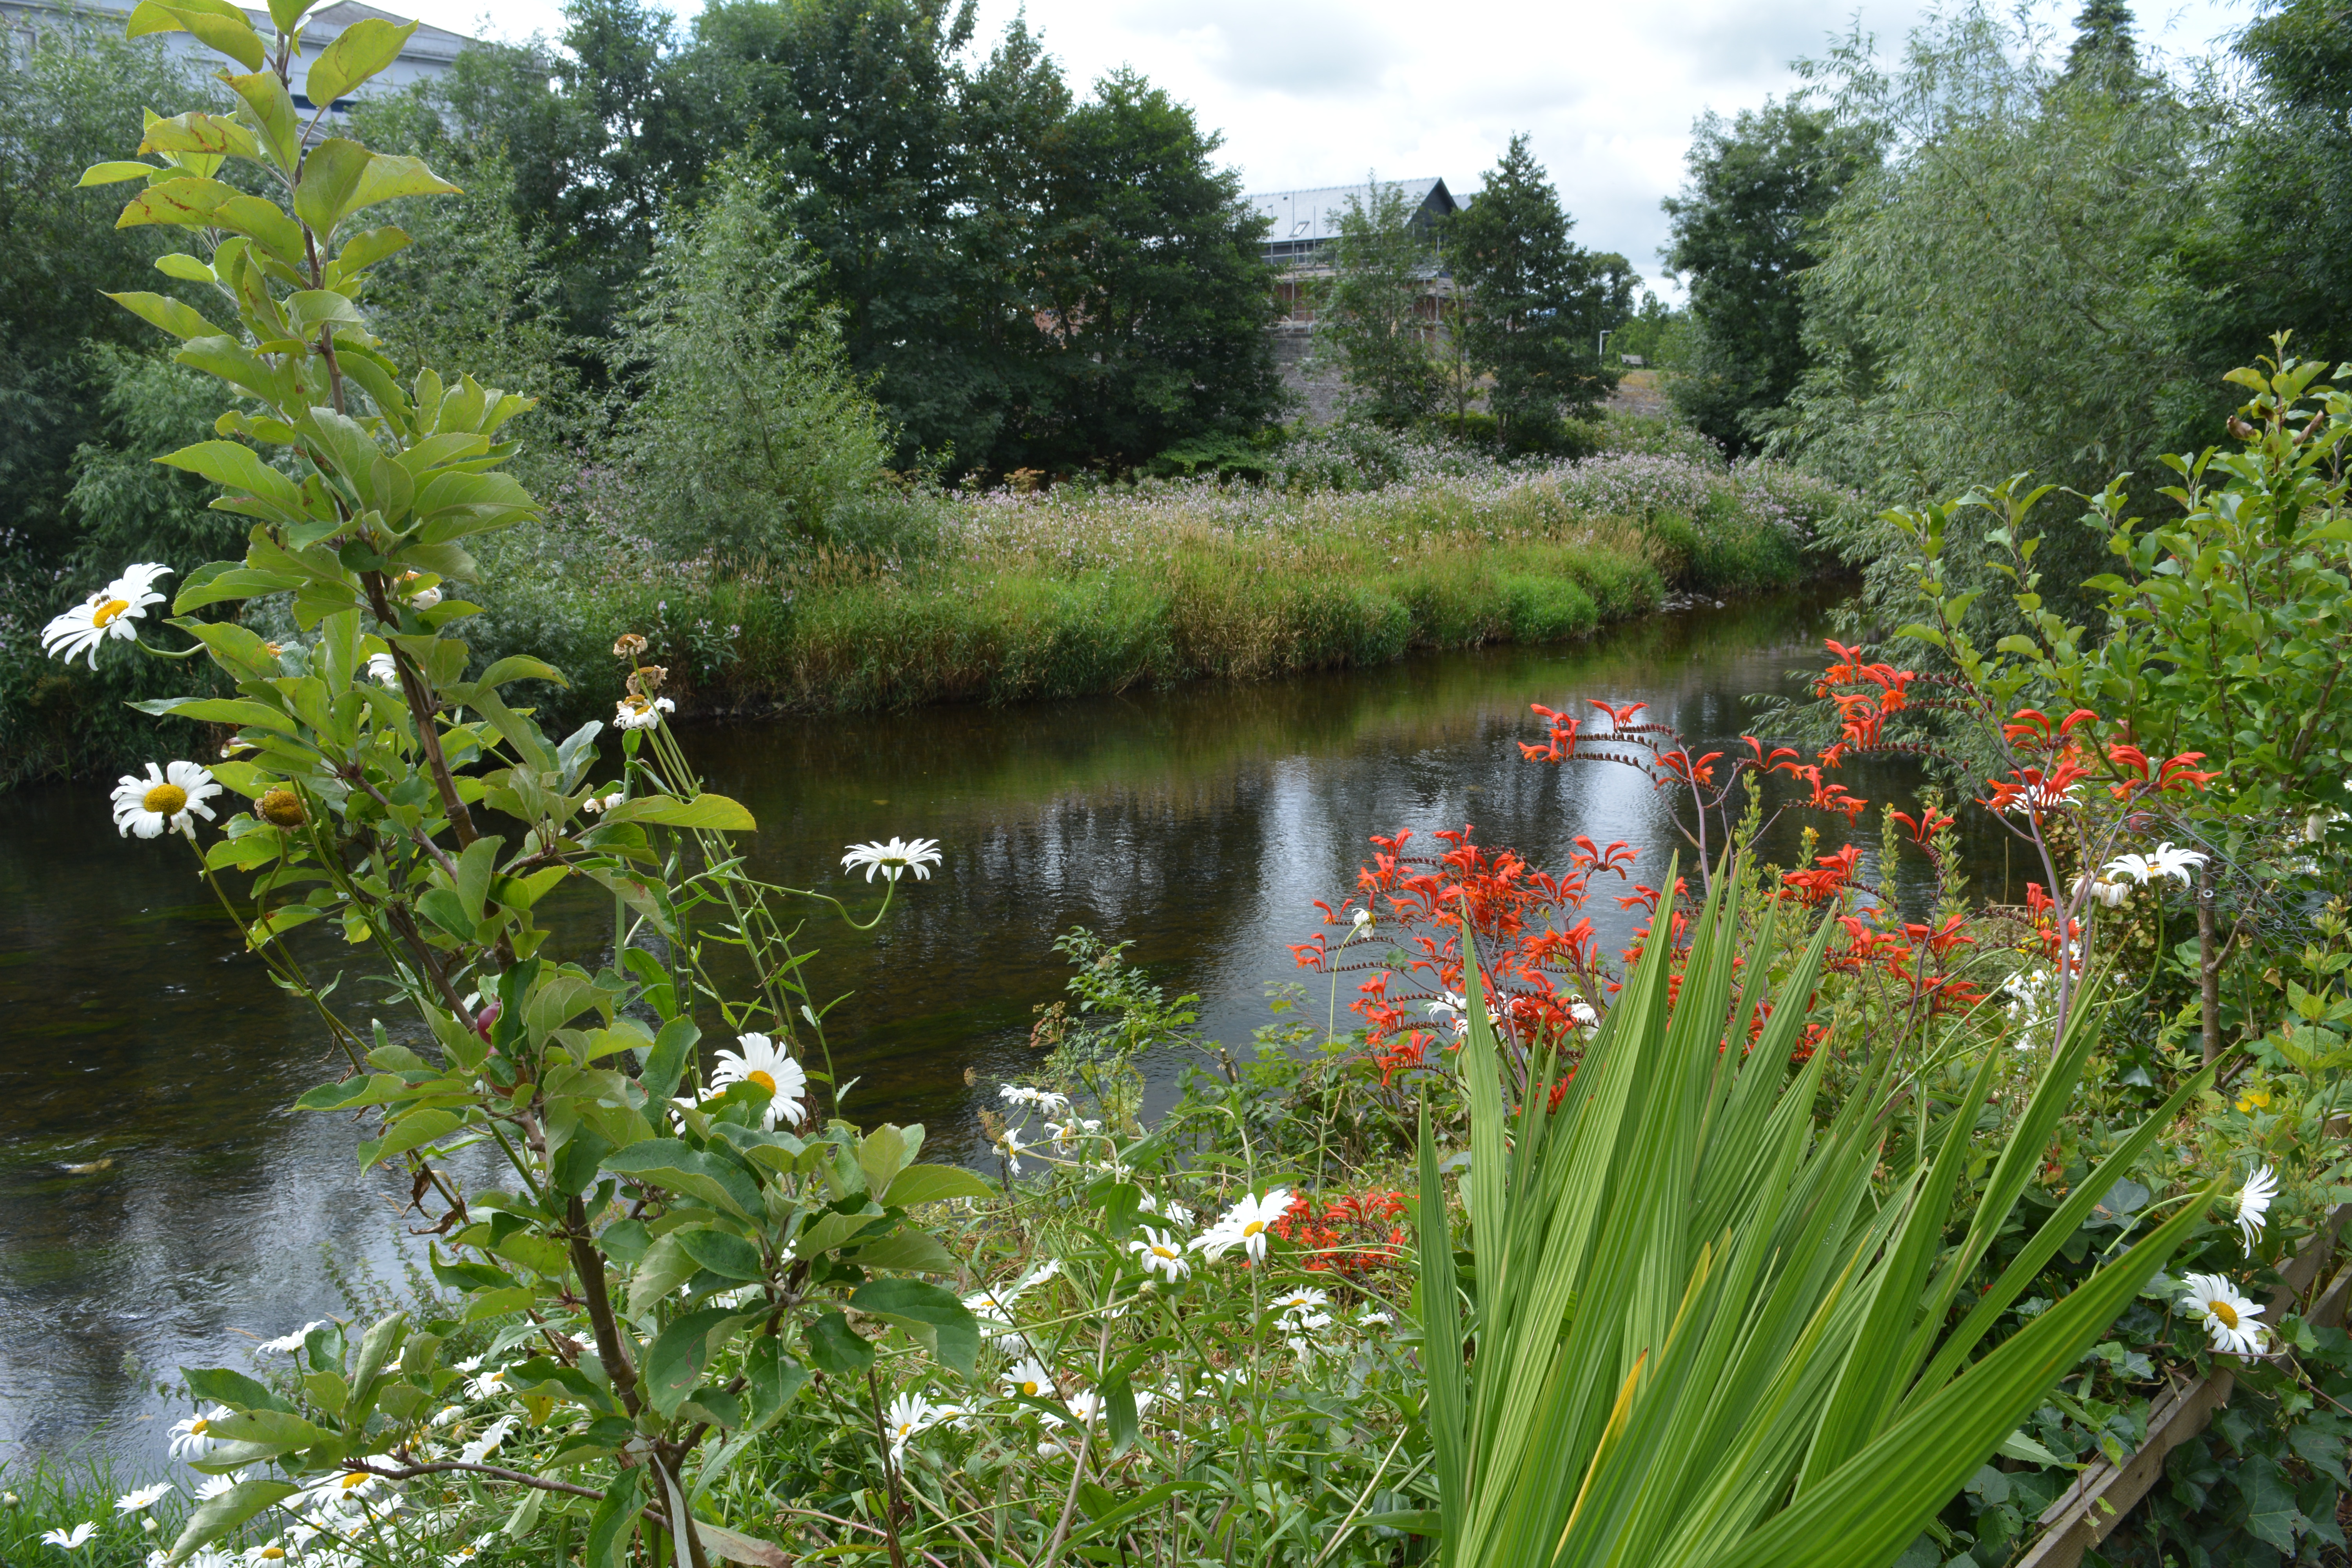
The next photo shows the bog area at the end of the pond where the drainage pipes from adjacent farm land brought the water into the pond. This was a steep sided marsh area with a tiny stream meadering through it. We have piped the water below the area now and re-contoured the sides to make it safer. This area will be planted with native and other wildlife attracting plants such as King Cup, Liatris, Yellow Flag and Flowering Rush.

2015 01 18_9353-1

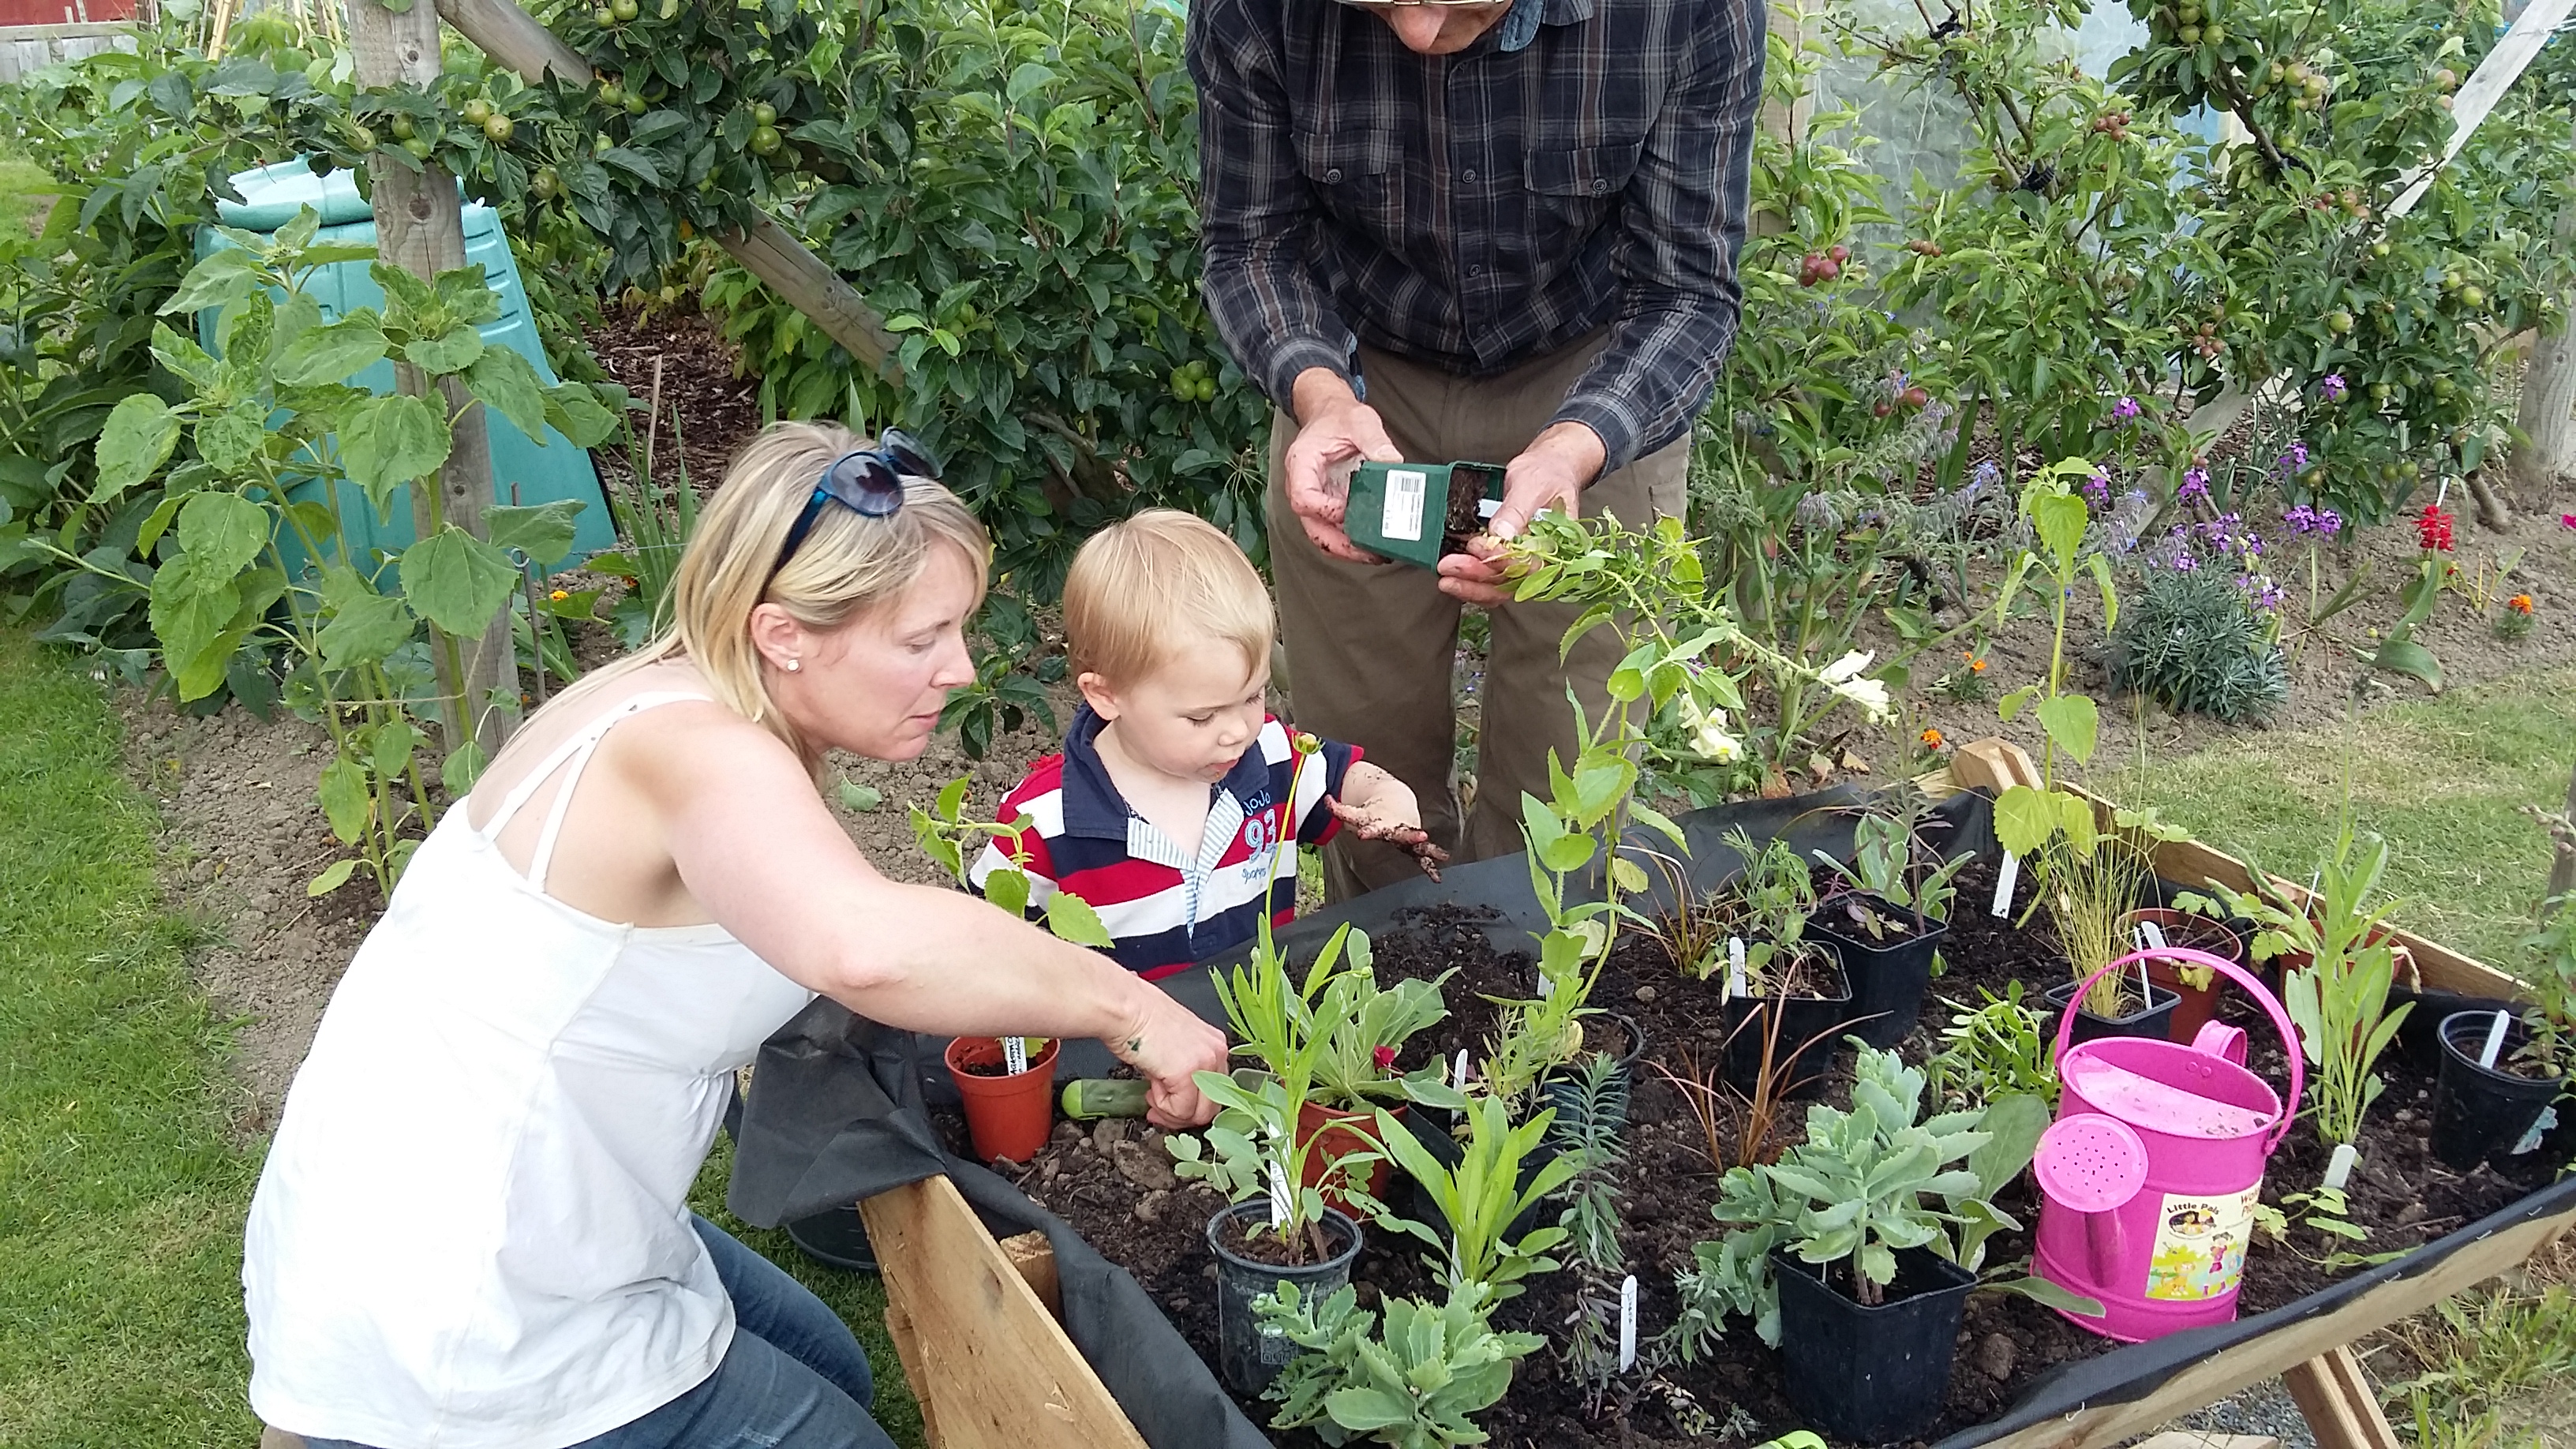
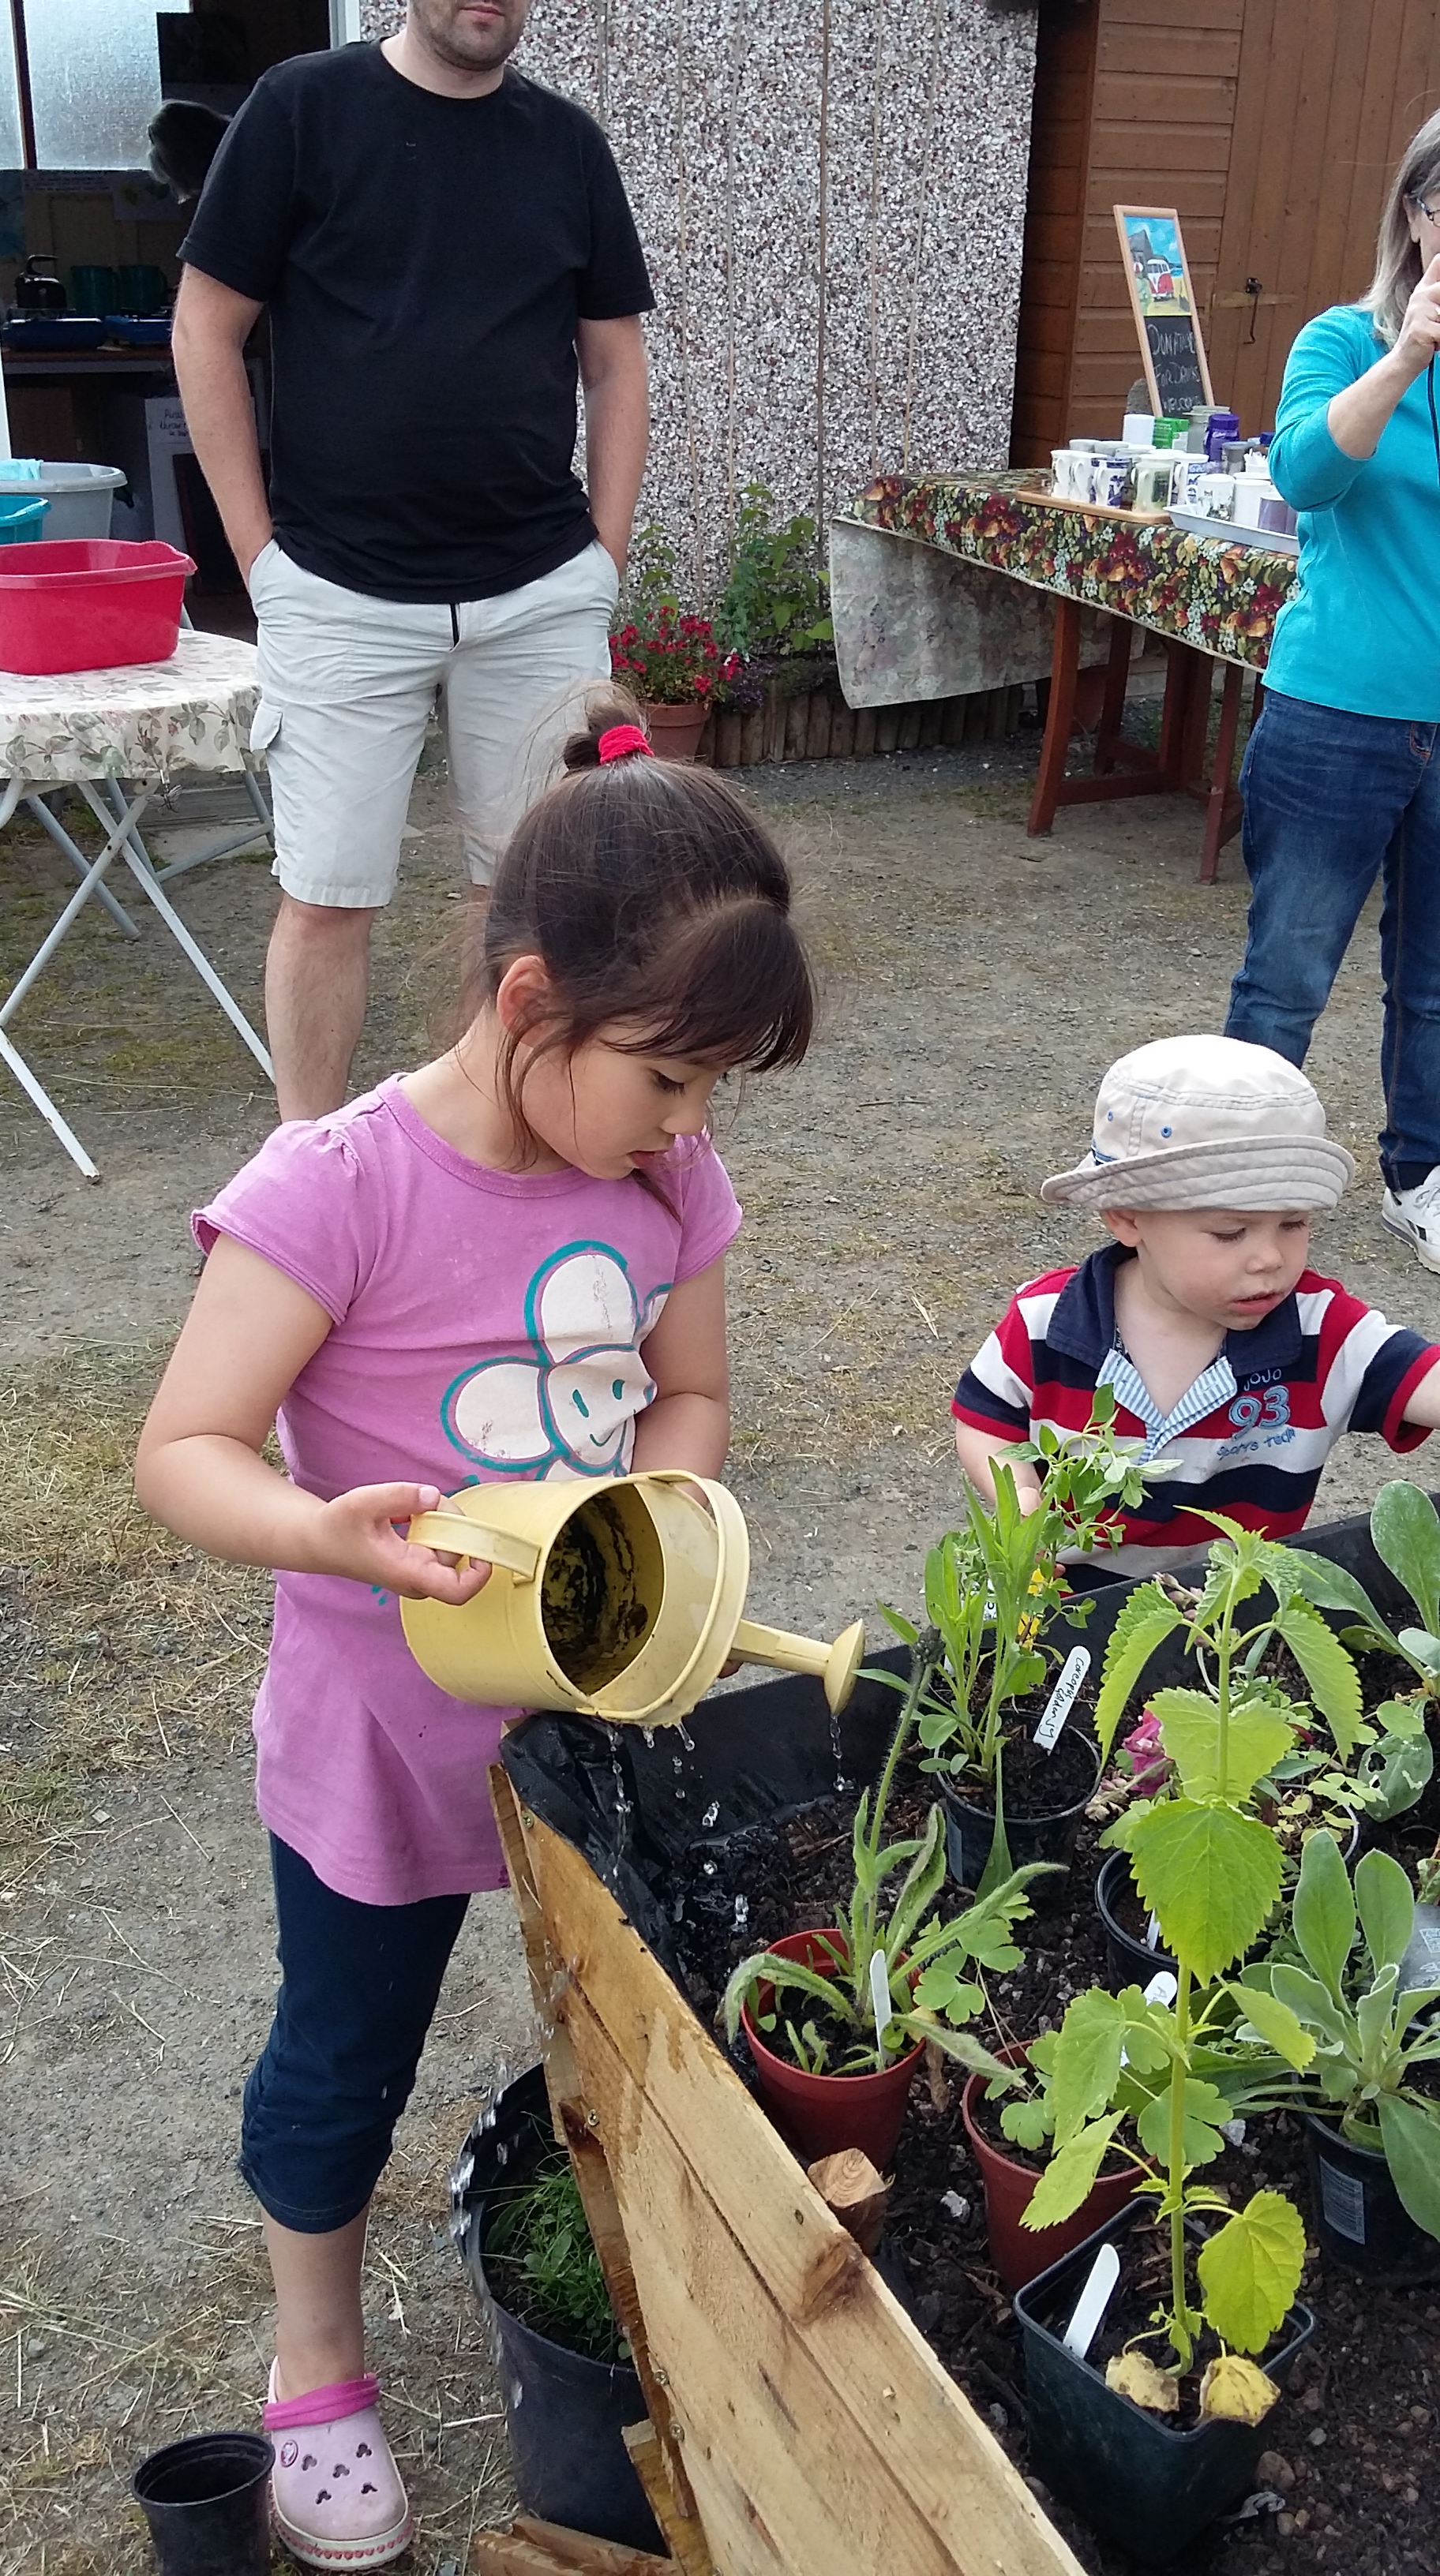
We have recently started the planting and will soon be adding far more. Some we will get as donations from our members and neighbours but others we will get from local nurseries once they have got their stocks out. So far we have planted different sorts of Irises, Water Mint, Water Forget-me-Not, Bog Beans and oxygenators. The first pair of pics shows Jude collecting plants from our pond at home and the second pair shows Sherlie planting some in the new pond.

2015 03 17_0035 2015 03 17_0034

2015 03 16_9942 2015 03 16_0007

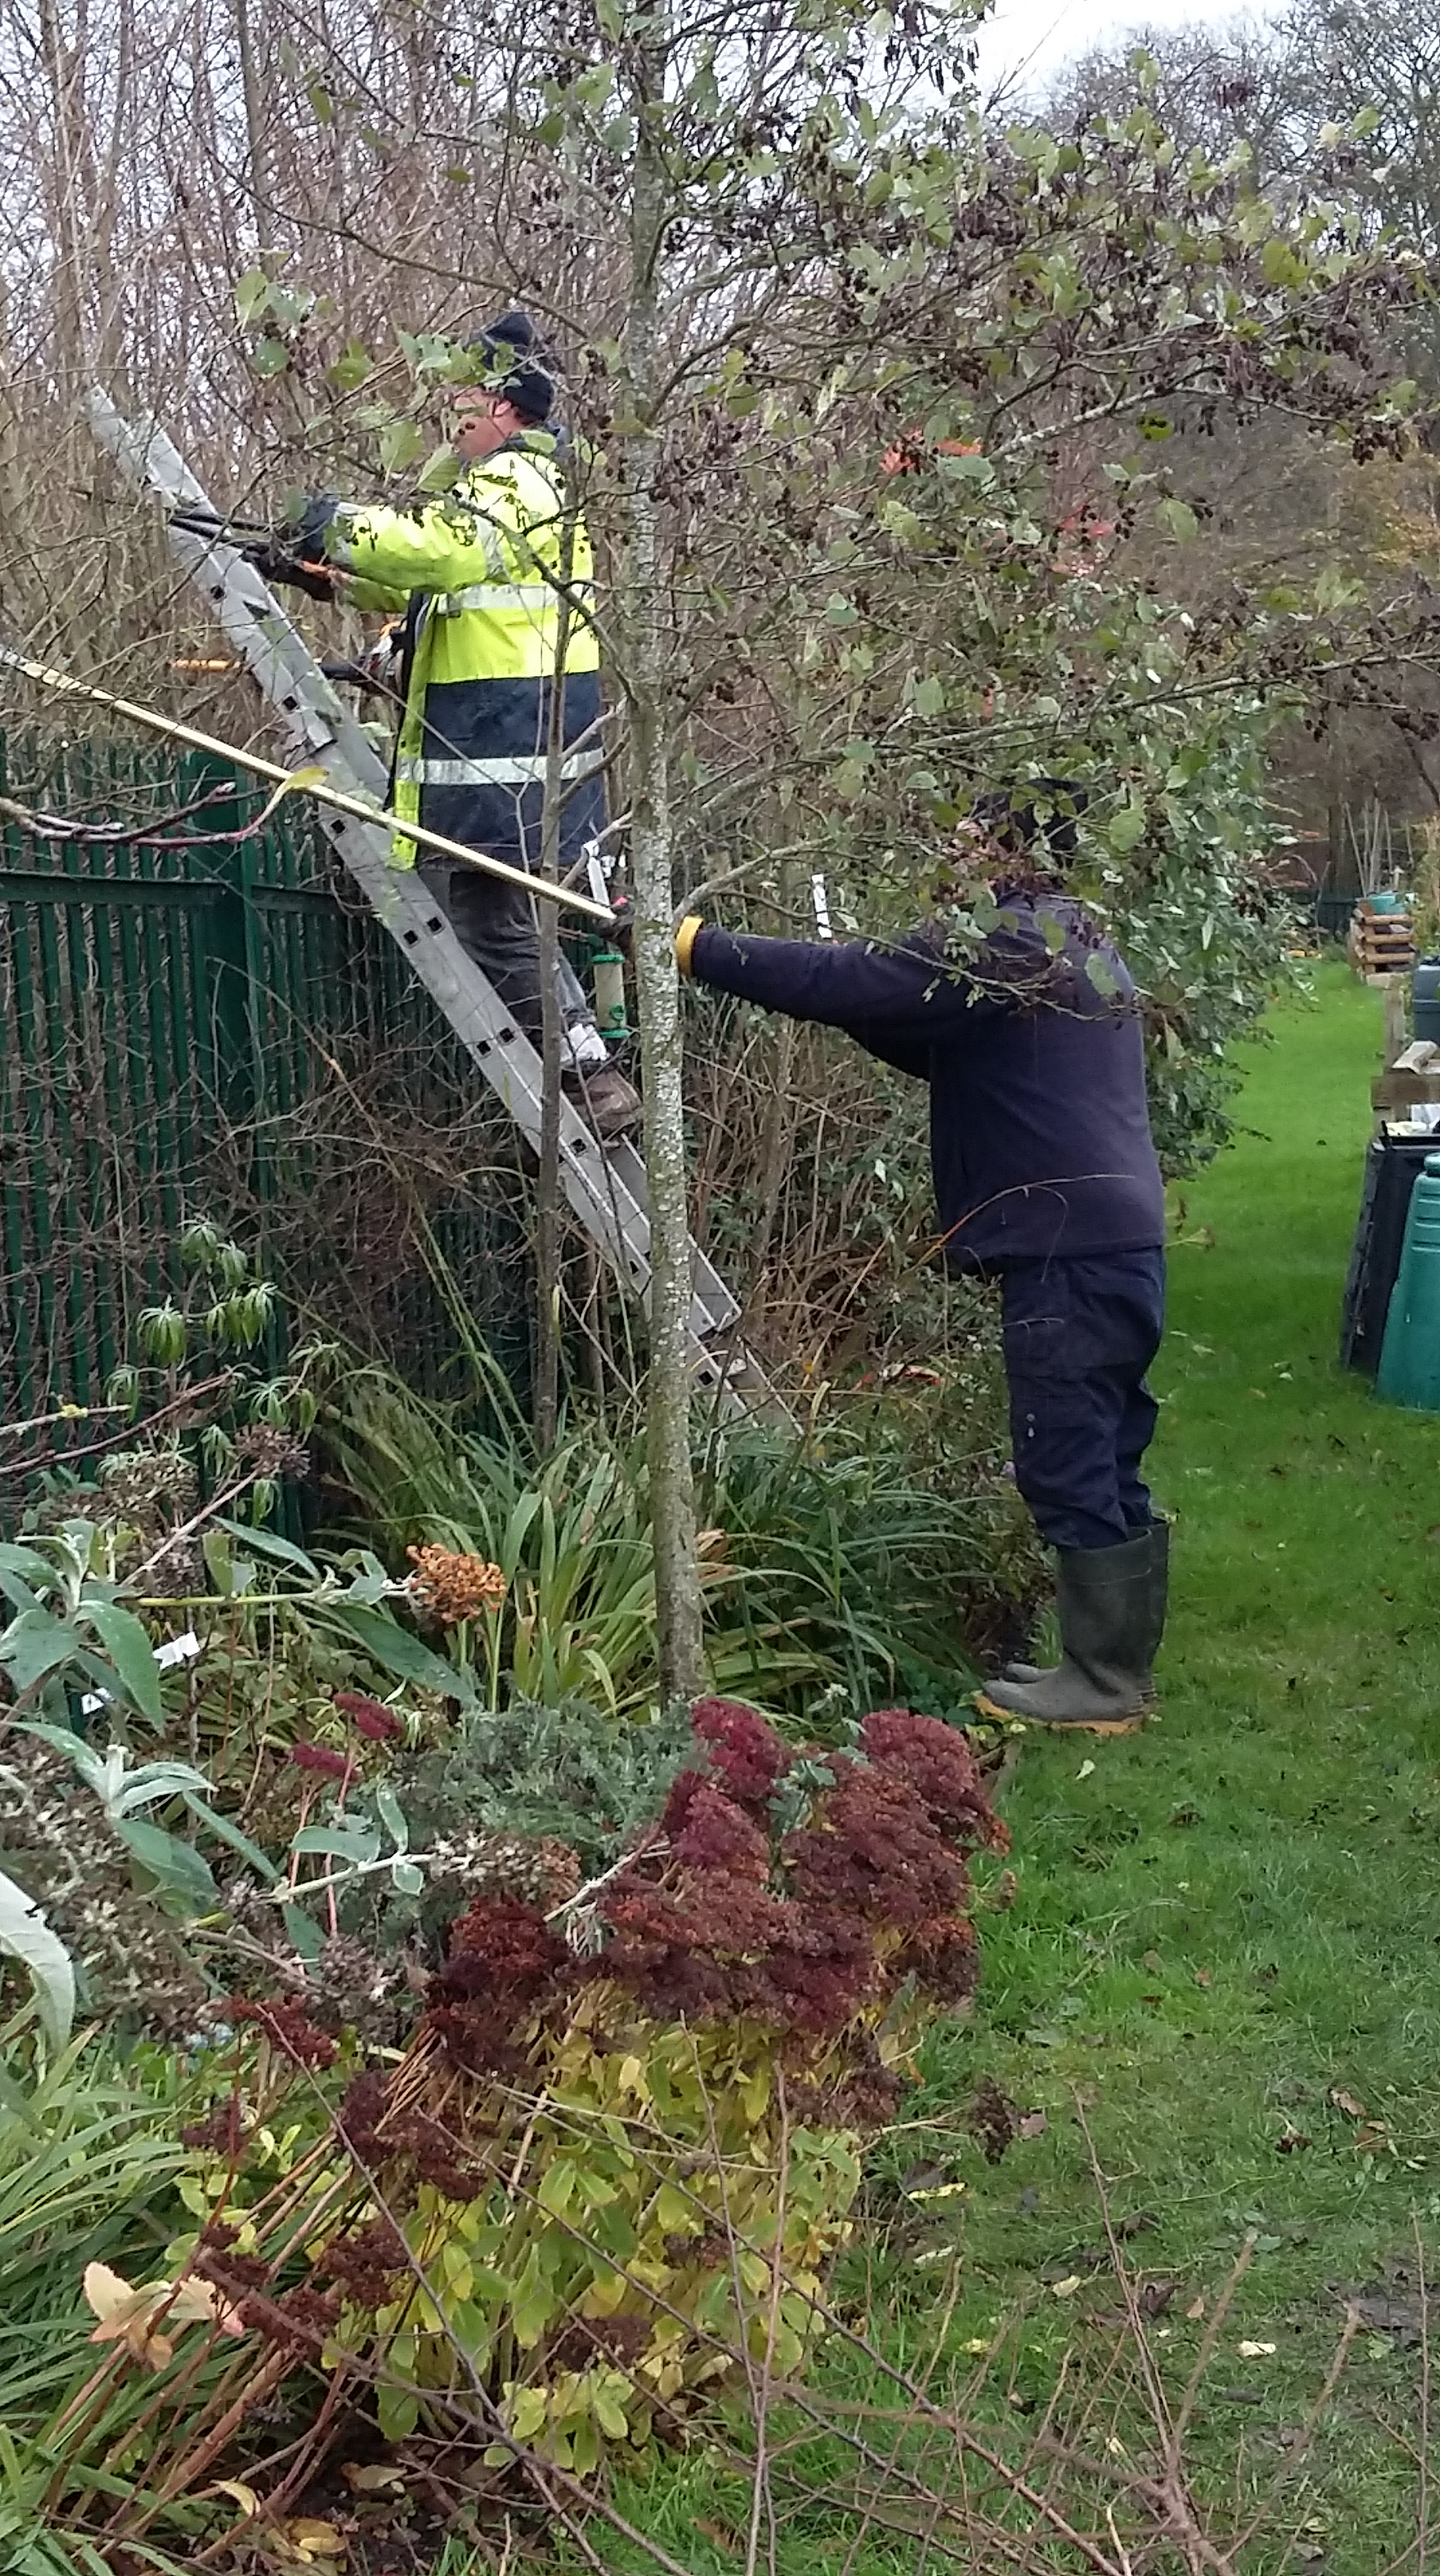
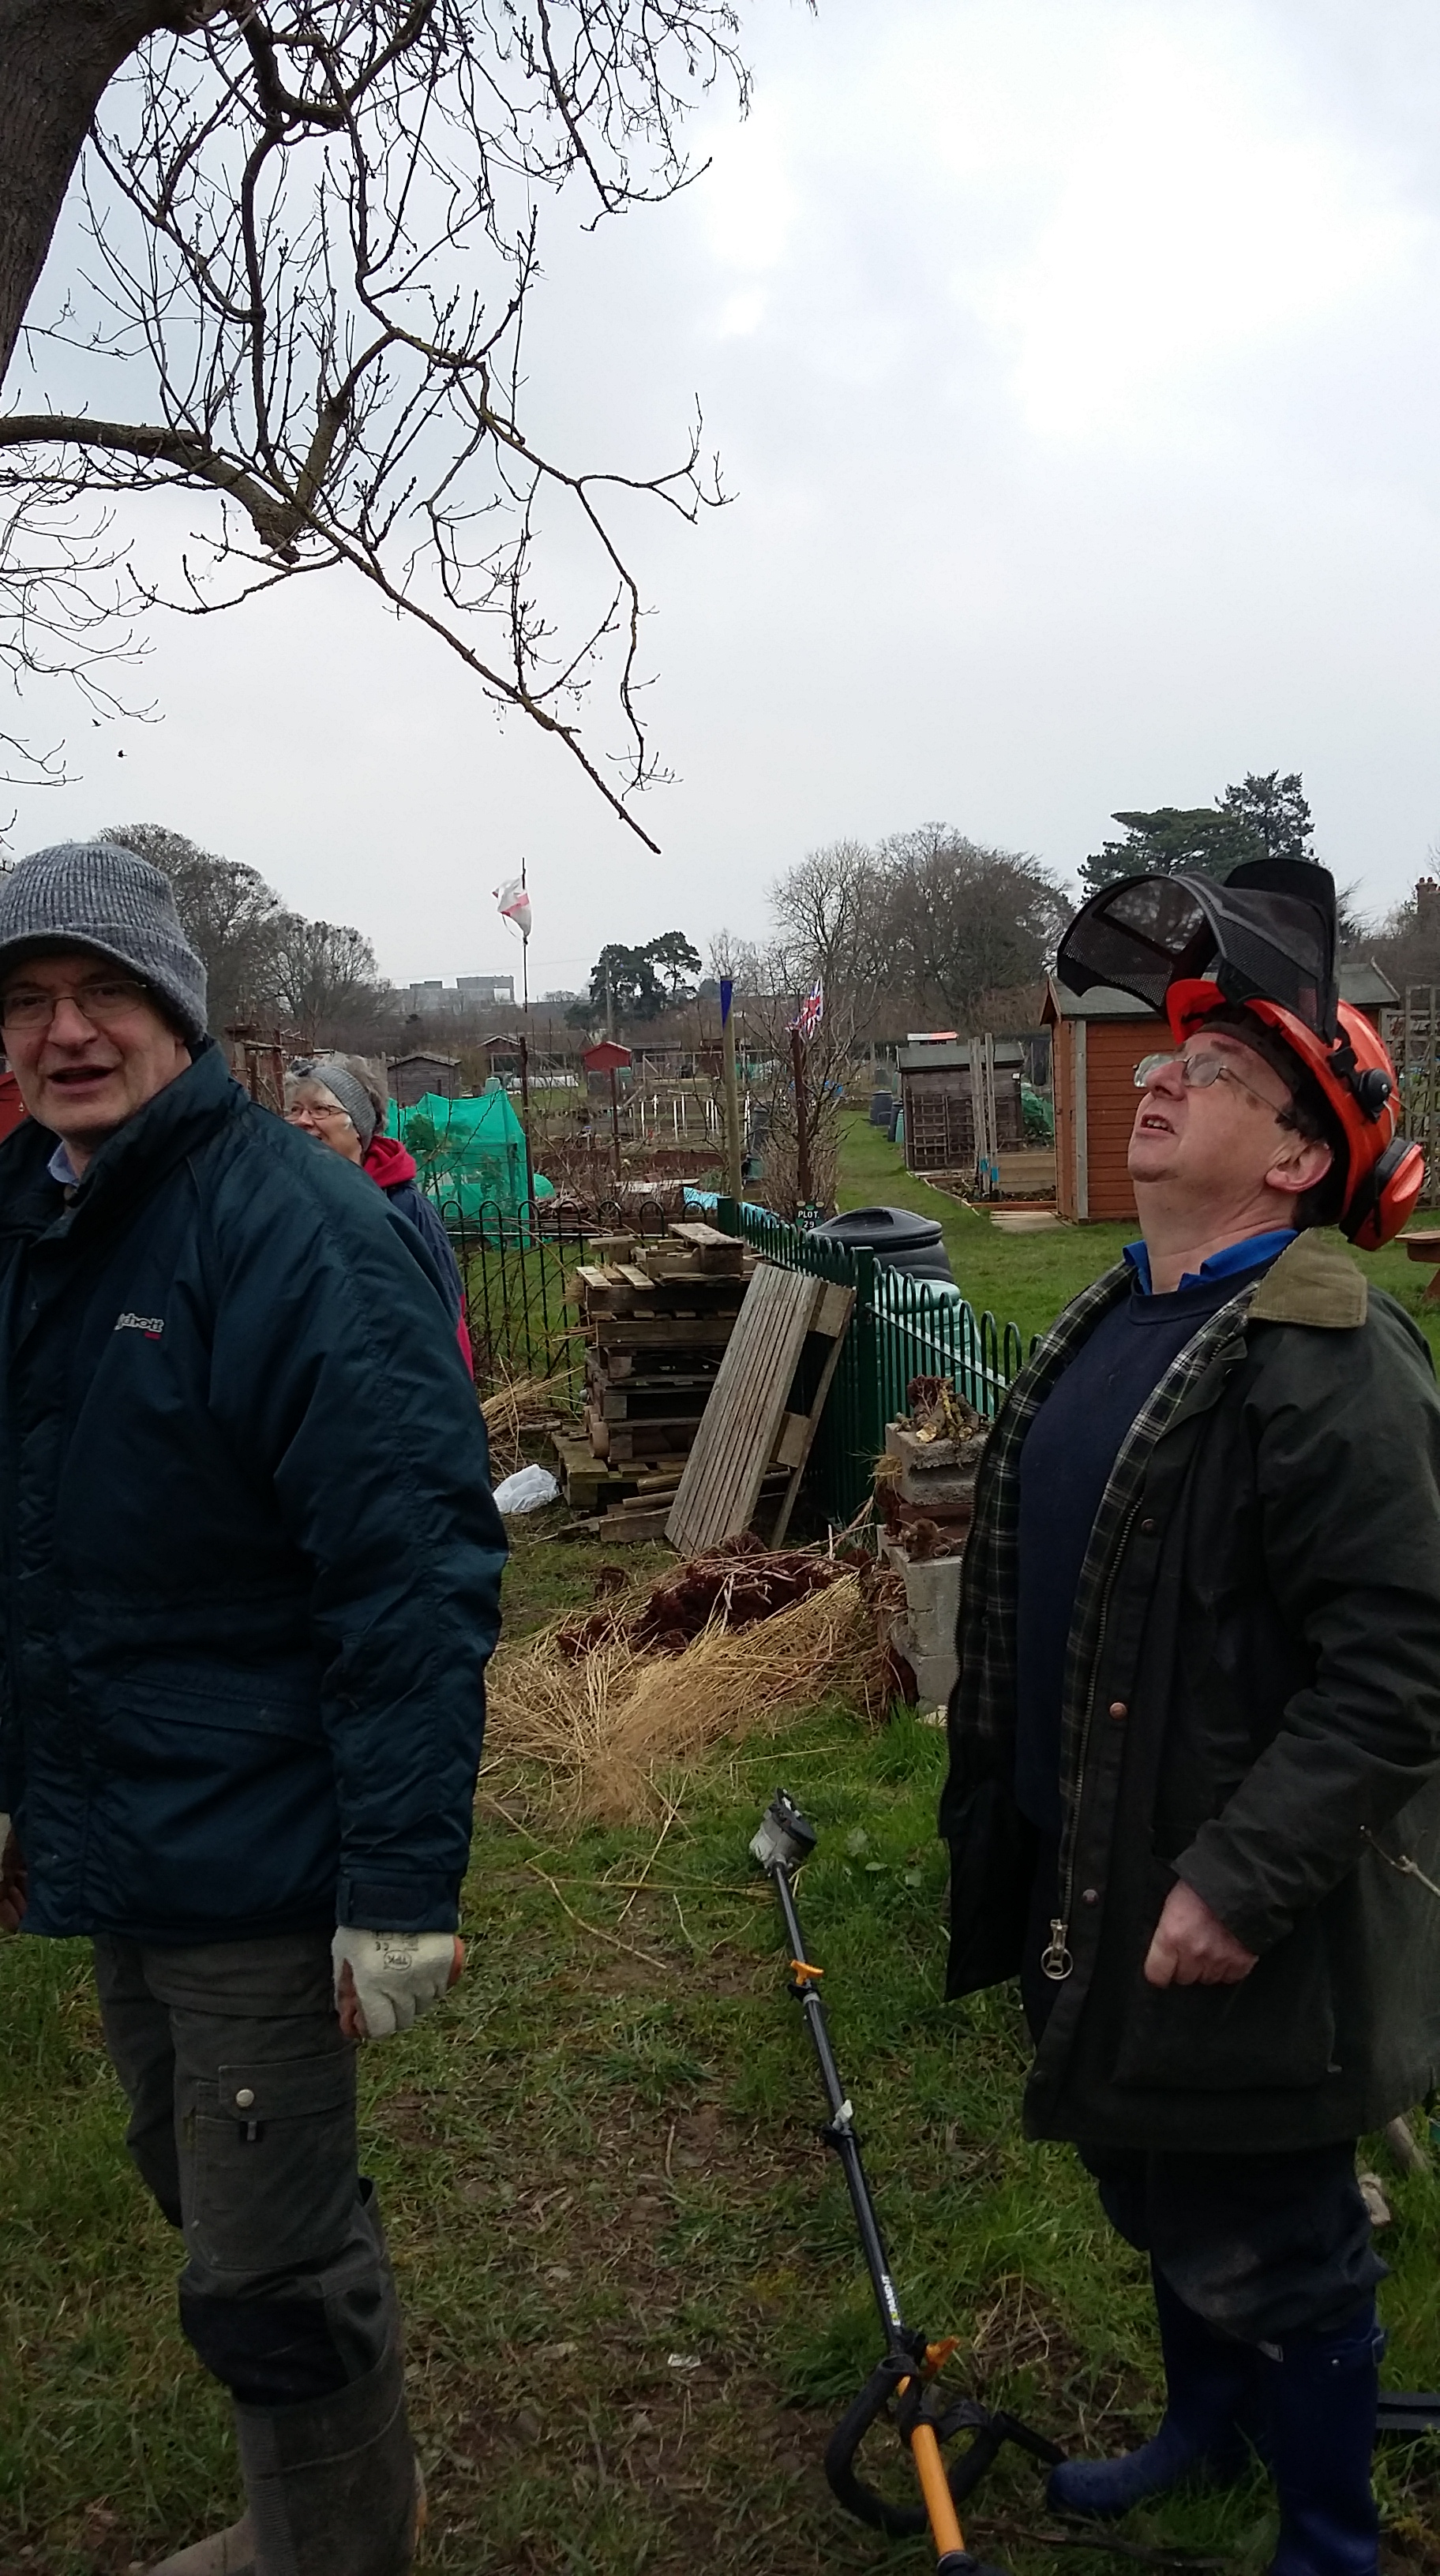
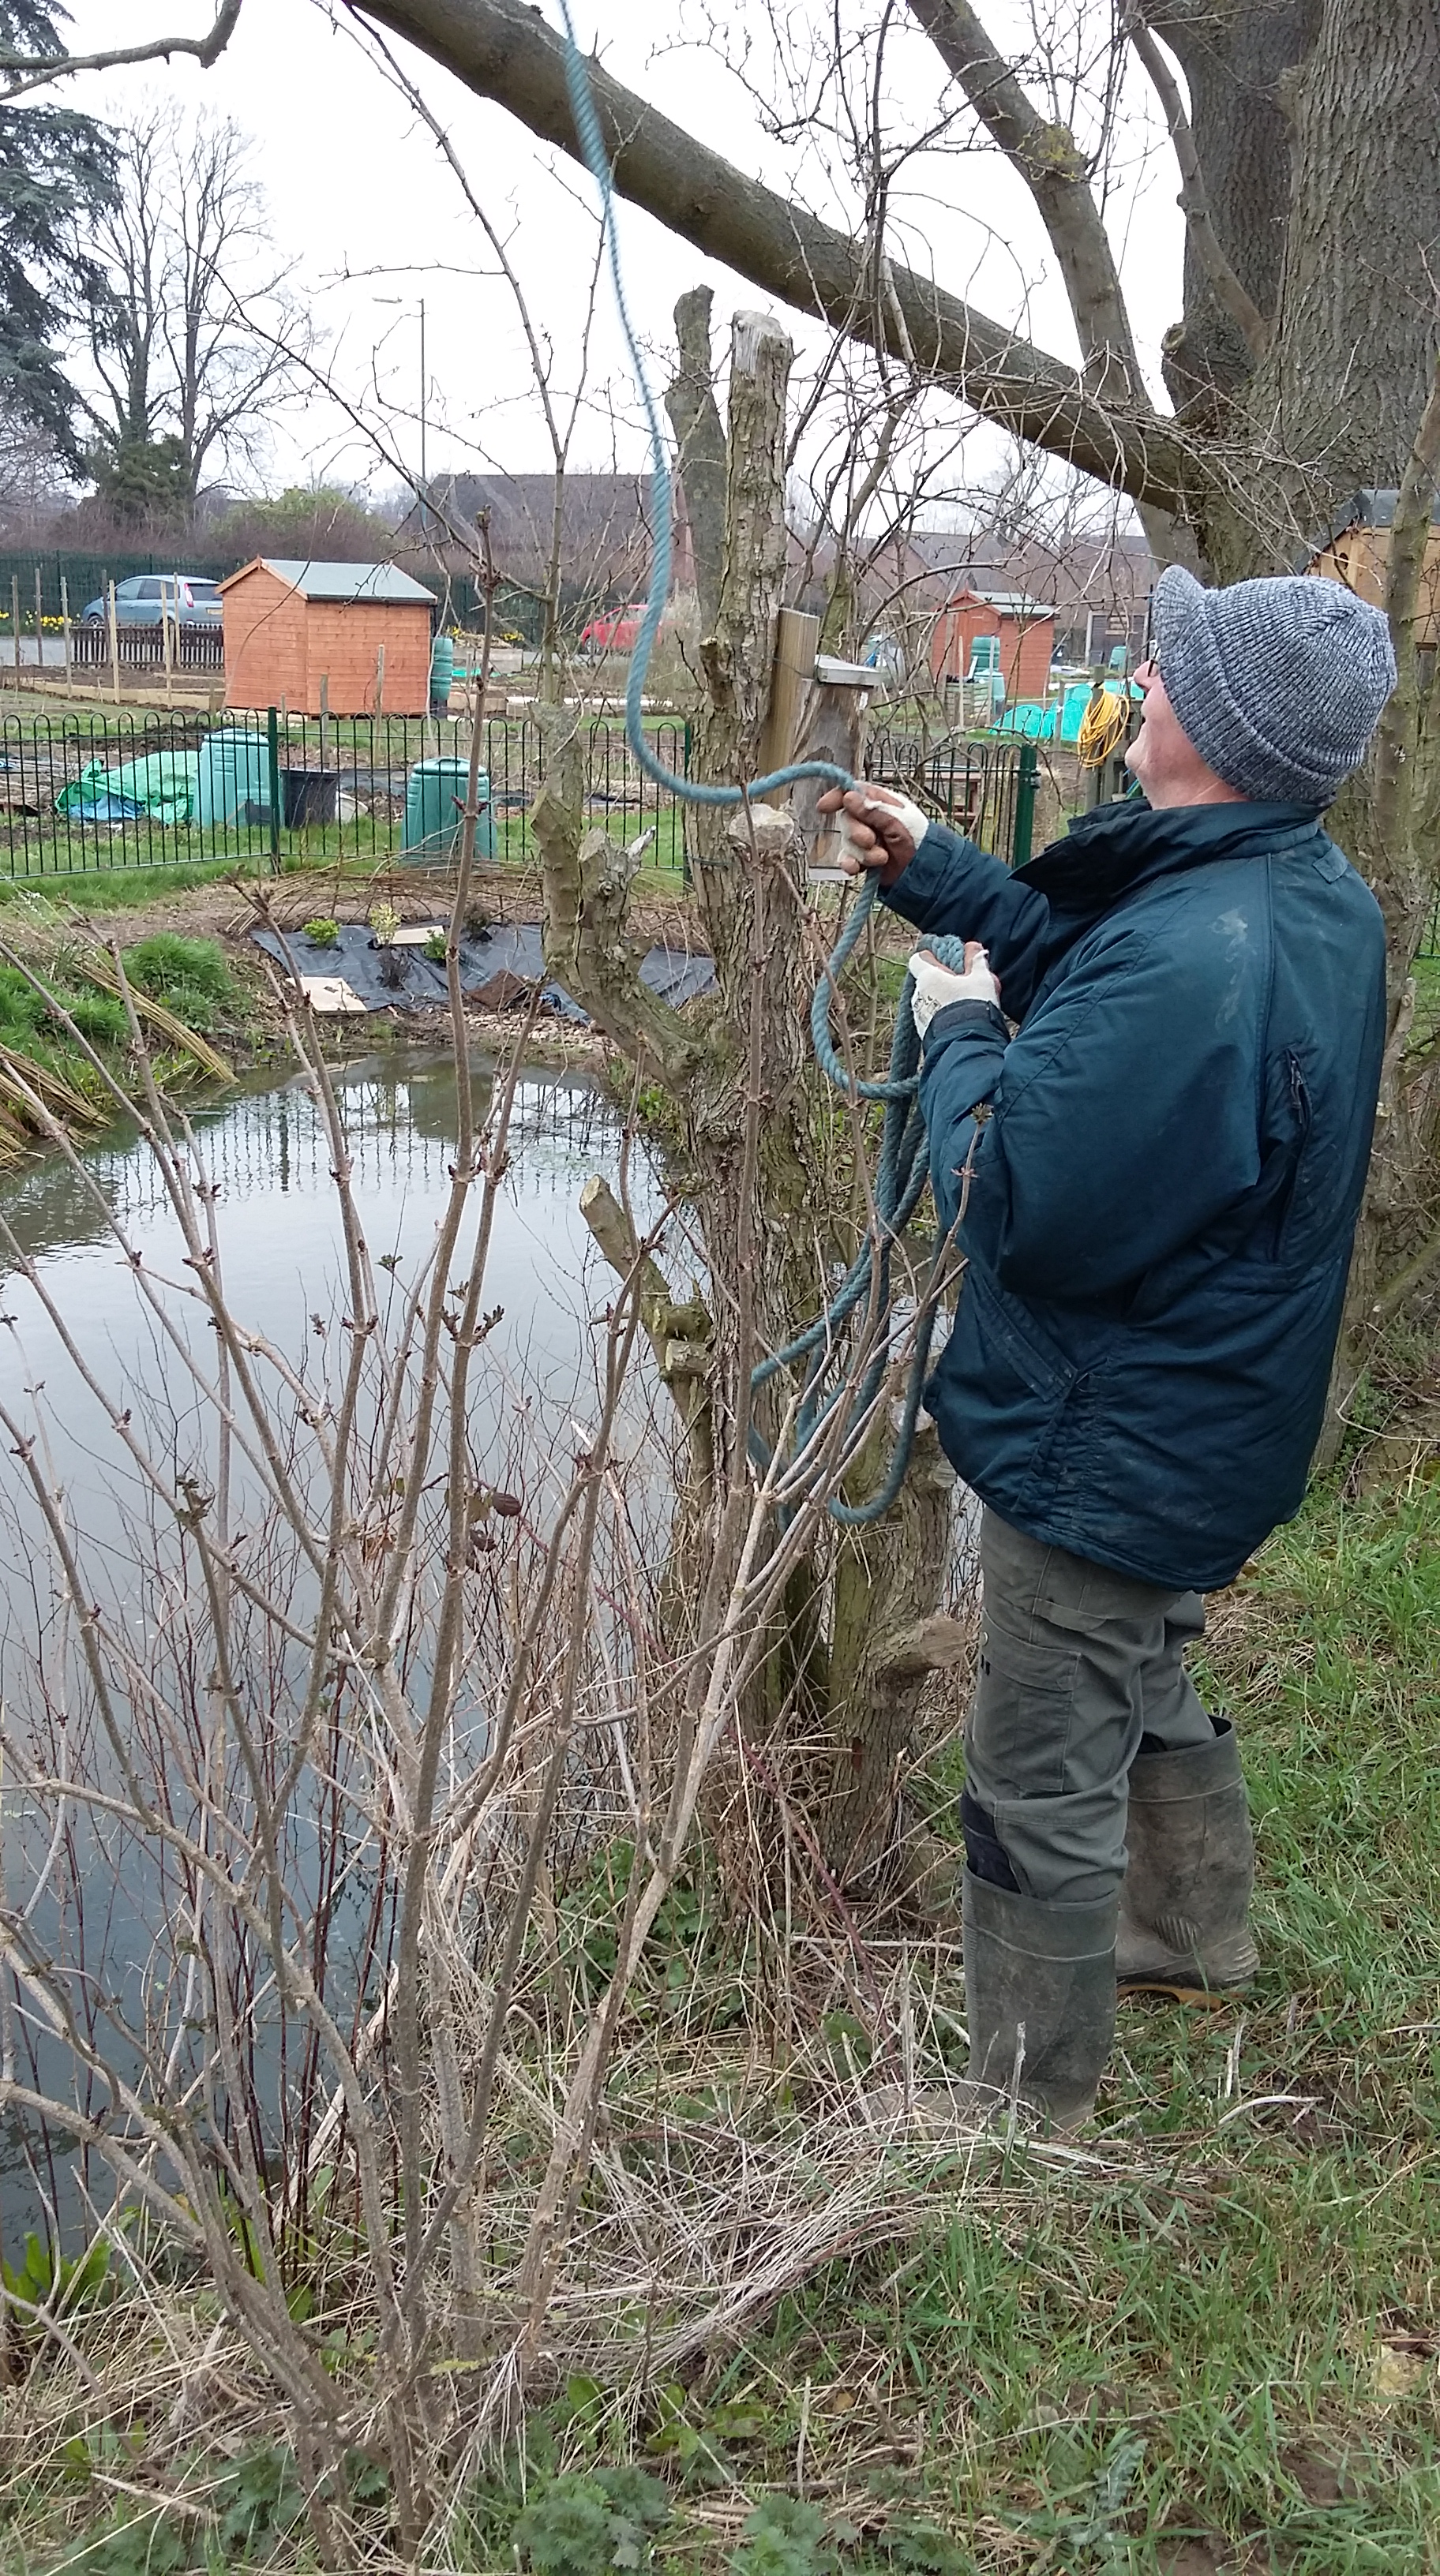
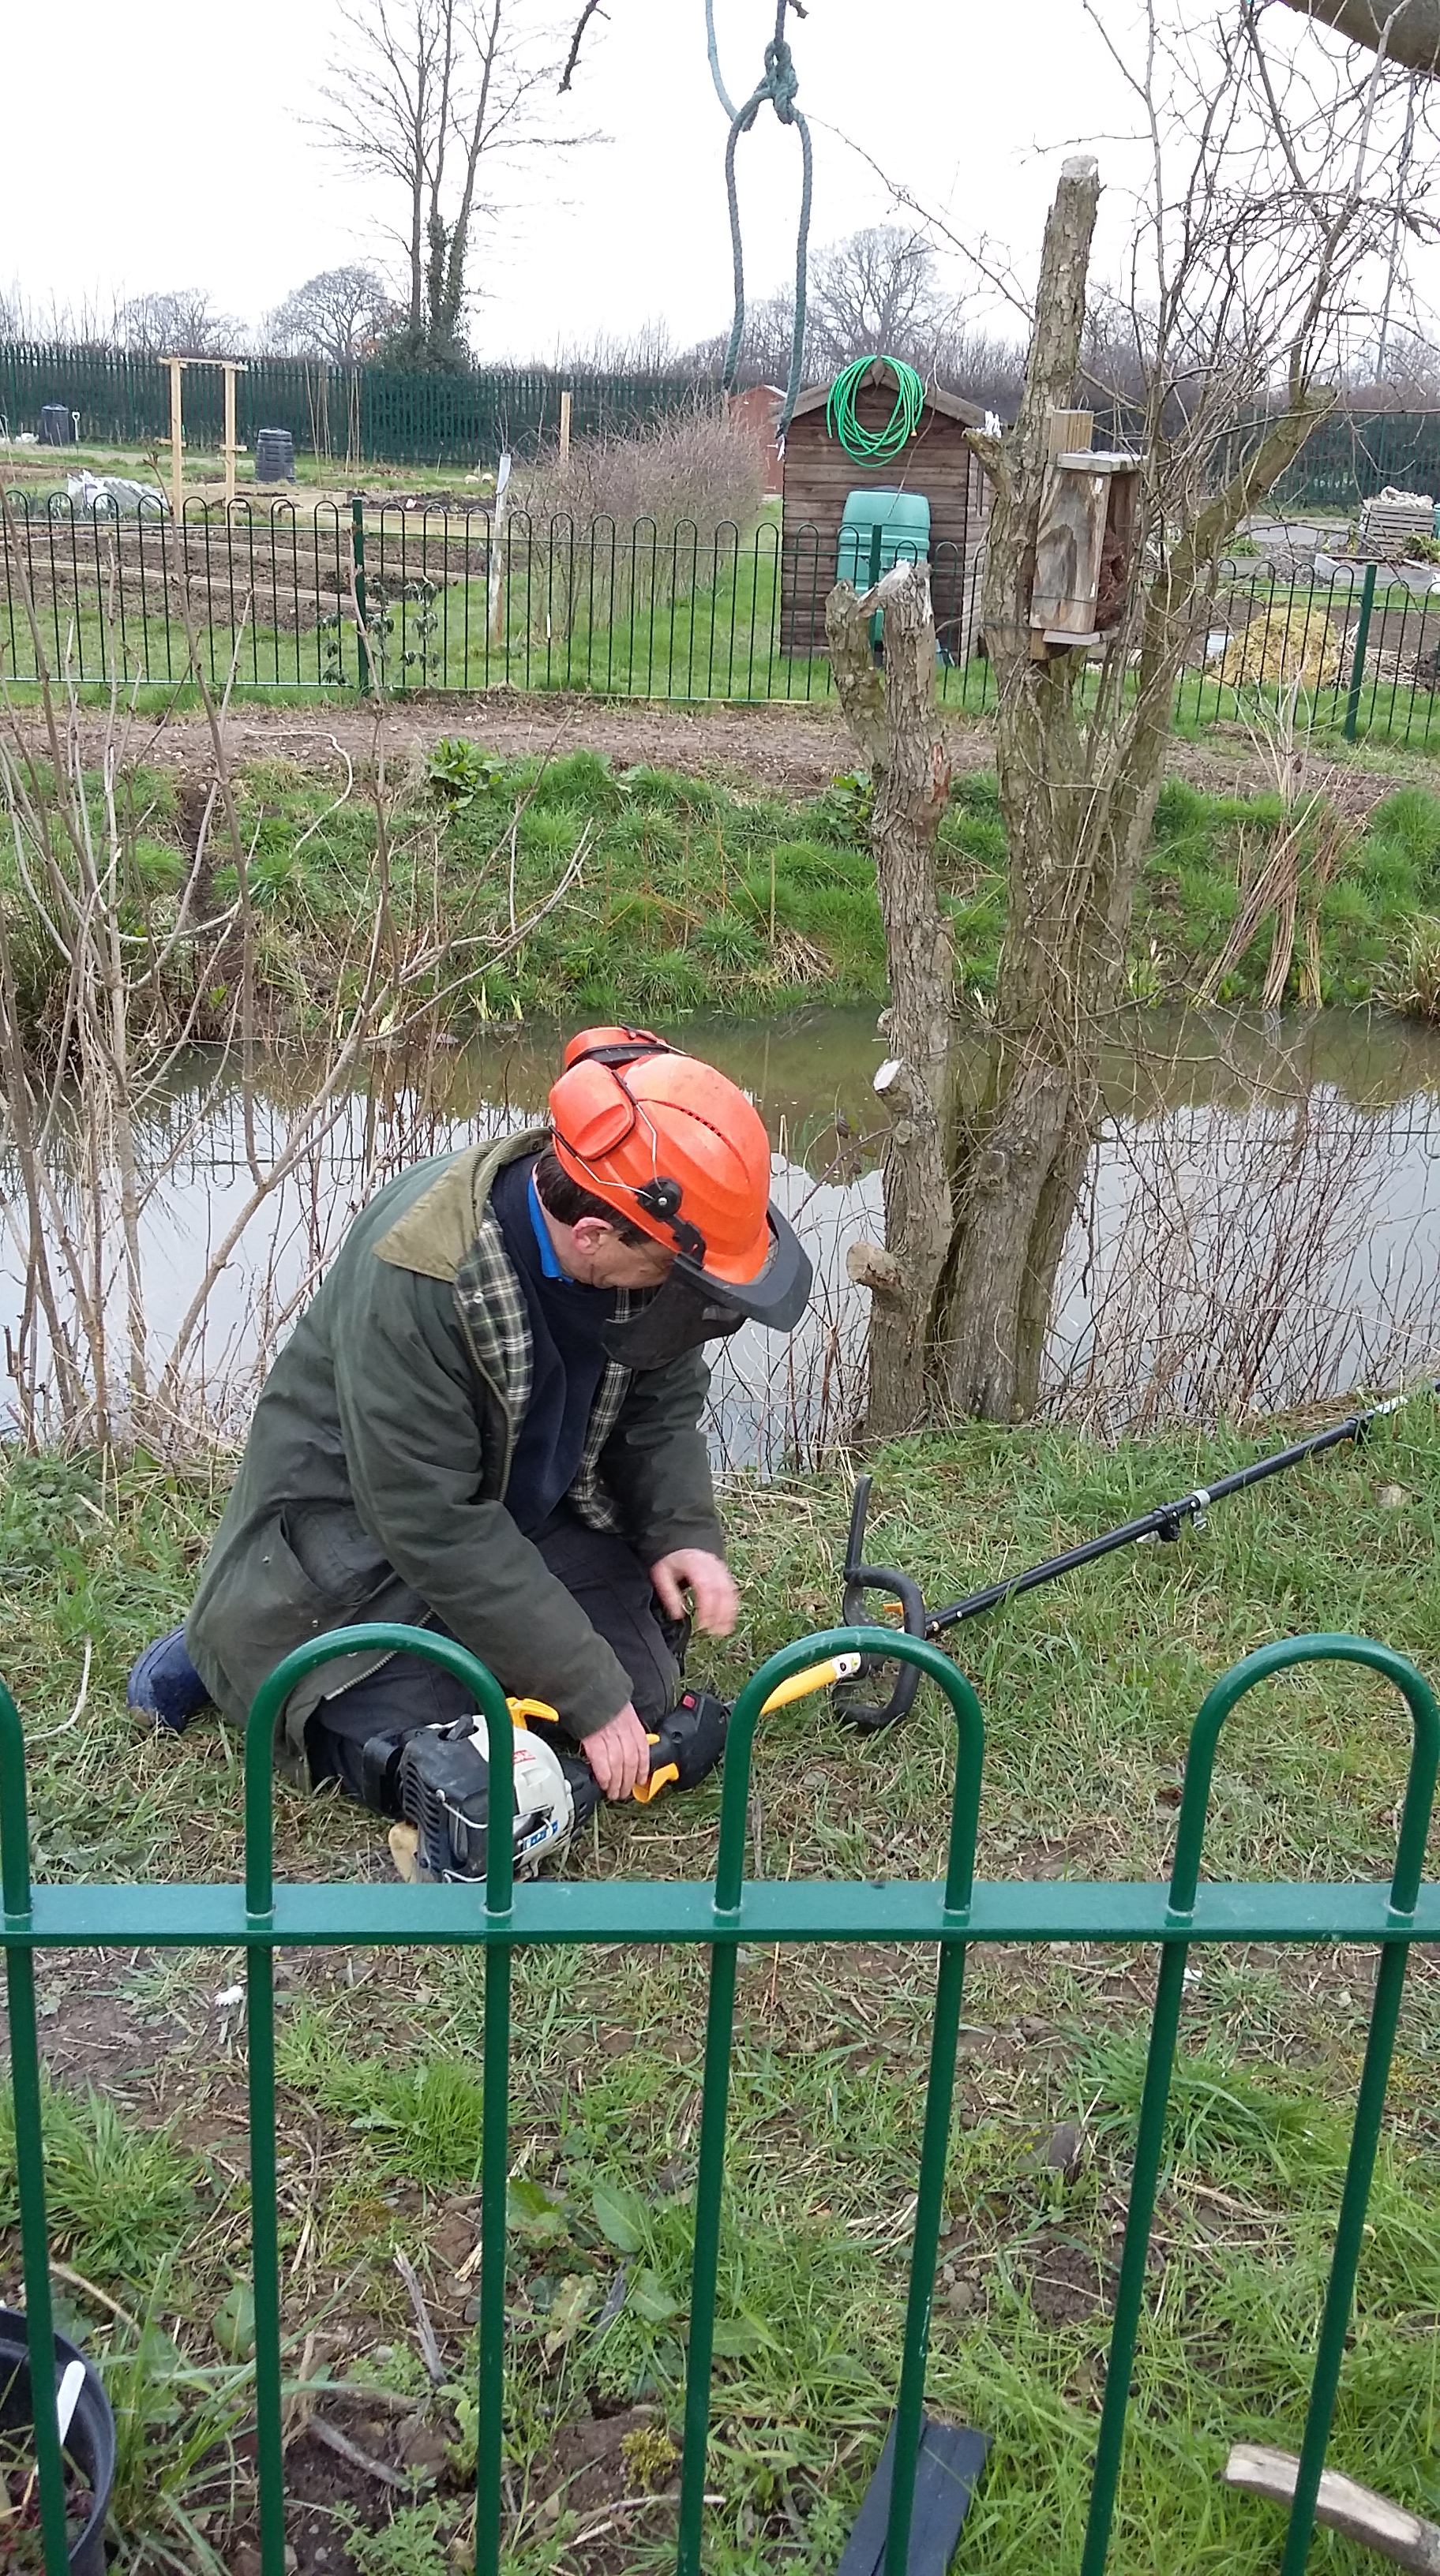
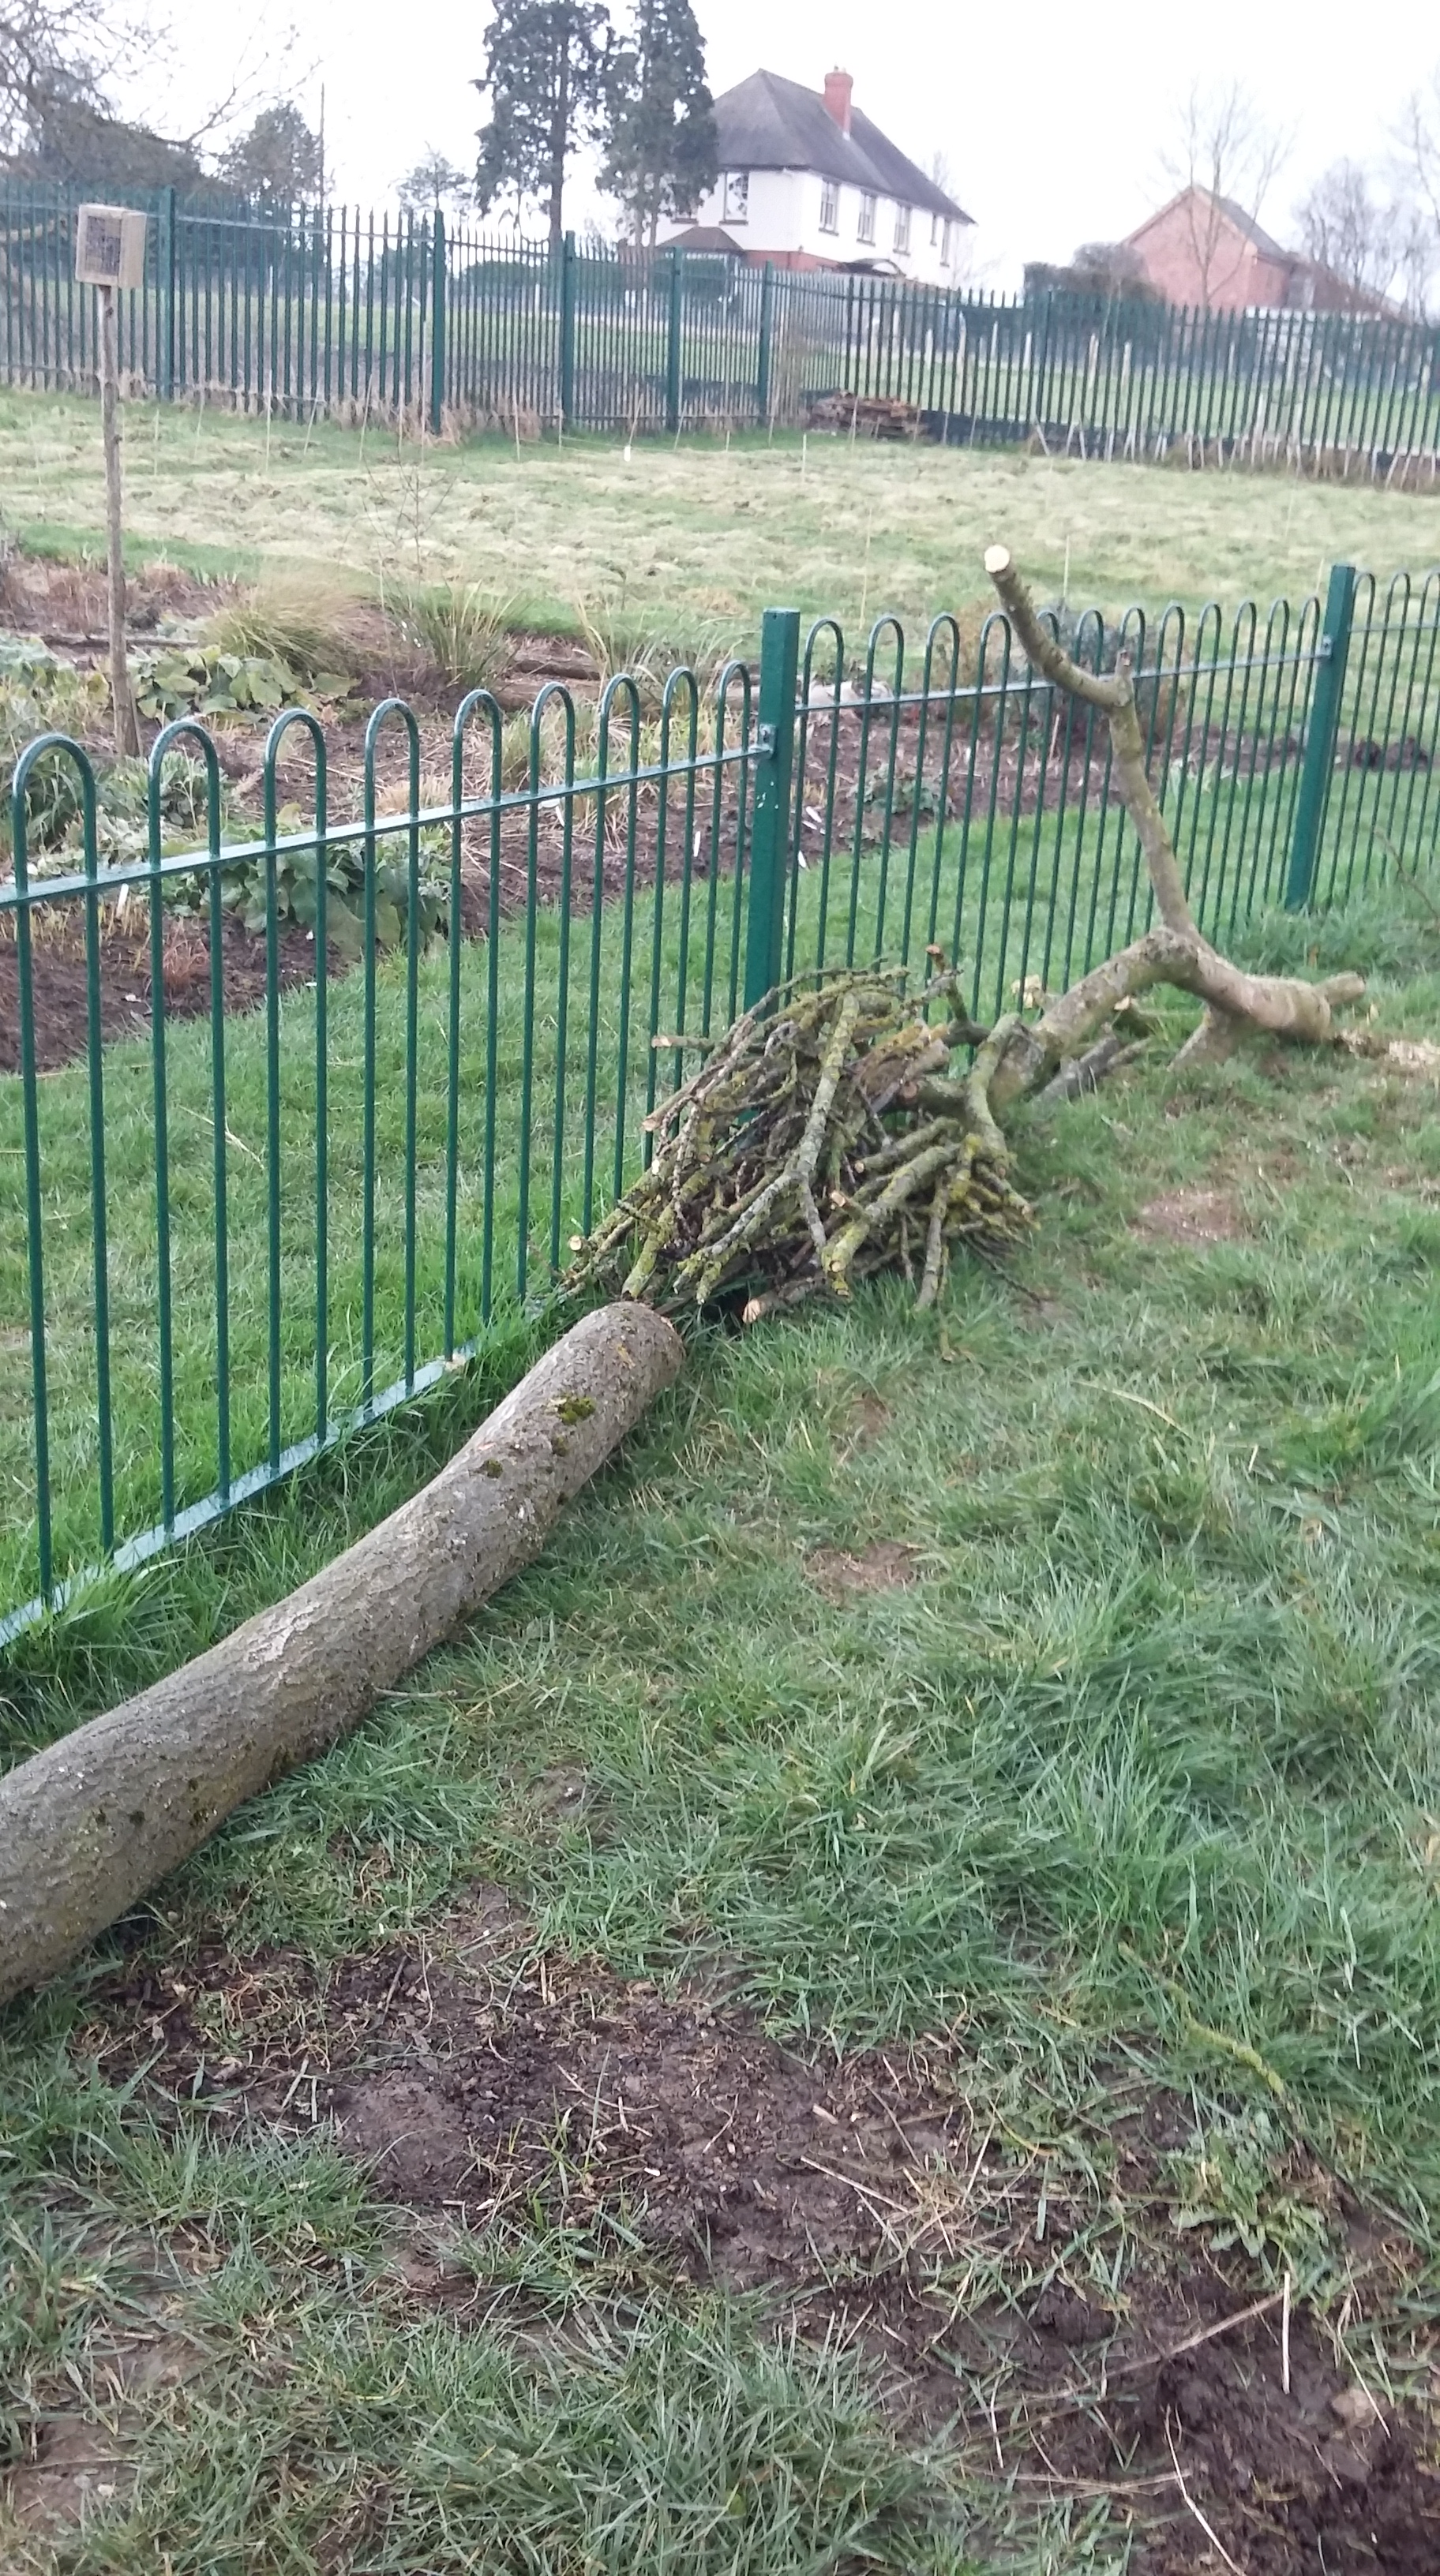
Several mature Ash trees surround the pond so some surgery was required to let more light in and help plants grow healthily. The bough below was slowly collapsing right over the water across to the far bank so caused us great concern. We had to cut it before it fell! We need to look after the health and safety of our members. I shall show this work in part two.

2015 03 16_9993

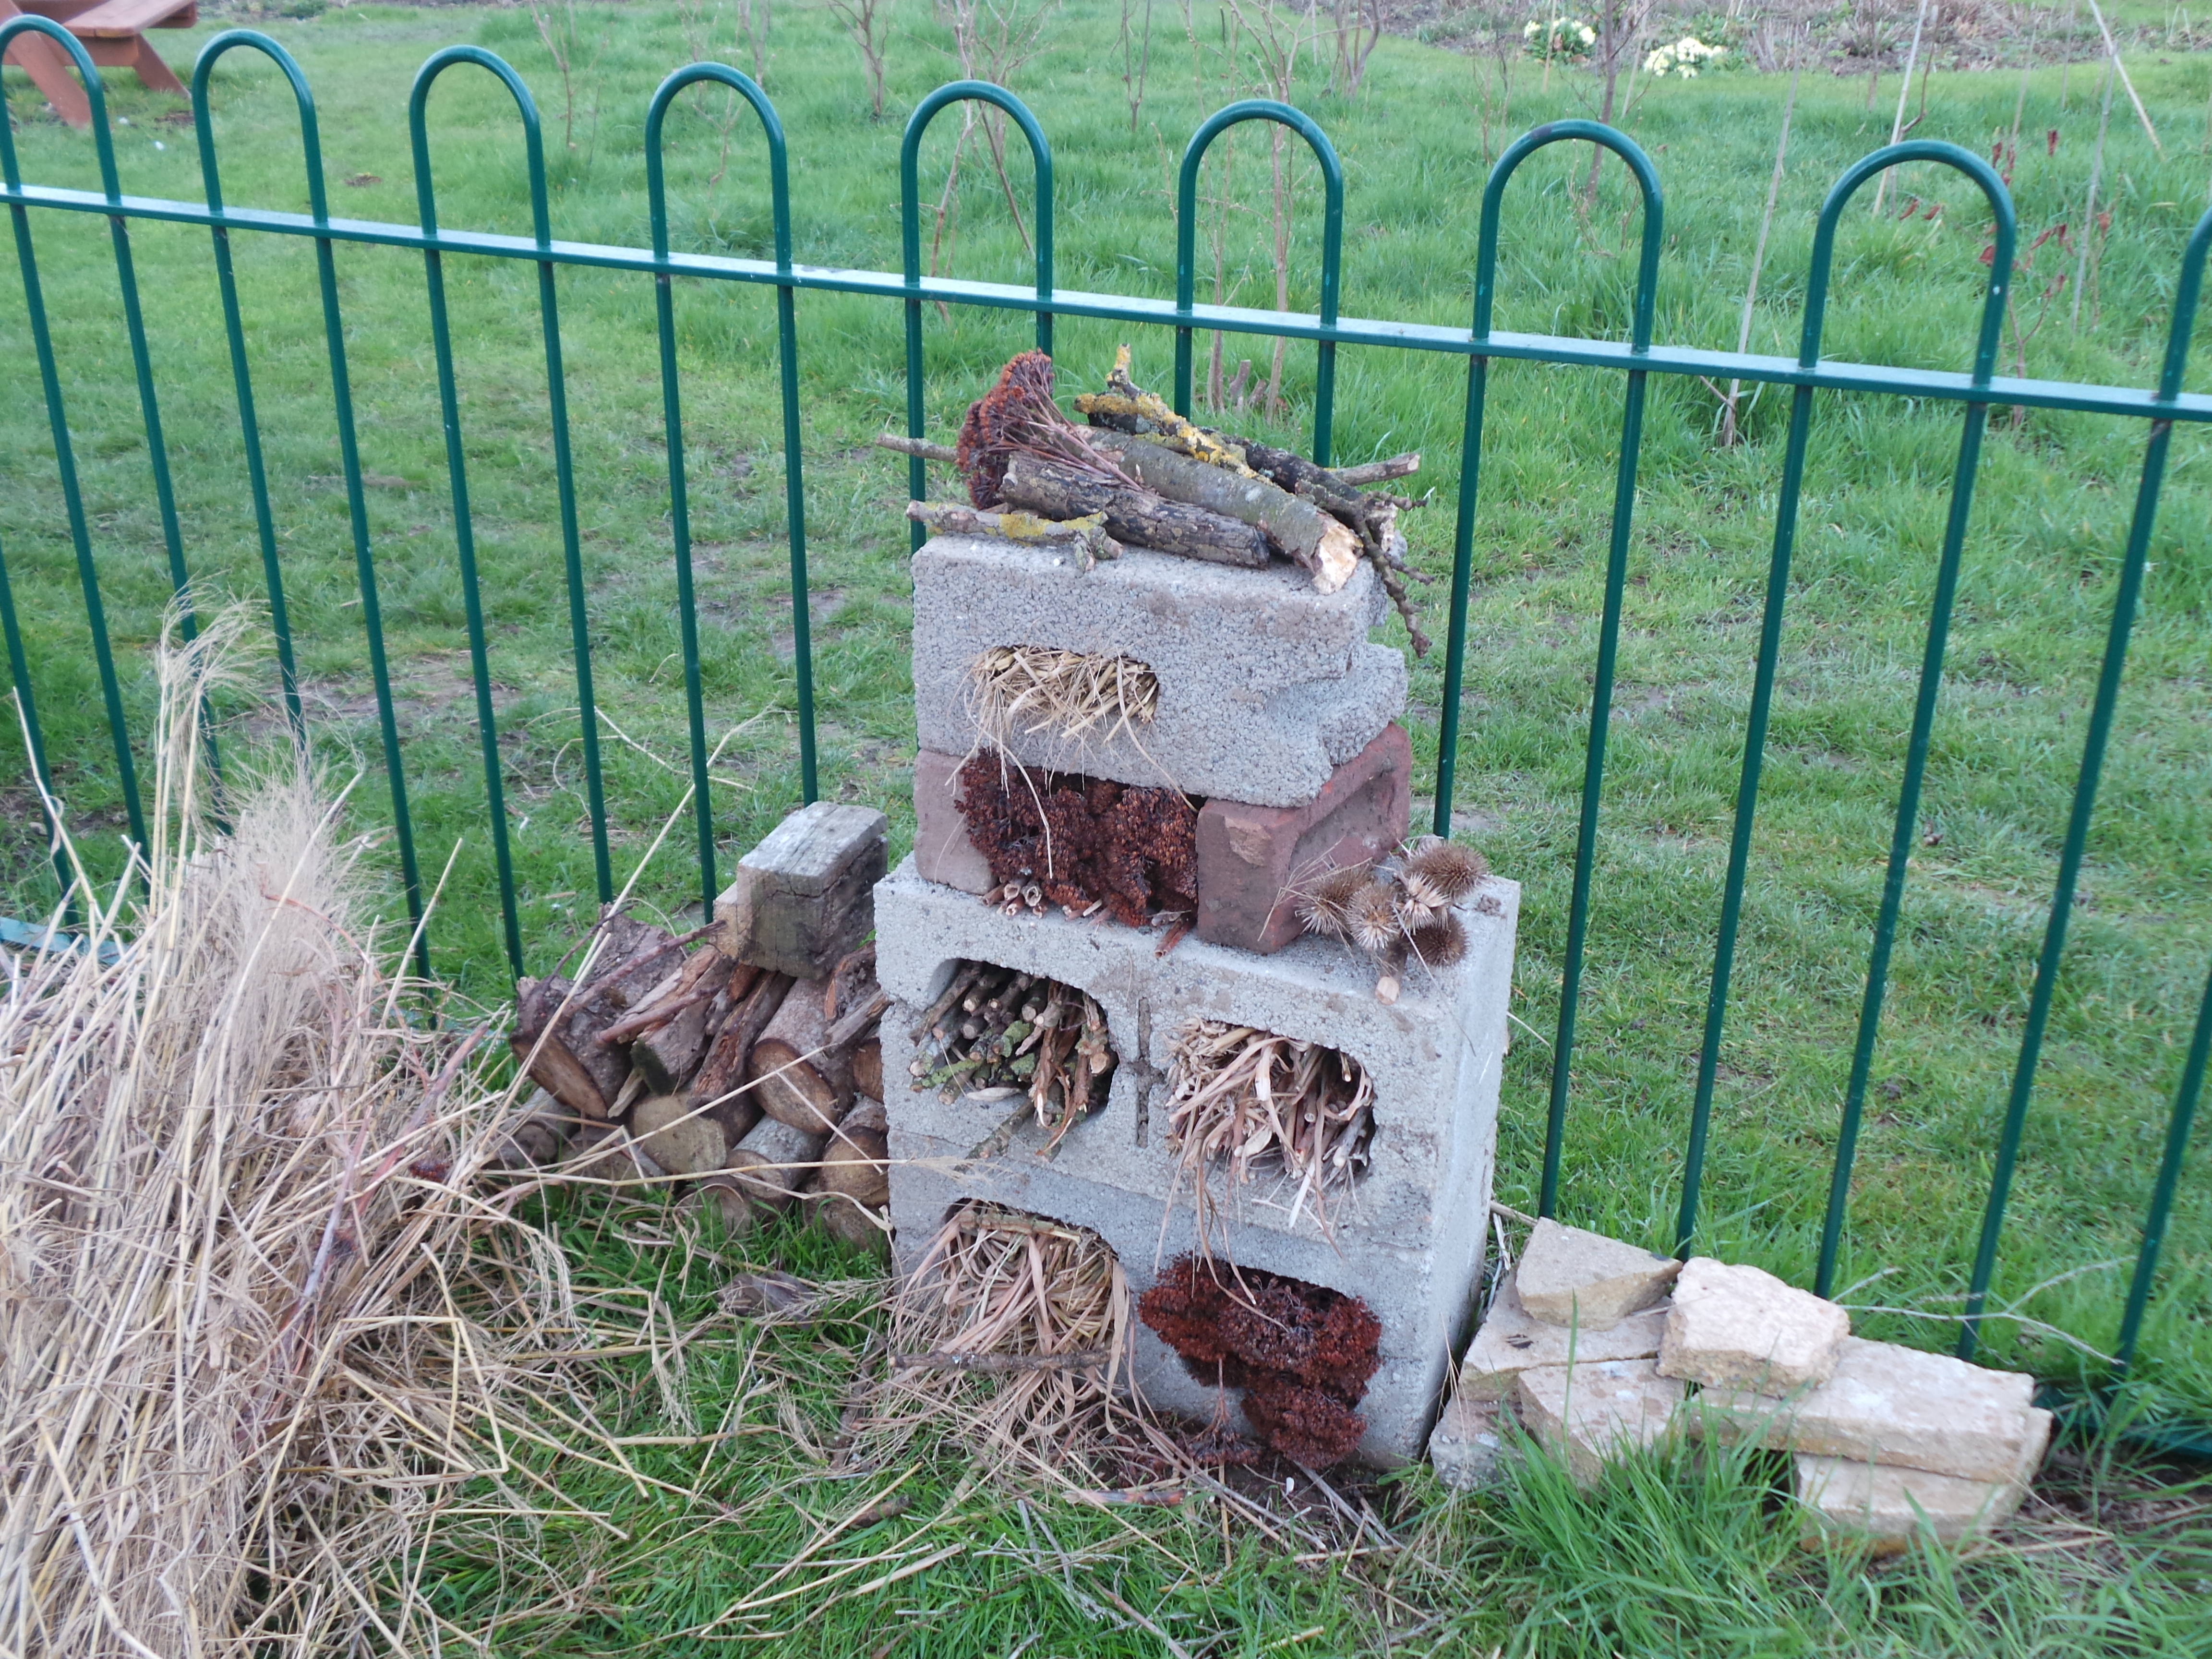
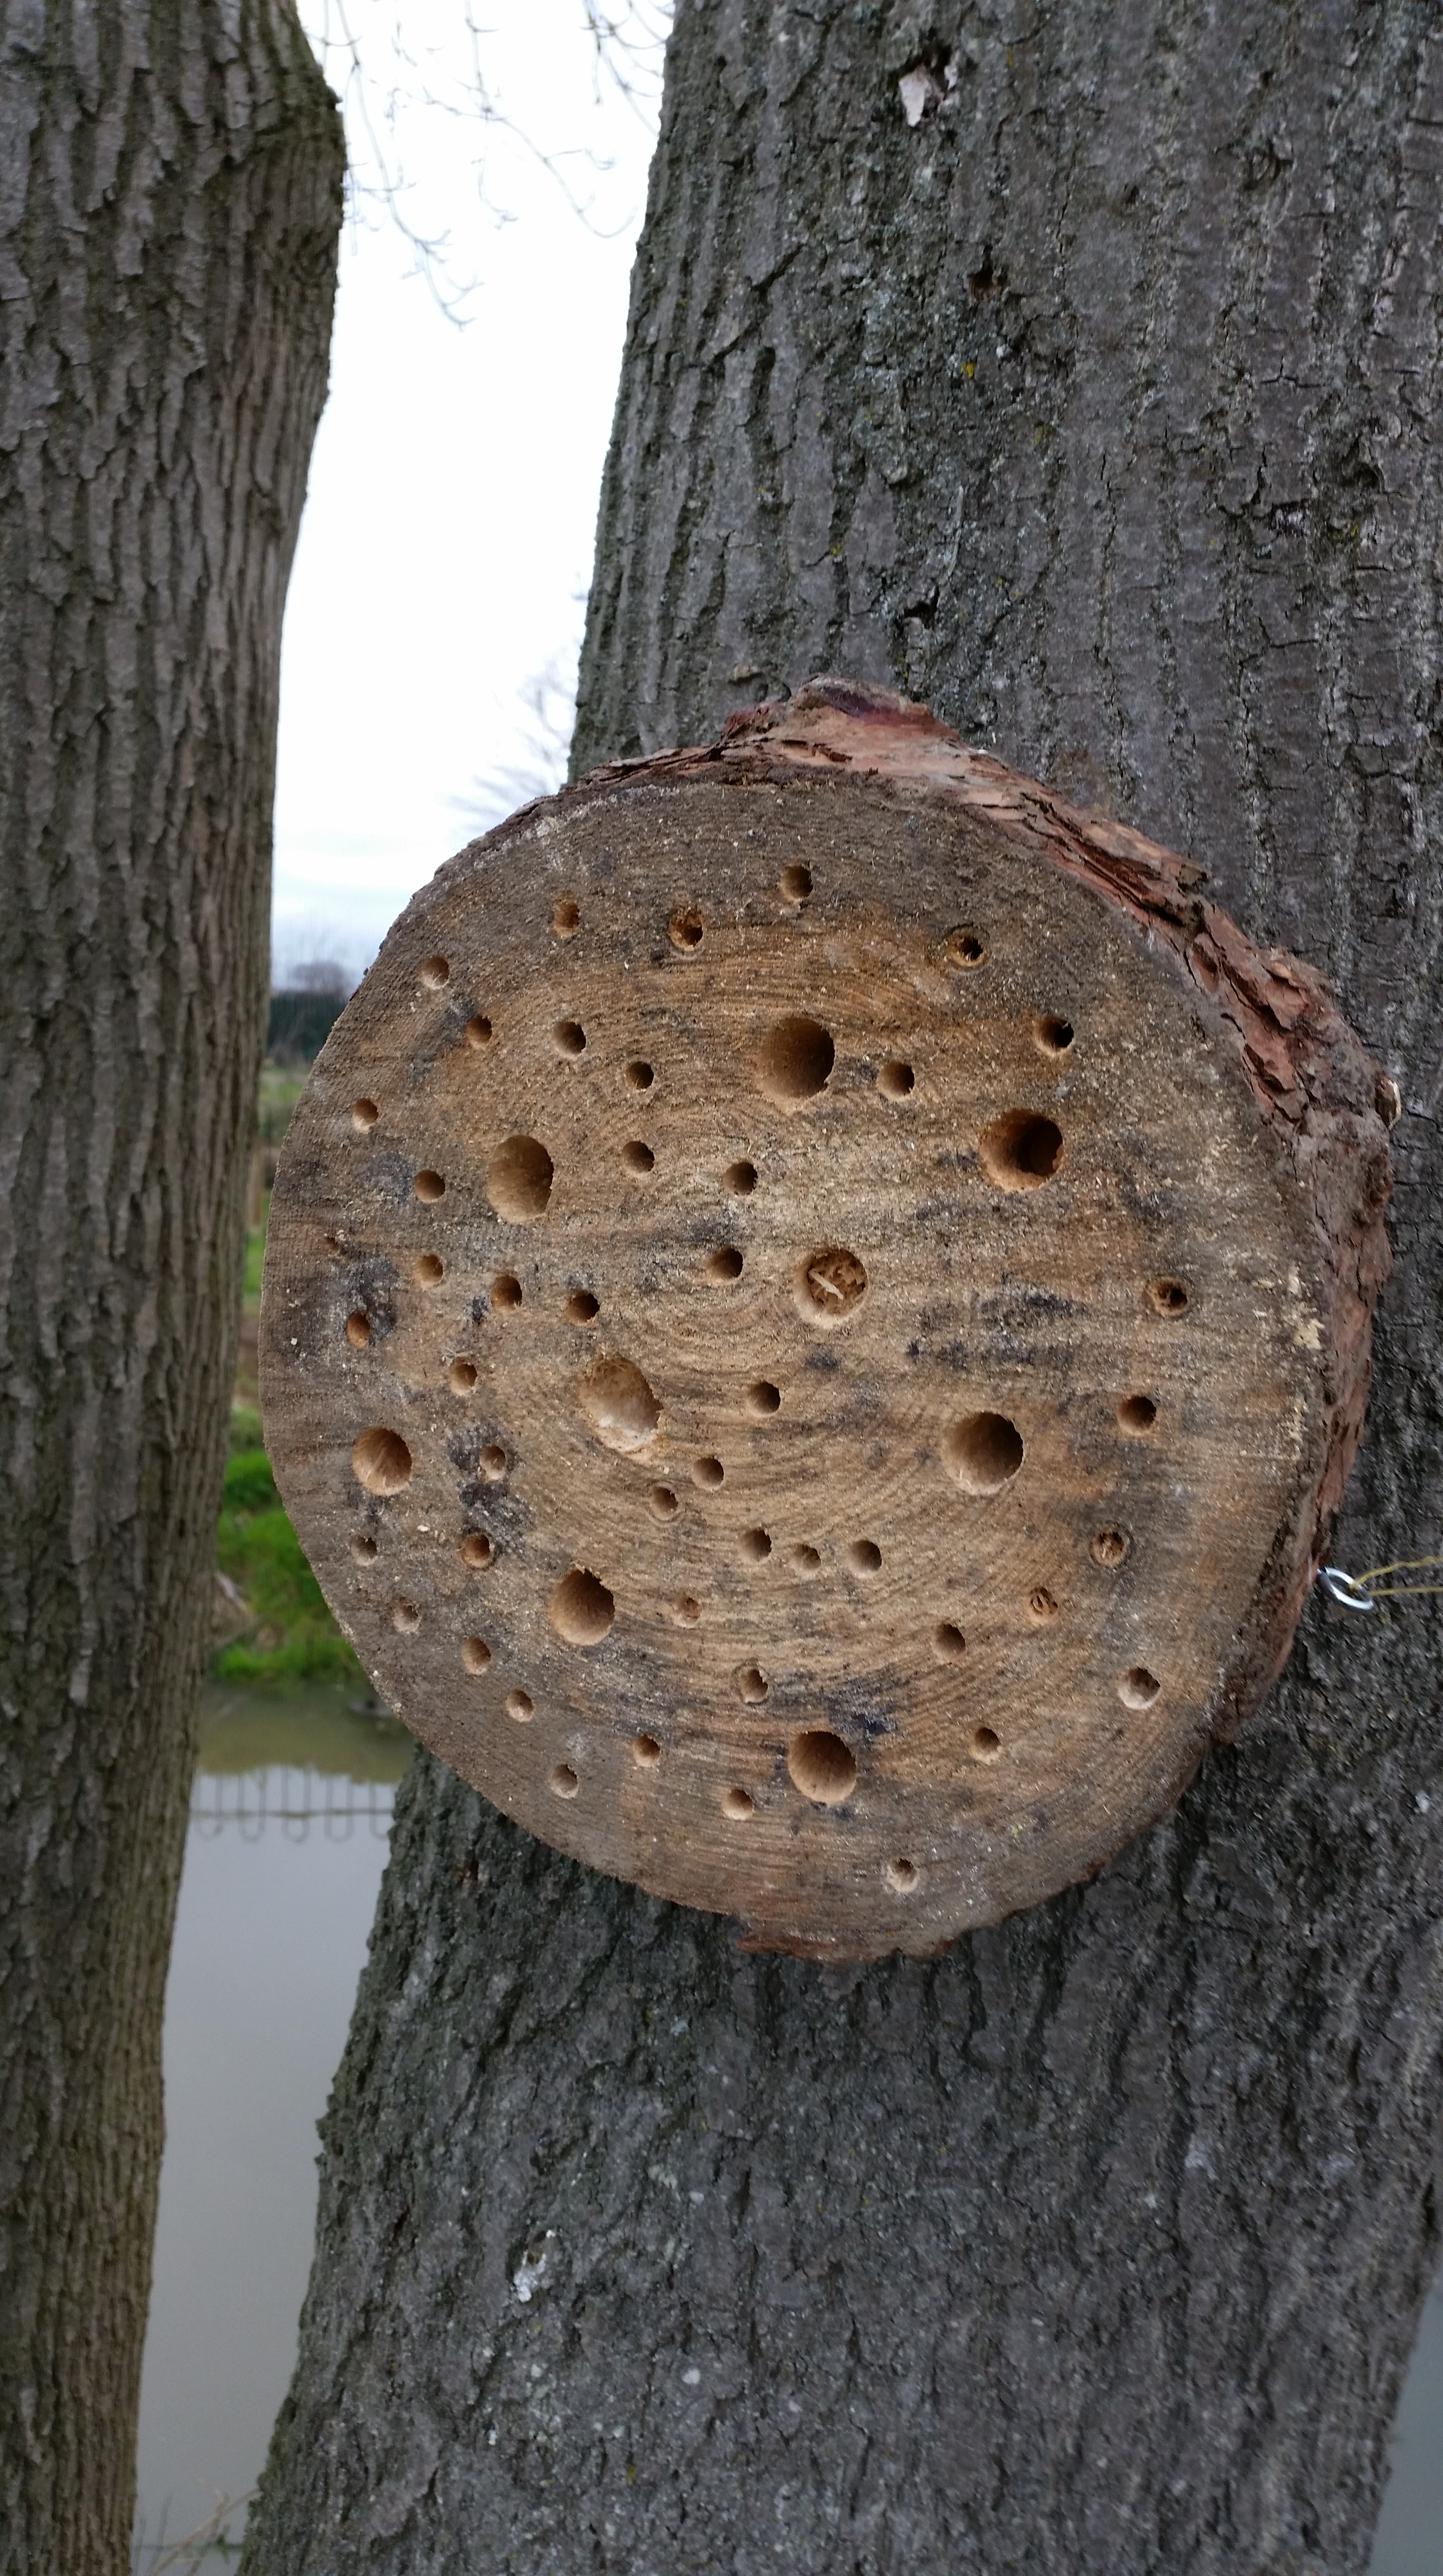
We have put up nest boxes, created a bird feeding station and are creating lots of mini-beast and amphibian habitats. Several are up in the group of Ashes that border one end of the pond.

2015 02 26_9670 2015 03 16_9991 2015 03 16_99852015 03 16_99862015 03 16_9995

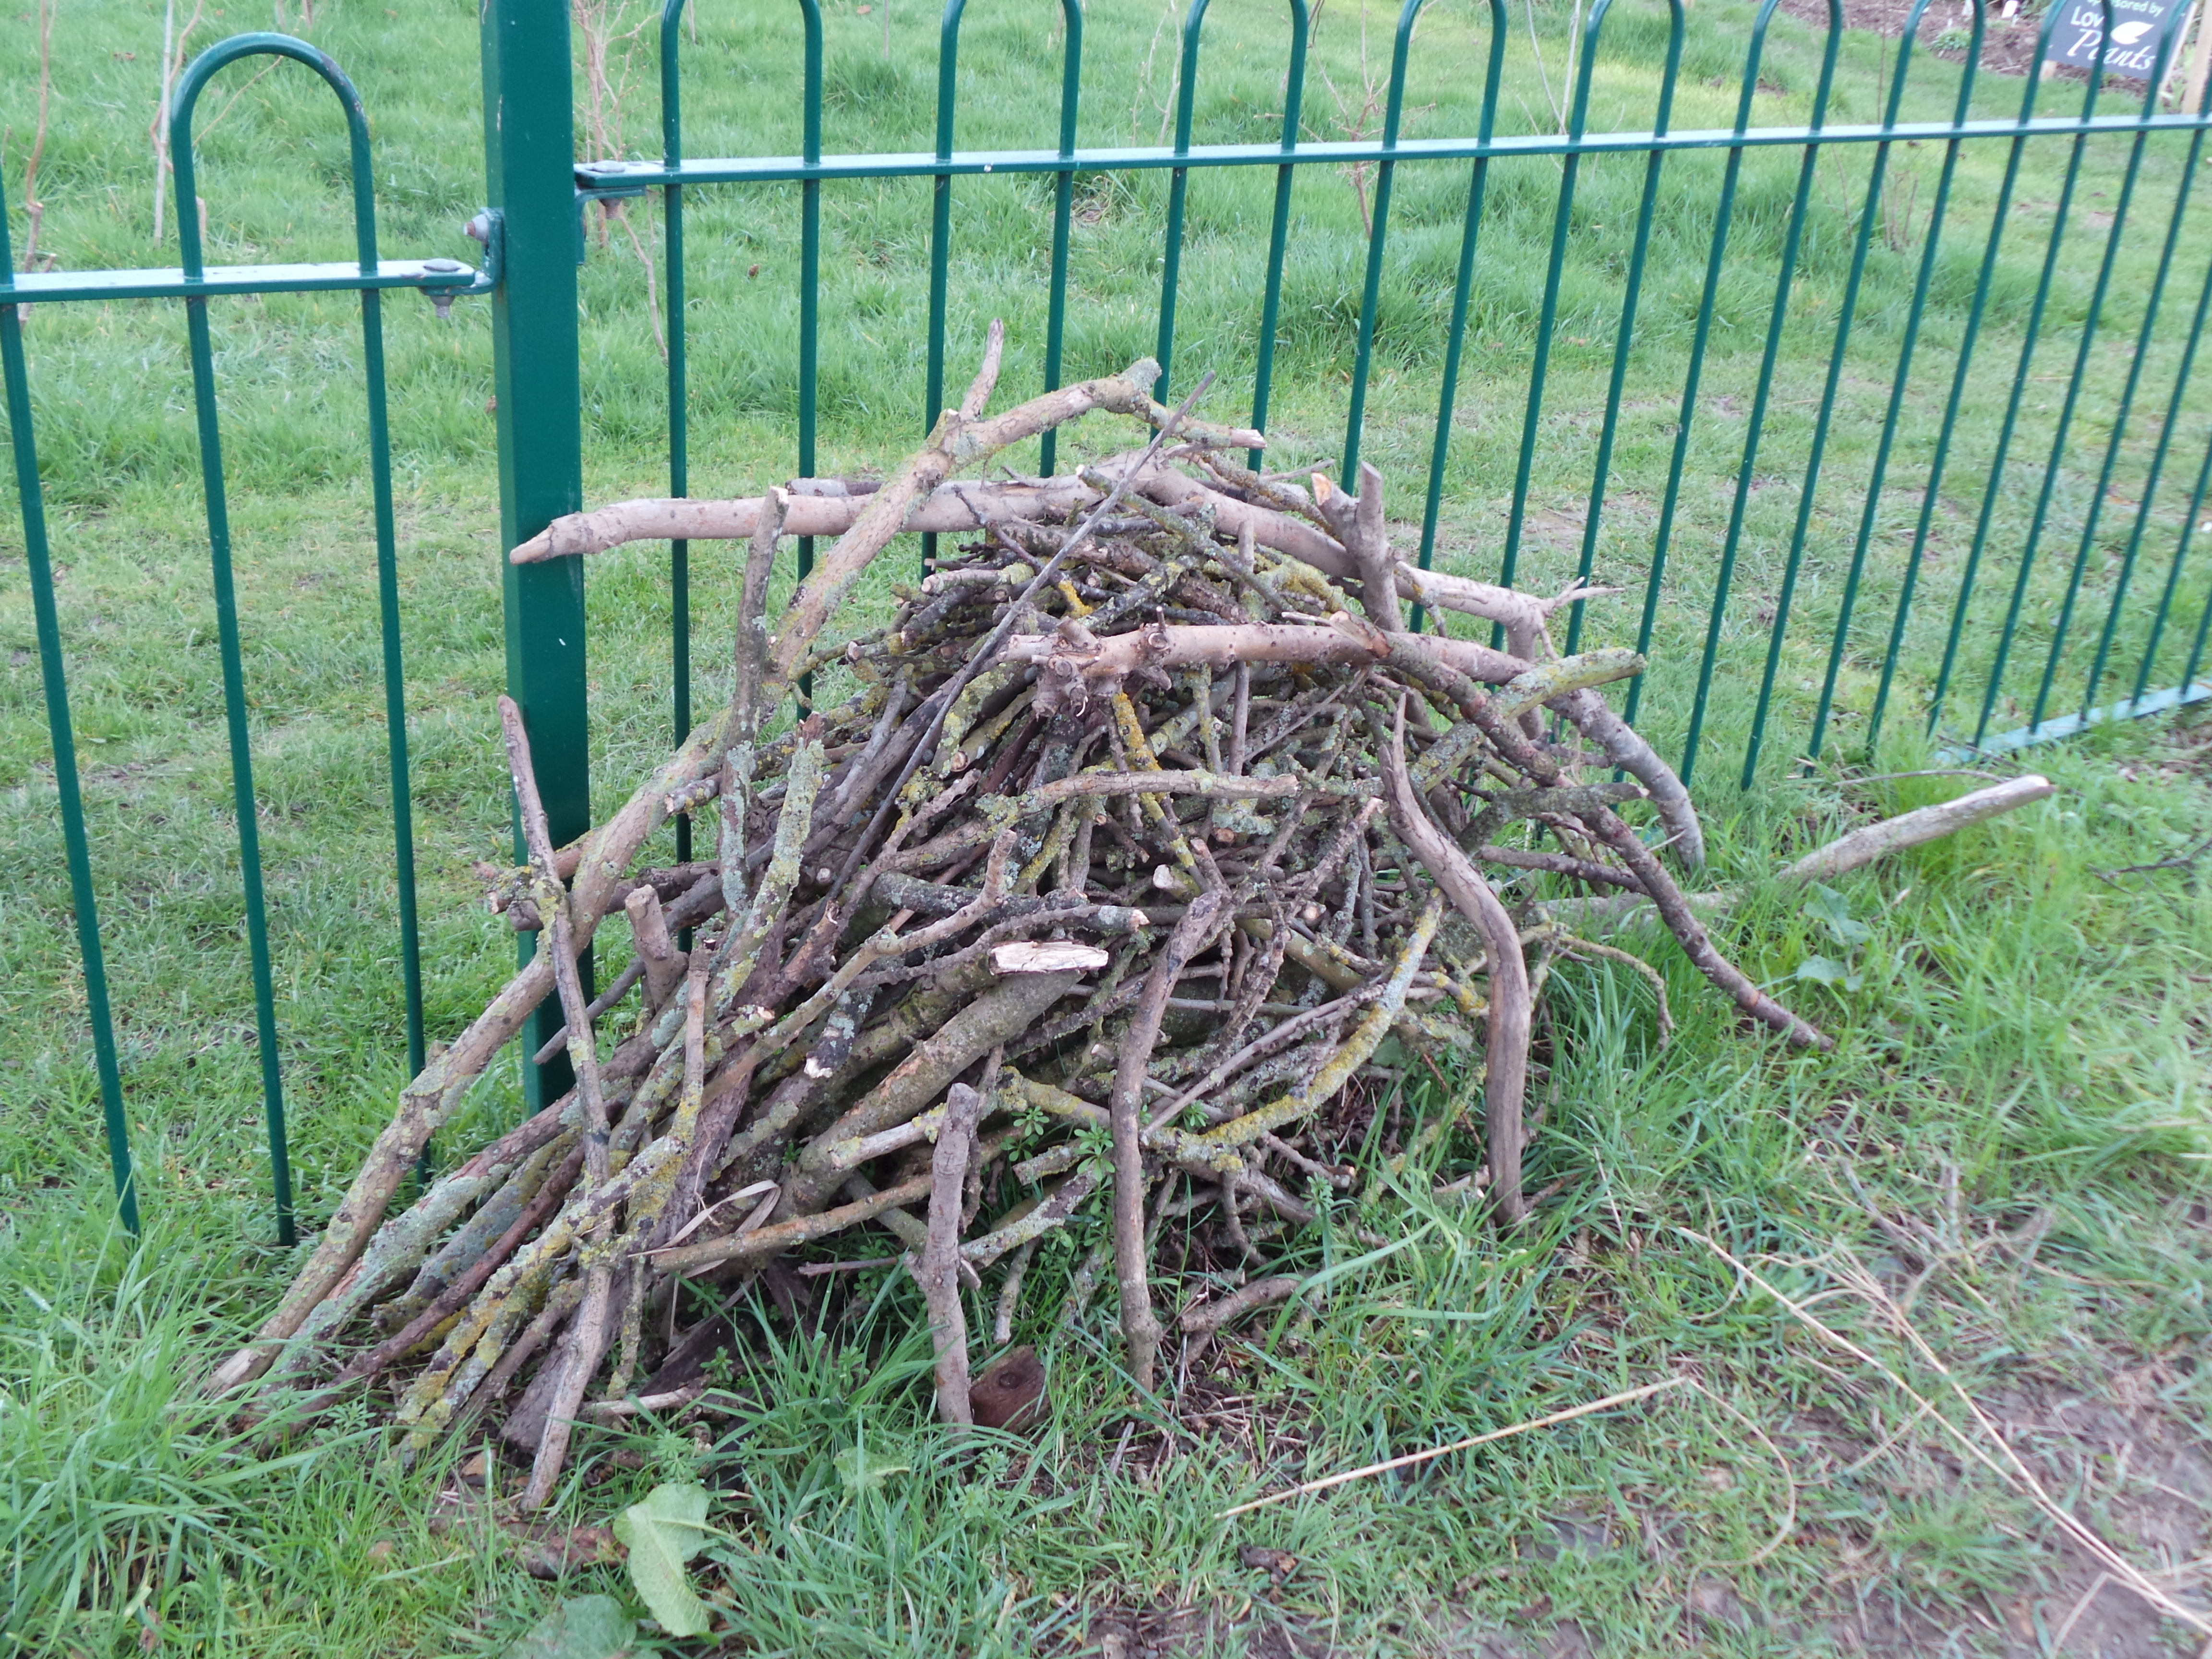
We have created extra wildlife habitats and shelters along the perimeter fence creating them from recycled items and natural materials. 2015 03 16_99872015 03 16_9988 2015 03 16_9989          
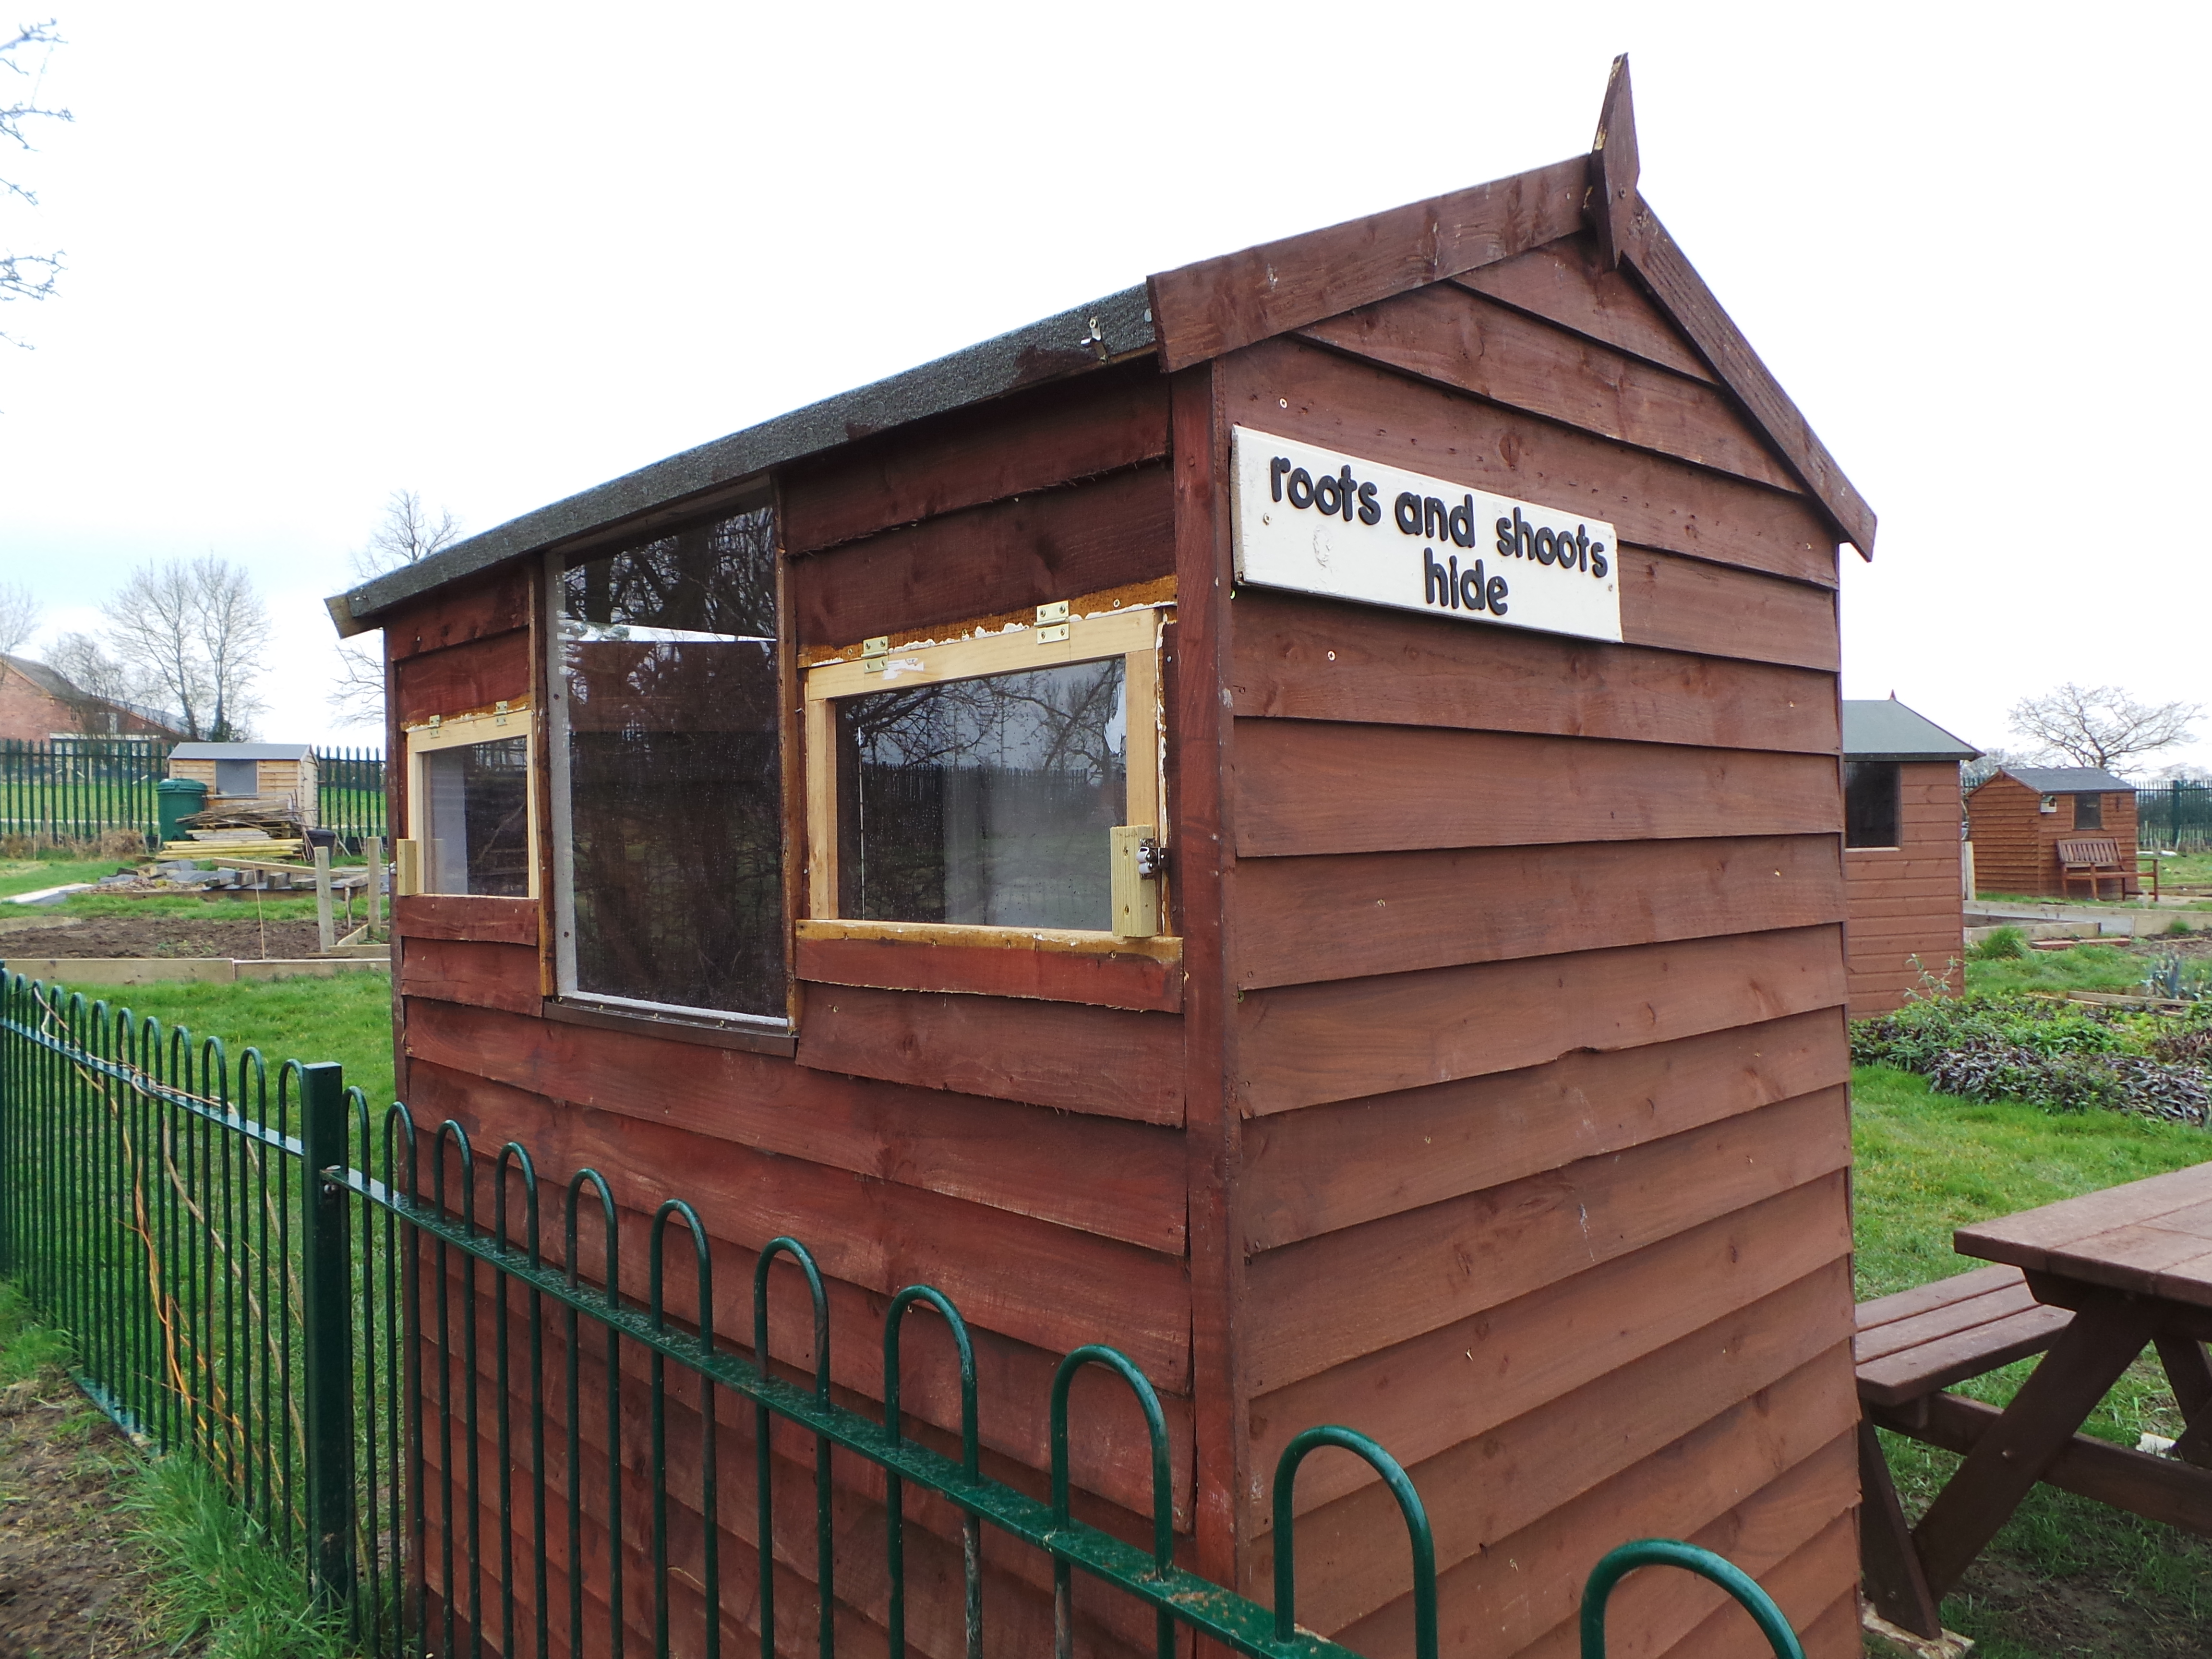
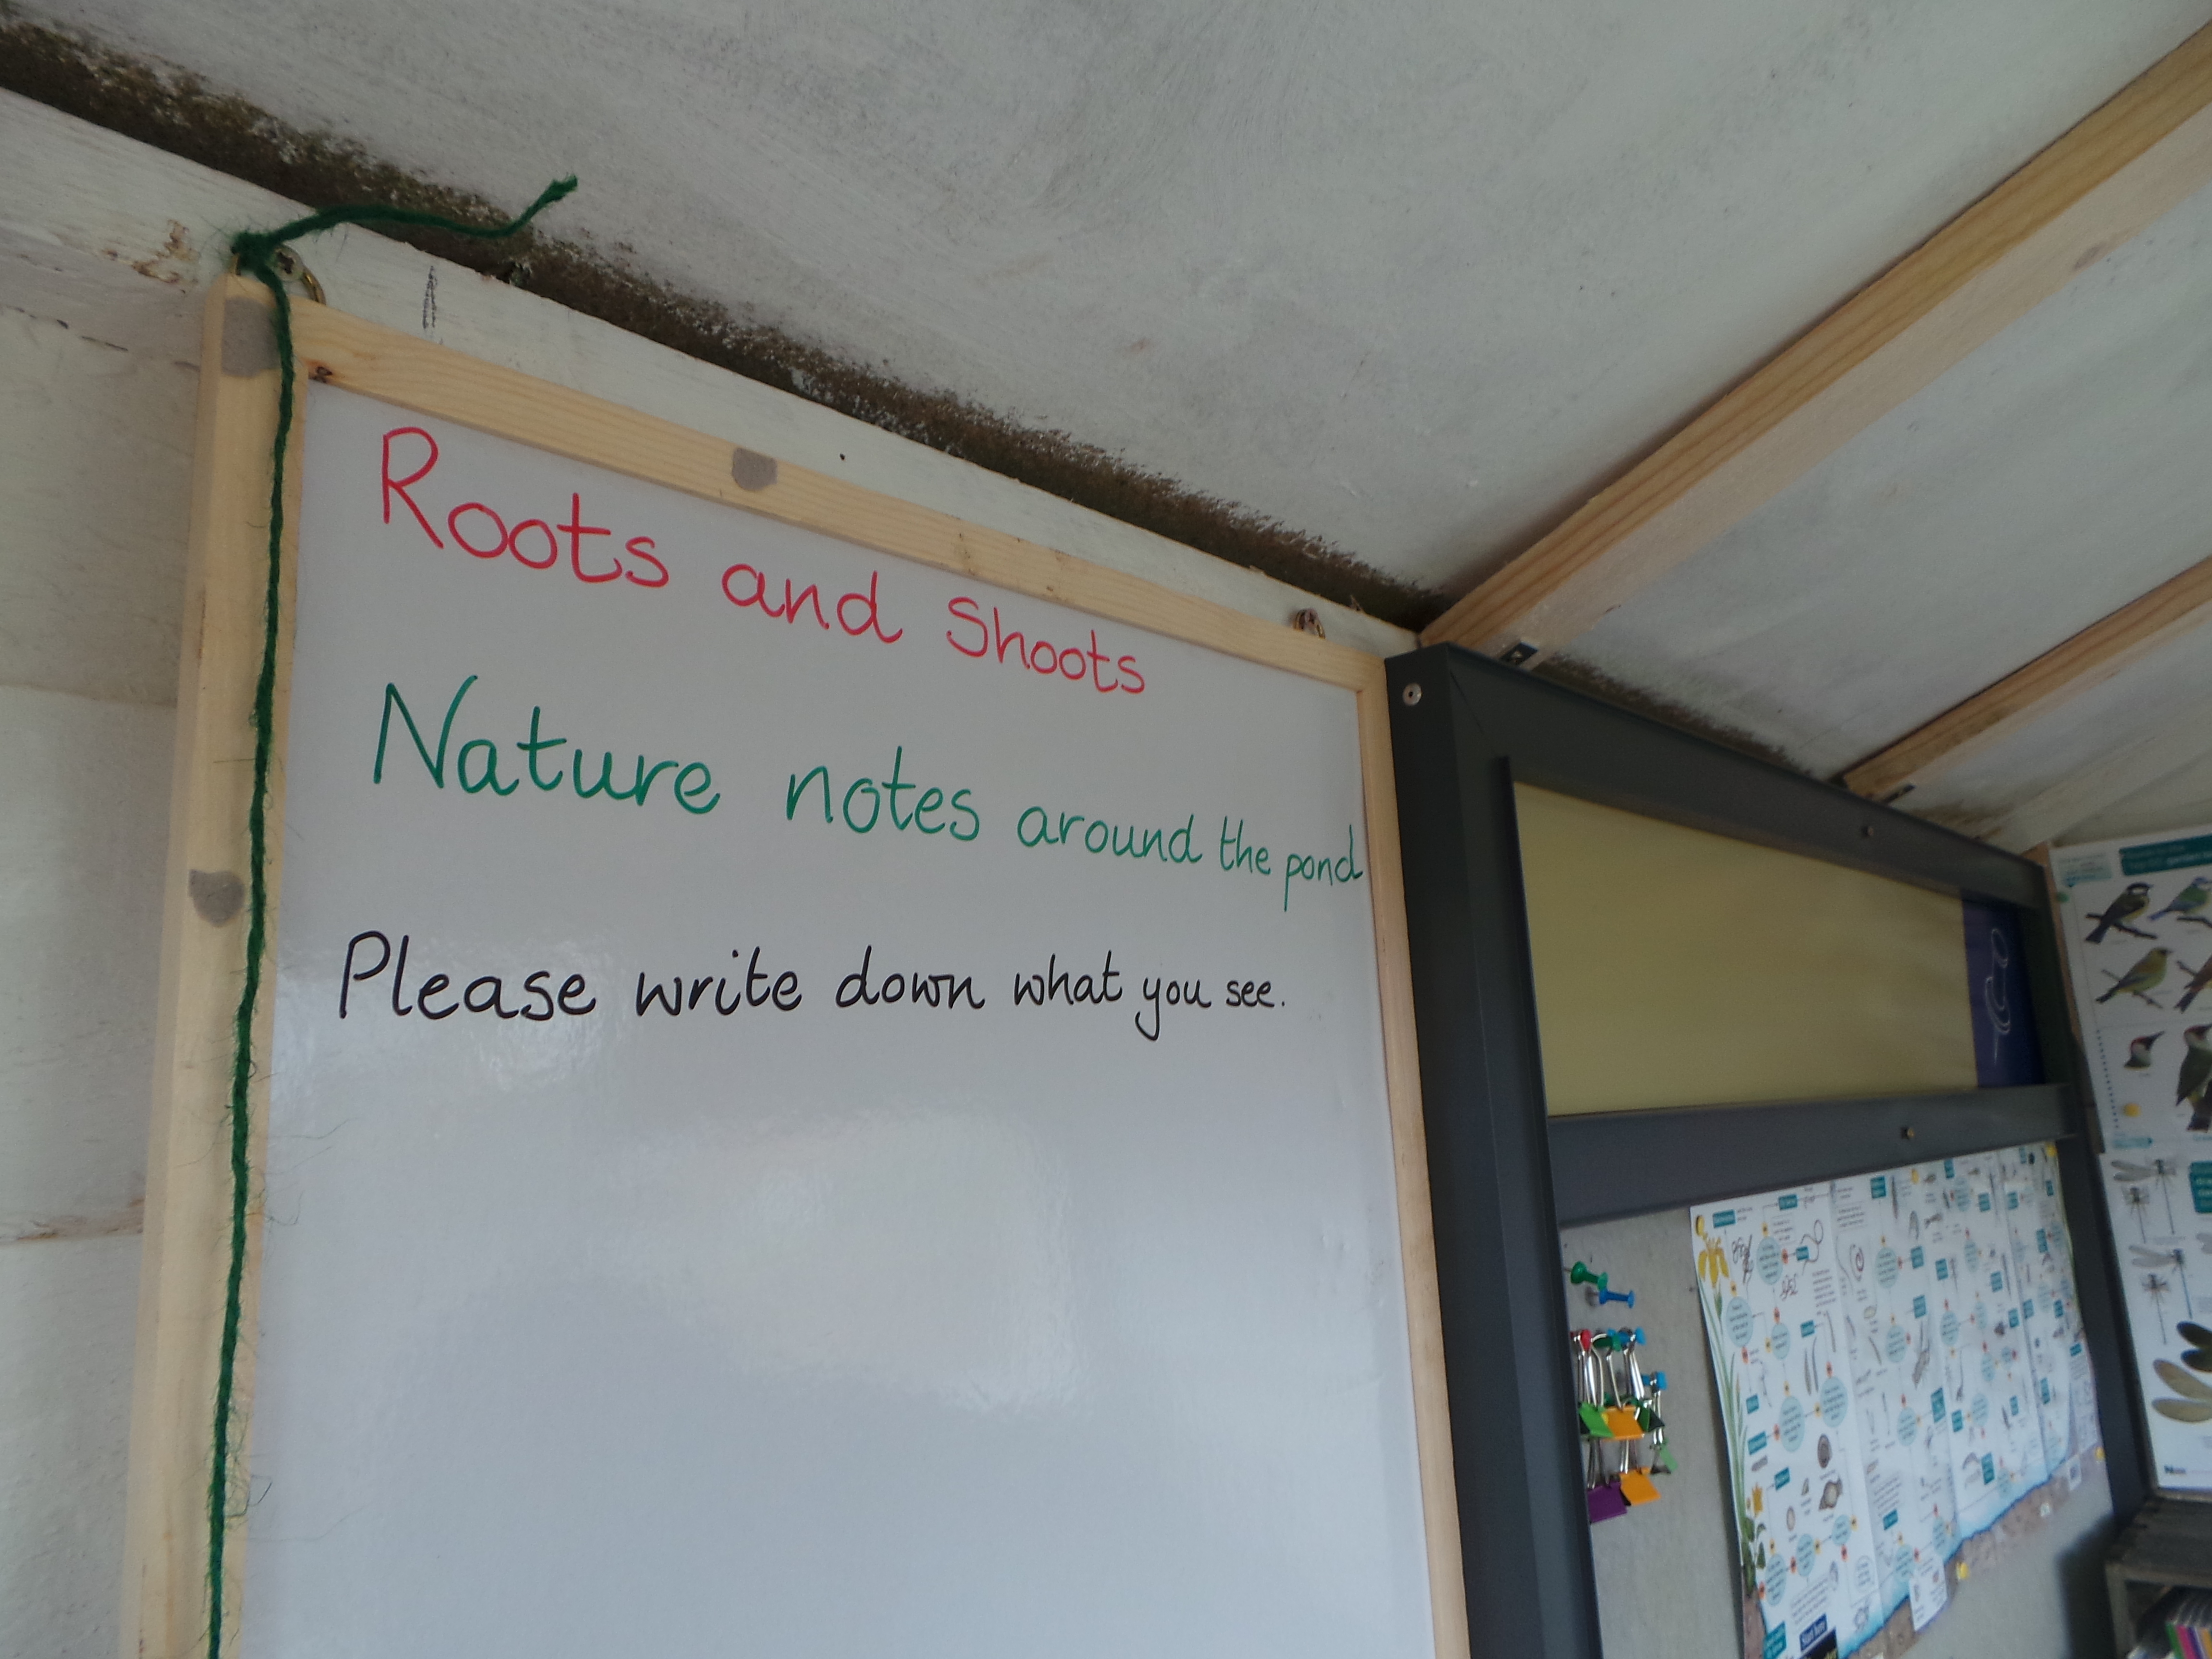
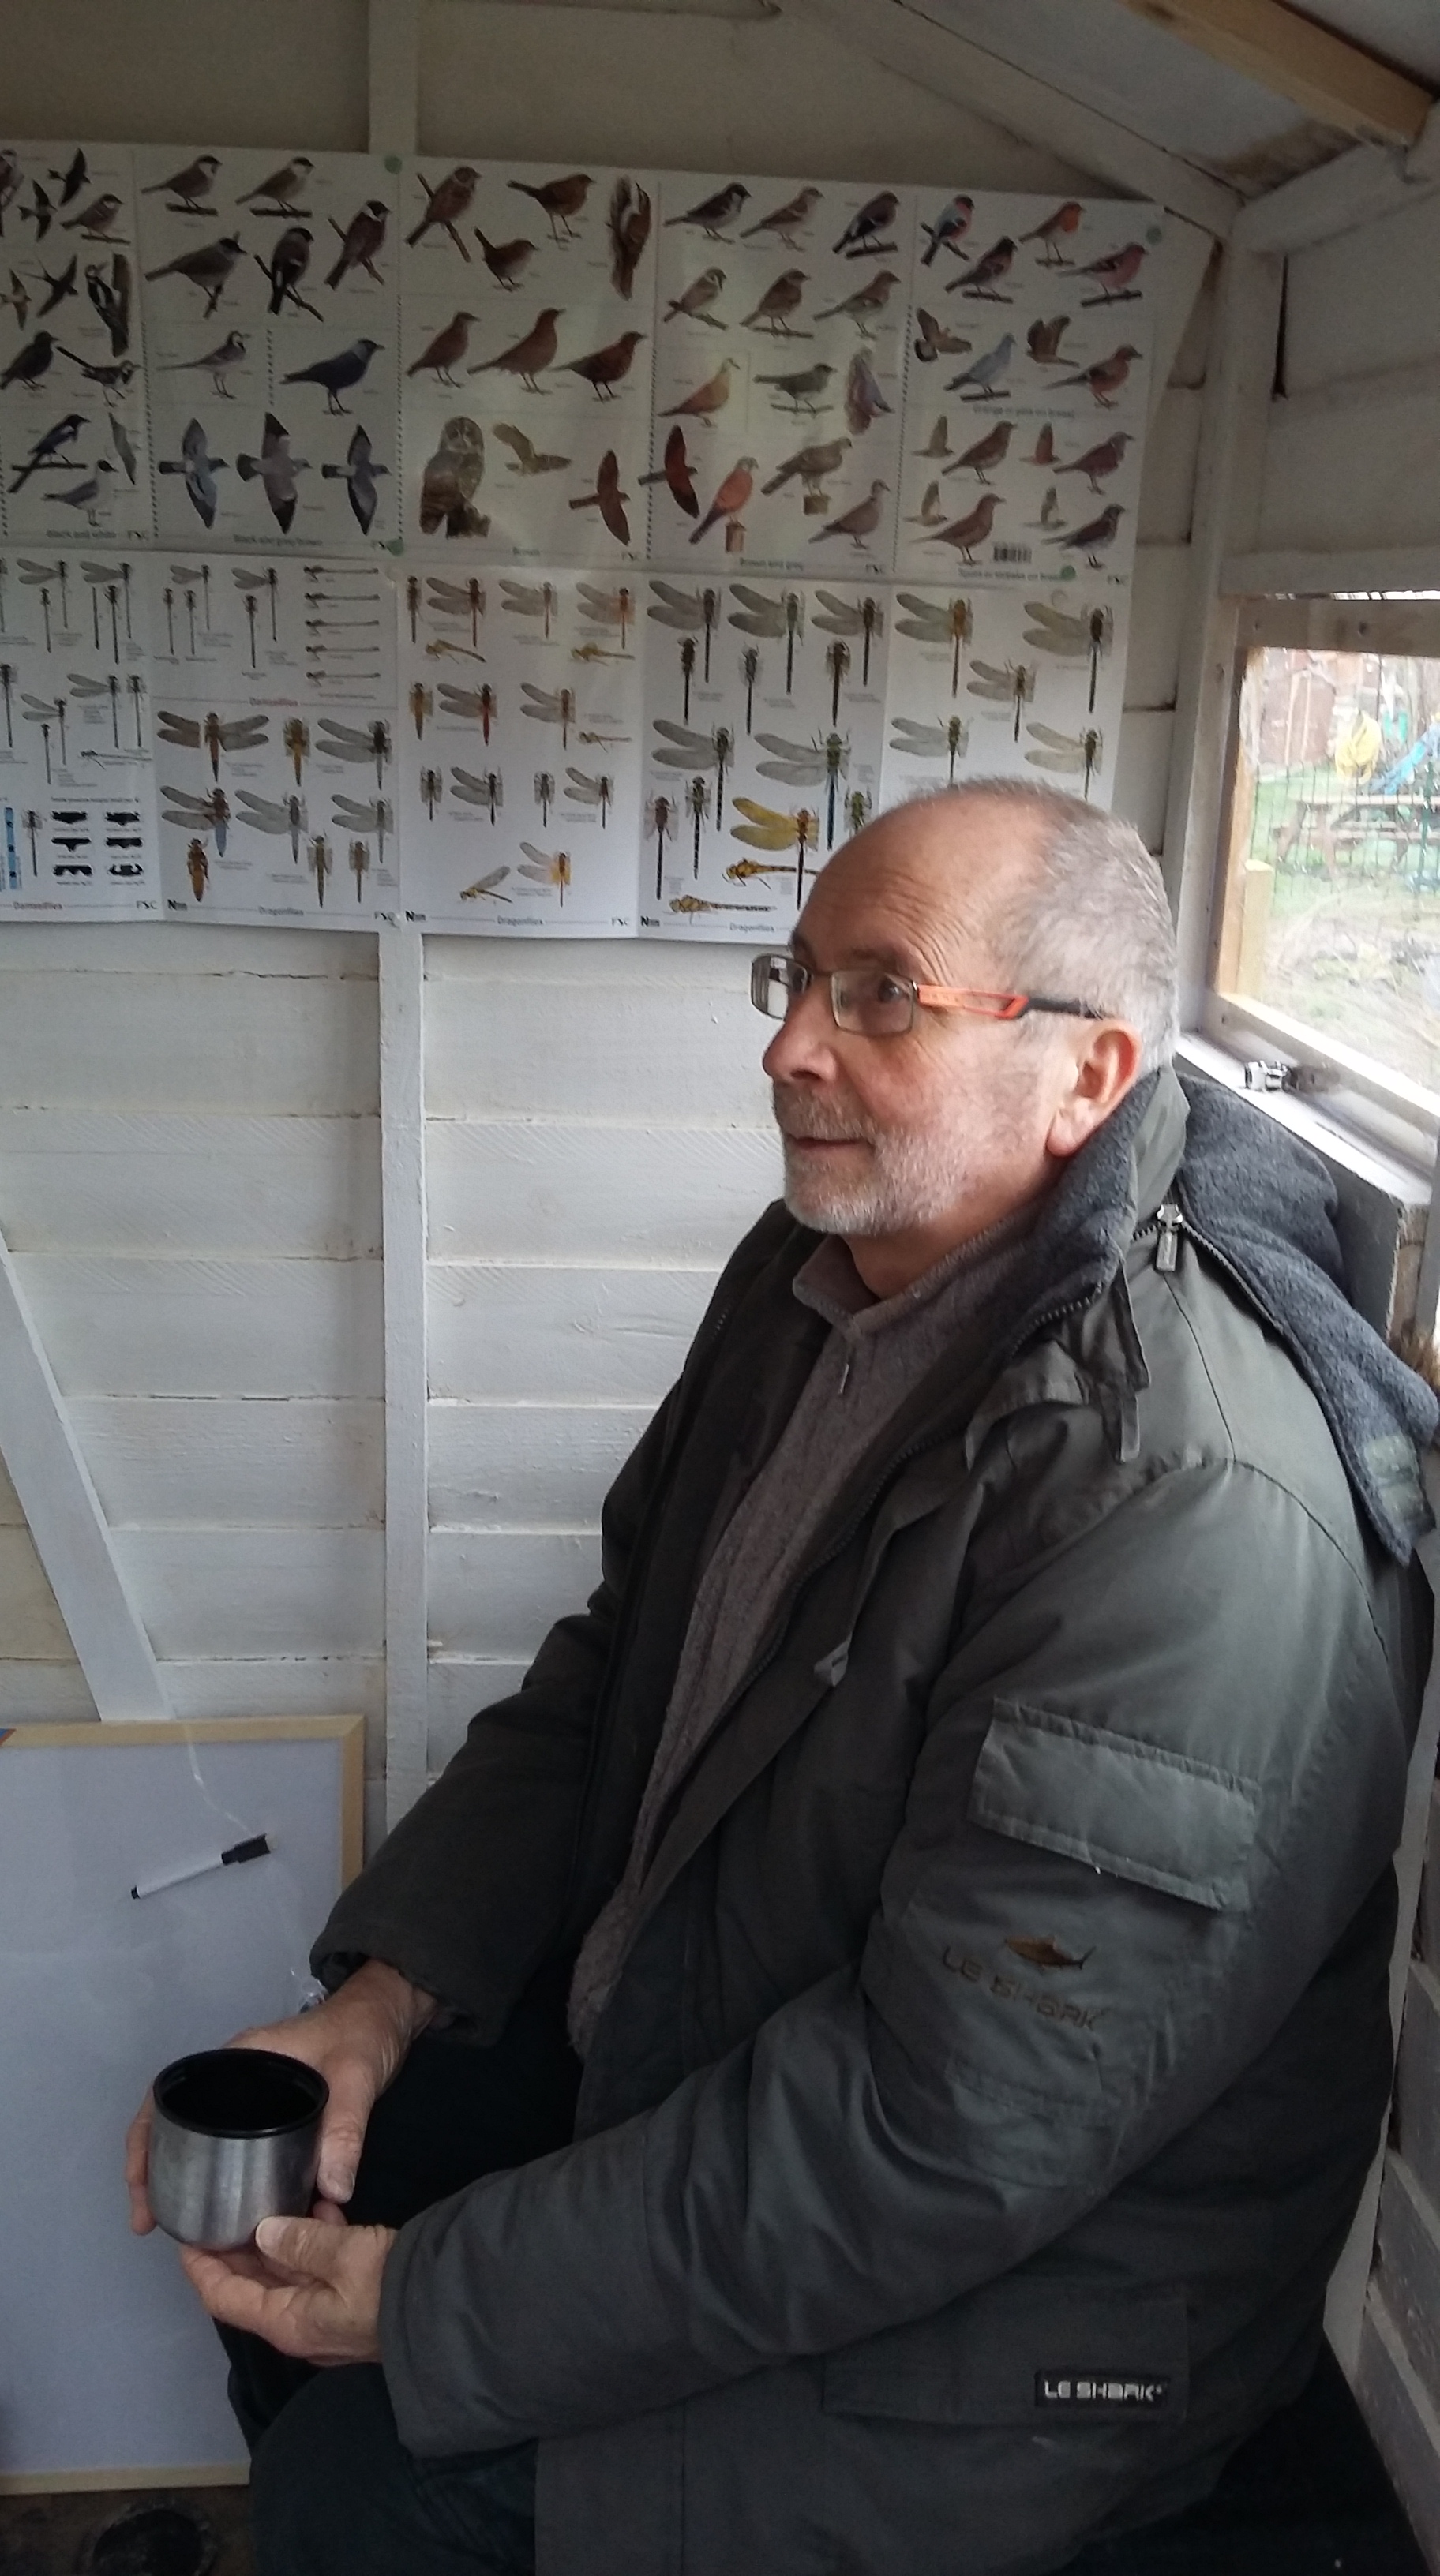
Probably one of the most exciting elements of the whole project has been the creation of a bird hide for the children to use. This began as a battered old shed donated to us by a plot holder and transformed into a rather fine hide complete with a noticeboard for recording,some identification charts and a small library of identification books. Two plotholders, Sean and his dad Vince volunteered to carry out the conversion and soon other family members joined in. The finished hide was way beyond our expectations as they managed to fit a kneeling bench down the one side to enable children to look through the hatches they had constructed. For wet days when the hatches need to stay closed they added a perspex window. All this from my very simple plans and drawings!

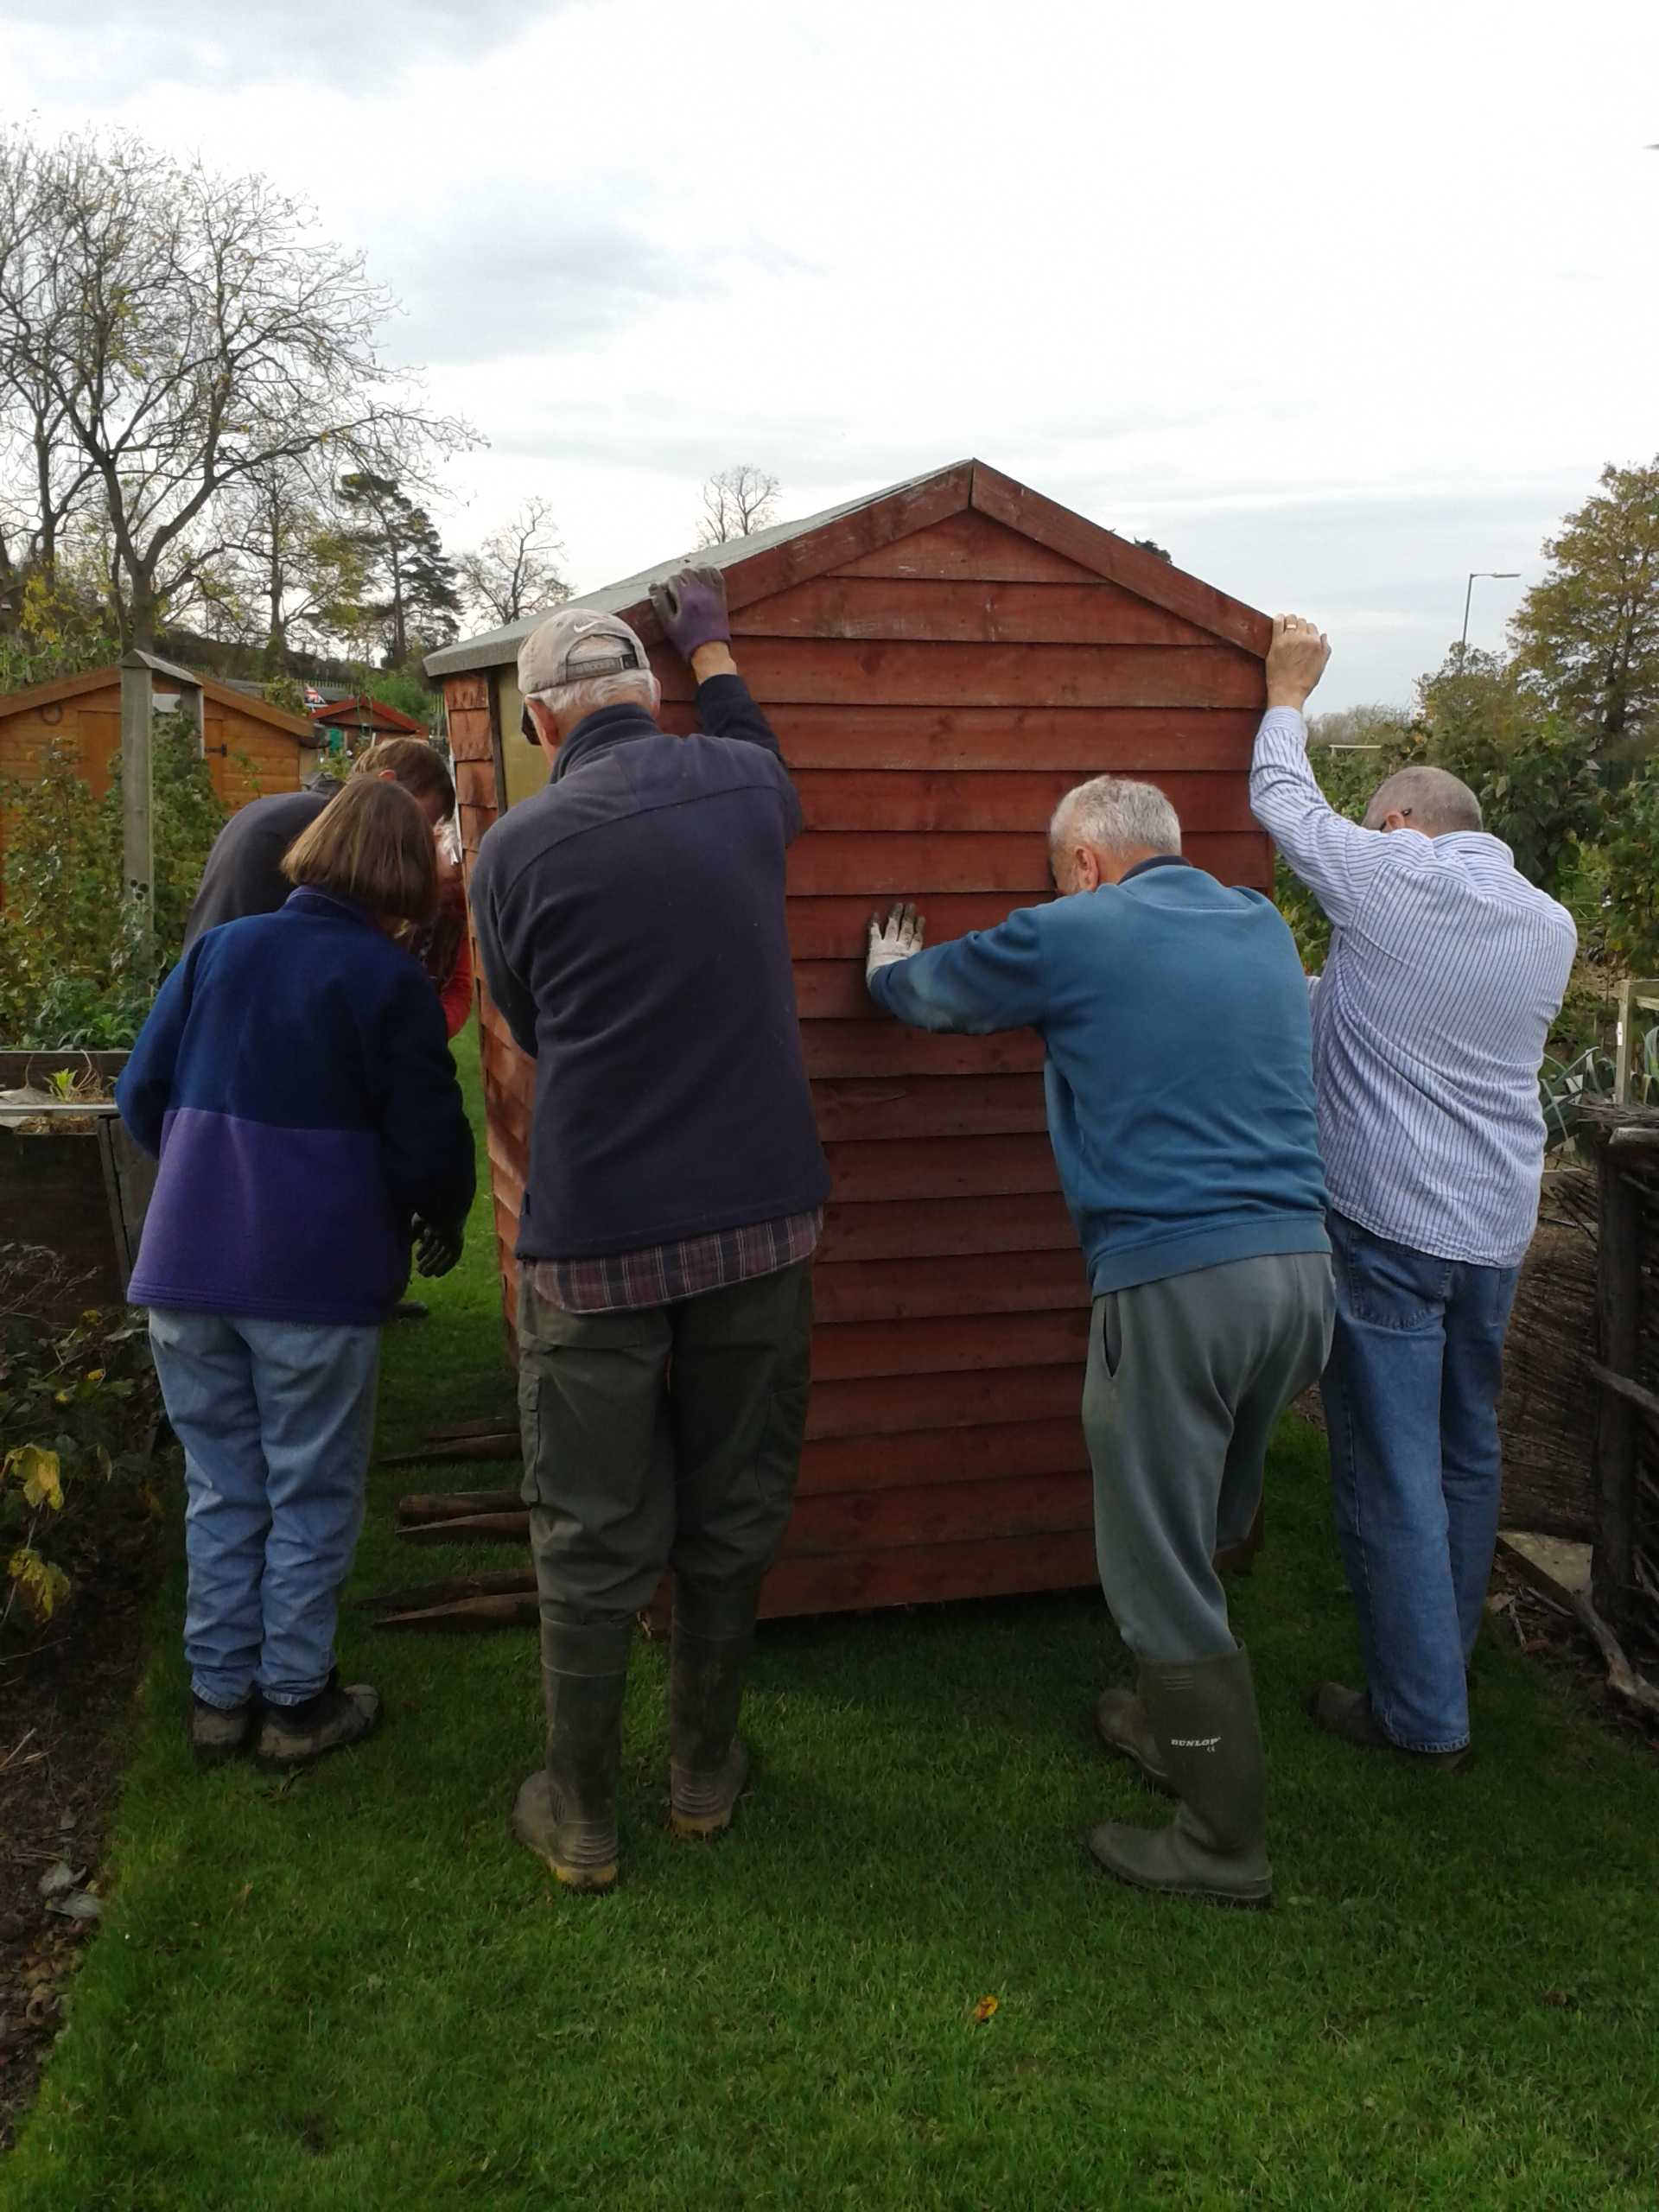
Here we are moving the old shed from one side of the site to the other in true Roman style, rolling it along on round stakes. It proved a great adventure as it kept trying to change shape and the door constantly flew open.

2014 12 08_8466 2014 12 08_8468

And here is the shed now transformed into a hide, just like the ugly duckling turning into a swan. The rest of the story of how the transformation came about will be in part two.

2015 03 16_0004  2015 03 16_0005

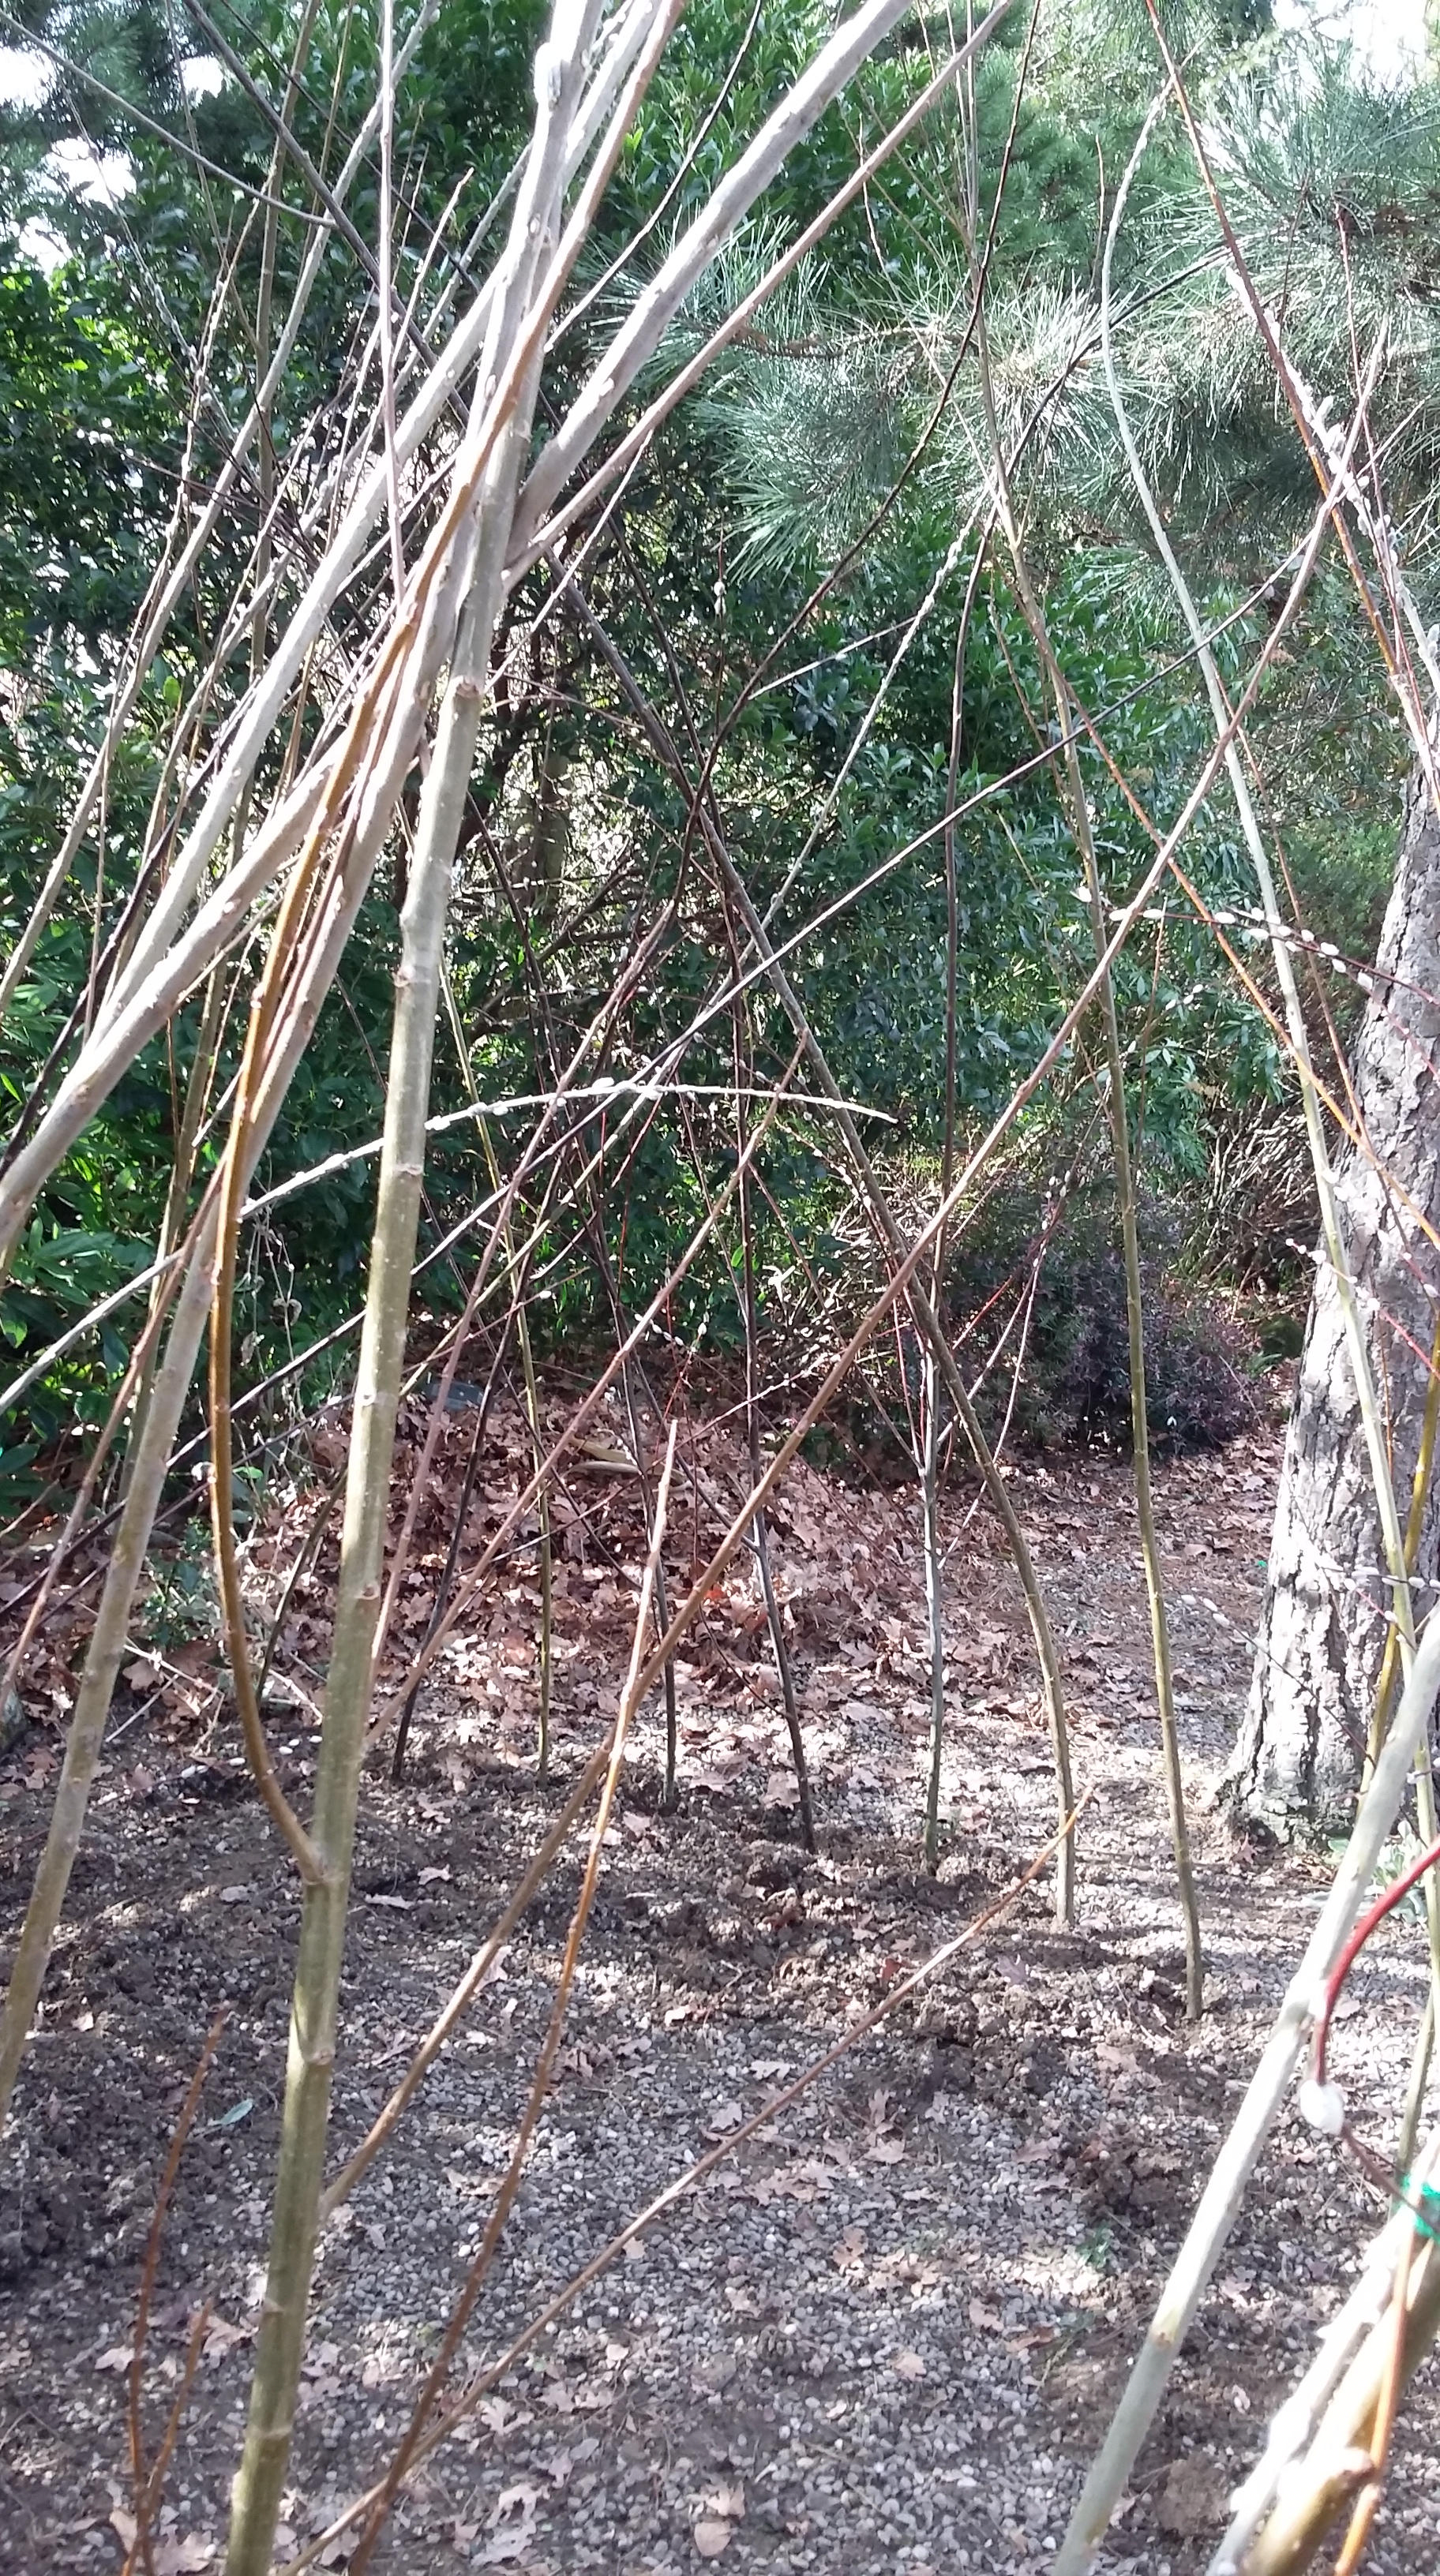
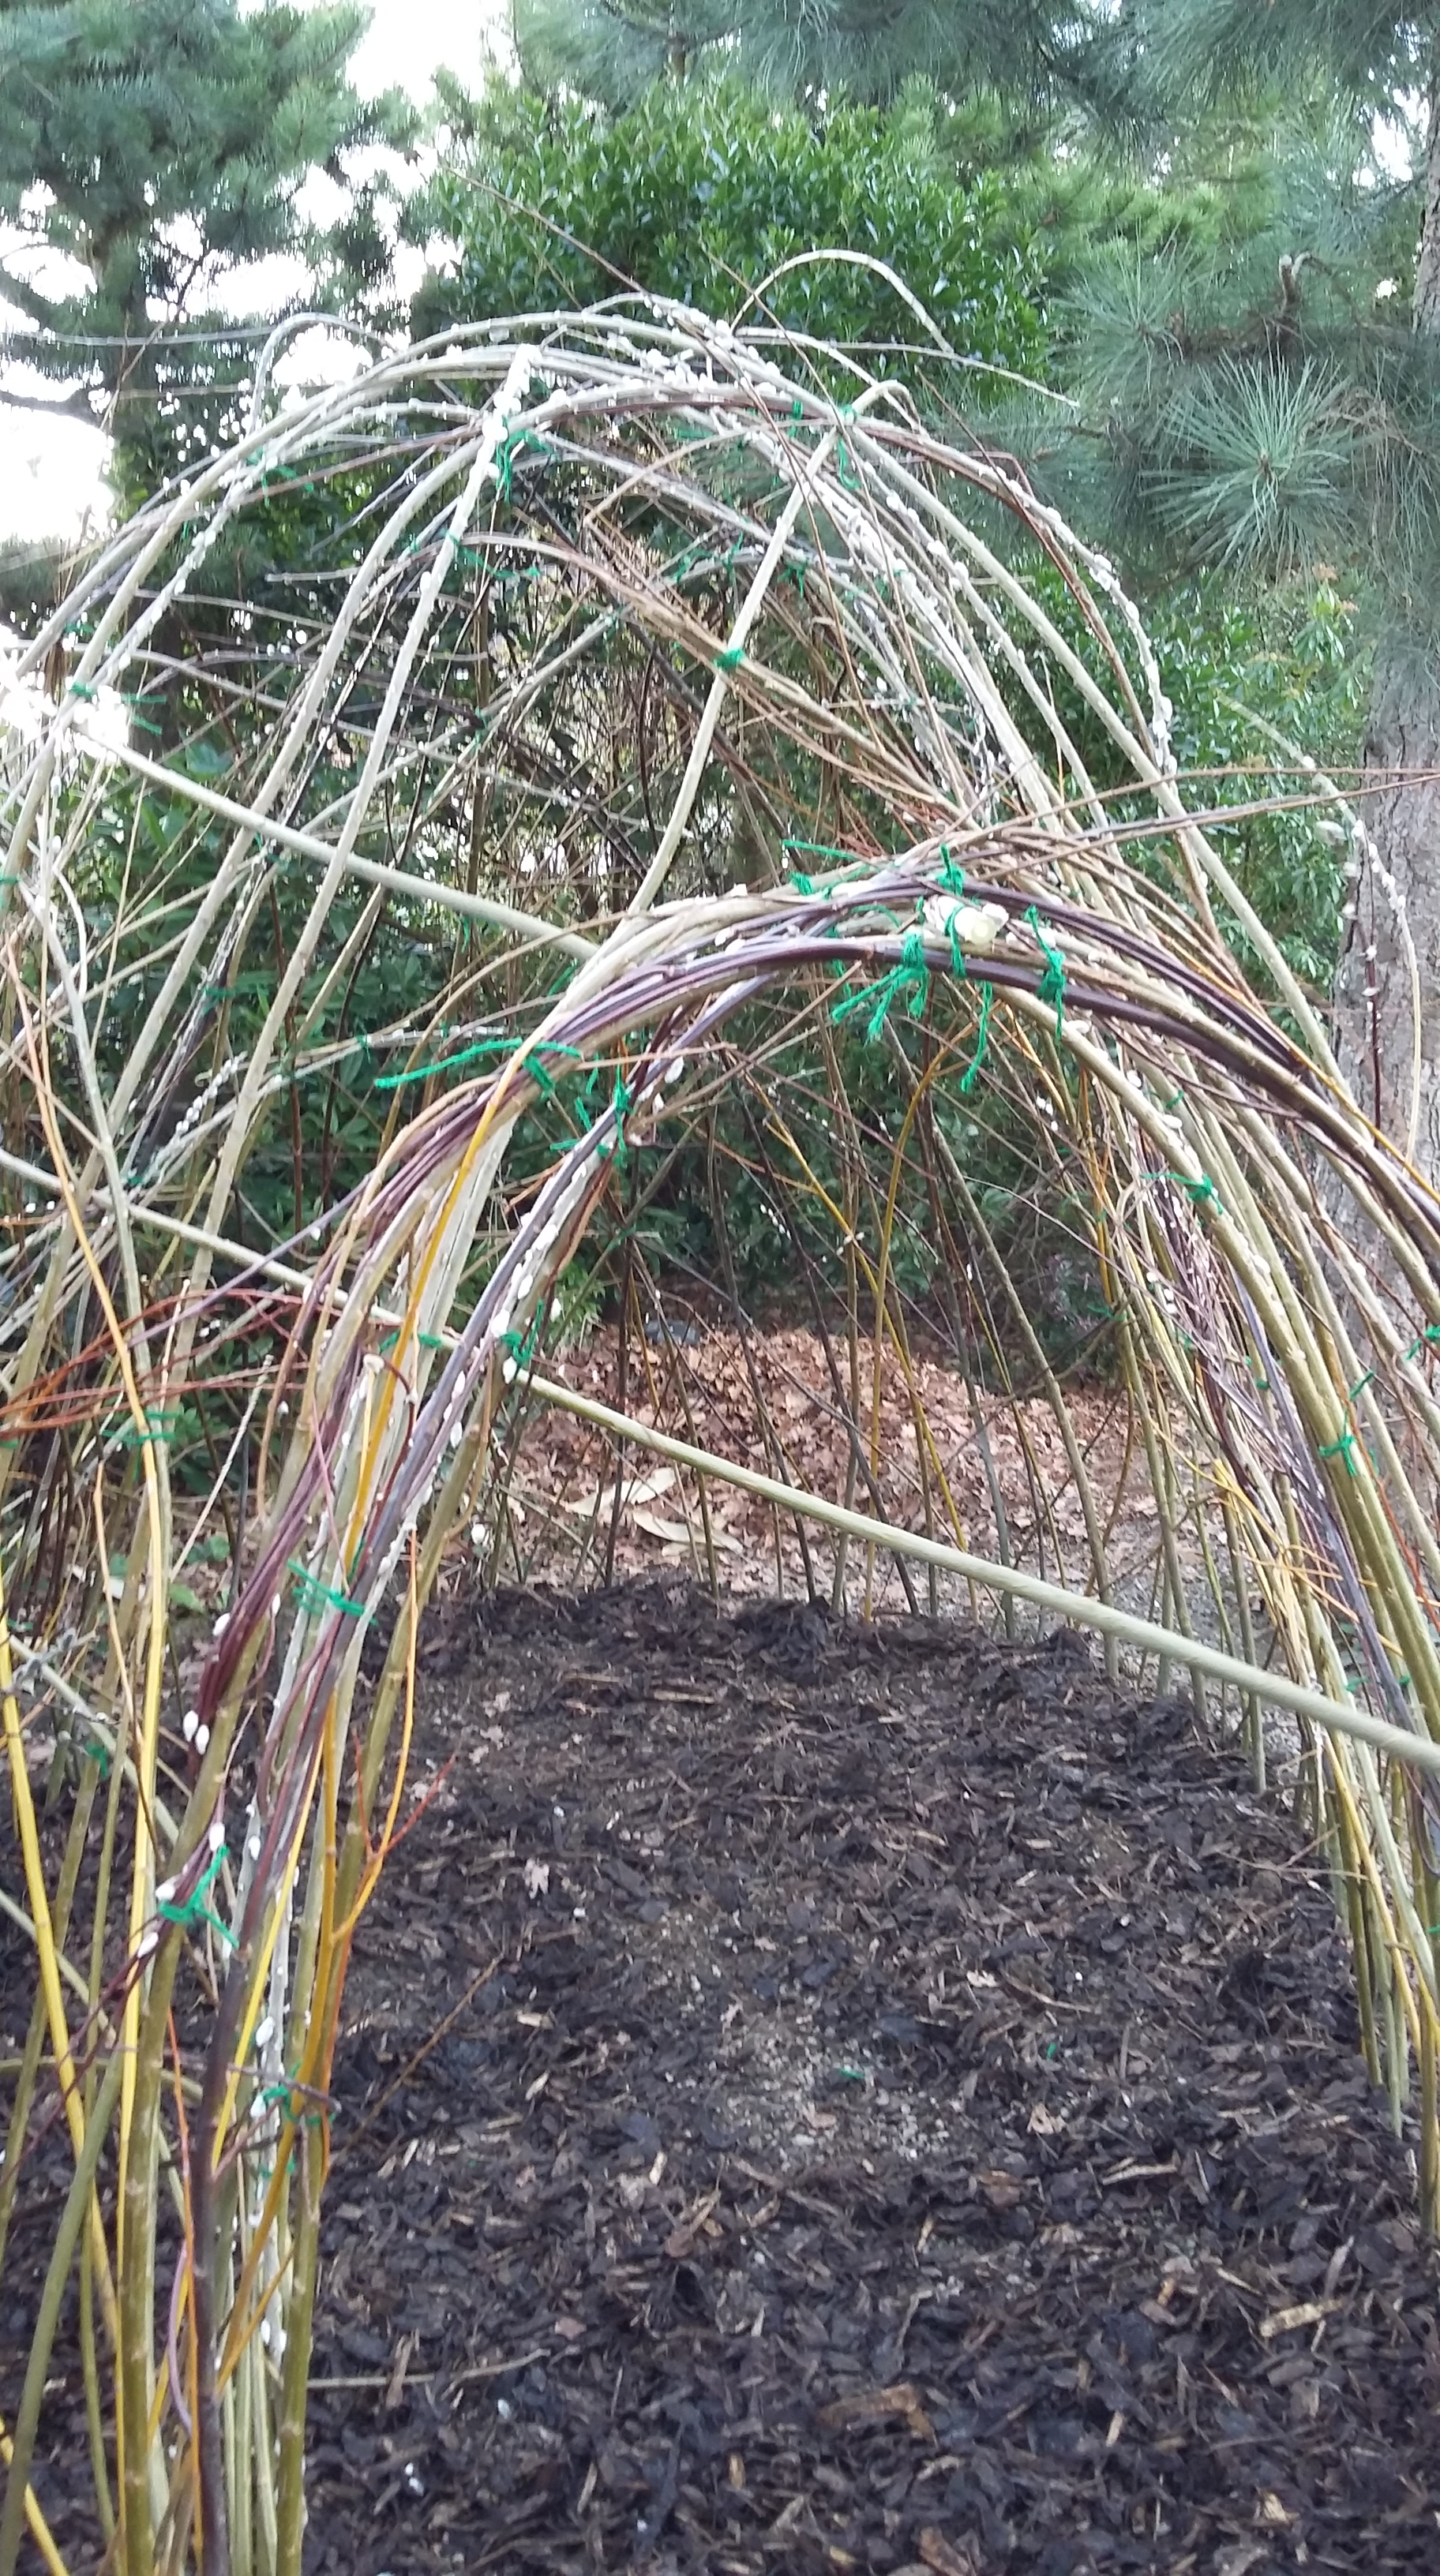
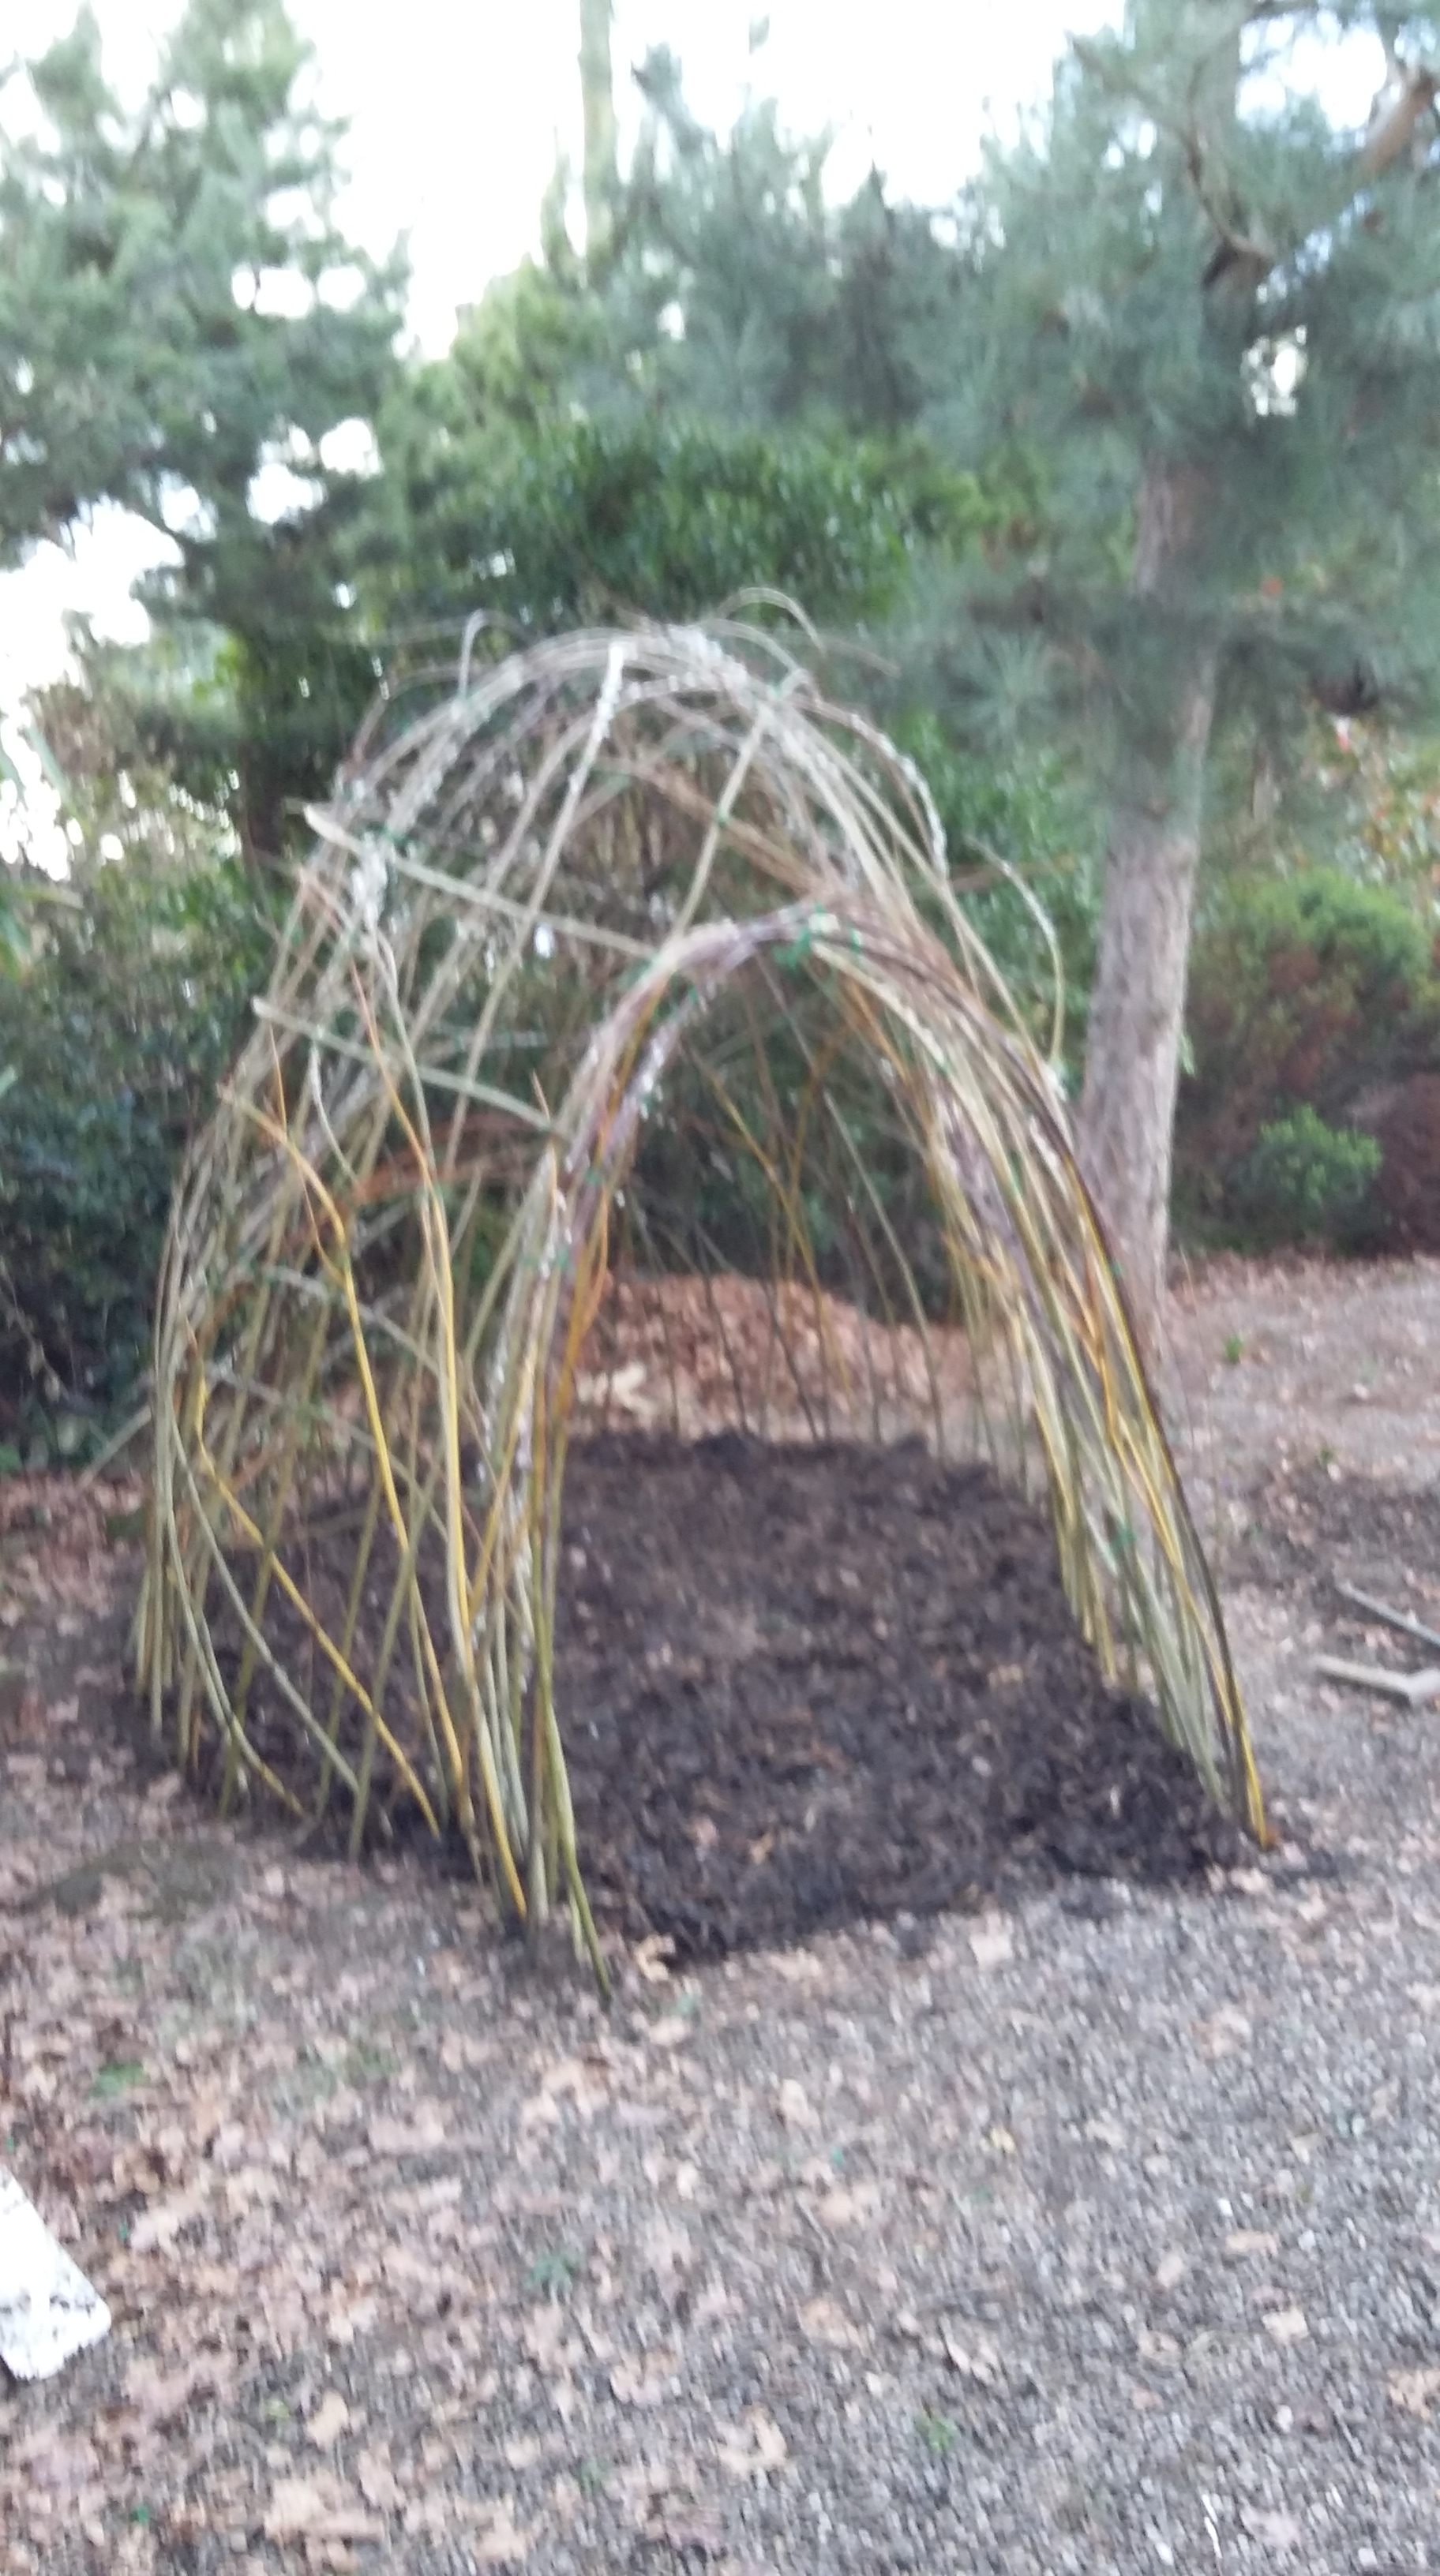
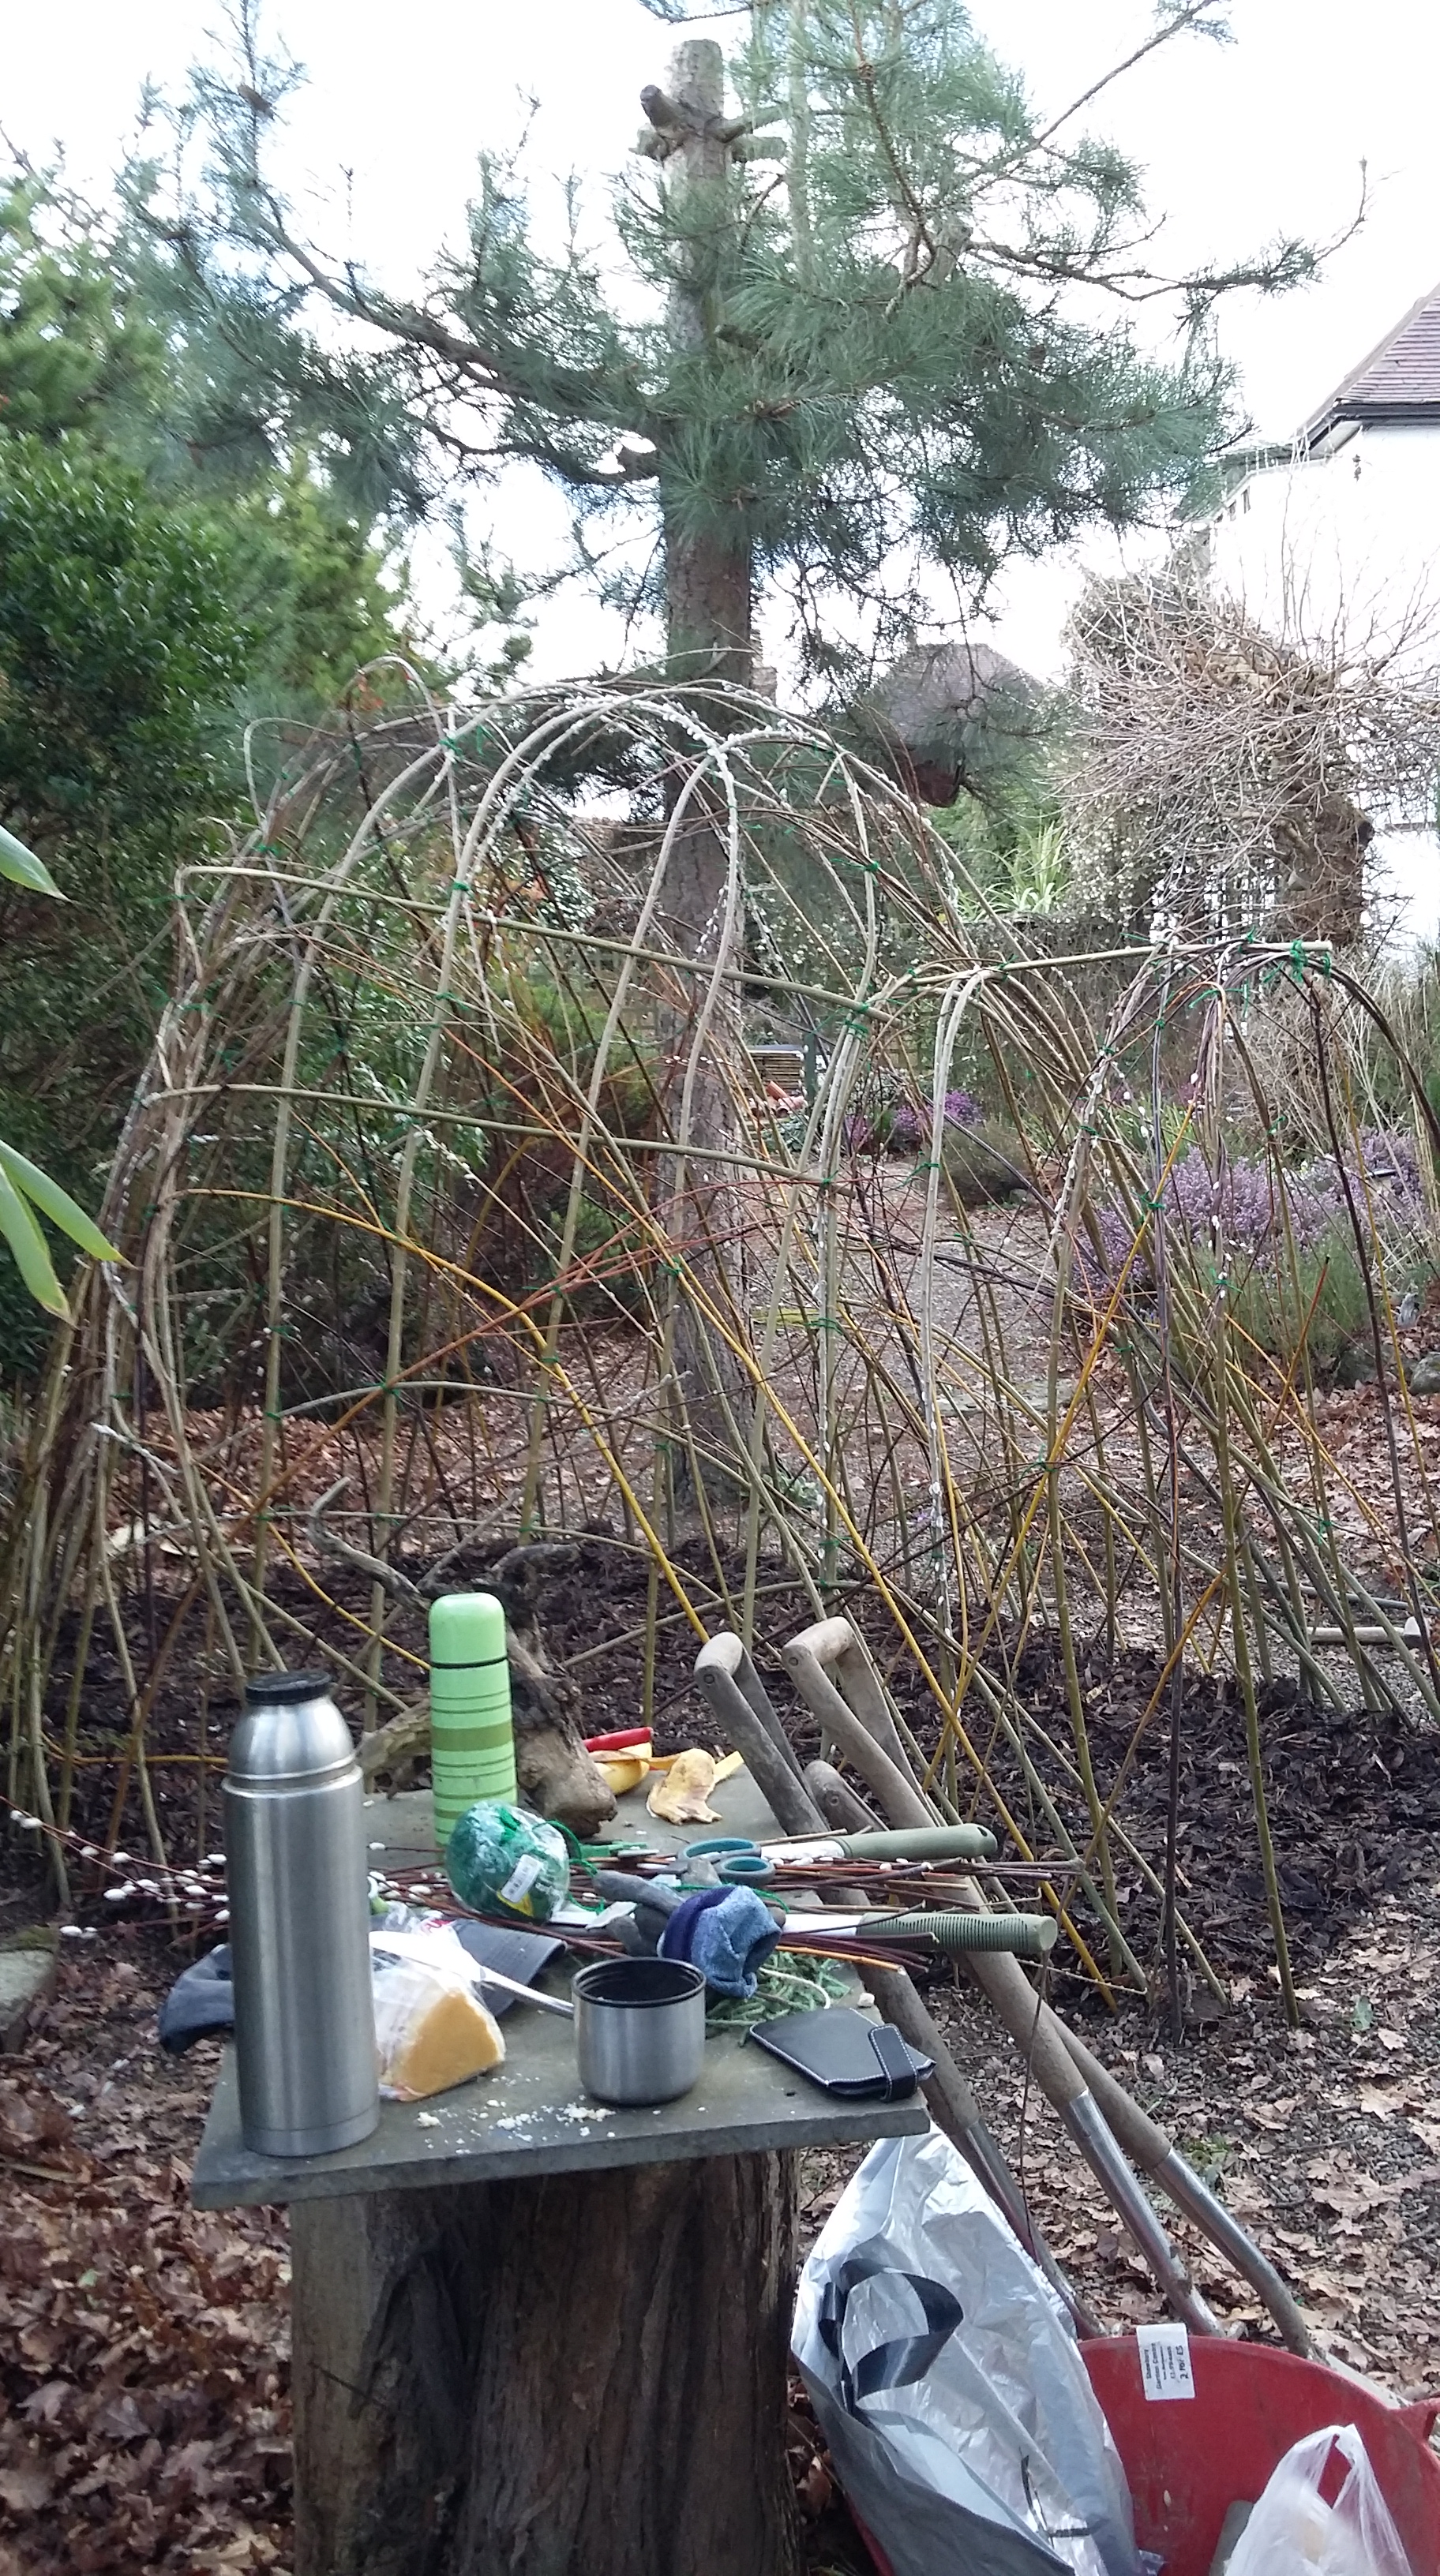
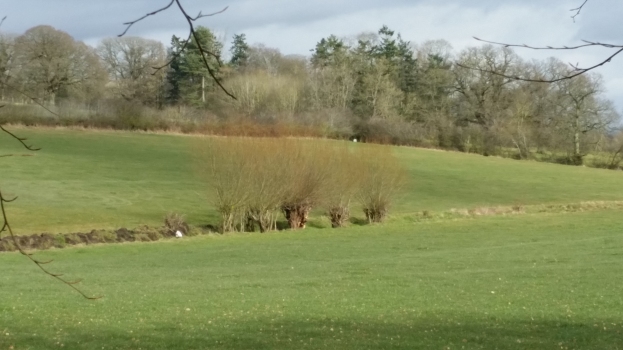
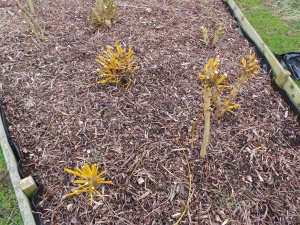
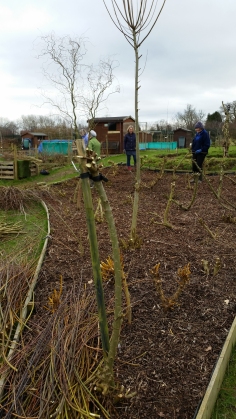
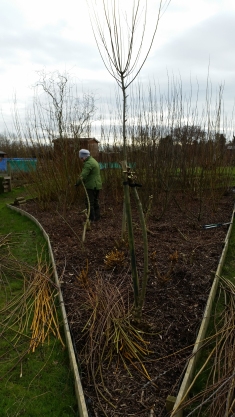
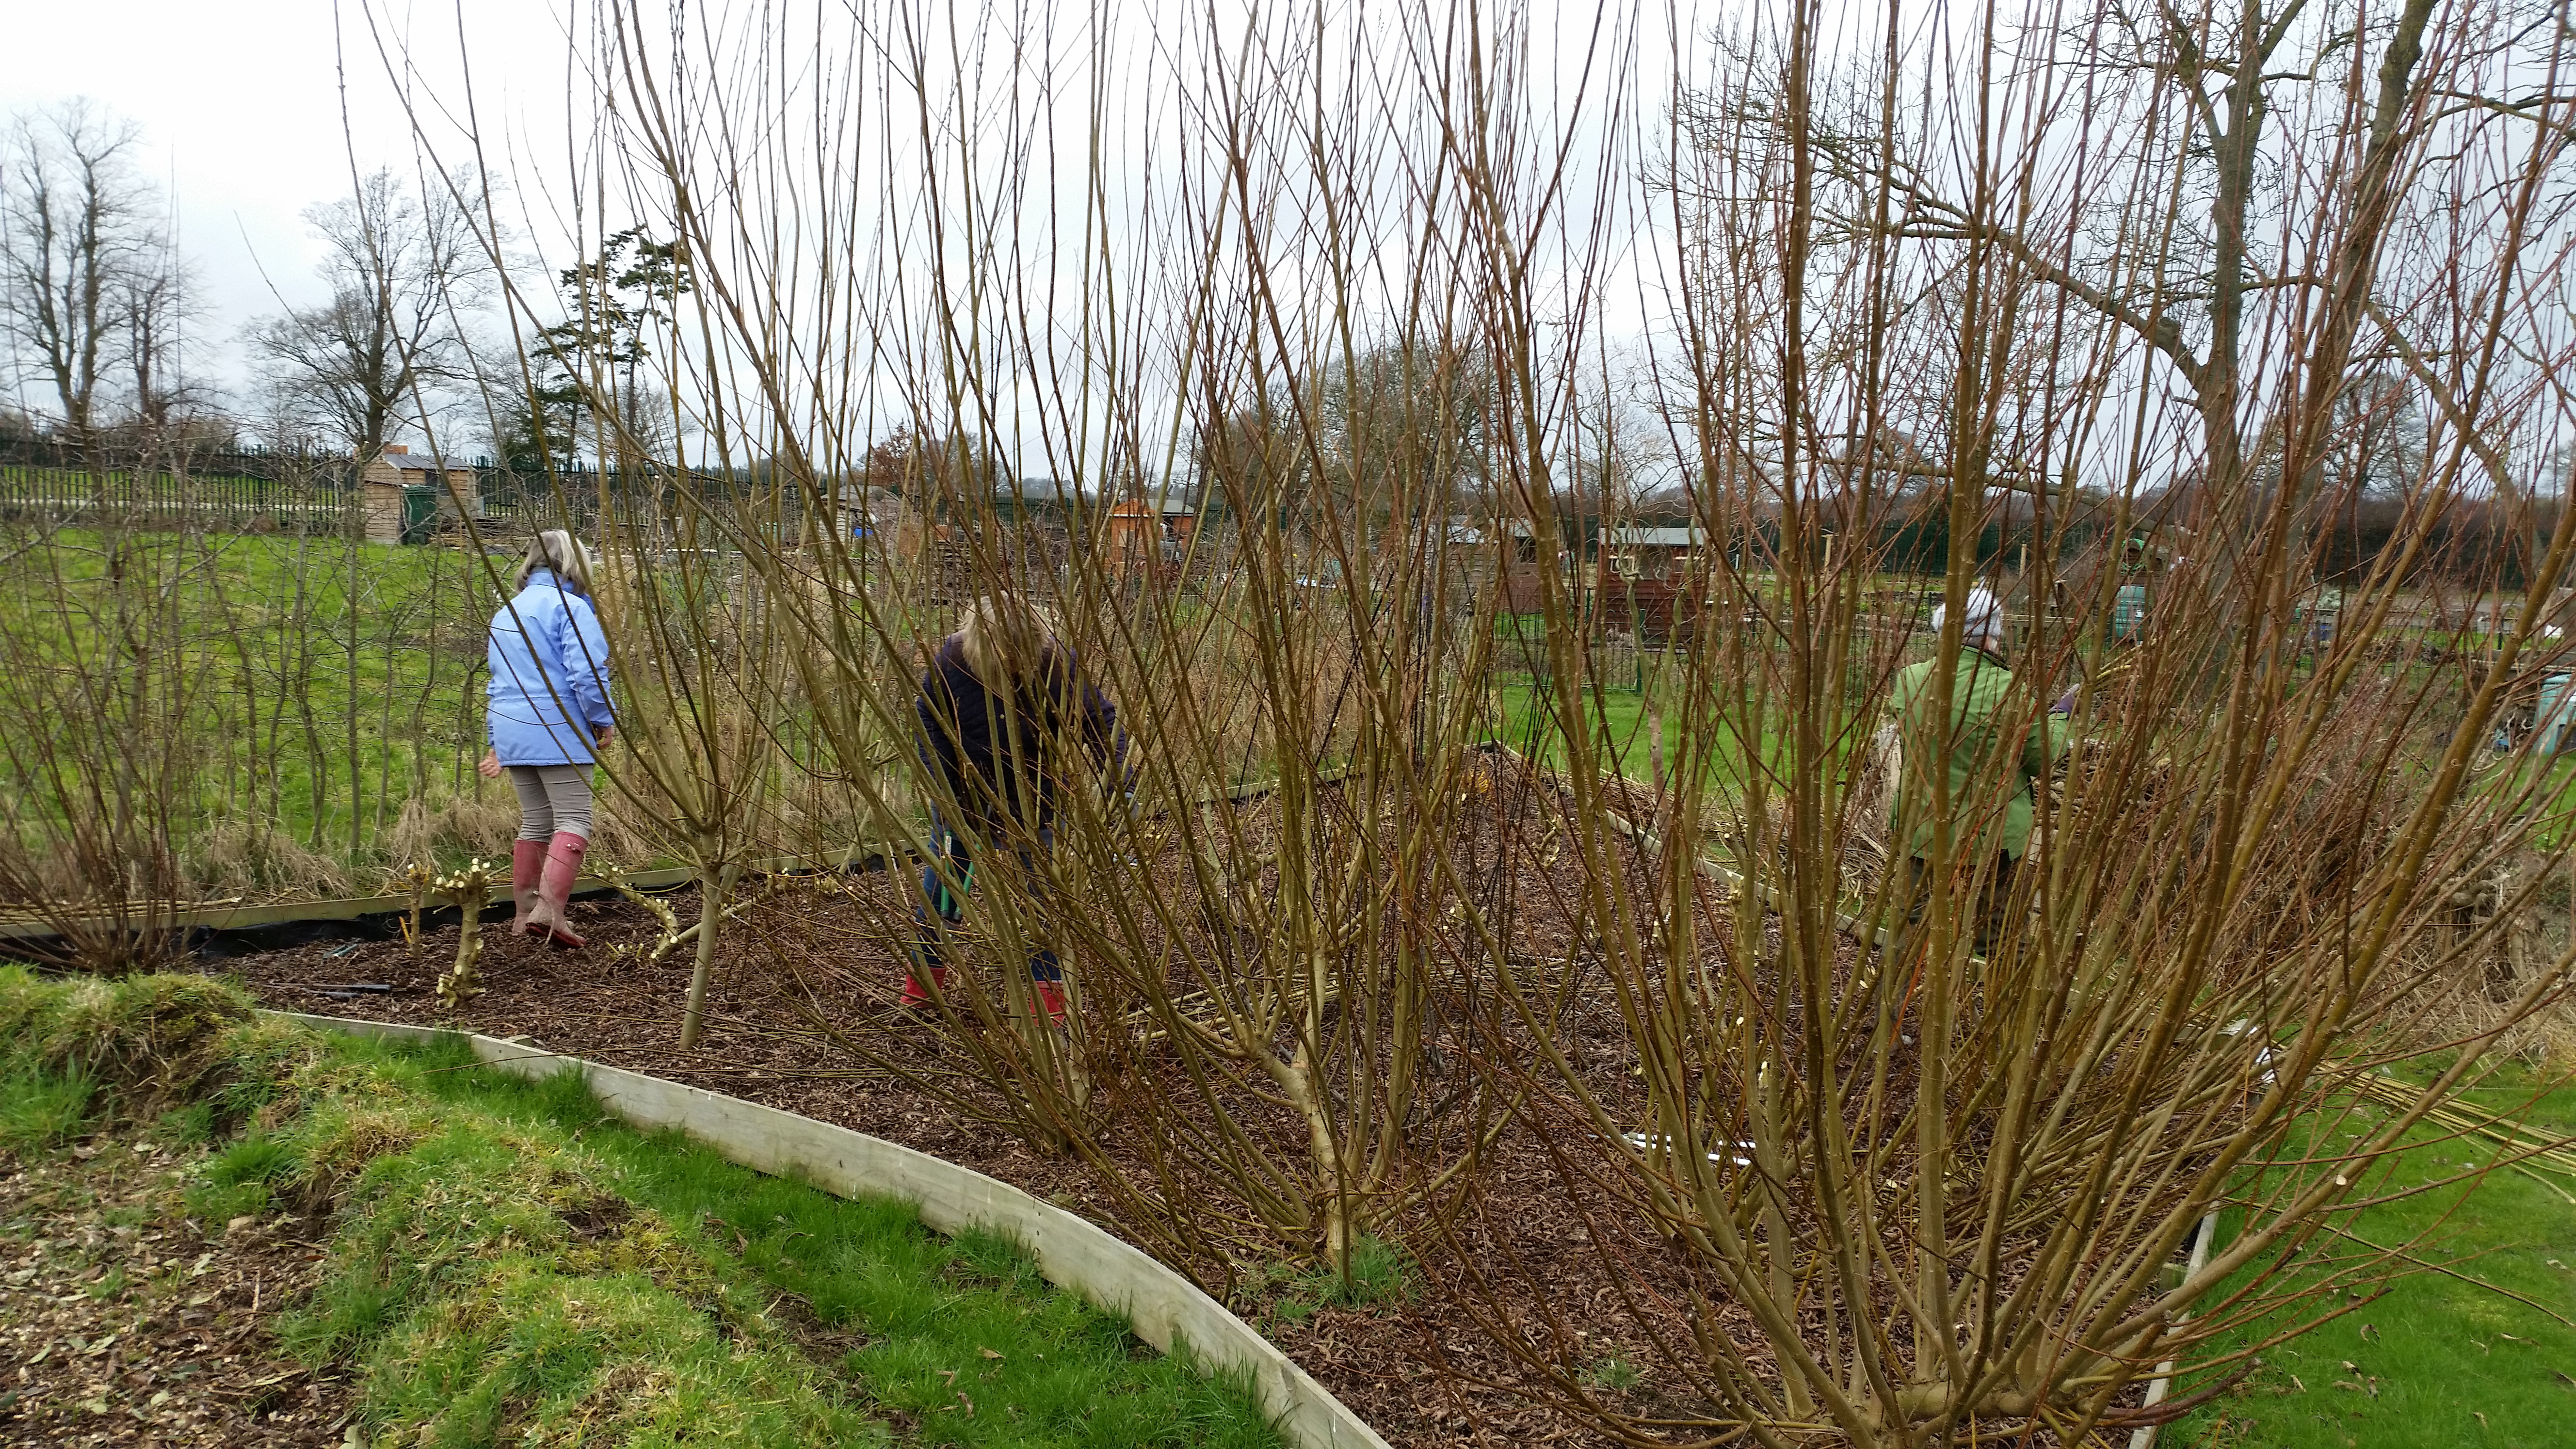
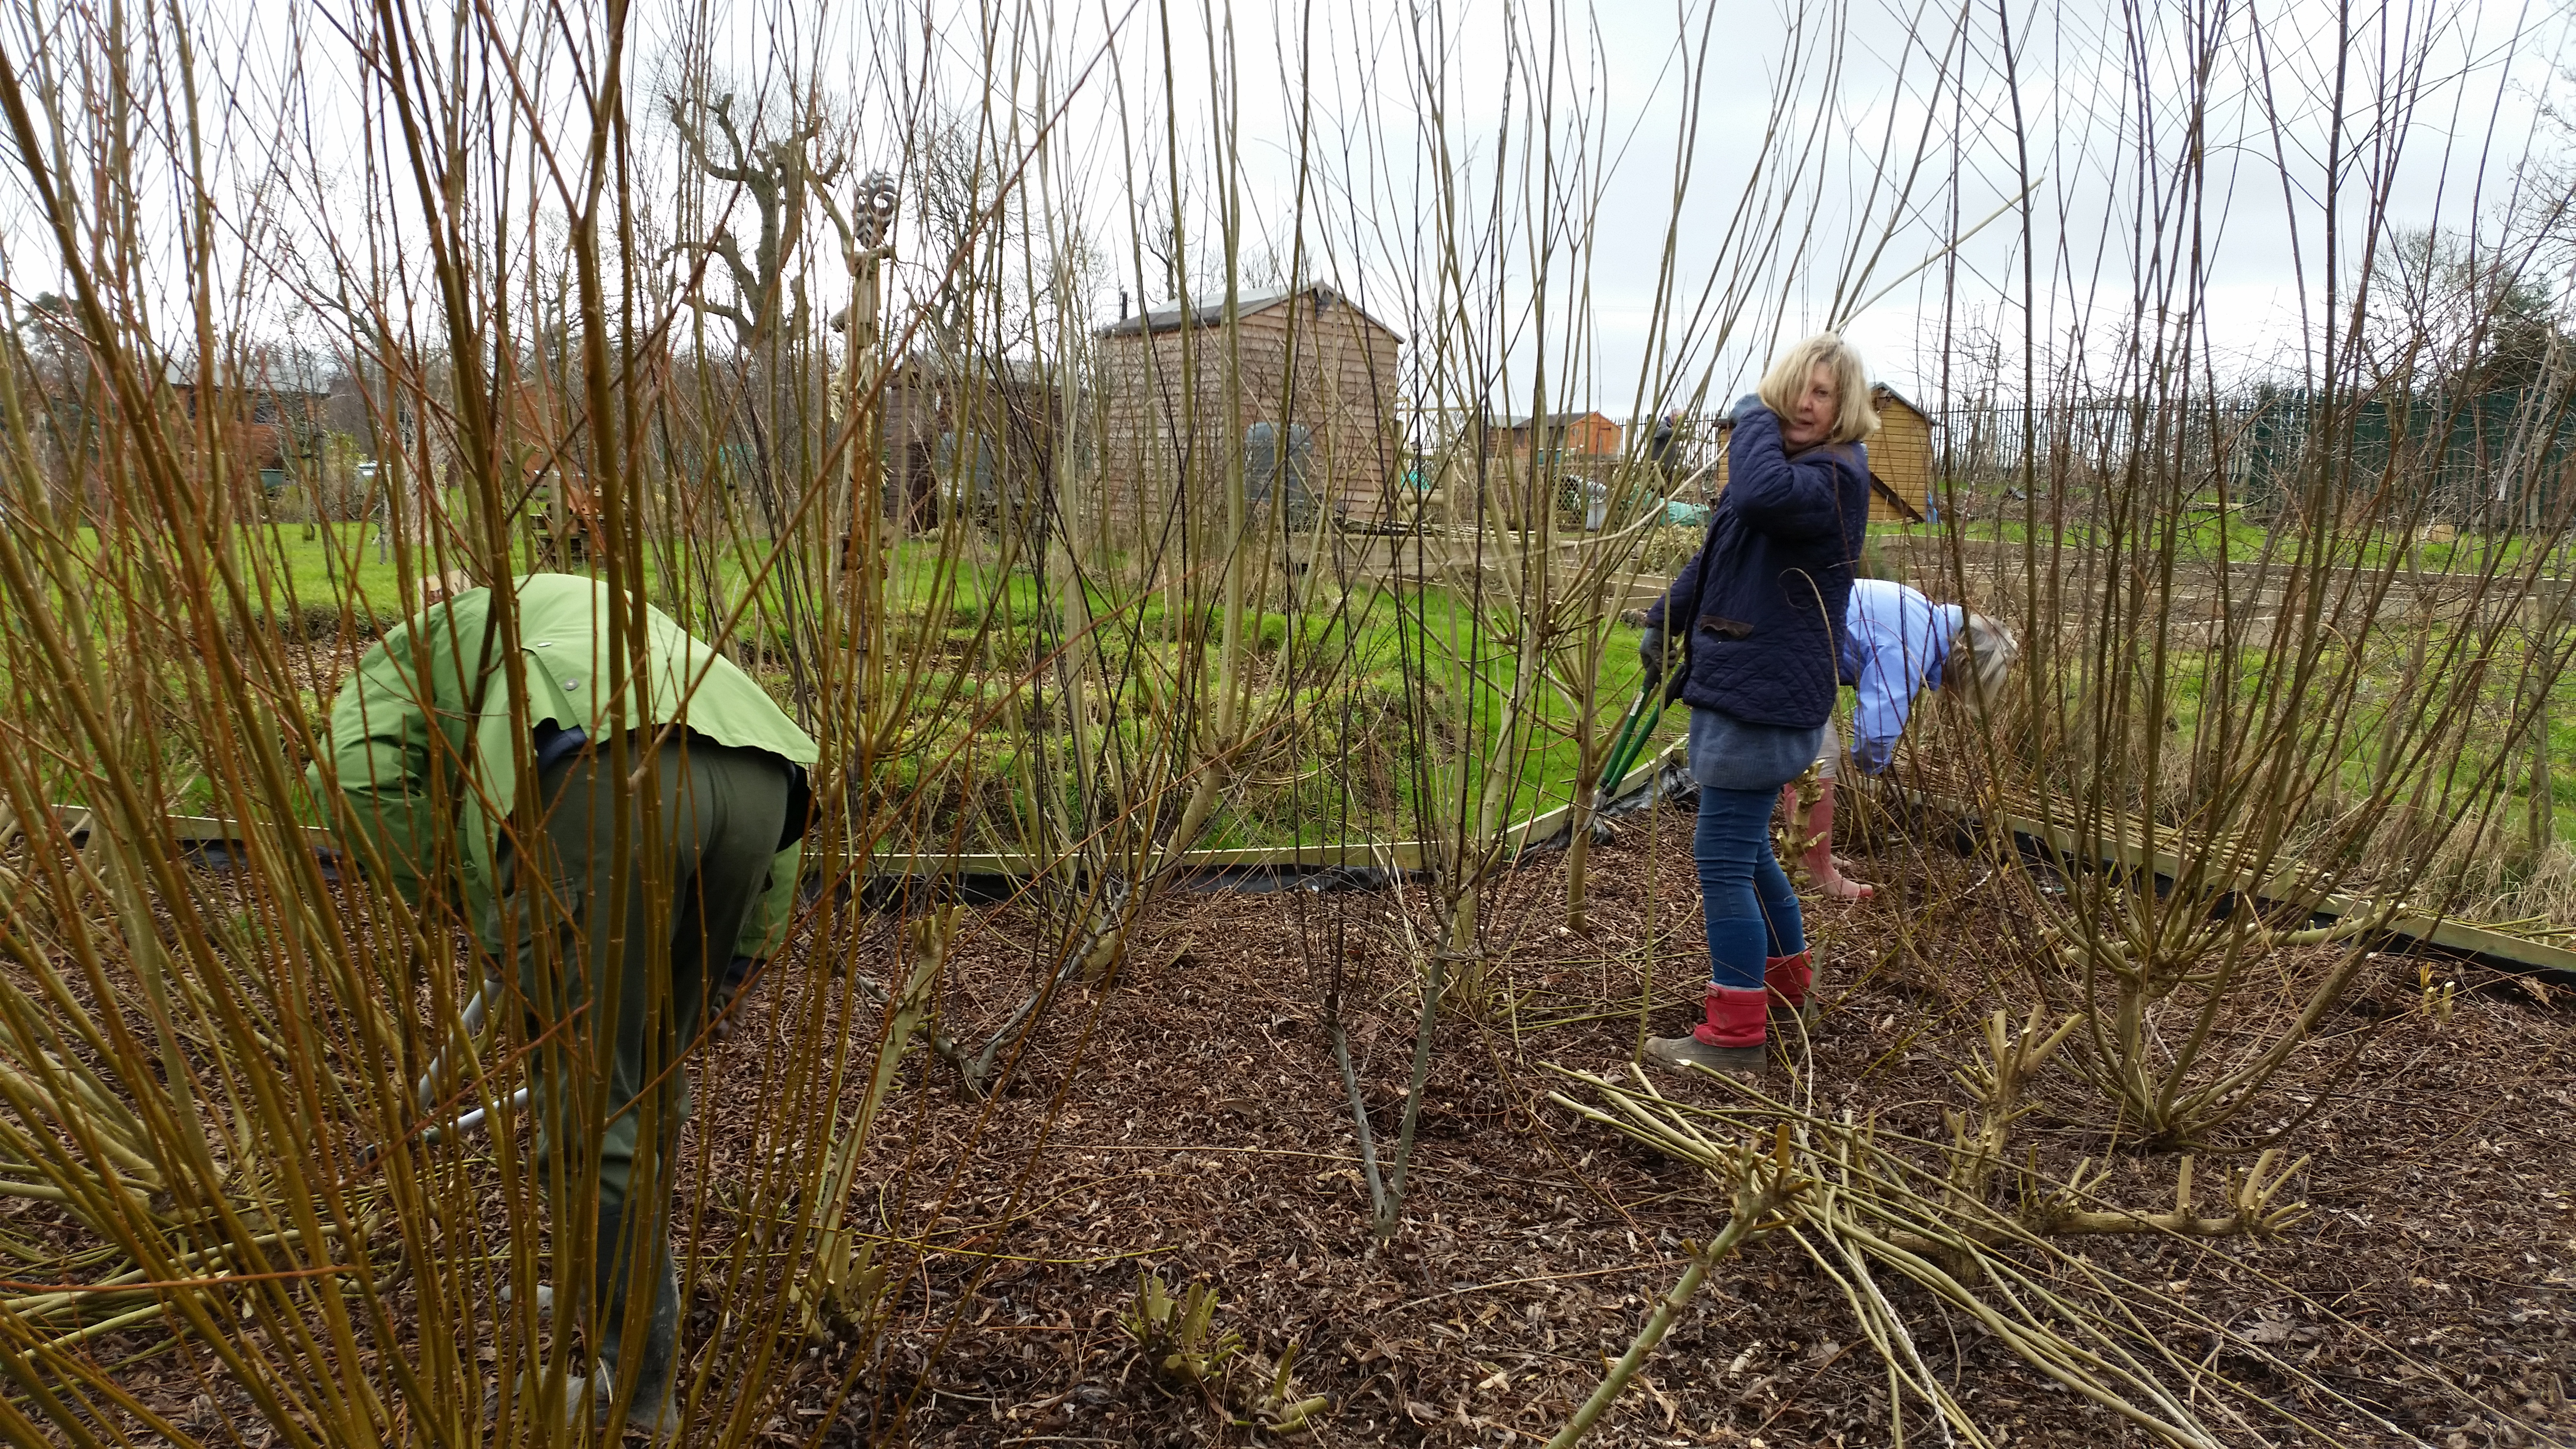
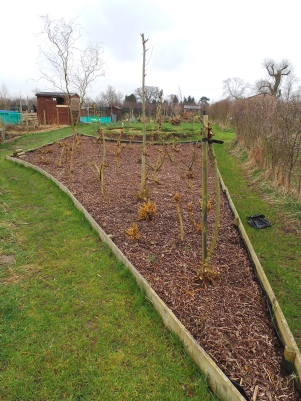
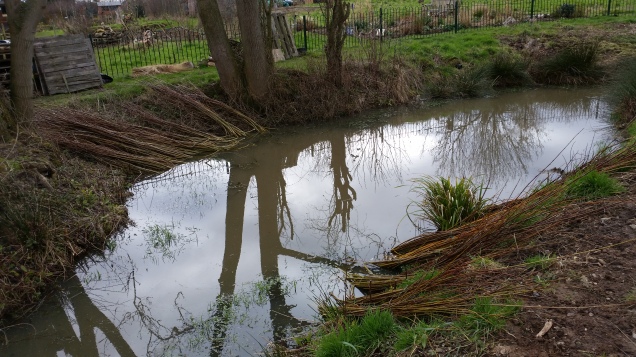
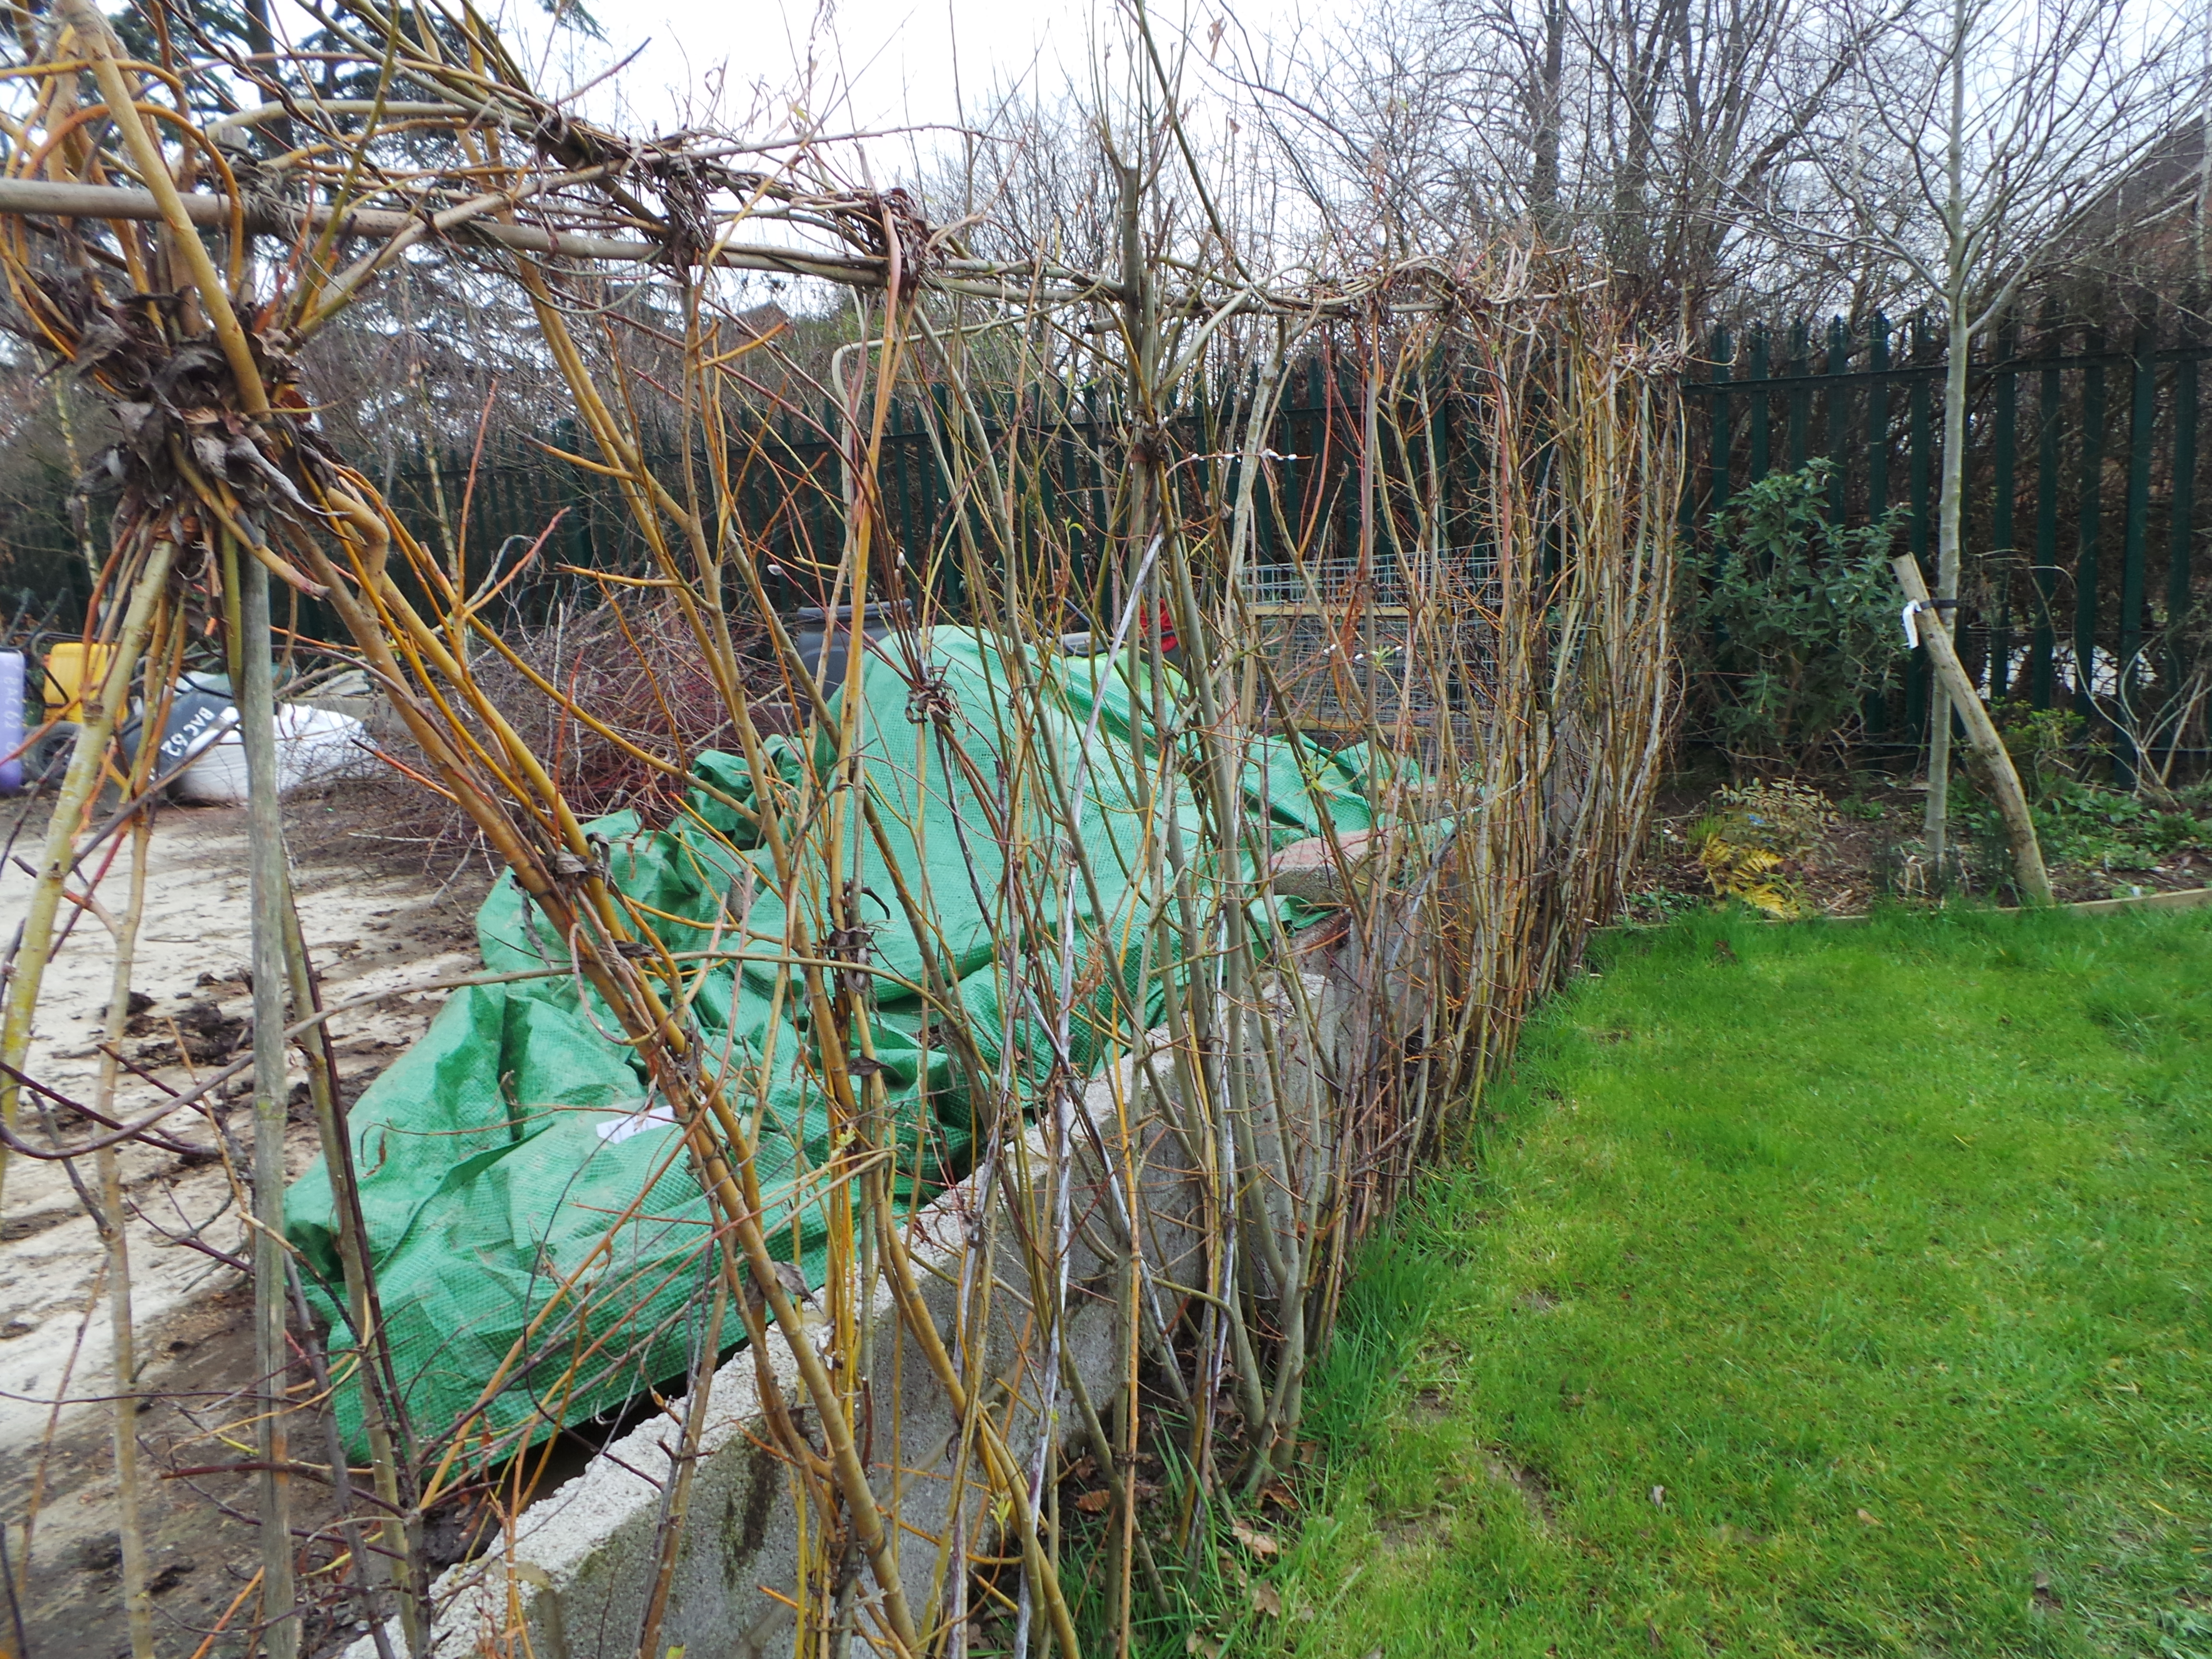
Wherever the pathway gets close to the bank we have planted a low boundary hedge from willows harvested on site and have woven whips of different coloured willows from the brightest yellow to the darkest black  through it. Similarly at the outlet end where water drains to prevent flooding, we have a steep area bank which we have given a similar low willow fence and we are slowly planting up the slopes with small ground covering shrubs that also attract bees, butterflies and hoverflies.

2015 03 16_9998 2015 03 16_00022015 03 16_0000 2015 03 16_9983


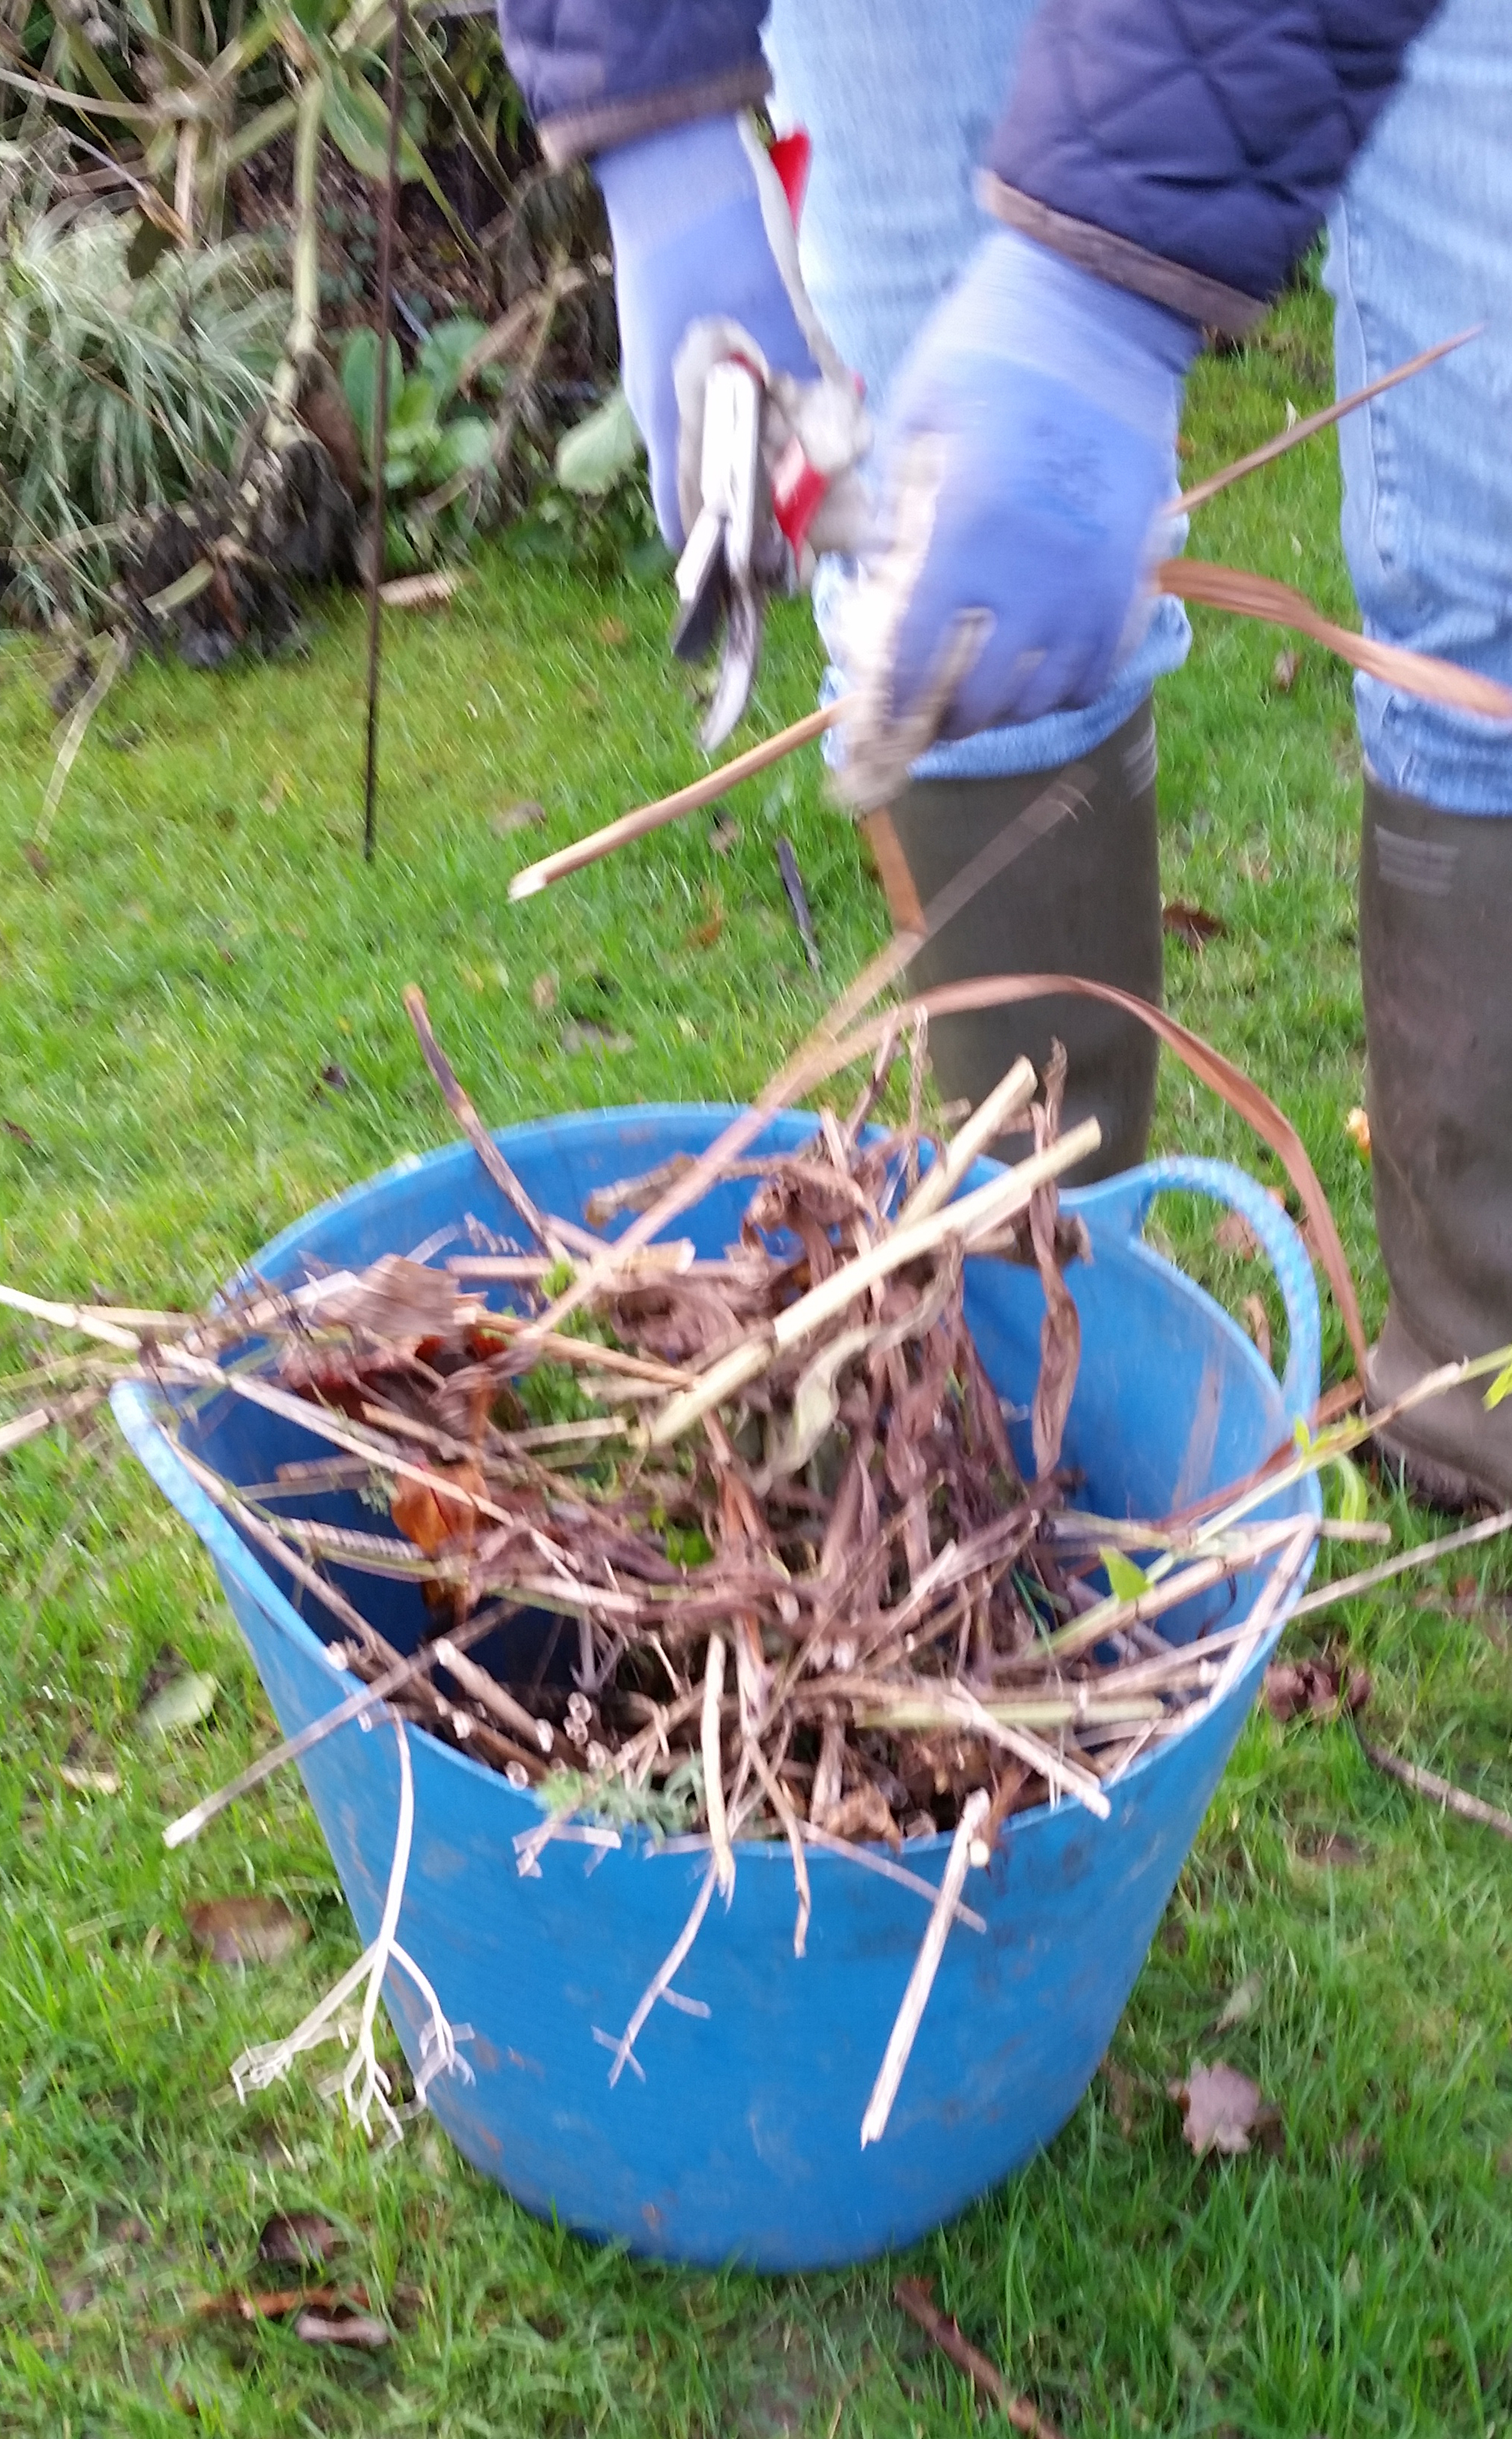
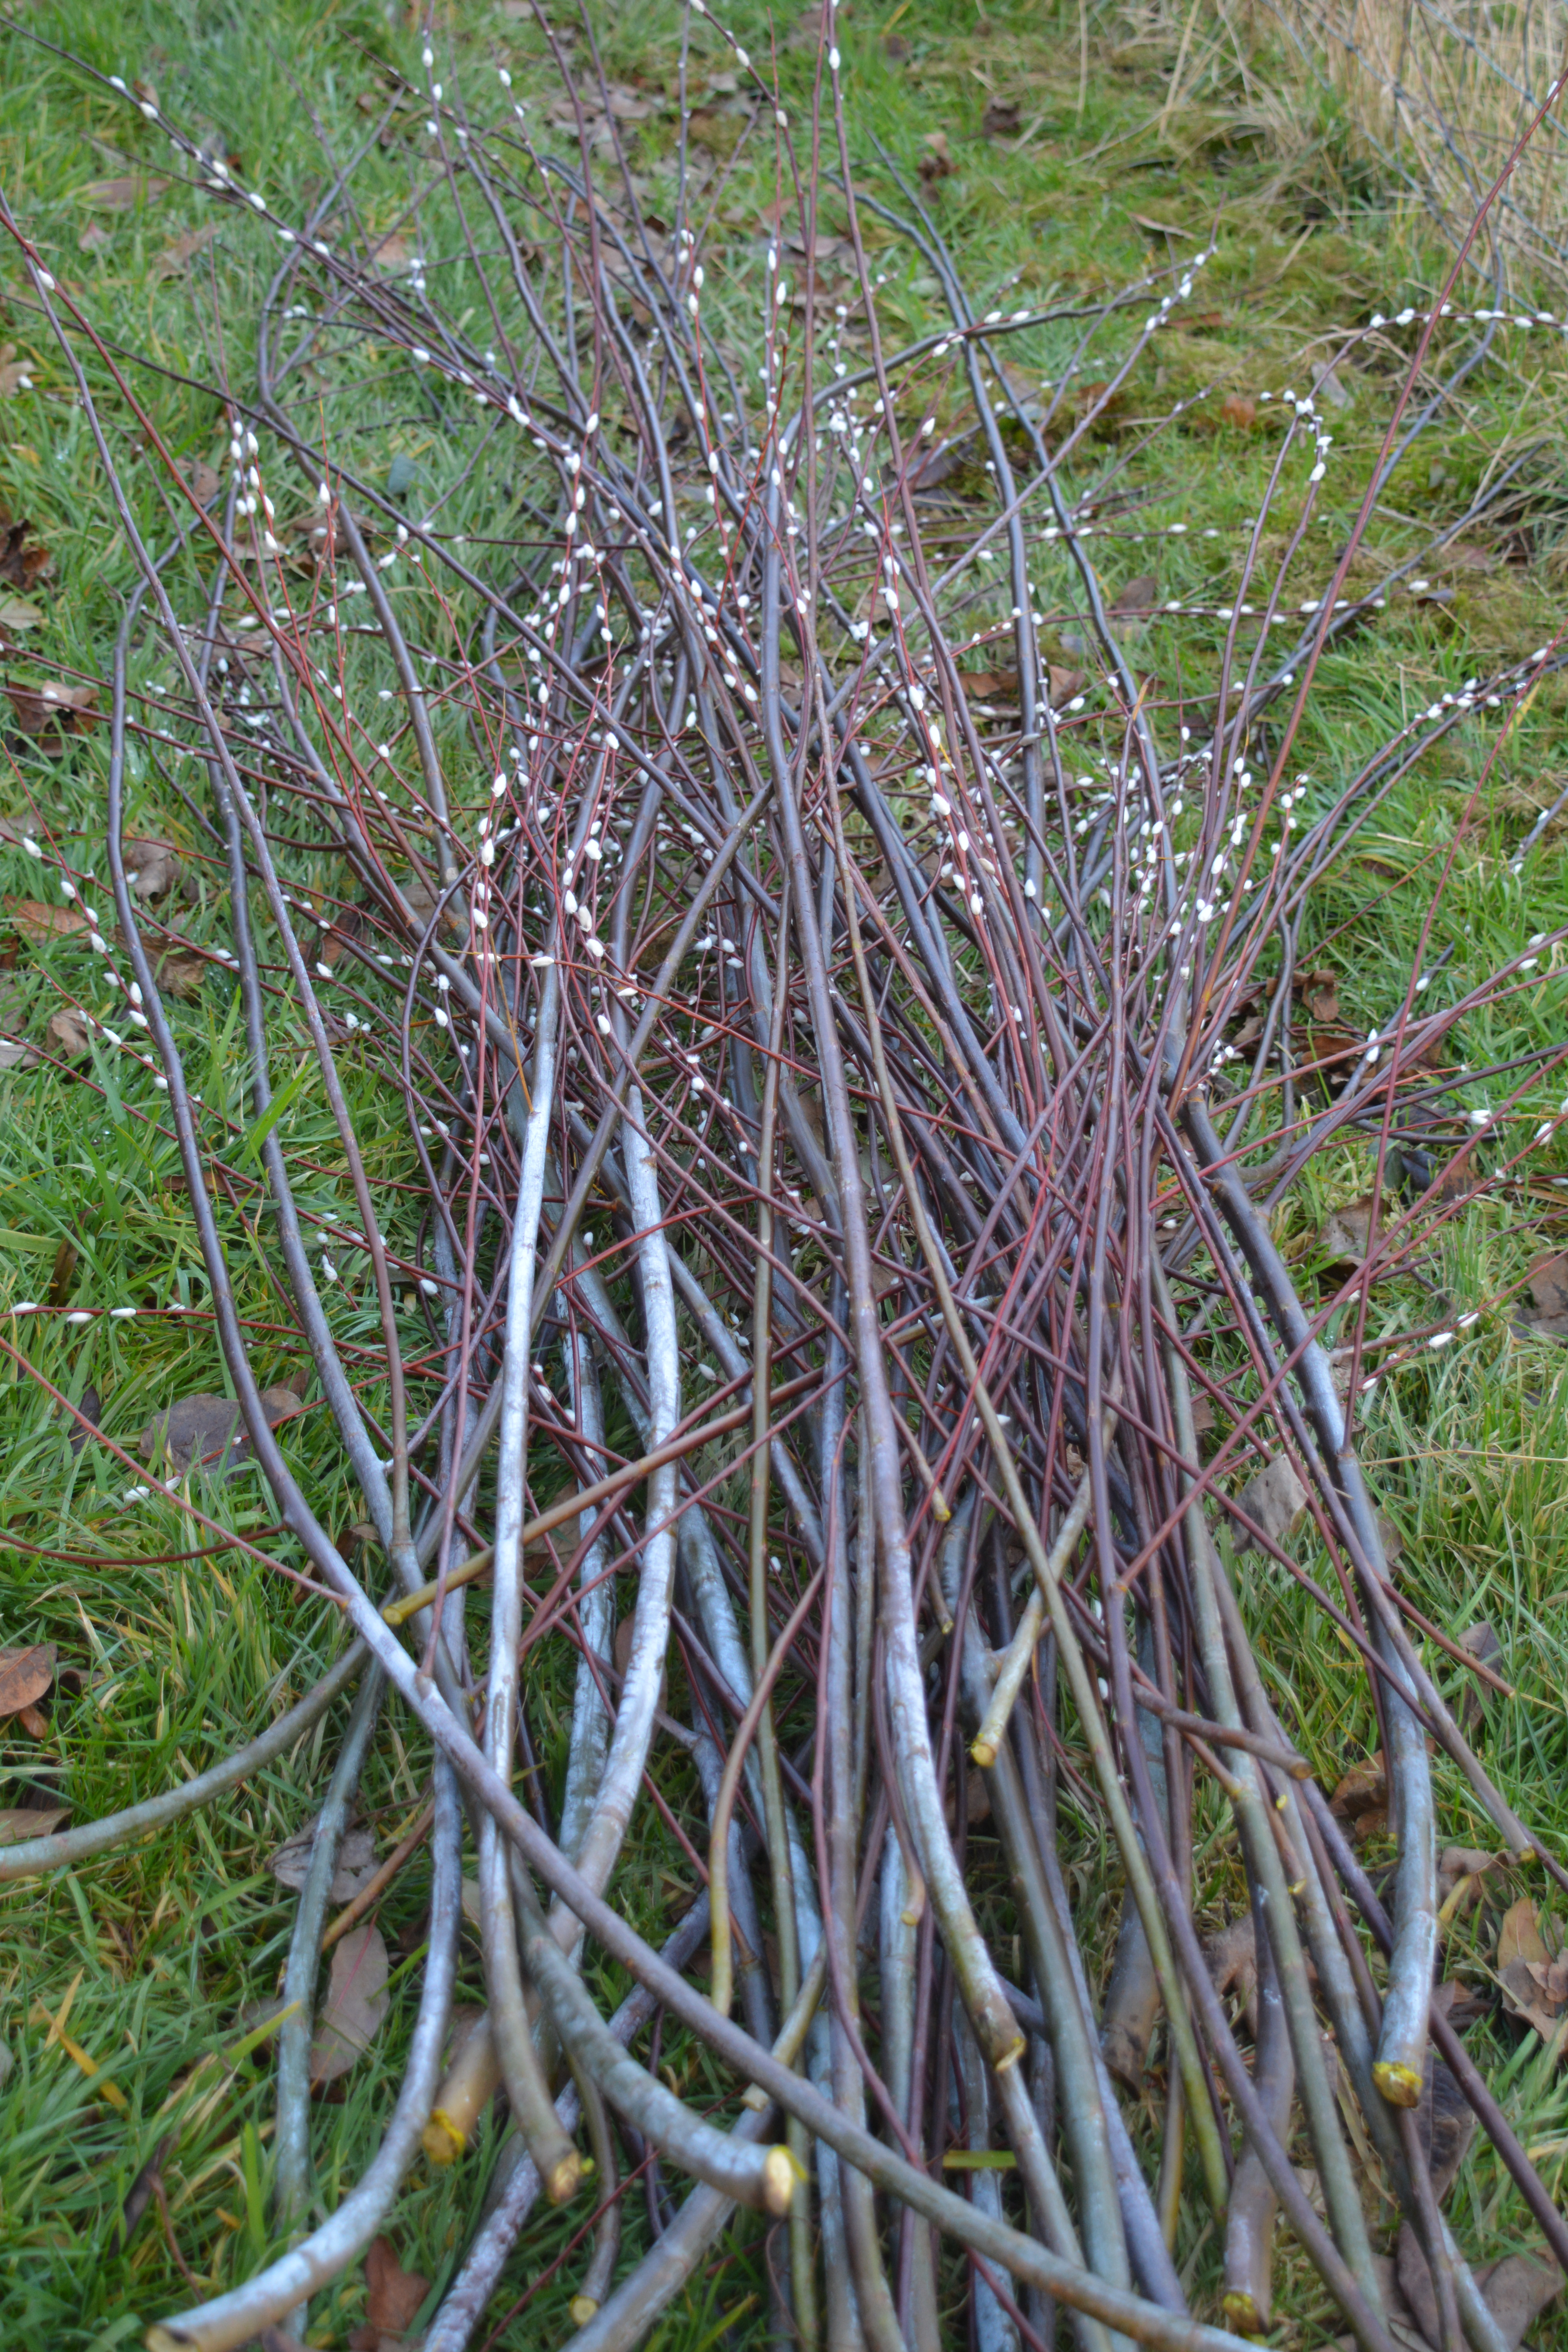
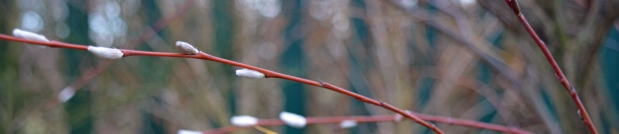
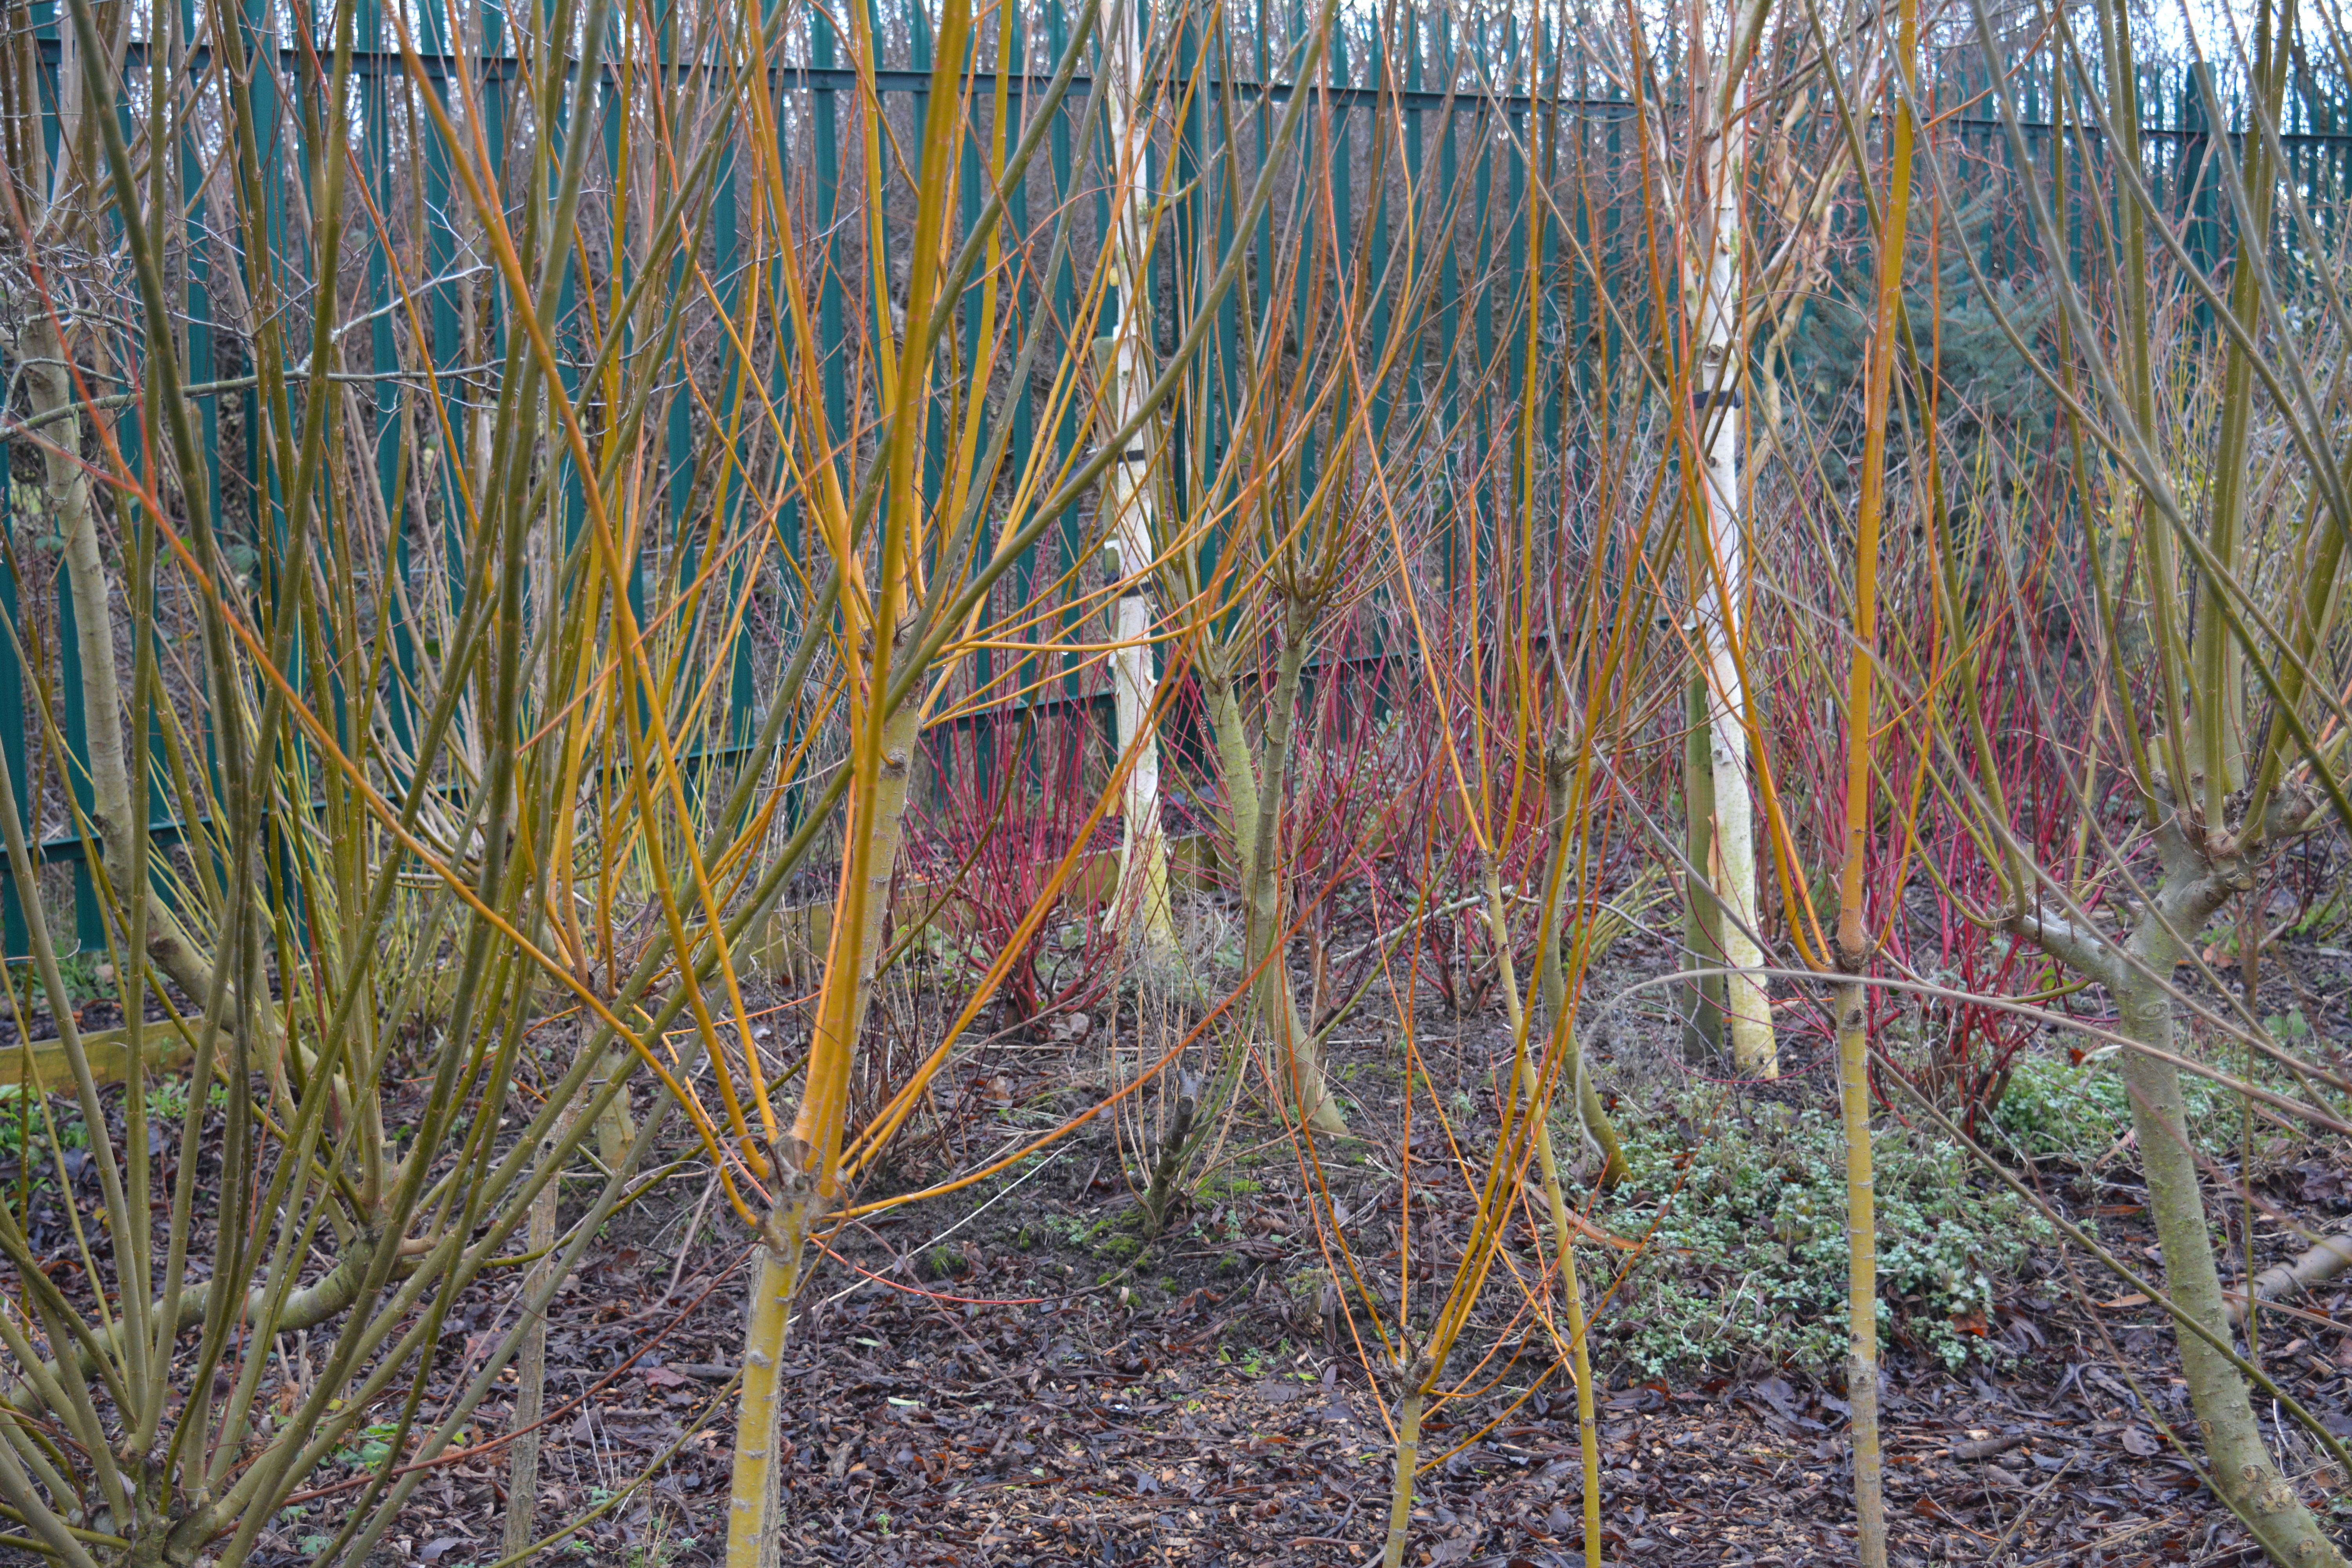
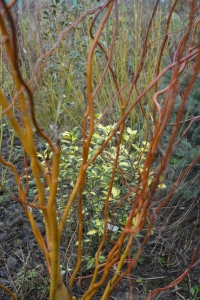
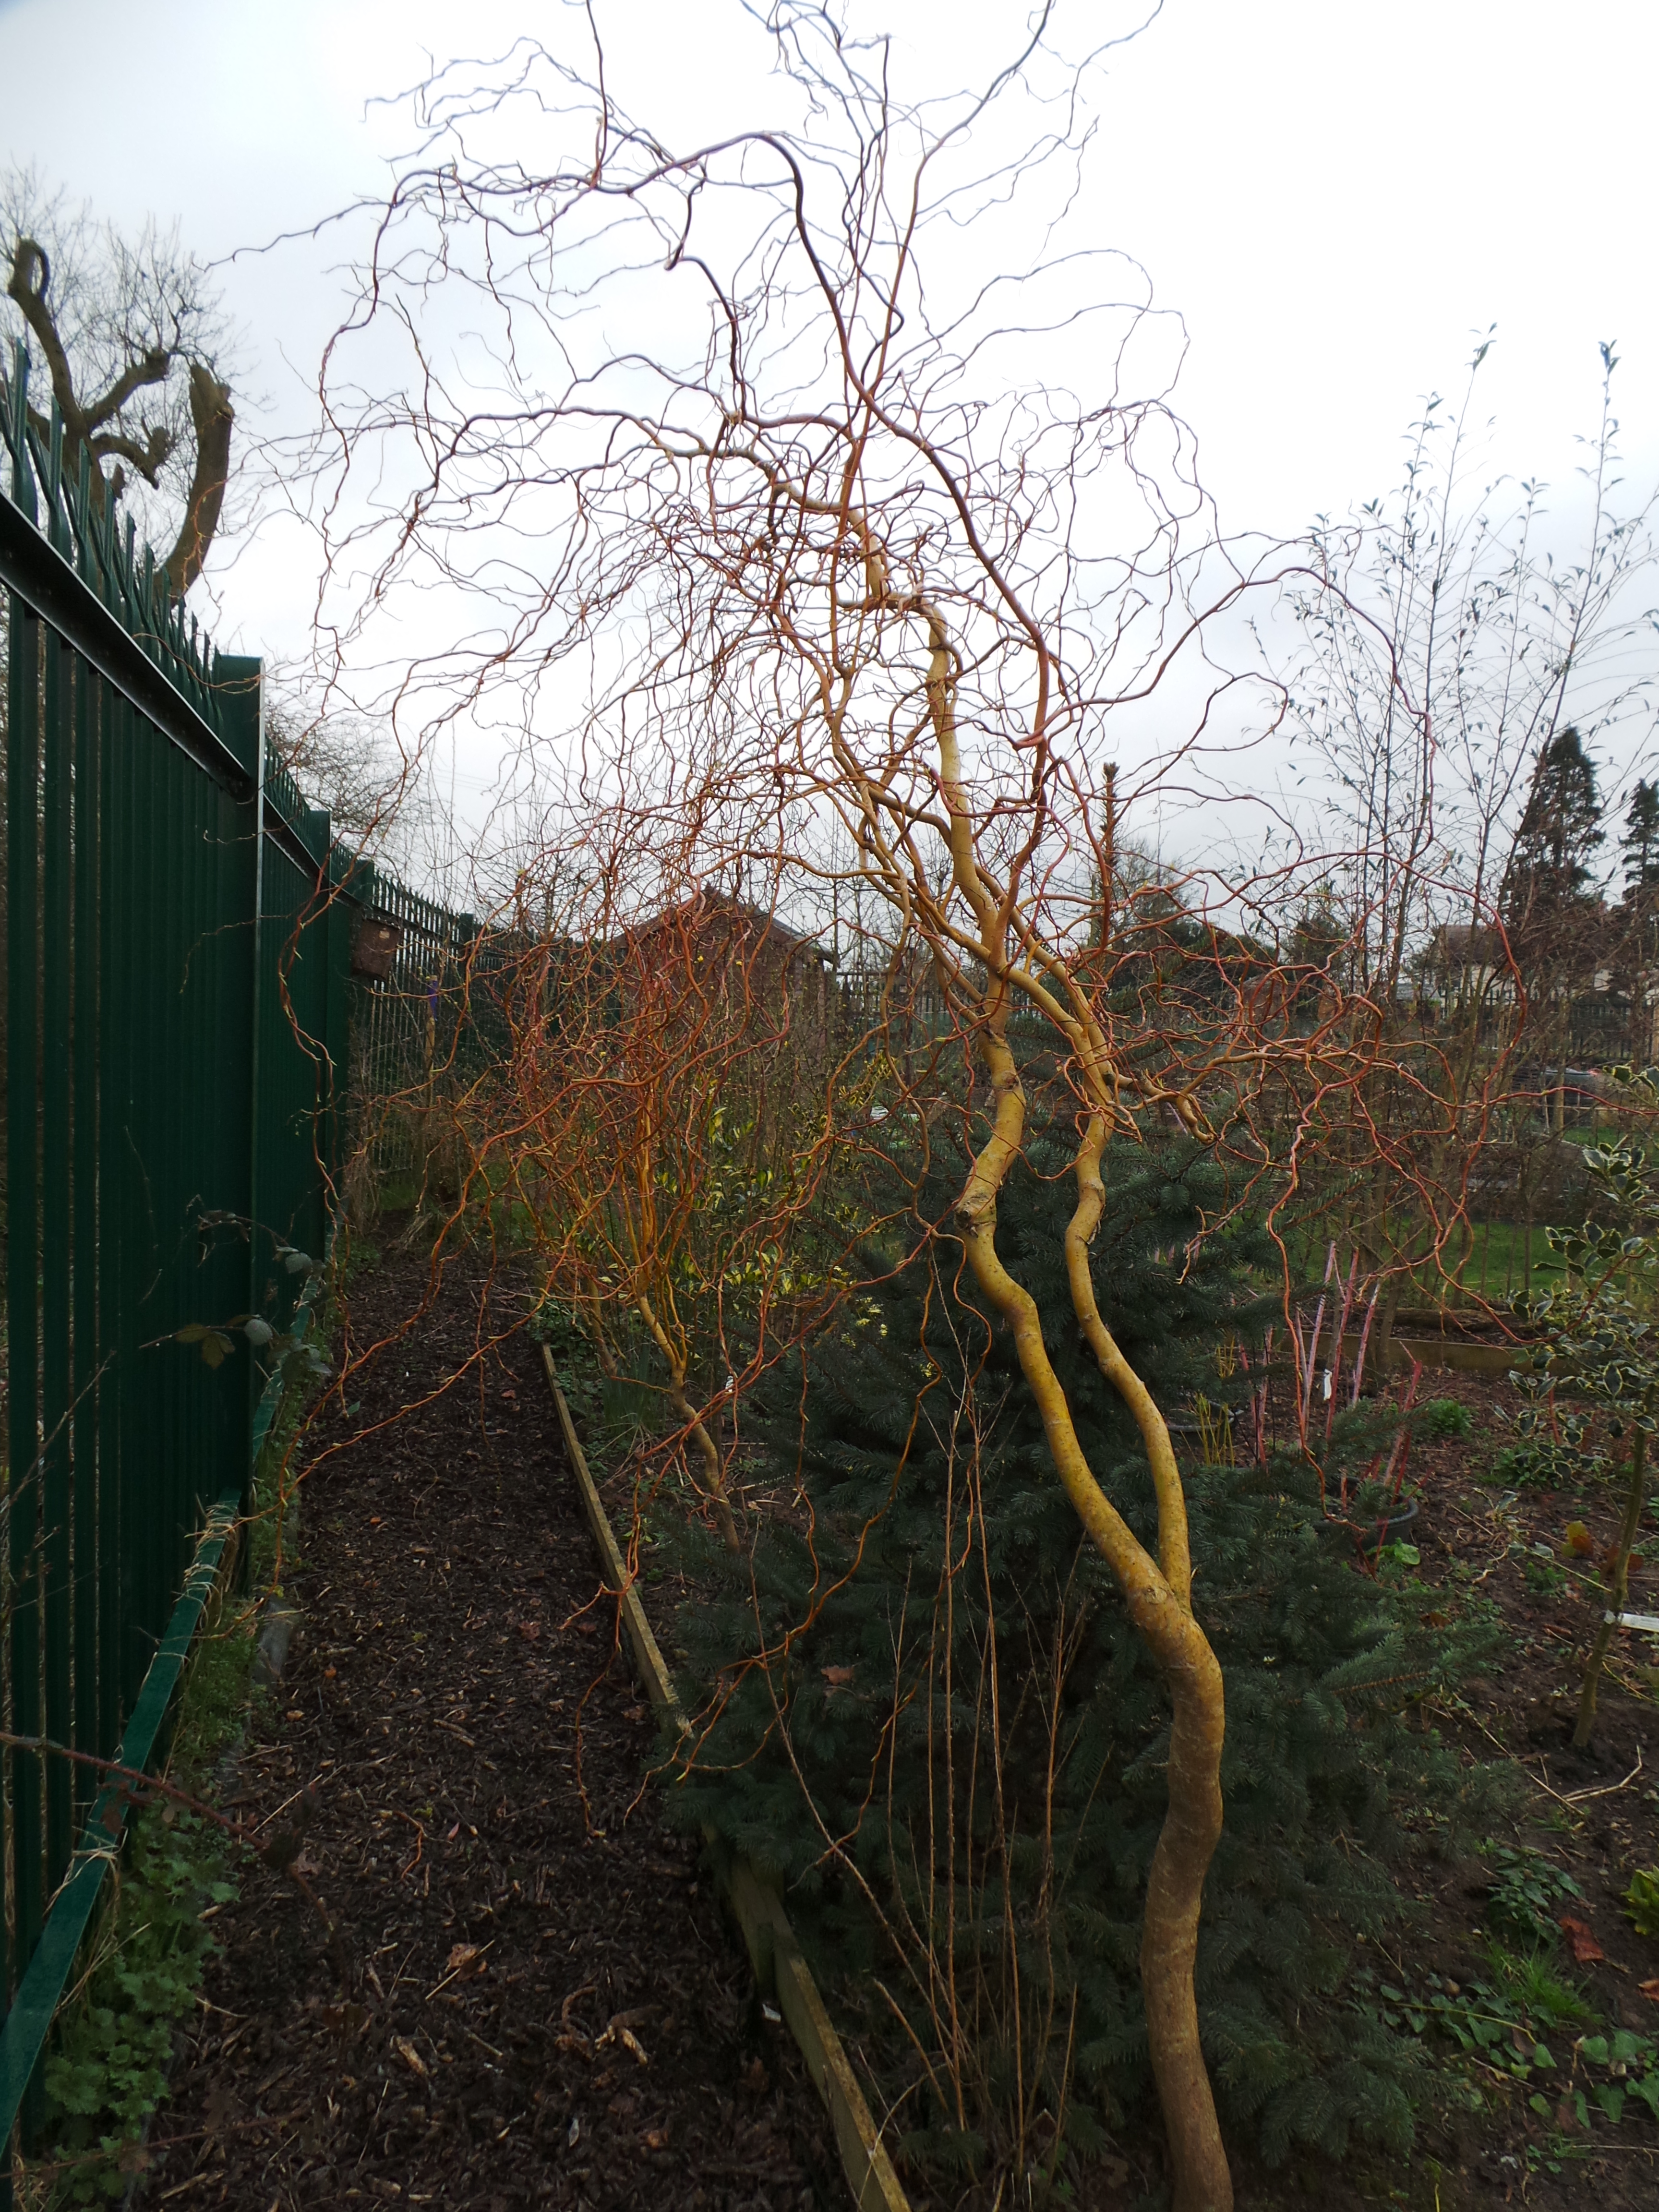
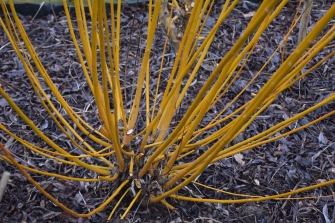
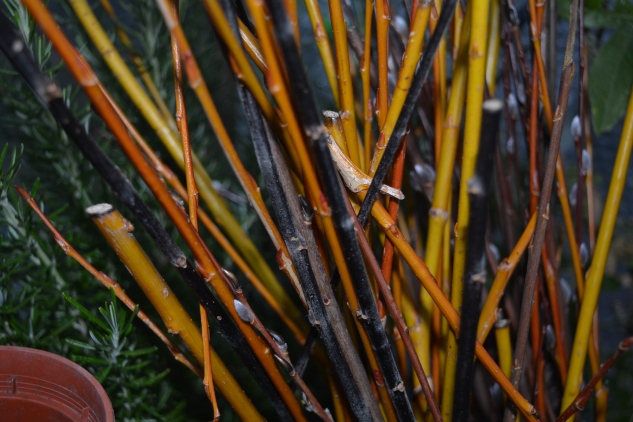
We stored the willow prunings we had after coppicing and pollarding our “Withy Bed”. The photo shows these awaiting action and illustrate just how many colours of willow we have to play with

2015 02 26_9667 2015 02 26_96682015 02 26_9669

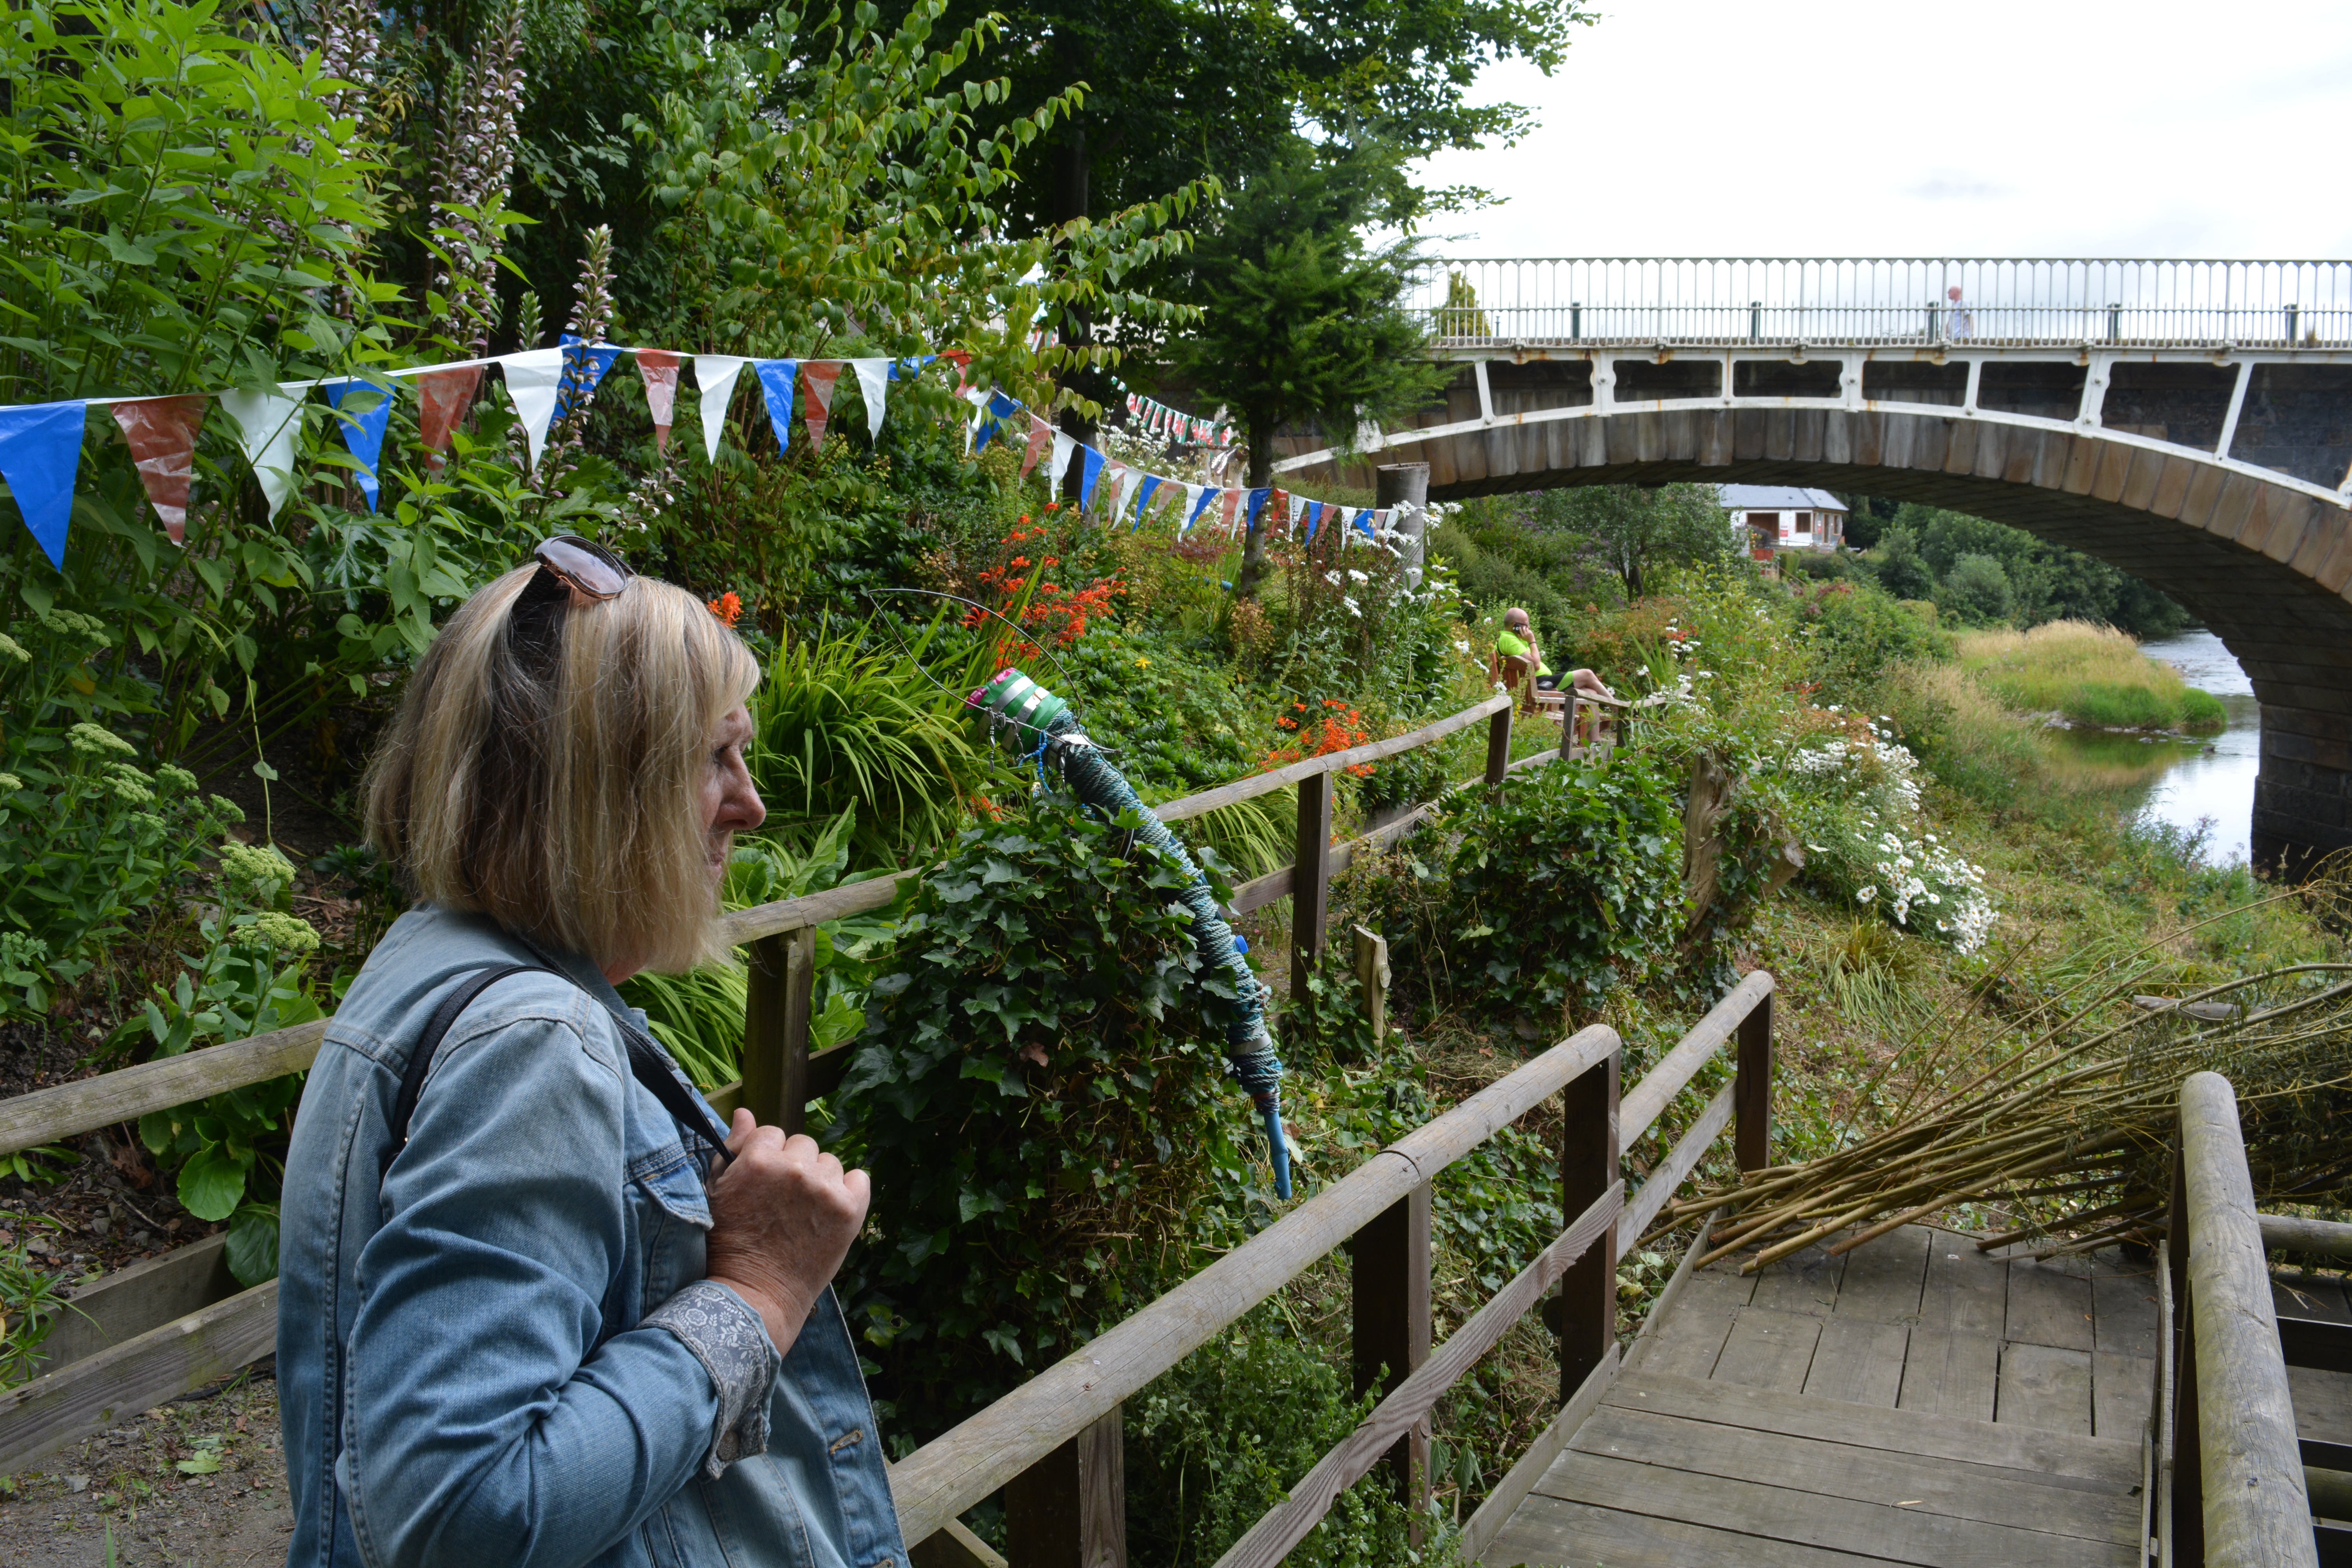
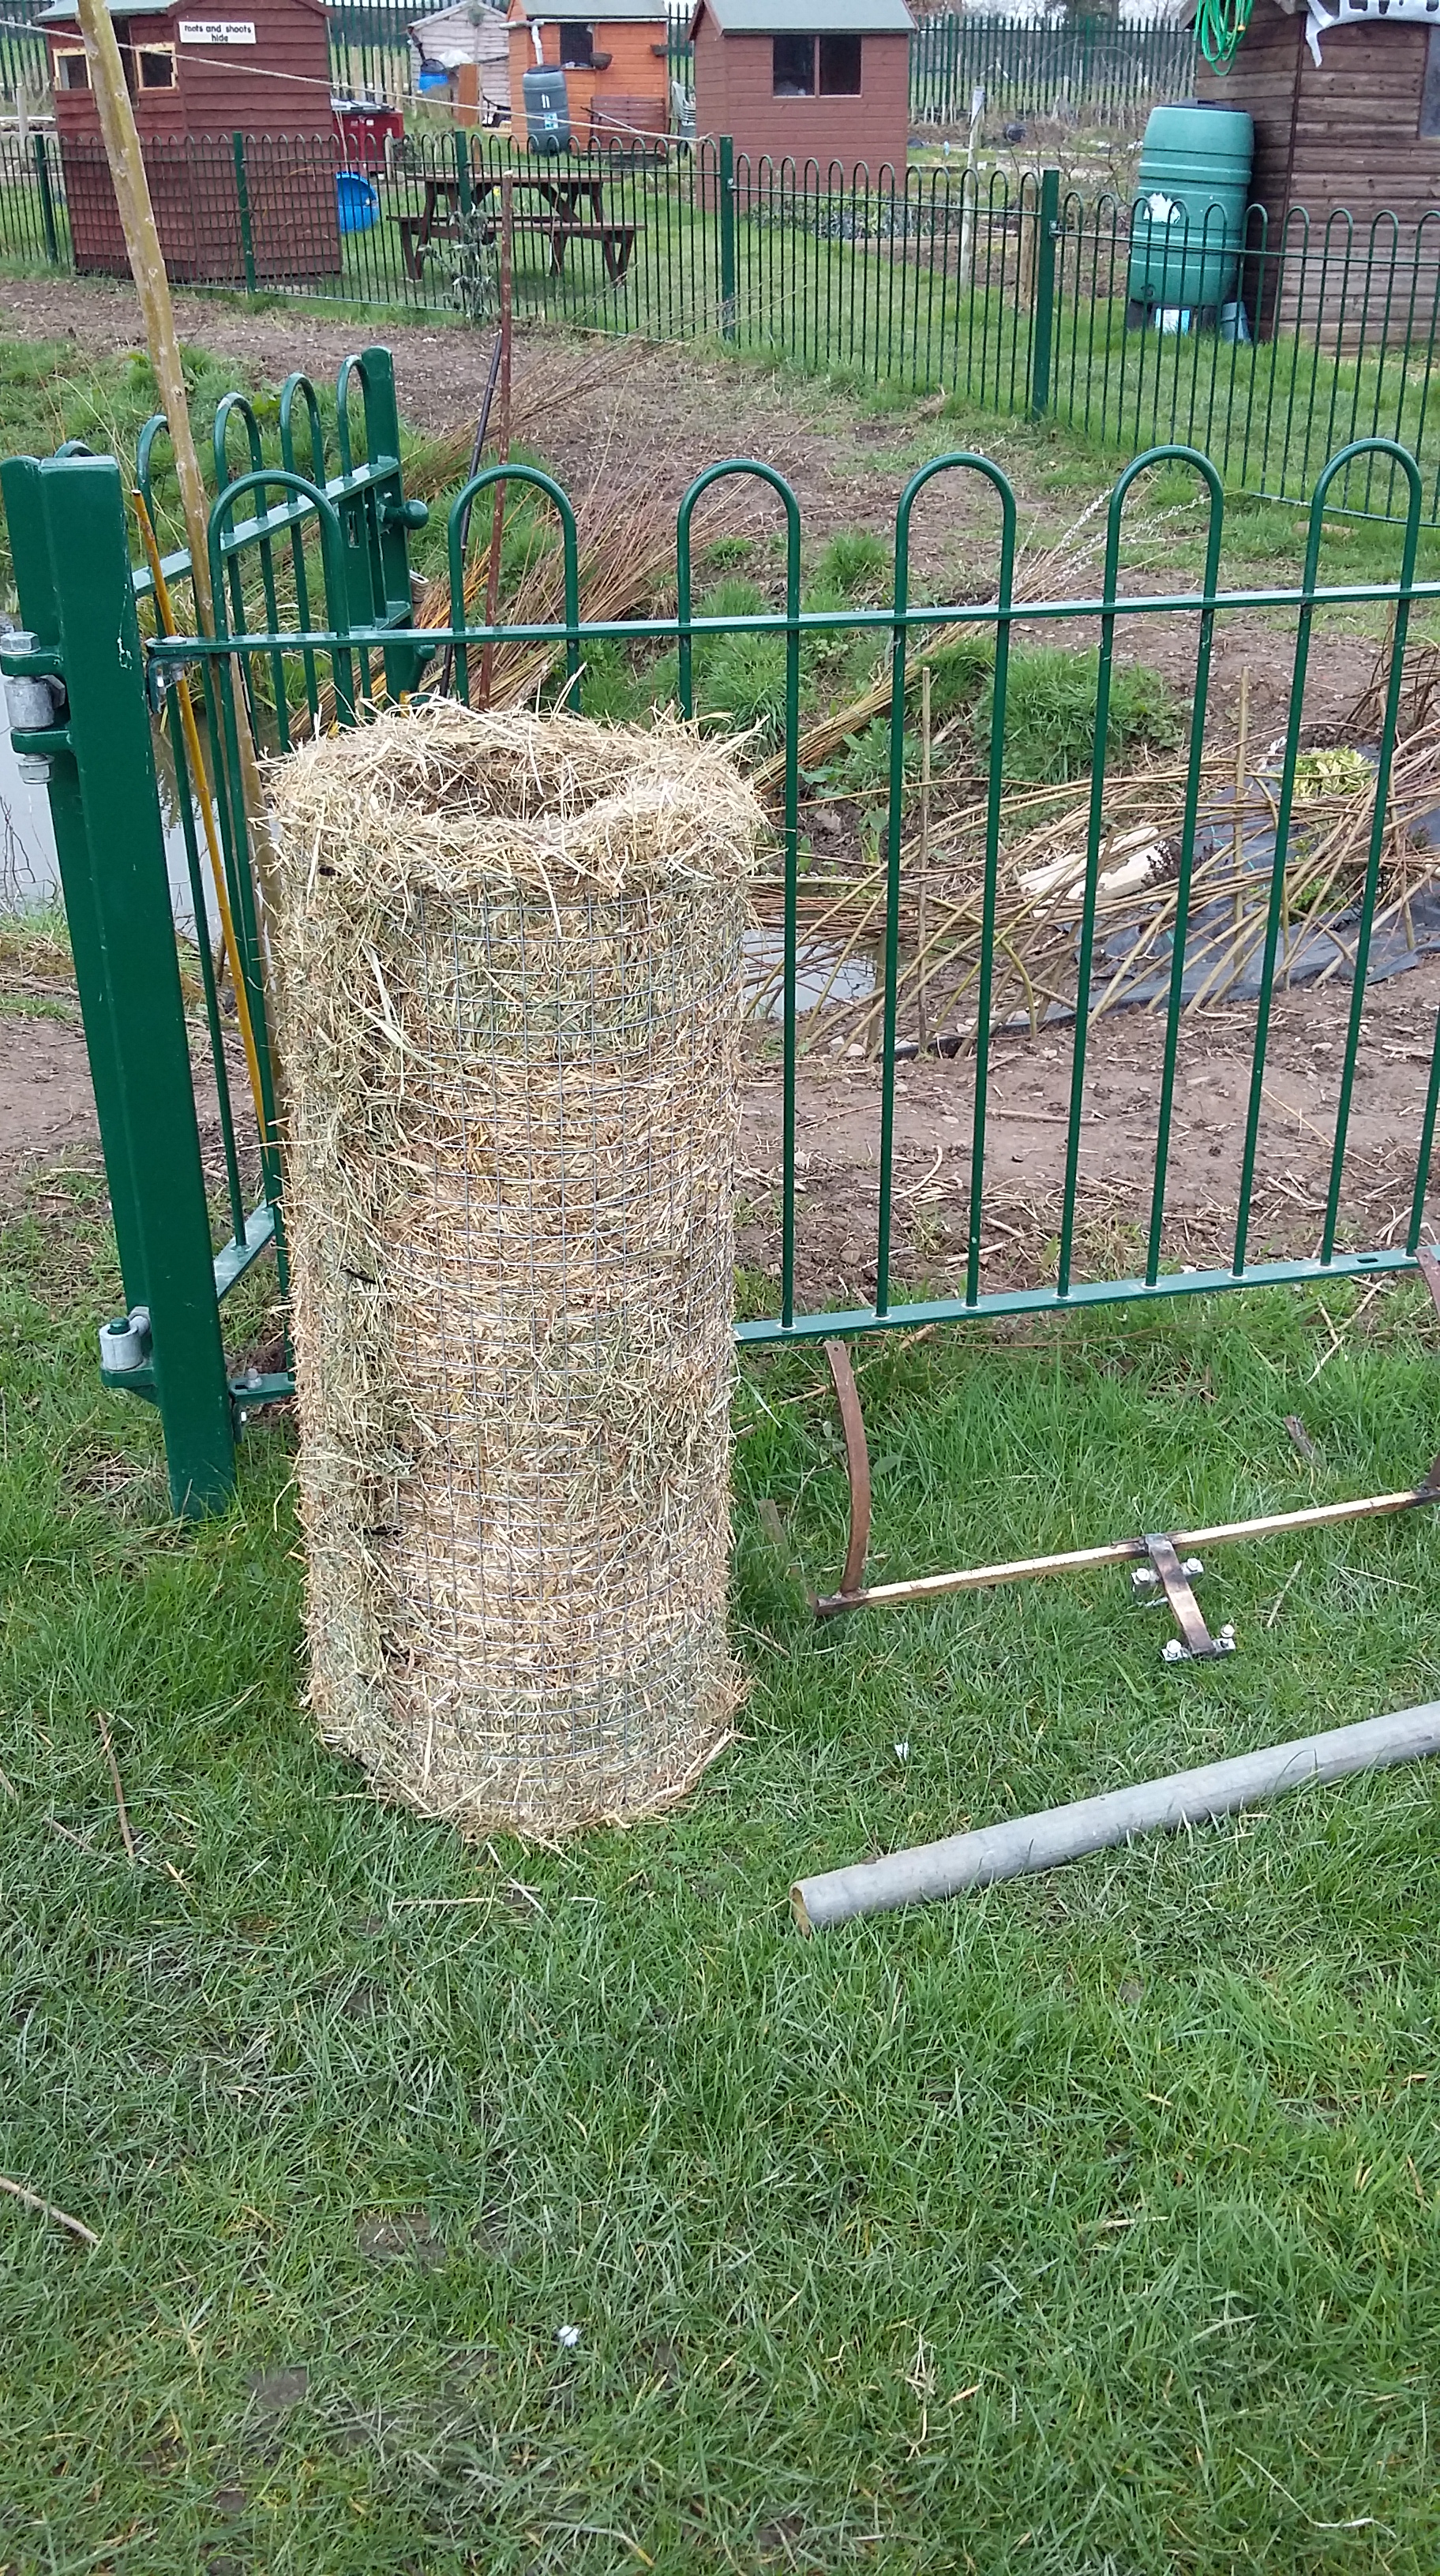
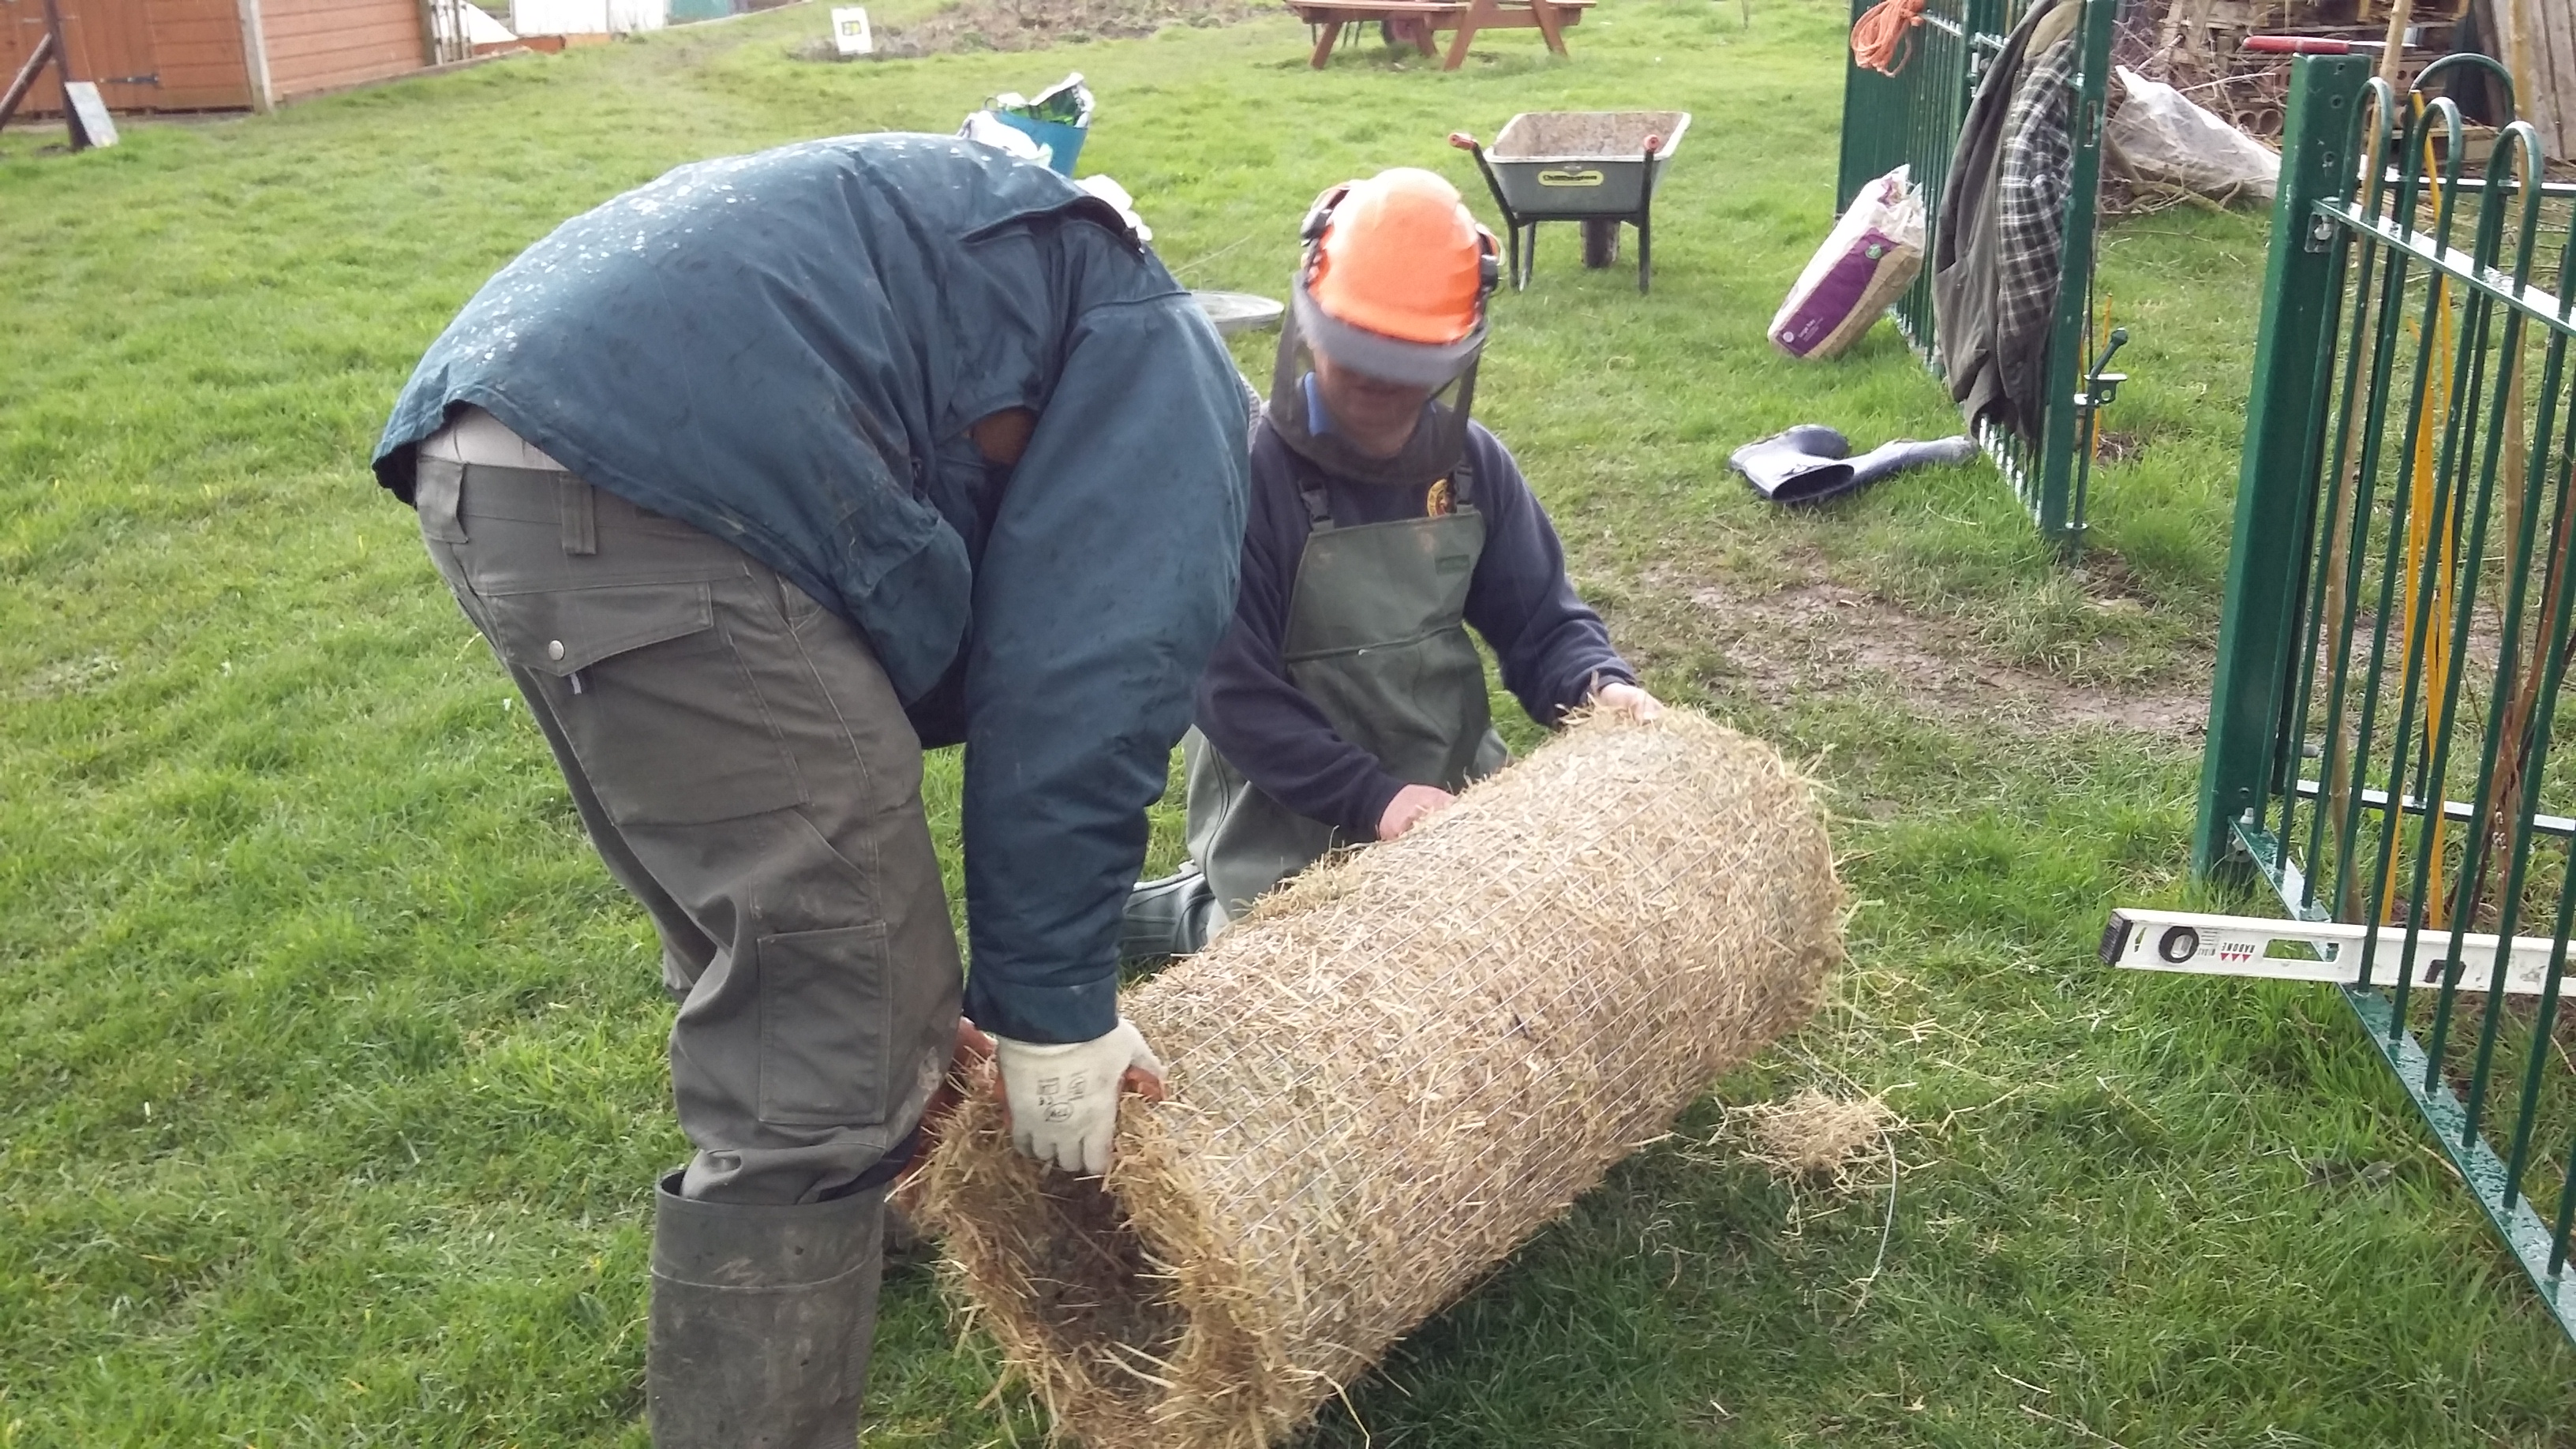
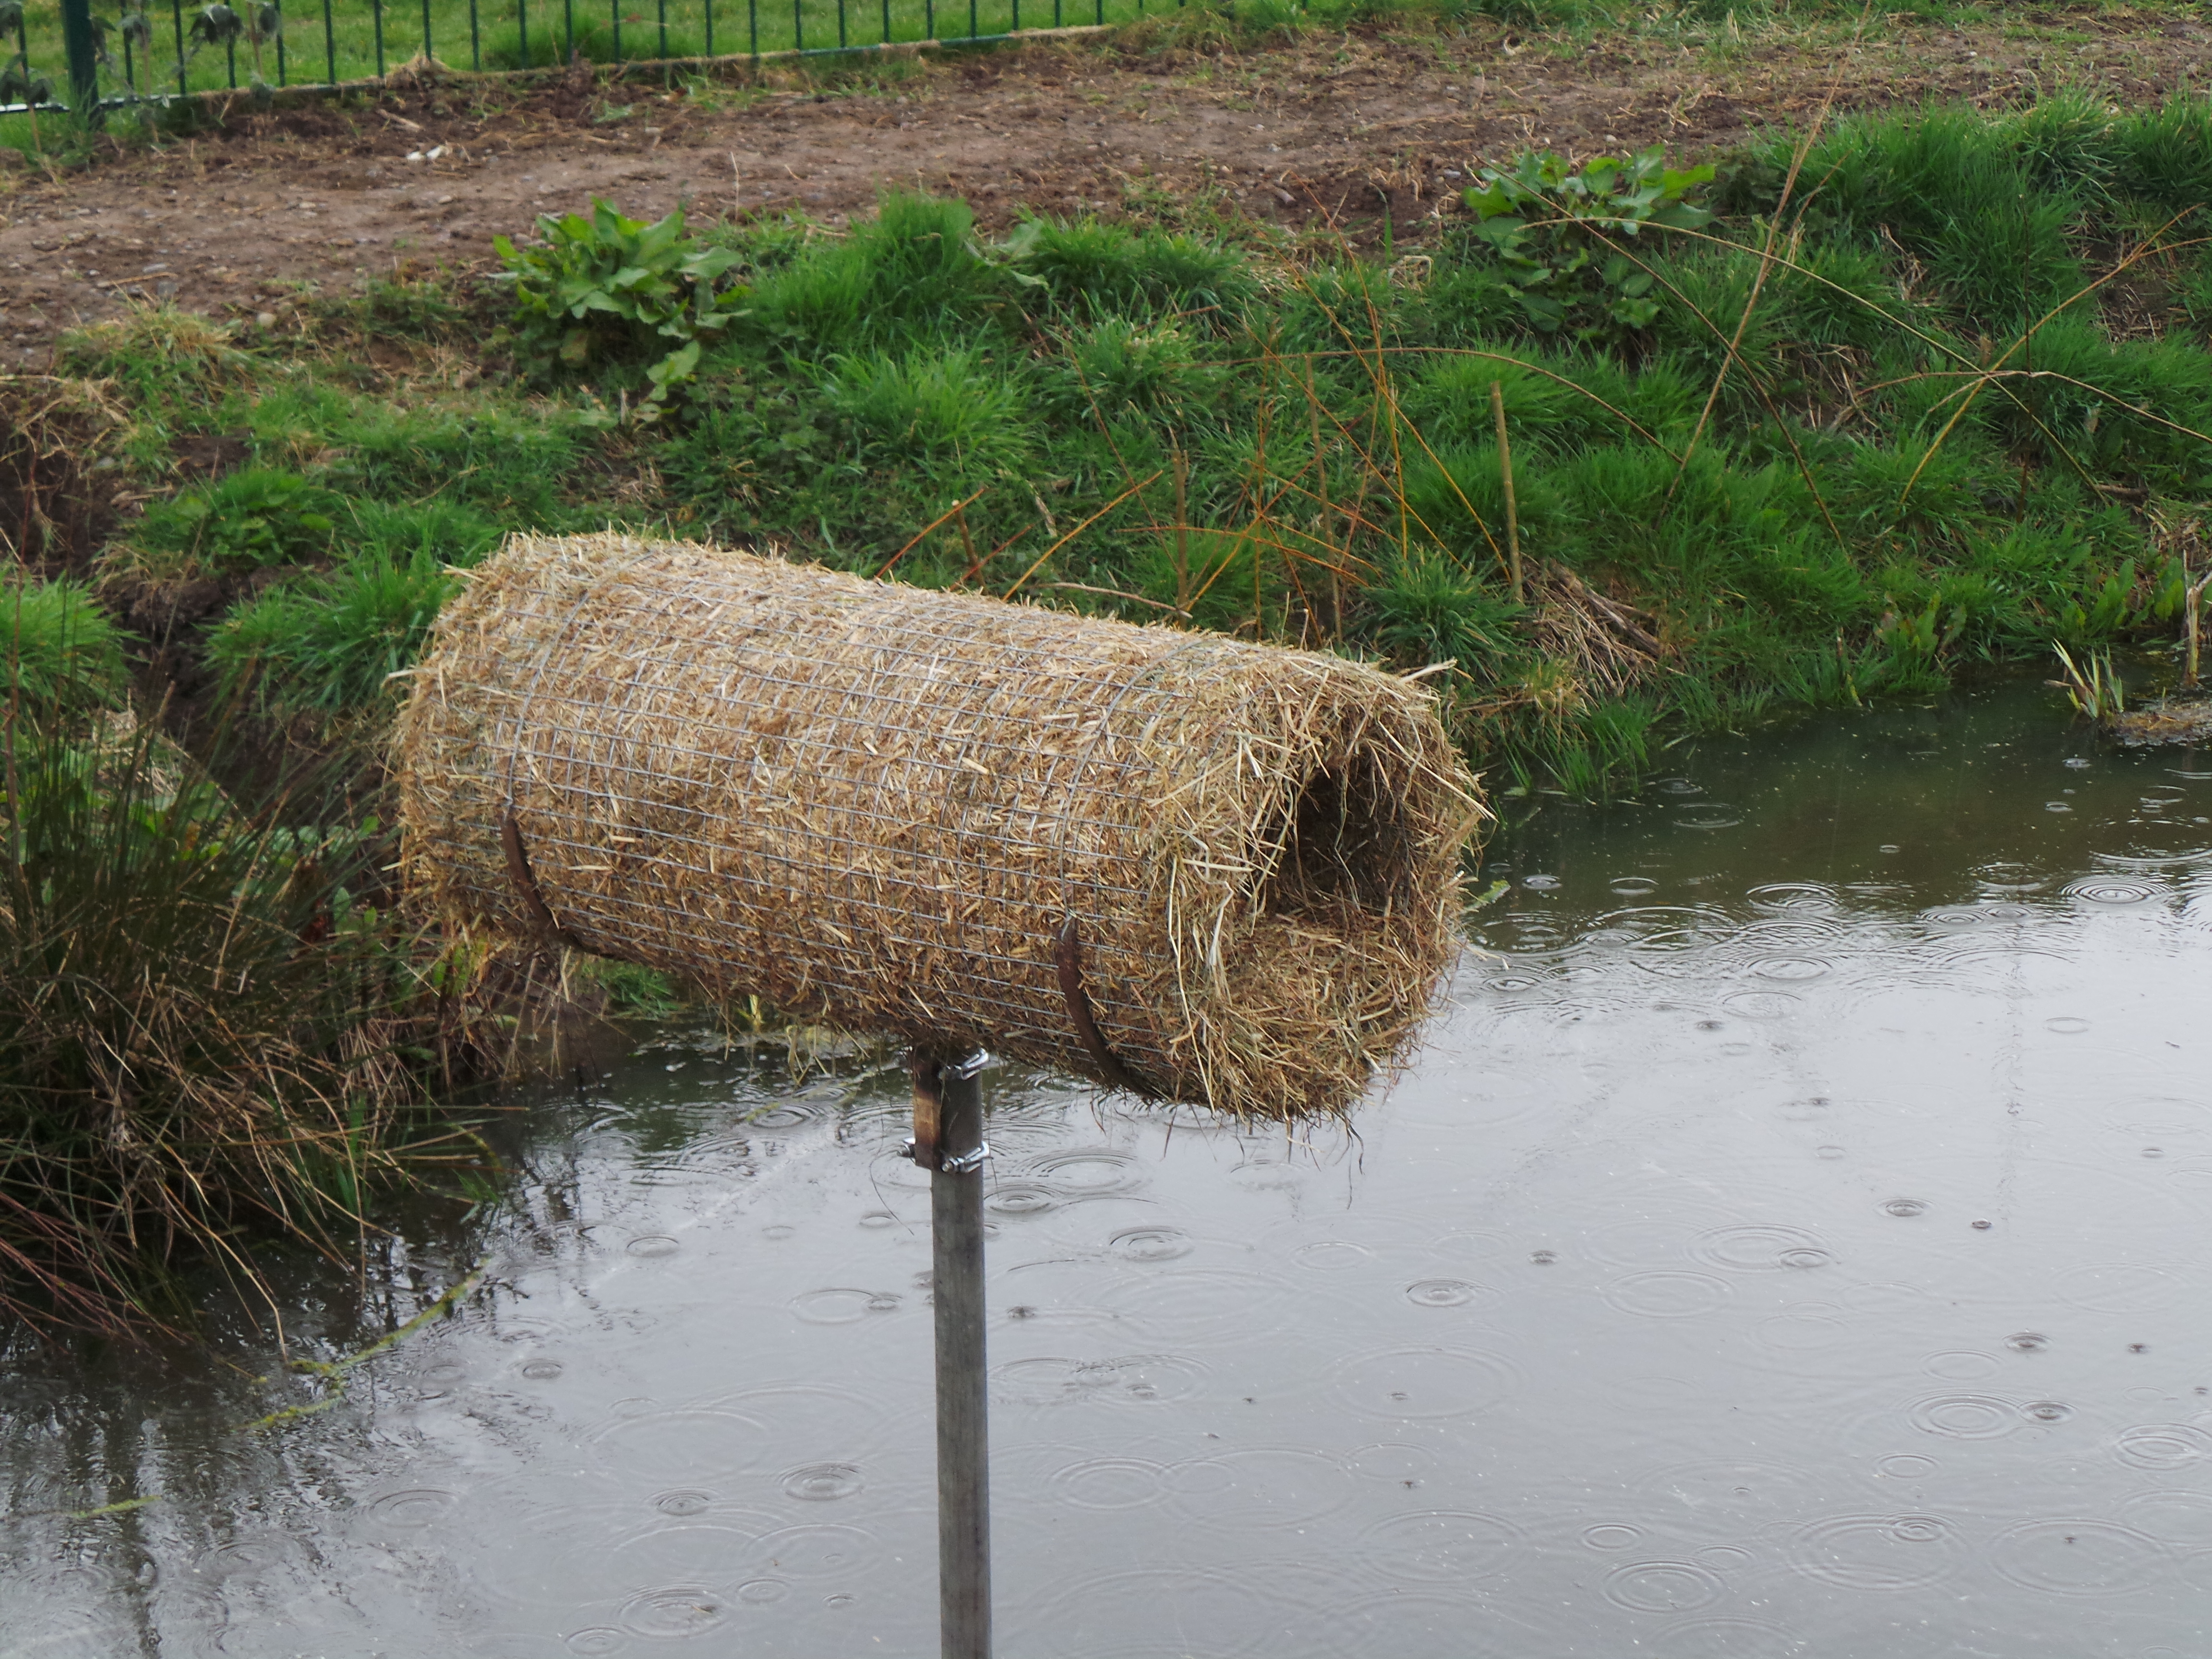
A recent job was to make barley straw pouches to drop in the water to help keep down the growth of algae and blanket weed – a good organic solution. Look closely at the picture below to see if you can spot one.

2015 03 09_9802

We know there are some critters who are looking forward to us finishing or at least being somewhere near a livable place for them. the resident group of Weasels, our Mallard families and the site’s frogs. We must pamper to their needs as they entertain us and do much of our pest controlling.

2014 11 28_7933 2014 12 08_85932015 02 28_9789_edited-1 20150207_141312

The bird in the fourth of the above photos though arrived amid mixed feelings from us all. Our Grey Heron is most definitely a handsome bird but he is a threat to our fish. We have a small population of native Rudd in the pond brought in as eggs on the feet of the ducks. Sadly until we get some plant cover for them to seek refuge beneath they will soon be wiped out by the Heron. The photo was taken on a member’s mobile phone through our green fence.

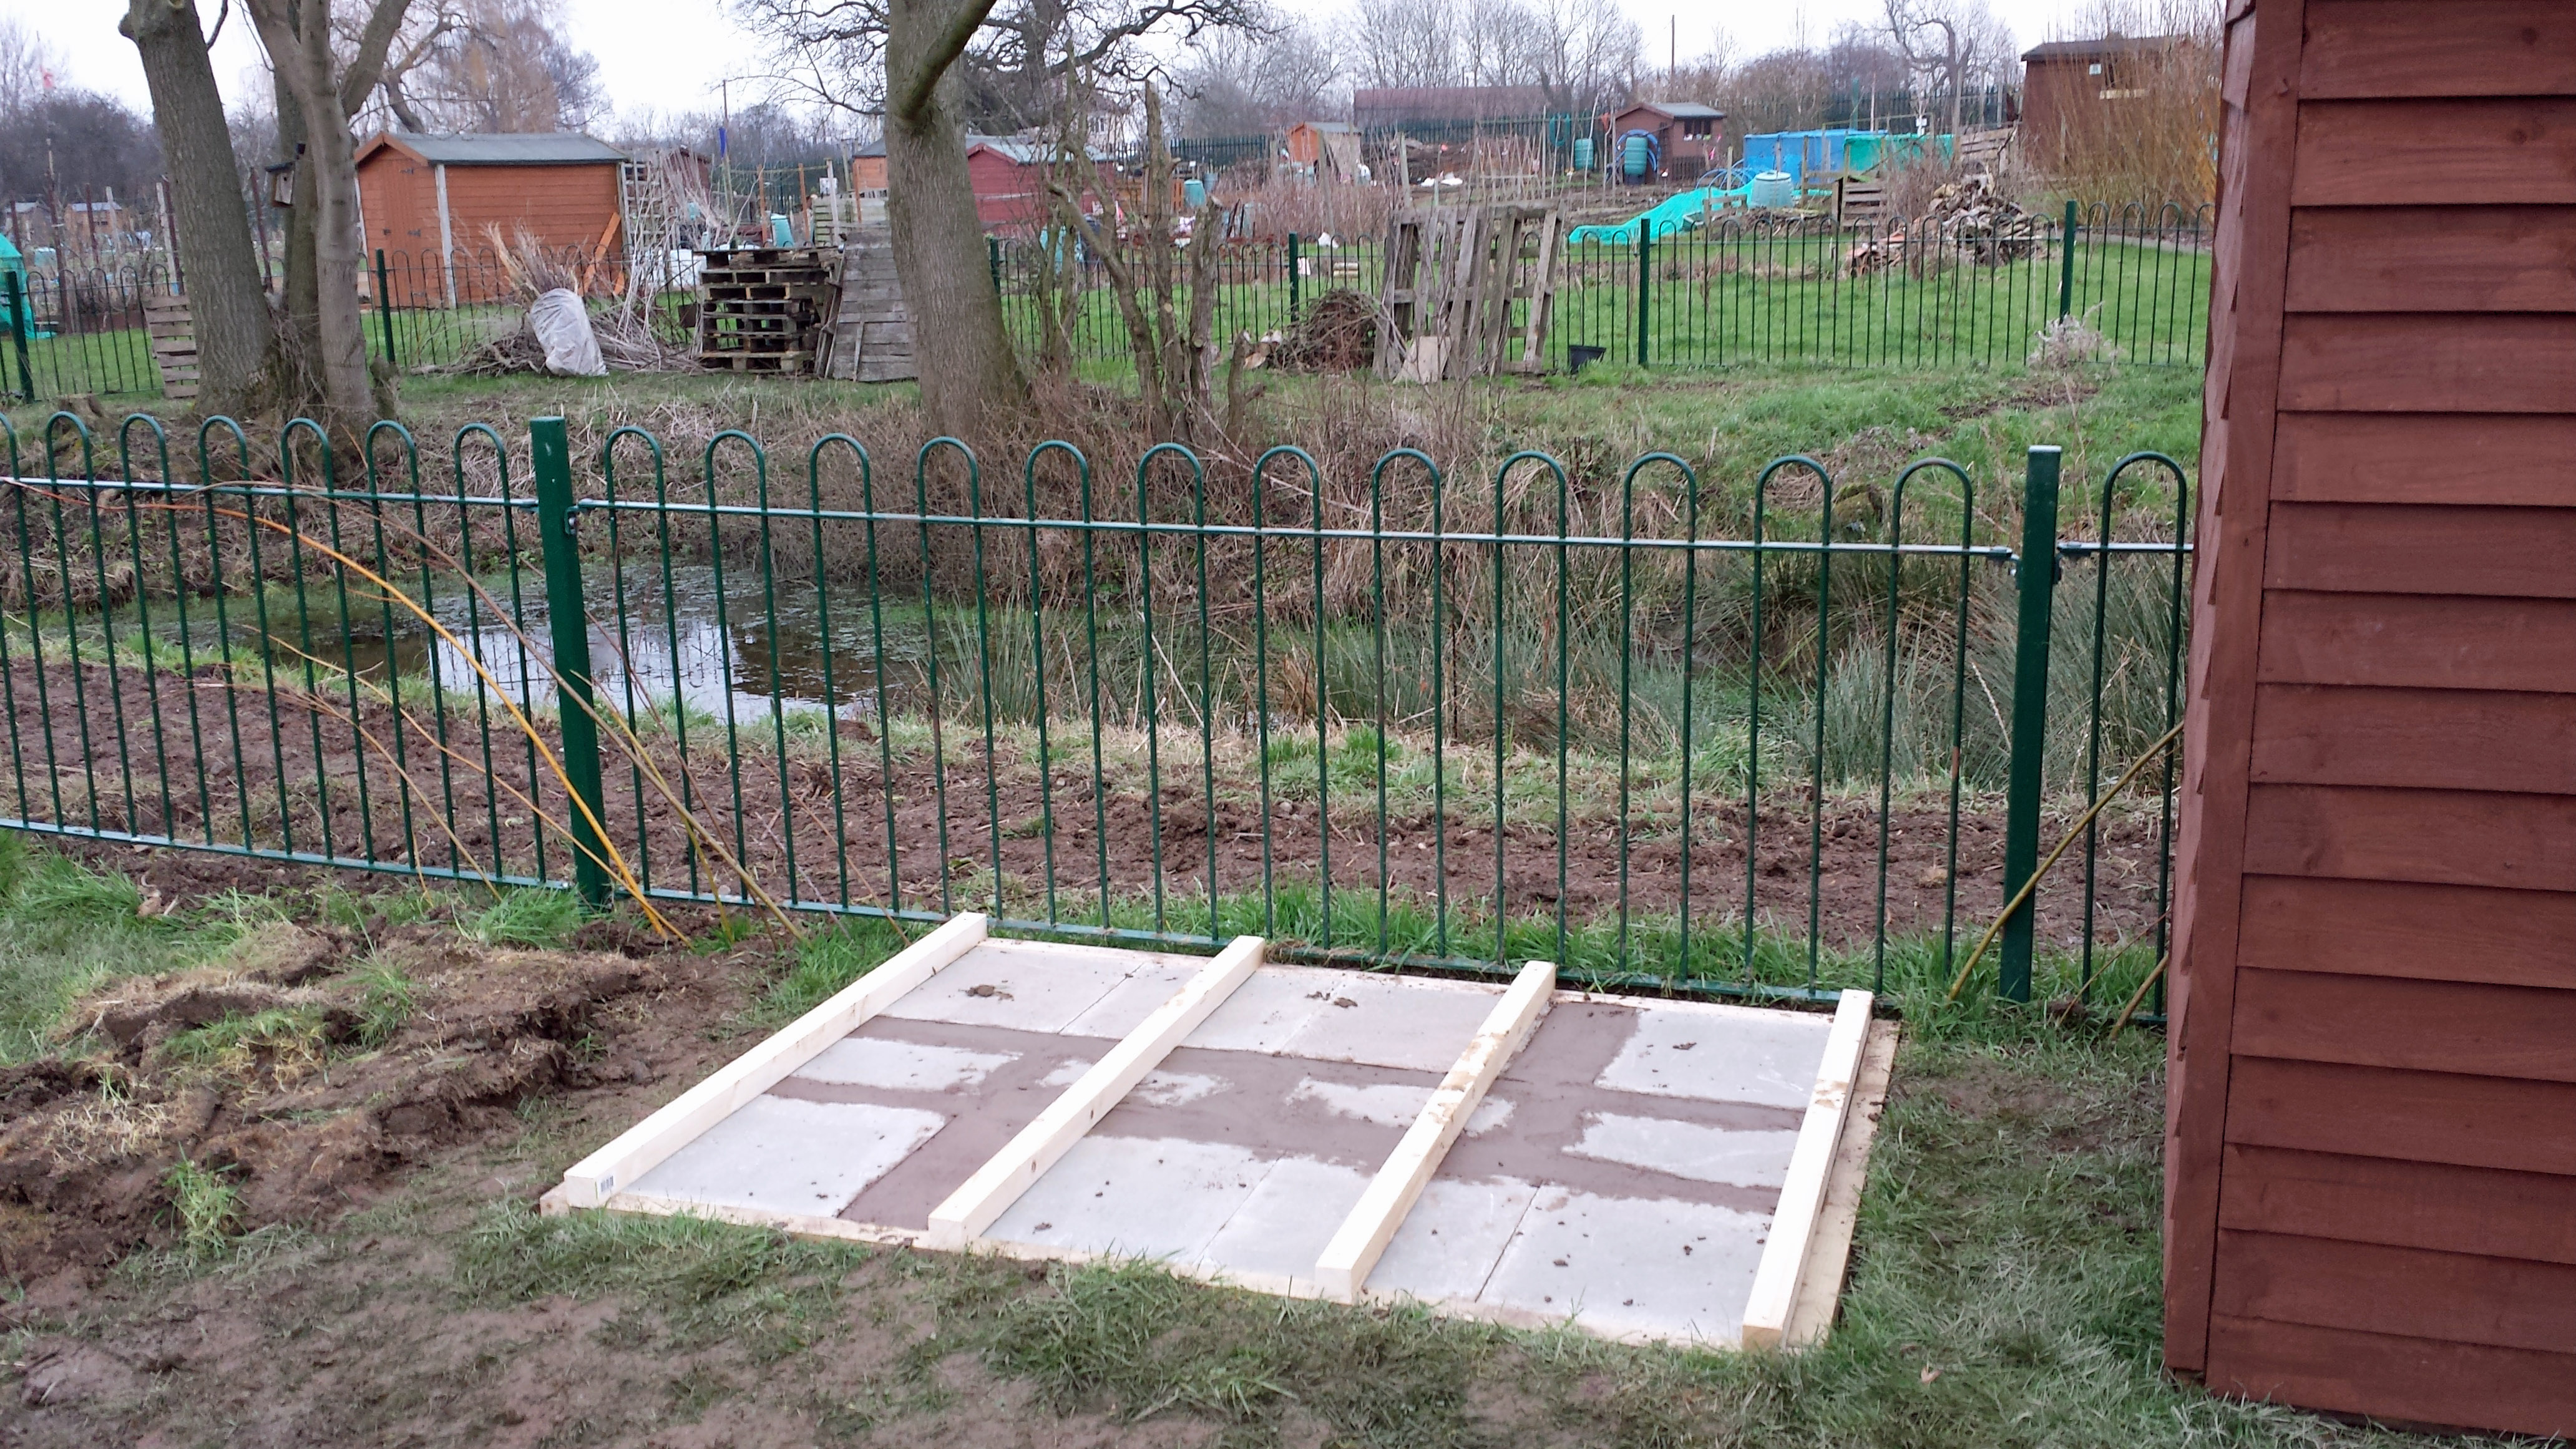
In part two we will look at details of how the hide ended up, some of our tree surgery work and the adventures we had putting in our duck tube.