Categories
diy garden buildings garden design gardening gardens grasses hardy perennials herbs ornamental grasses Shropshire

Developing 3 new spaces – Part 2 – the new roof garden

The final new garden we developed early in 2017 was our second roof garden here at Avocet. To find out about our first green roof refer to my post called “Growing up! Making a green roof.” published back in April 2013.

This, our second roof garden, was created when we got rid of one of our garden sheds and moved a smaller one into its place. (see the post entitled “Three Sheds into Two will Go”)

We constructed a strong framework around the shed in timber so that the roof garden itself was putting no extra stress on the shed roof itself. We then added a new floor to the roof garden from strong floorboards which we waterproofed with two layers of roofing felt. In order to make it ready for the planting media we added a layer of weed membrane to allow for drainage and to retain the compost. We created a drainage channel filled with gravel. The final stage of preparation was adding a layer of light weight compost which was carefully leveled.

rg2-07 rg2-01rg2-02 rg2-03rg2-04 rg2-05

Time to plant! It always seems strange planting when up a ladder!

rg1-2 rg1-3

The green roof is the exciting finishing point in our shed project. The first phase of planting really made us feel as if we had completed our work with the three sheds, which had now been turned into two! The plants were a selection of grasses, Incinia rubra, a selection of Carex and Stipa tenuissima but more will follow soon. Flowering plants included a selection of small Sedums, Sedum tricolor, S. telephinium ss riprechtii “Hab Gray”, S. ewersii and S. cauticola Coca Cola plus two scented Violas, V. odorata sulphurea and V. odorata Konigin Charlotte, a low growing Sedum-like plant Chiastophyllum opositifolium and a variegated Trifolium, T. pratense “Susan Smith”.

rg1-4 rg1-6rg-7 rg-6 rg-5 rg-4 rg-3 rg-1 rg-2 rg-4 rg-5 rg-6 rg-7

Job done!

Categories
birds diy garden photography garden wildlife gardening gardens grasses hardy perennials ornamental grasses ornamental trees and shrubs roses Shropshire shrubs

My Garden Journal 2016 – January

I will once again be keeping my garden journal during 2016 recording my thoughts on our own garden here at Avocet in the tiny hamlet of Plealey situated just inside the Area of Outstanding Natural Beauty, the South Shropshire Hills. I will share the sounds, sights and aromas of our garden and make mention of the wildlife that shares the garden with us. In 2015 I found a quote every month from a little book, ” Led by the Nose” written by Jenny Joseph. In 2016 I will look back at what I recorded in my first garden journal which I began in the first full year of living in Plealey. Although we moved here in August 2004 my journal began in January 2005. It will be interesting to compare 2005 with 2016.

So, welcome to our “Avocet” garden in 2016. I hope you enjoy the journey through the months with me.

2016 02 02_8154_edited-1

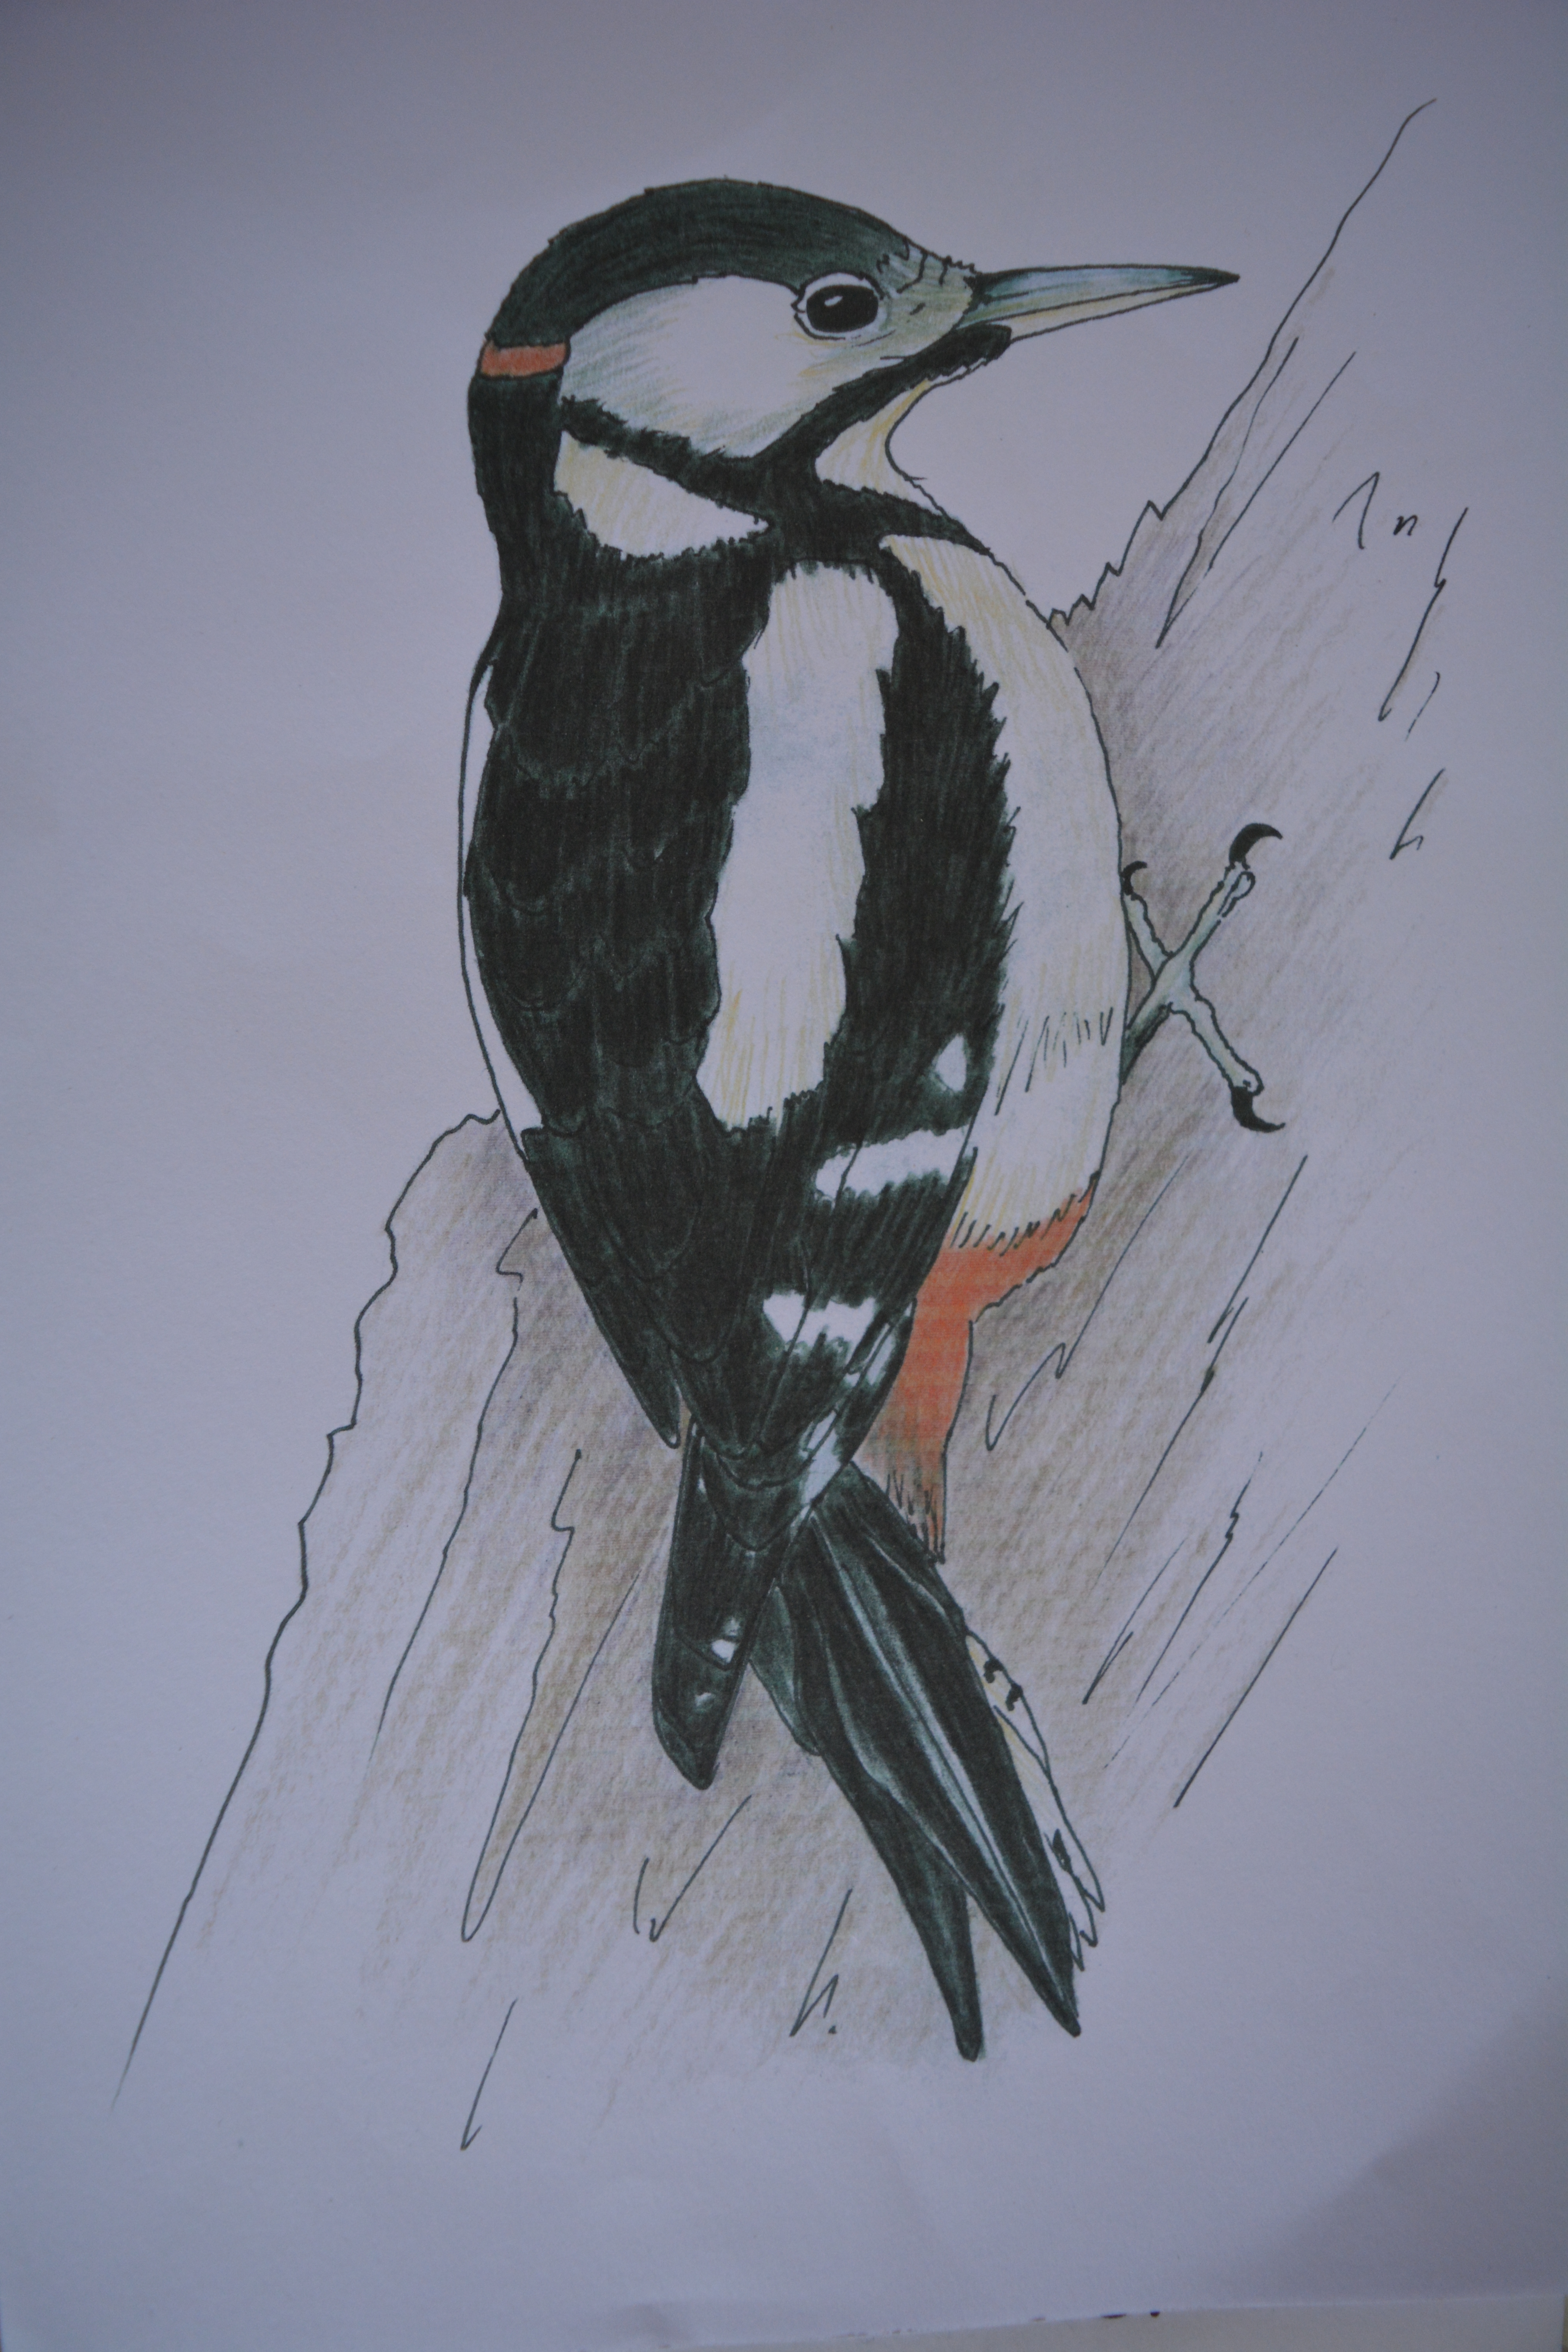
My first page for 2016 features my gouache painting of a Great Spotted Woodpecker and a few words about this charismatic garden visitor.

2016 02 02_8156_edited-1

“The Great Spotted Woodpecker makes its presence felt in our garden. It is black and white with splashes of bright red. It announces its arrival with a loud call as it flies in with its undulating flight. It hits the bird feeders hard so they swing around. These hungry birds stay feeding for far longer then any other bird.”

2014 12 21_8978

On the opposite page I write “Gardeners often pose the question“What is your favourite season in the garden?” It is easier for some to answer this question and they quickly give a definitive answer, while others find the choice impossible to make. For me? Well, I admit  I always answer “The one we are in.” Not many gardeners will say “winter” viewing it as a “non-time” in their gardens. Many put their gardens to bed for the winter by chopping a huge percentage of the plants to the ground. Their interest only returns when spring bulbs burst into flower. I absolutely love the winter garden!”

I illustrate the page with my watercolour painting of two hips from Rosa “Graham Thomas”, a David Austin New English Rose which we grow as a climber. It gives joy to the gardener for many months of the year with its profuse golden sunny yellow blooms and when it finally gives up in December it begins to produce its green hips which quickly turn to yellow then orange.

2016 02 02_8157_edited-1

Turning the page over I write “As the weather turns colder at the end of the first week of the new year we are delighted to see the garden full of birds. Often we hear our feathered visitors before we see them. While spending a day in the garden cutting down soggy perennials we heard the Buzzards mewing over our heads and the grating call of Mistle Thrushes defending their favourite berried trees. The high pitch calls of Goldcrests are barely audible” Below these words we find my gouache painting of a pair of Goldcrests.

2014 12 21_8970_edited-12016 02 02_8158_edited-1

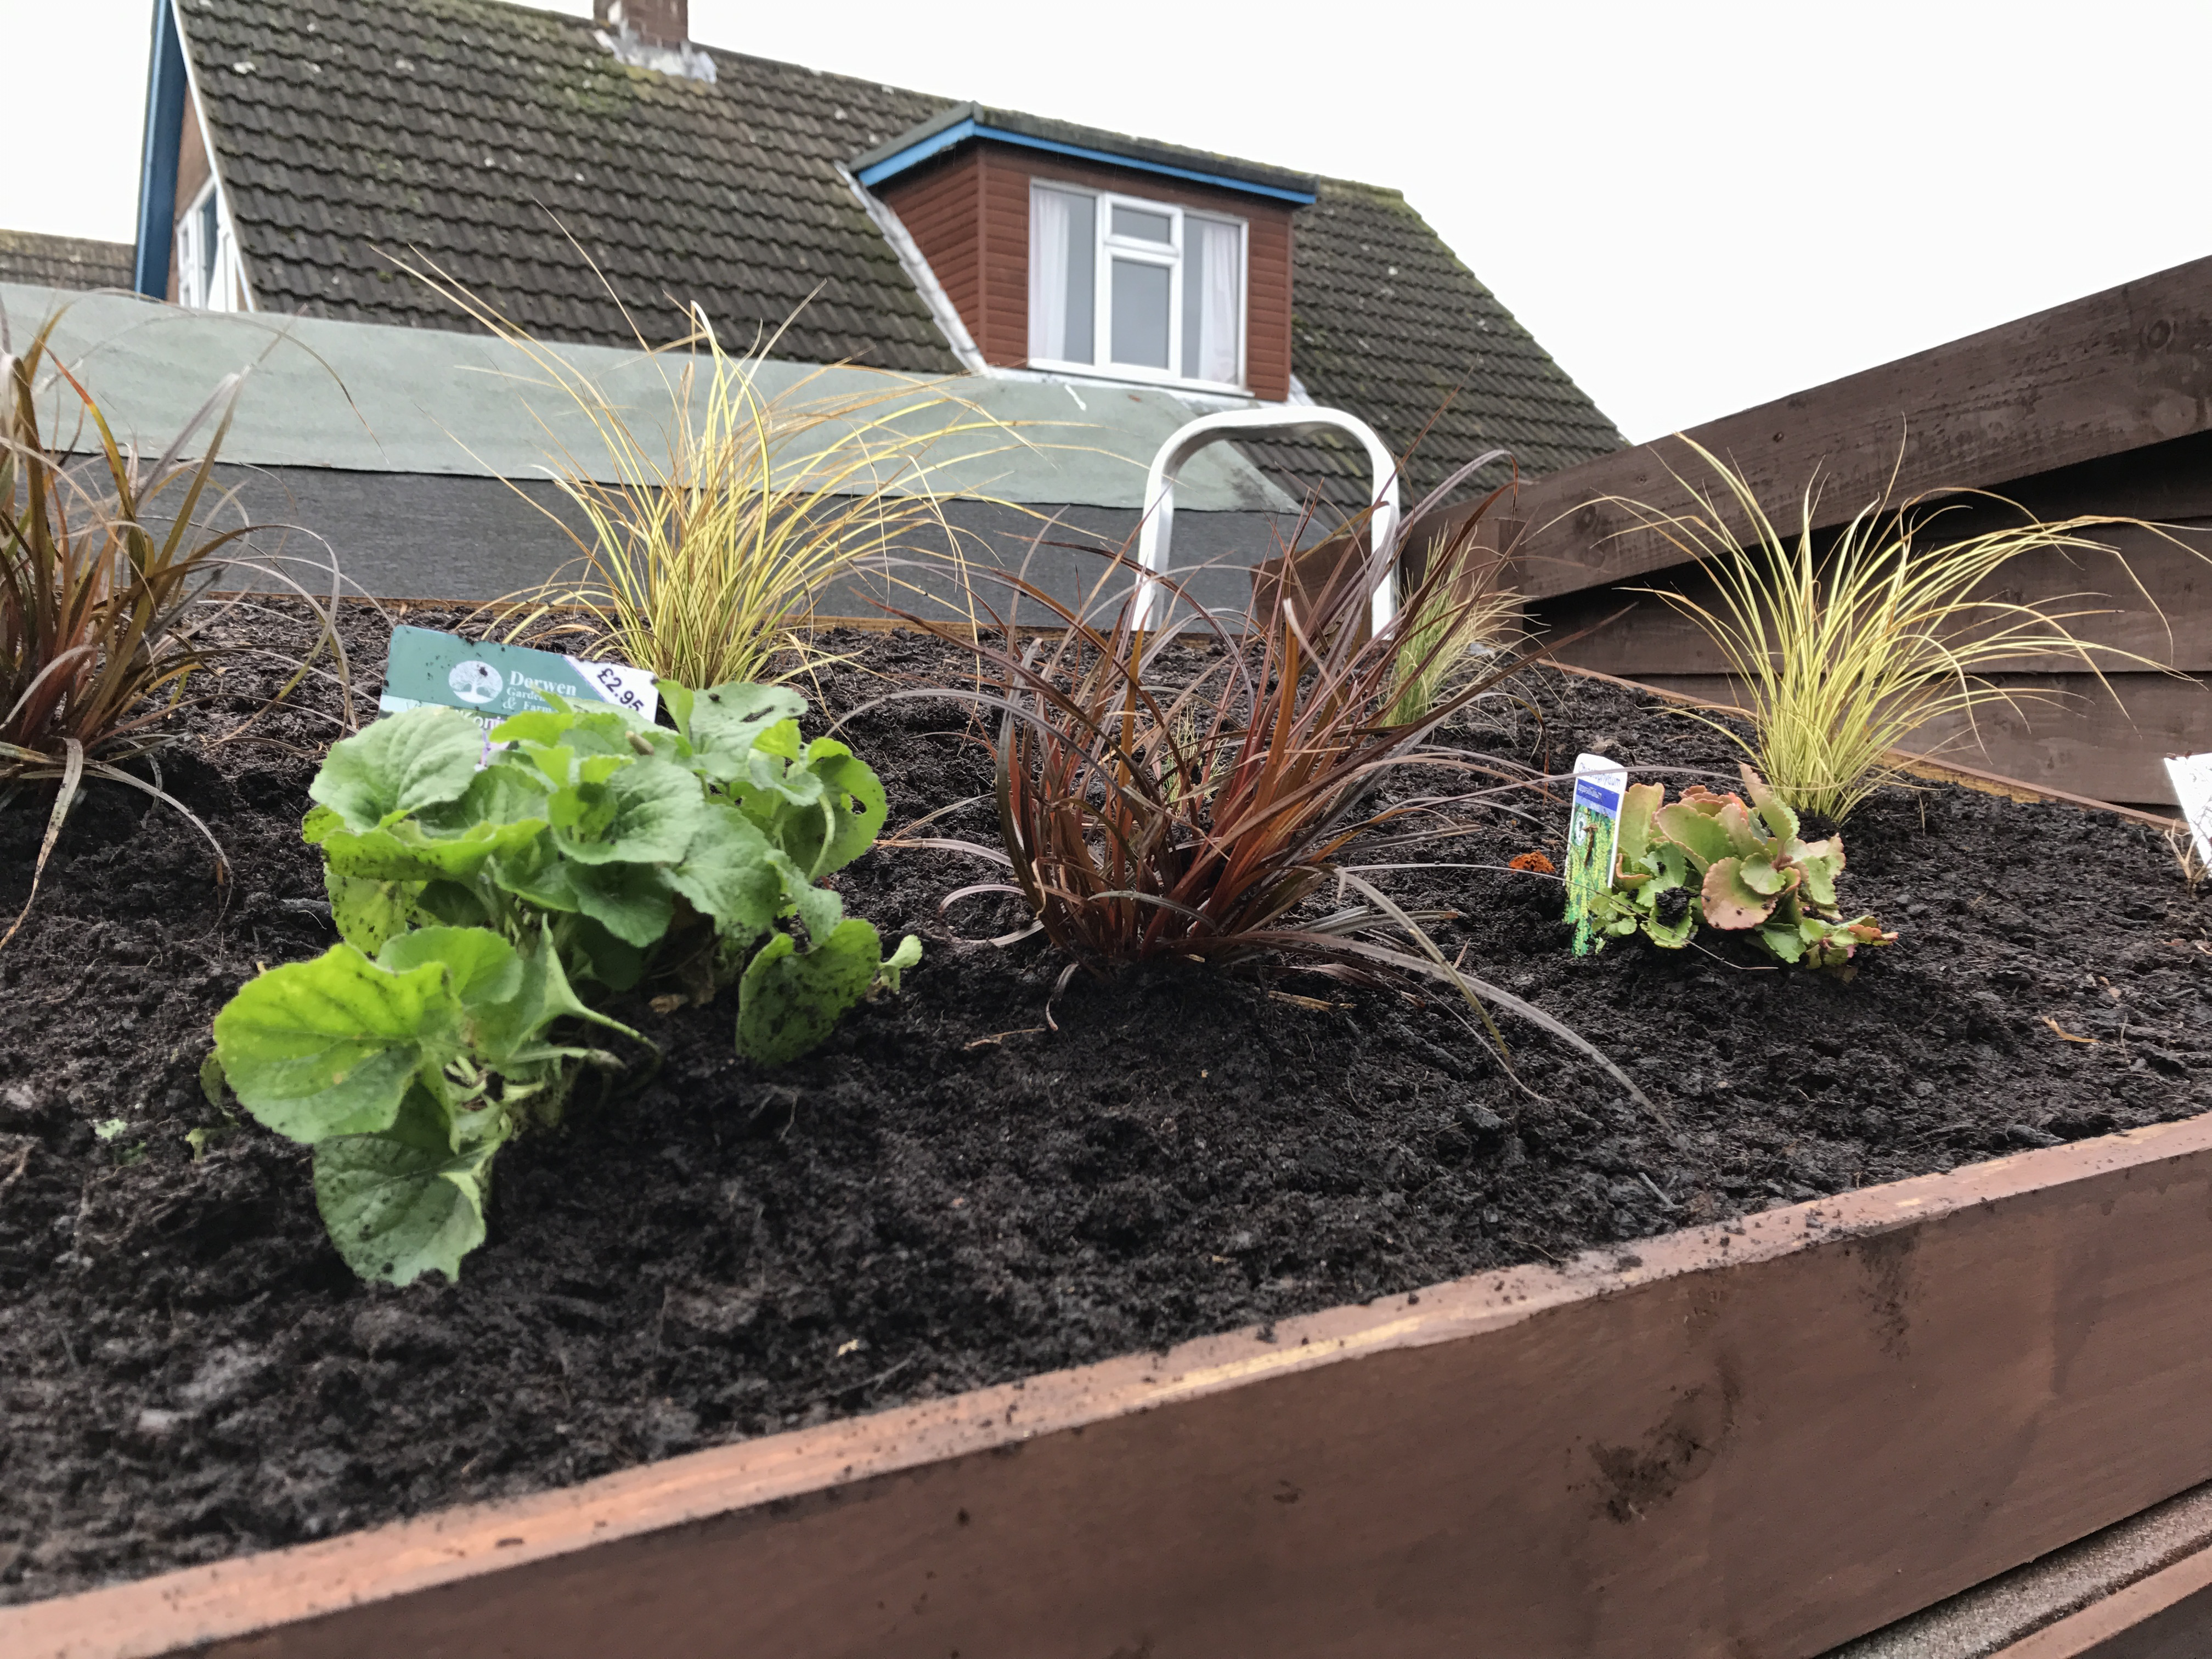
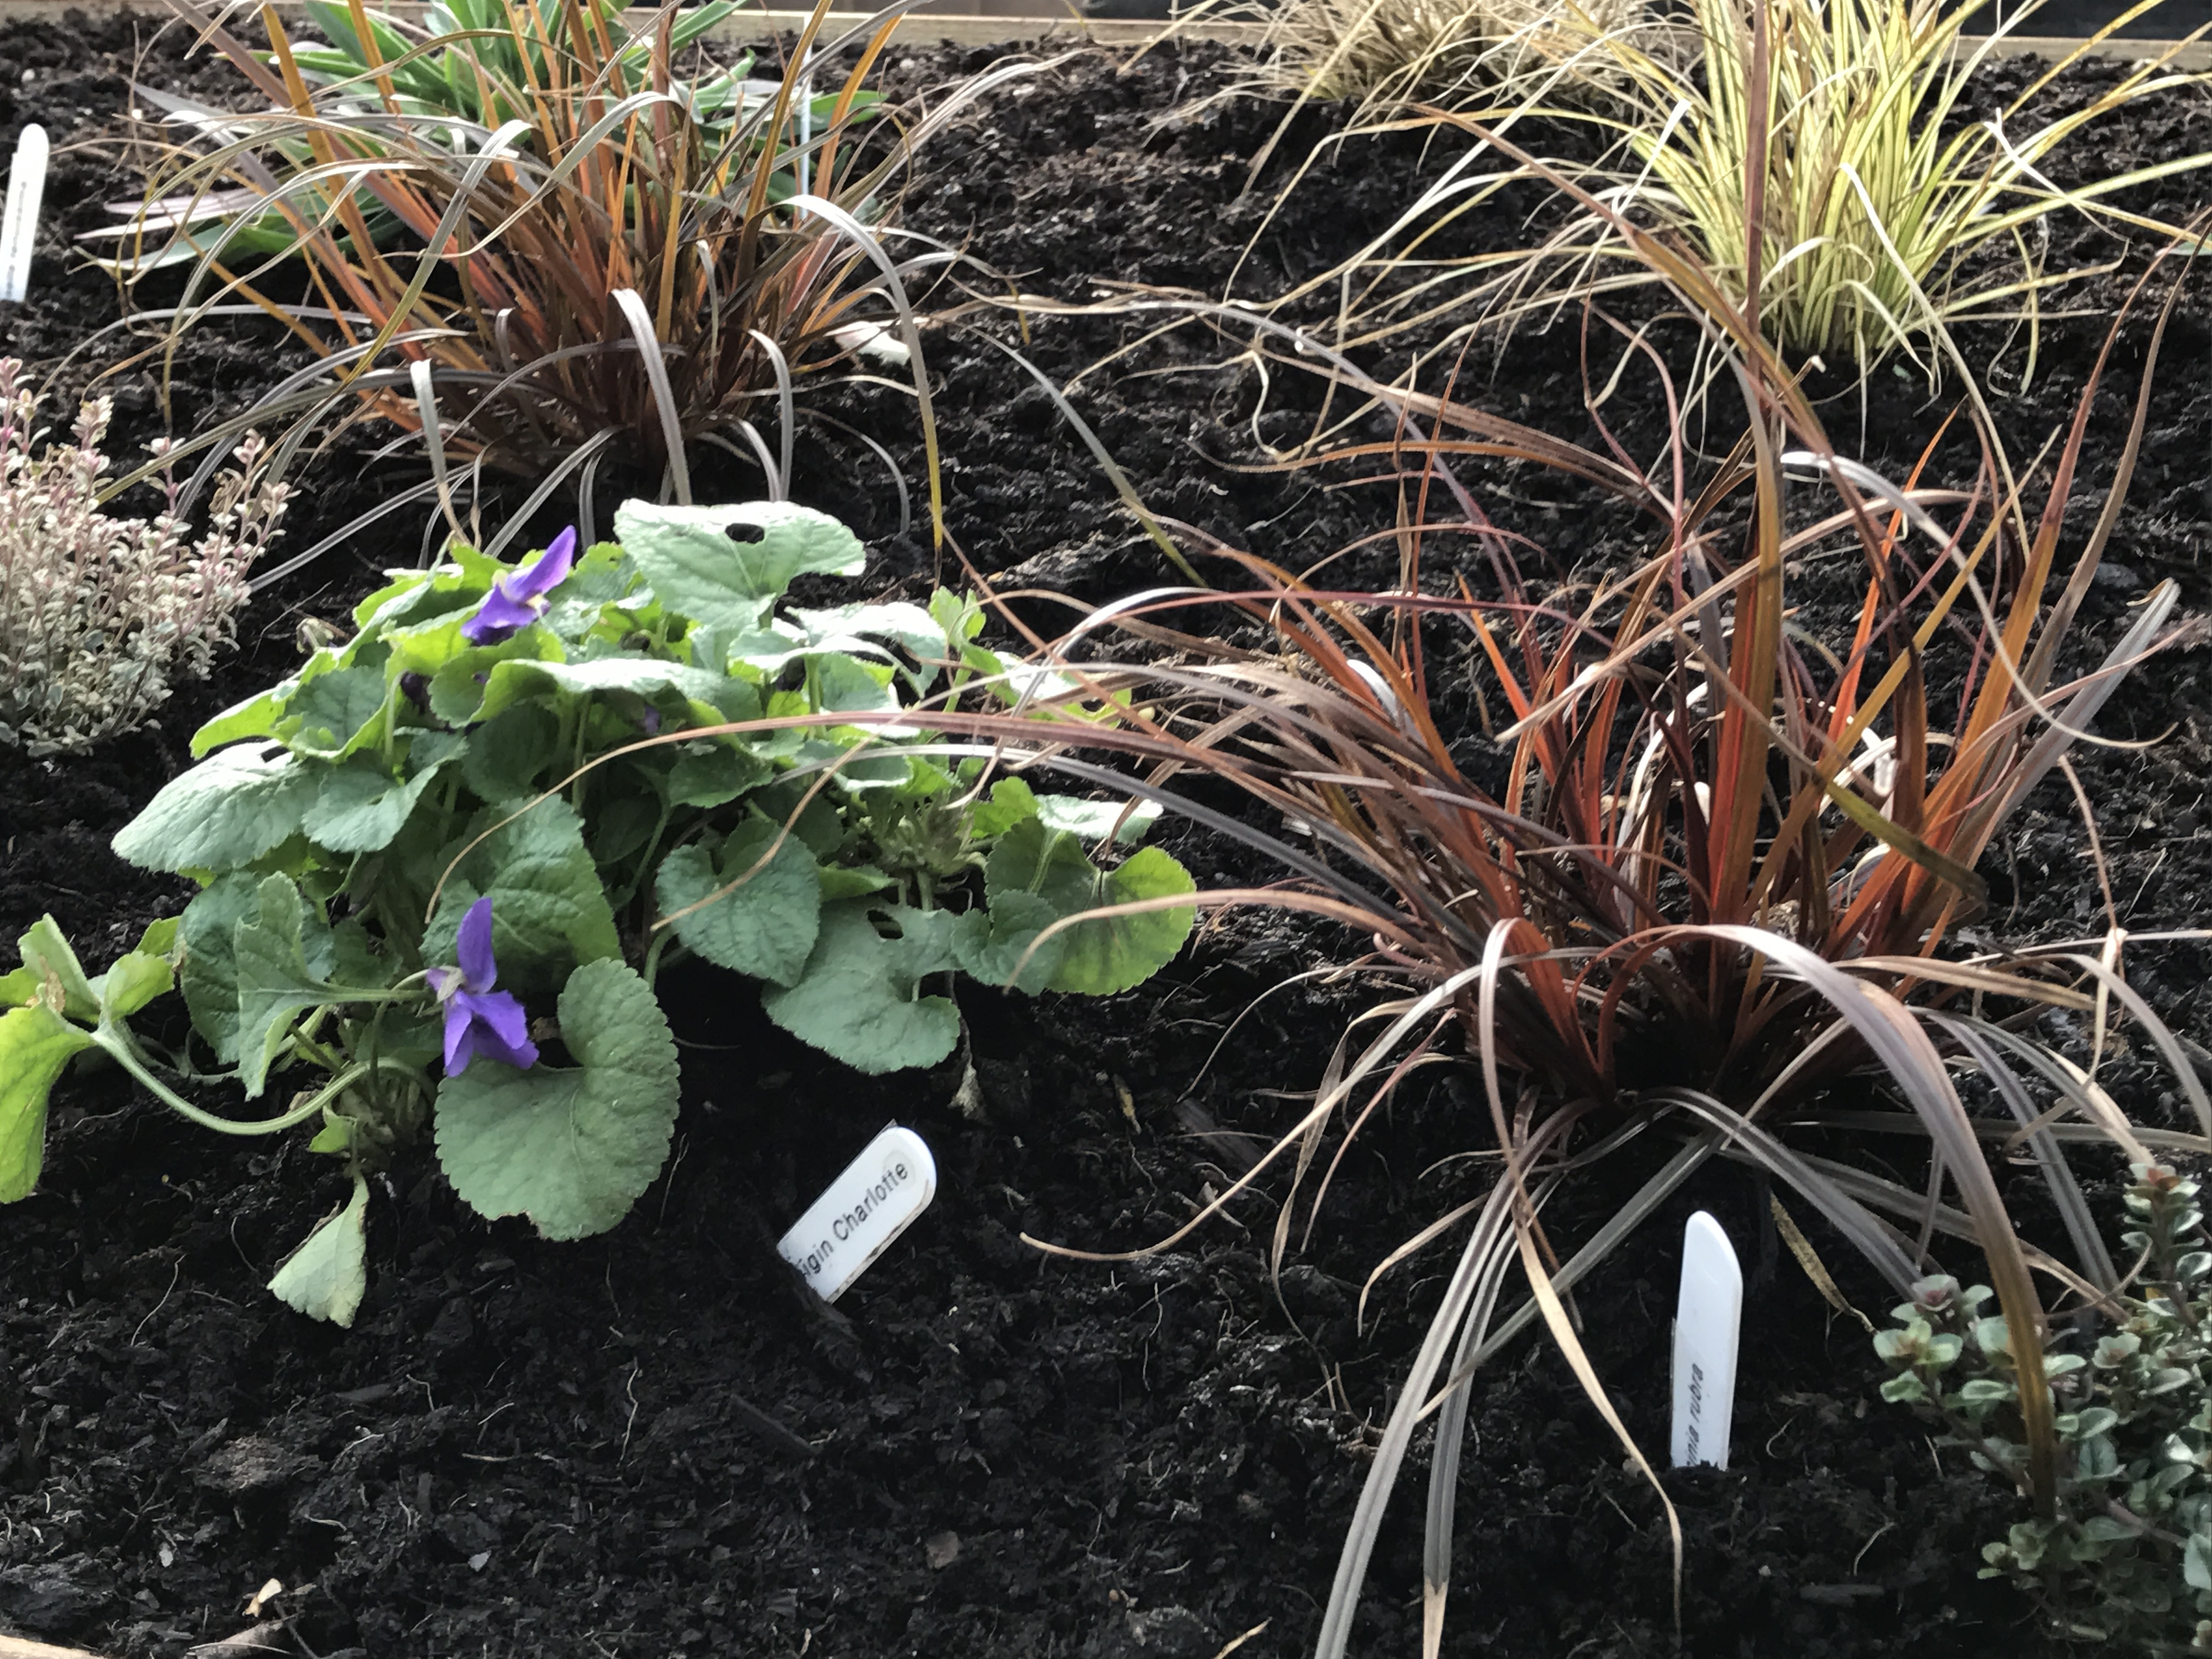
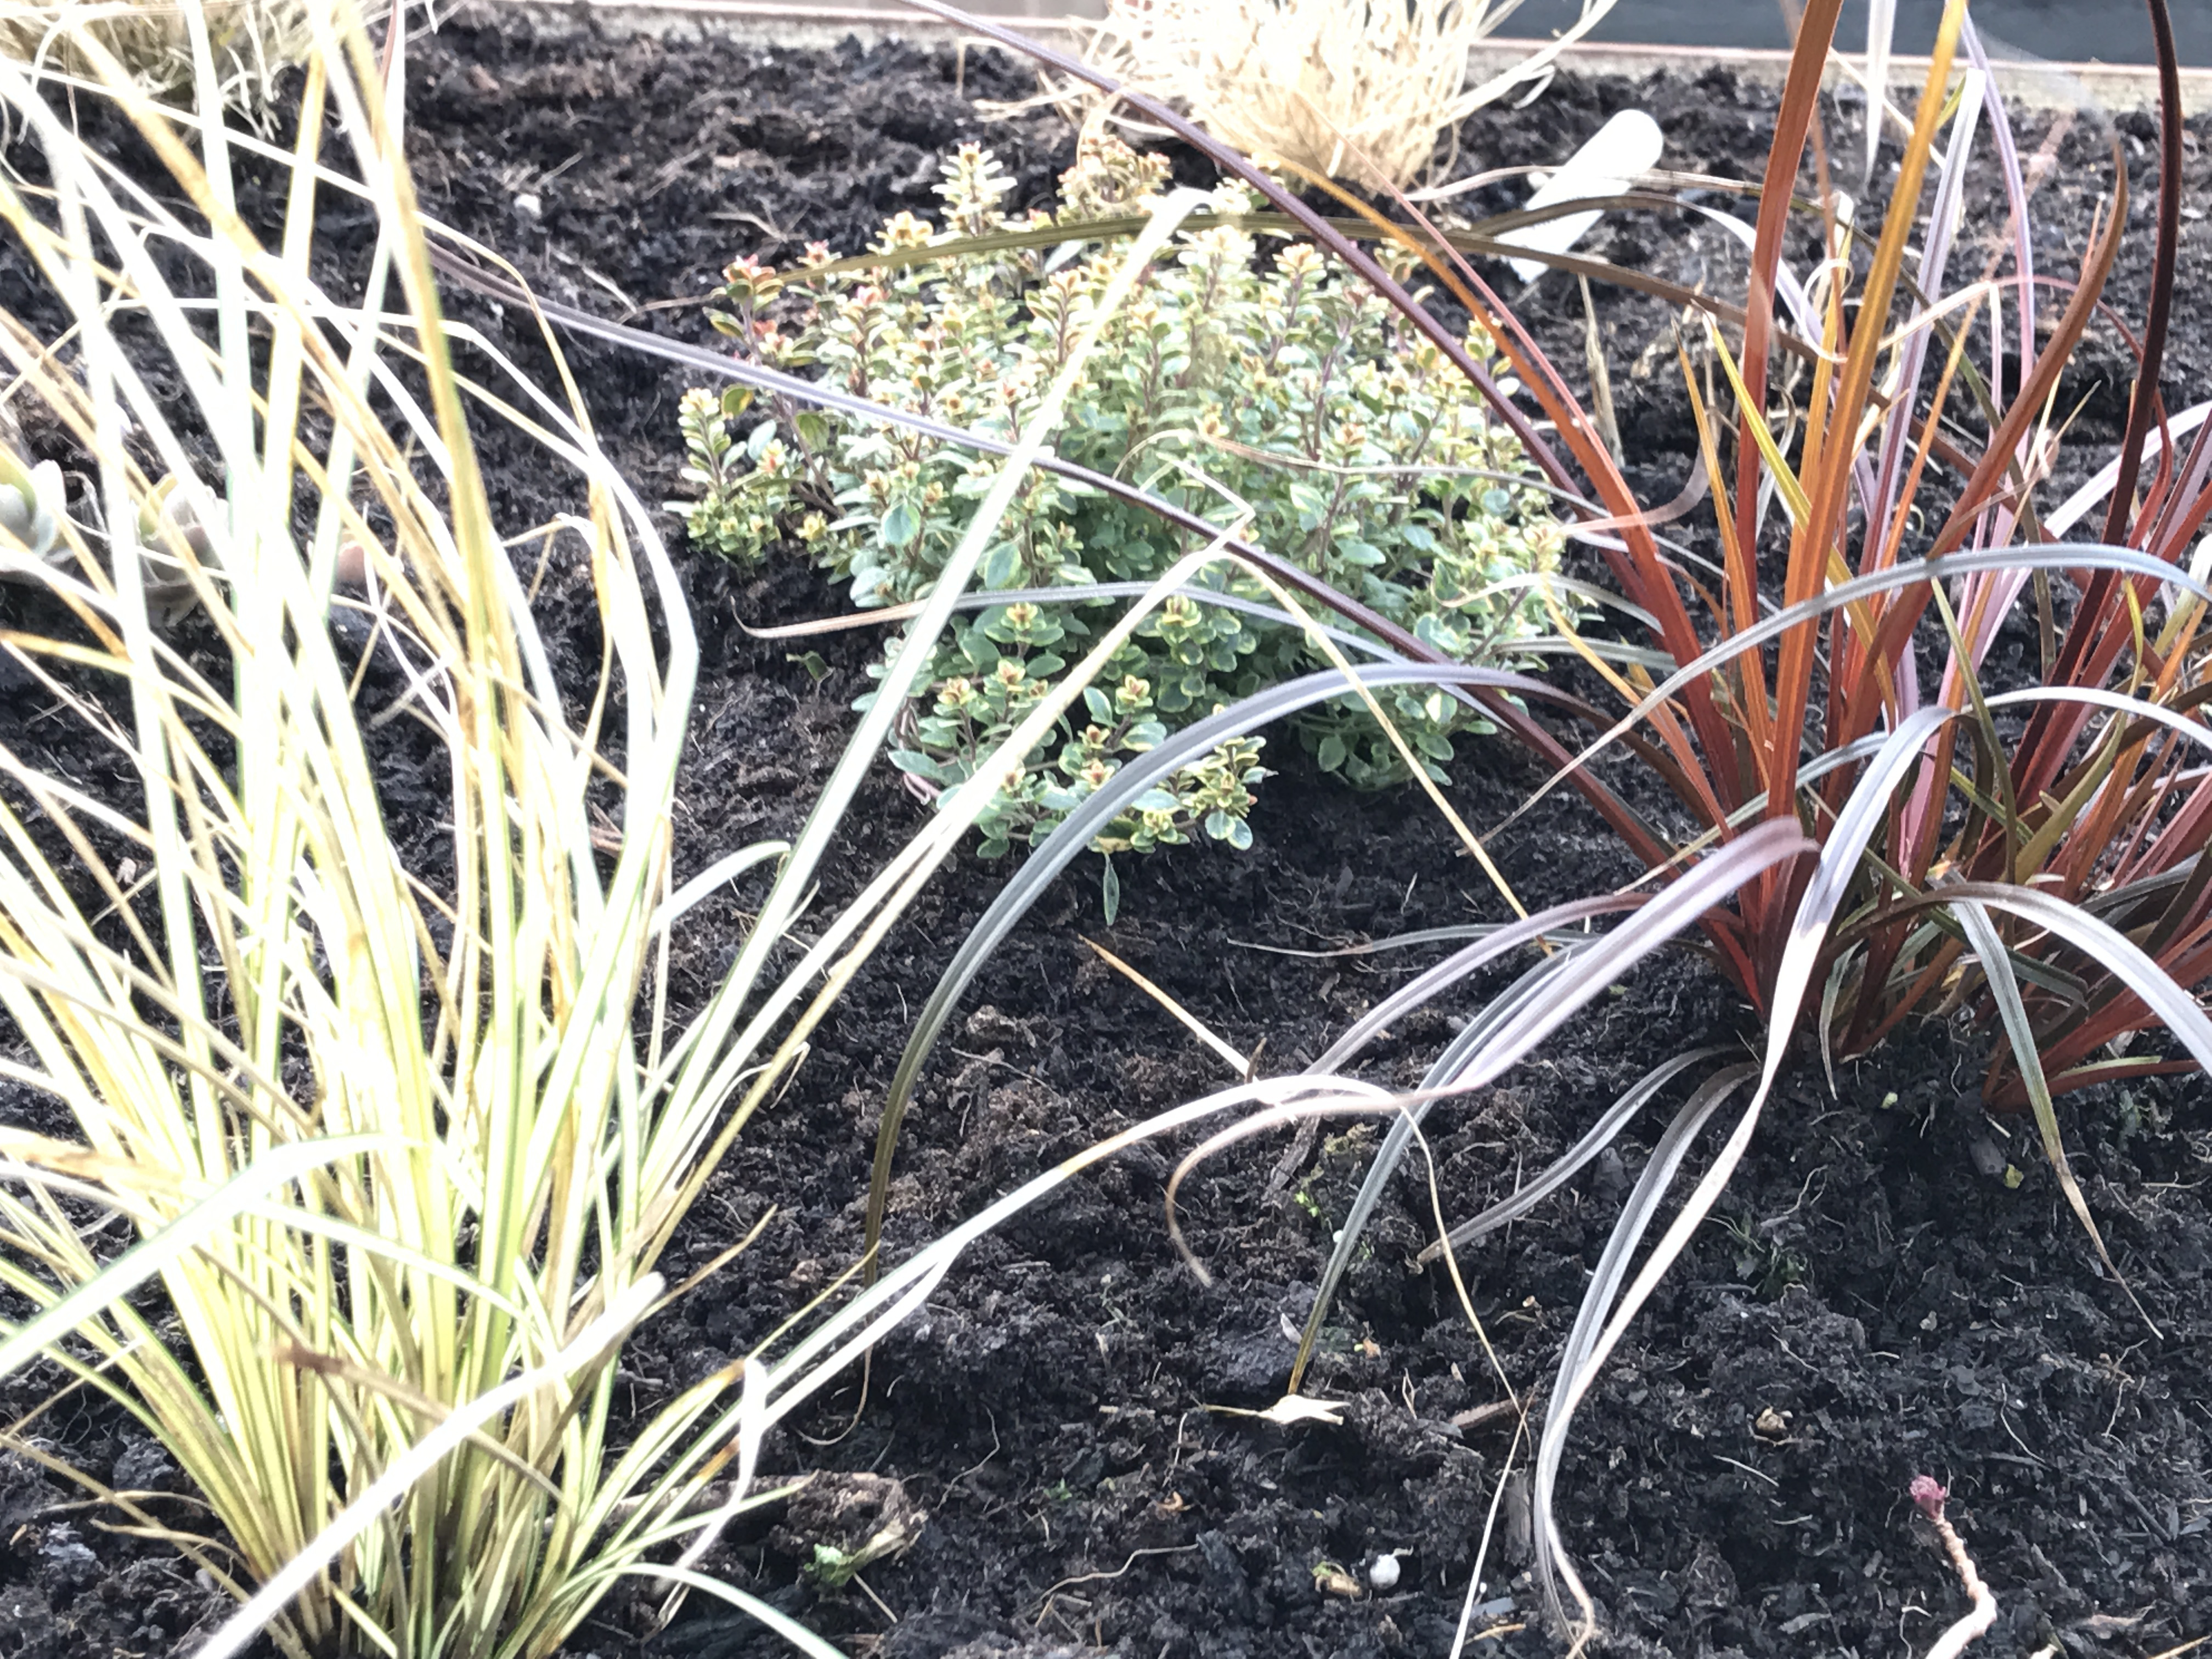
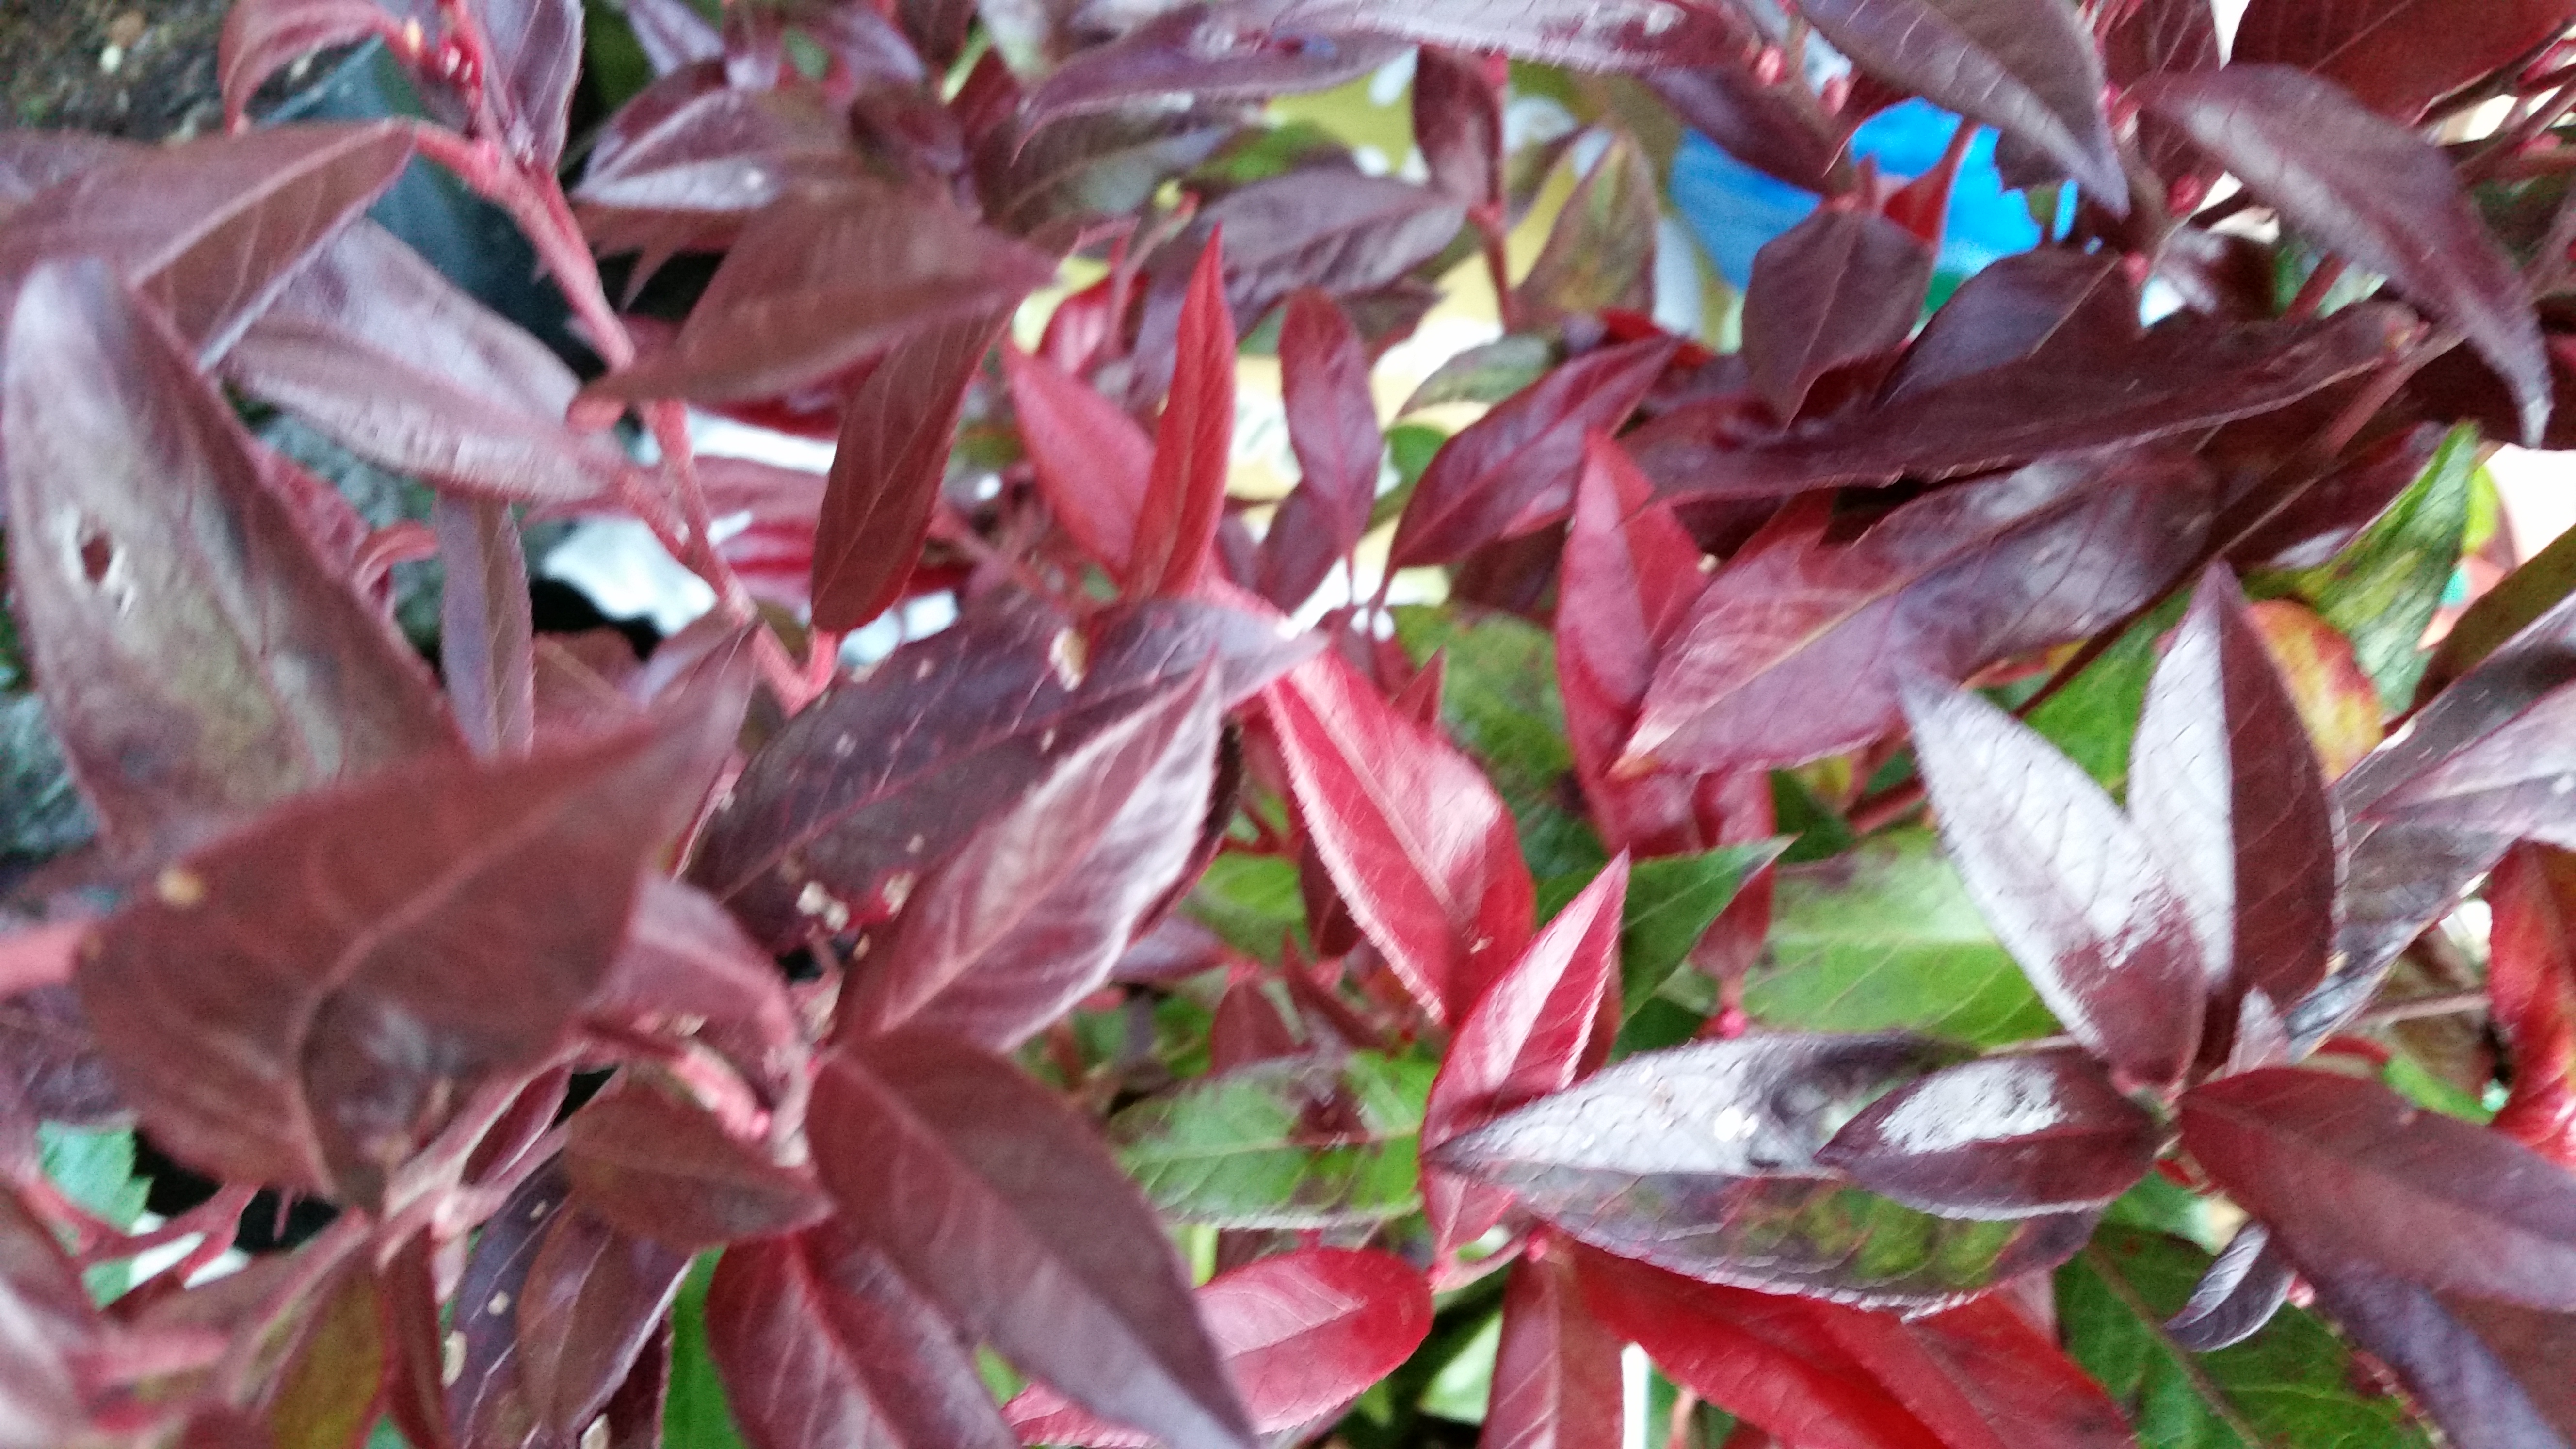
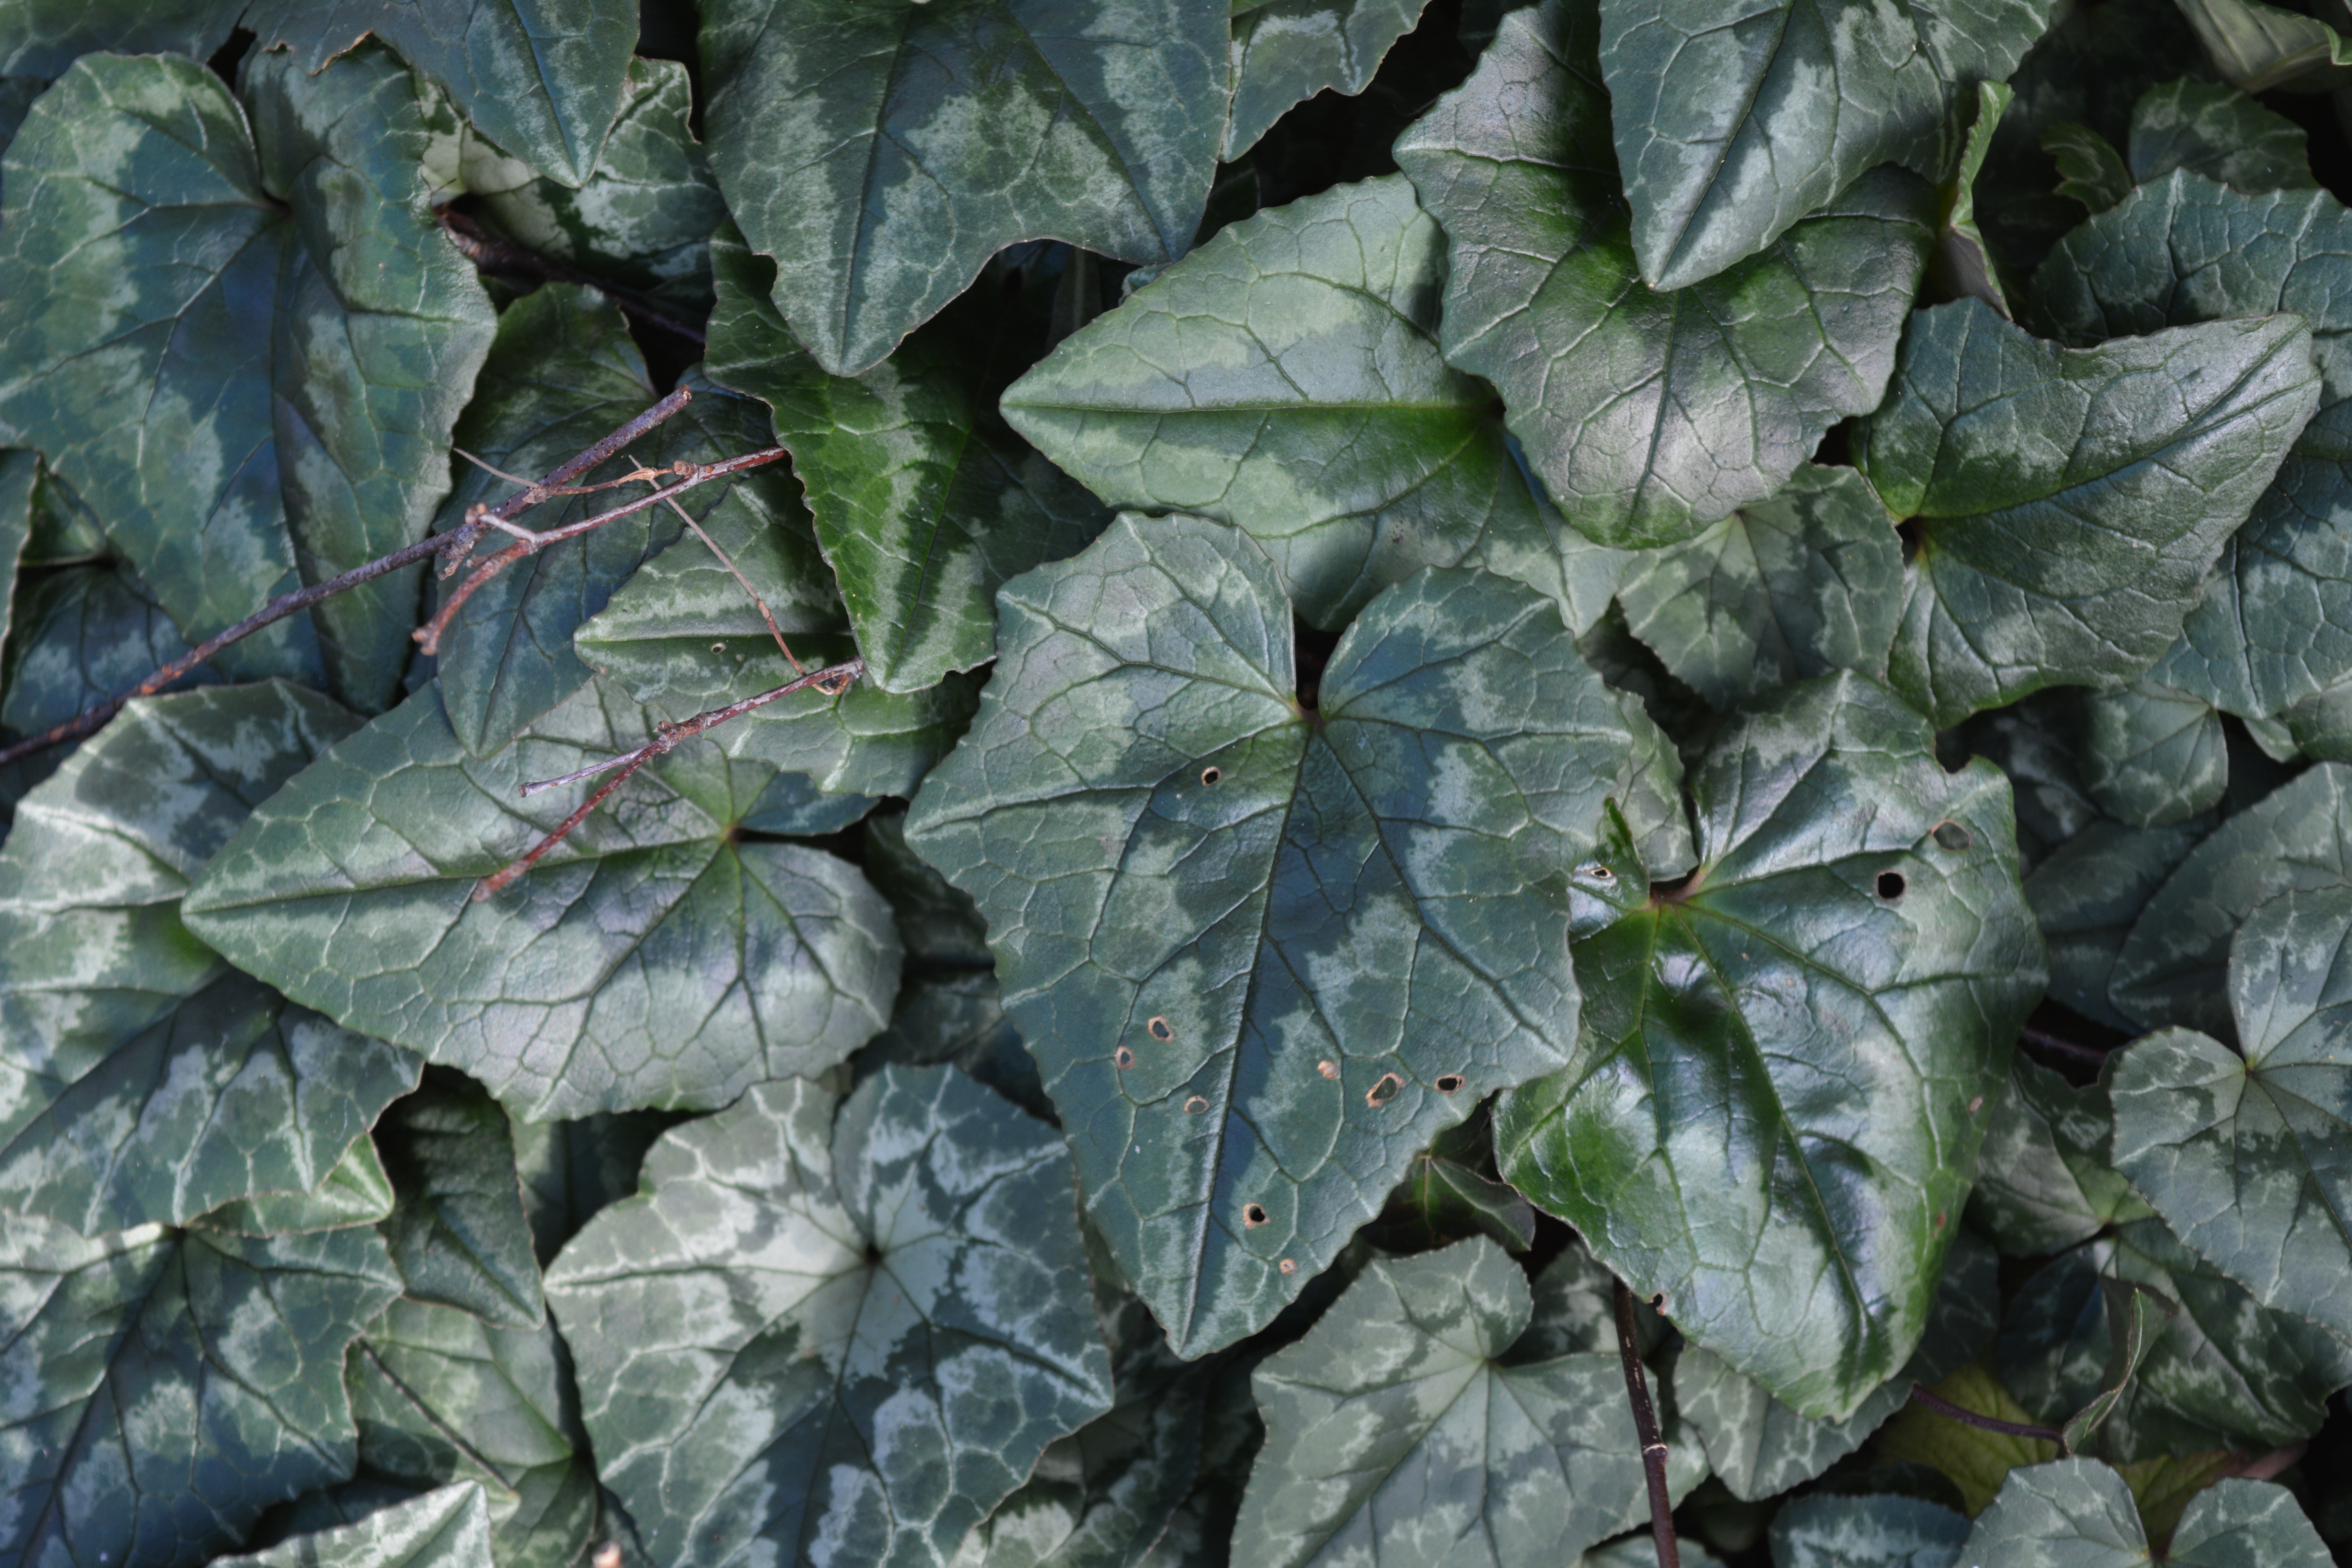
Foliage features on the opposite page where I write “In winter flowers generally give way to interesting foliage on both shrubs and evergreen perennials. There is such a wide variety of shapes, colours and textures to be found in our January garden”.

A selection of photographs which I took in the garden on the same morning follows.

2016 01 26_8079 2016 01 22_79952016 01 22_7997 2016 01 22_80262016 01 22_8001 2016 01 22_7994       2016 01 22_8010 2016 01 22_8009

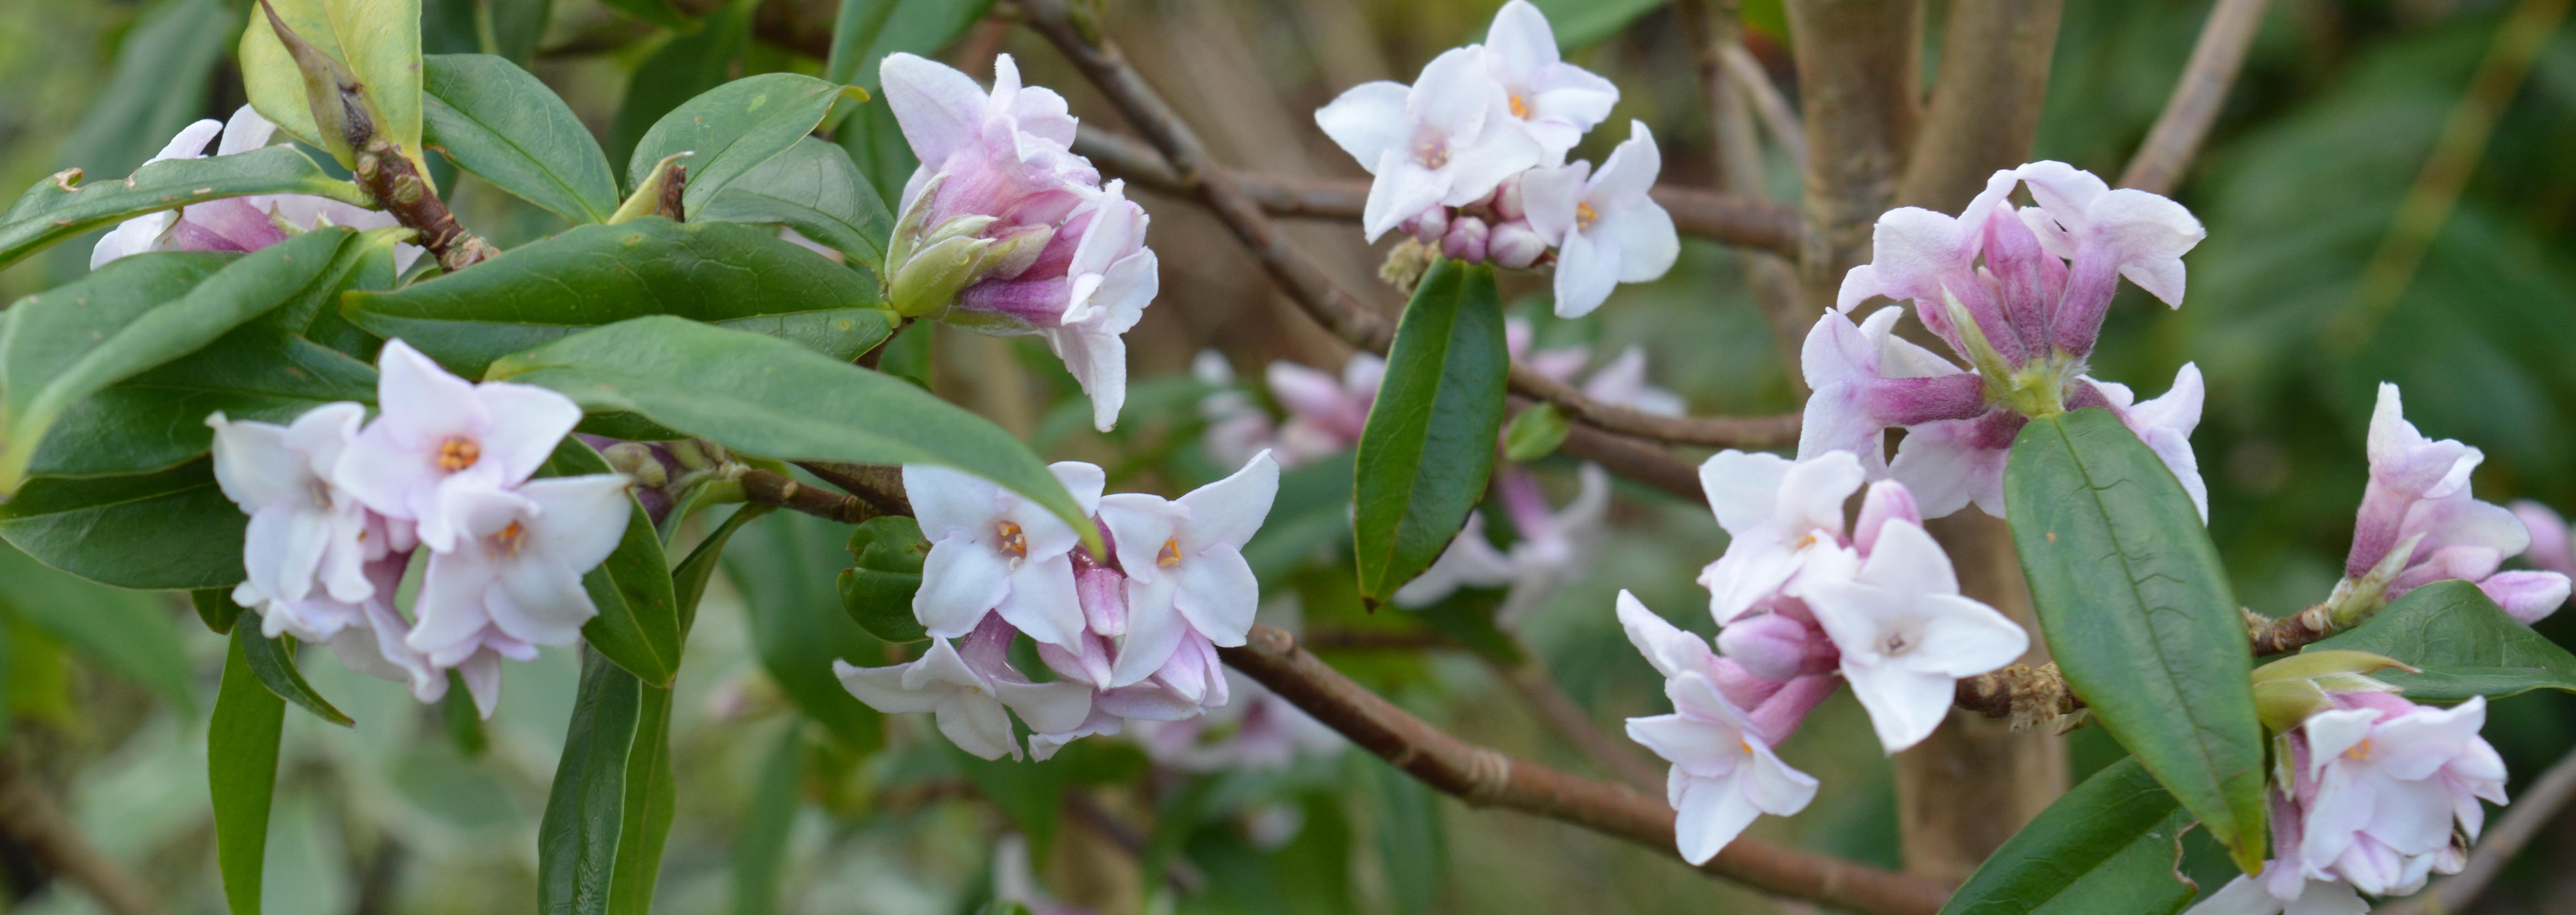
Turning the next page my text is all about the scents of winter flowering shrubs.

2016 02 02_8159_edited-1

“Scent is such a powerful force in the winter garden and it is shrubs that put in a strong performance. We plant these scented shrubs close to paths so that we can enjoy them close up. On still days though their perfumes can be appreciated all over the garden. Cornus mas, the Cornelian Cherry, has a delicate scent but striking flowers of a bright yellow to which sunlight adds a hint of lime green to make it really zing.” 

A much more strongly scented winter flowering shrub grows close to the main path in our back garden and is generous with its scent spreading it all over nearby borders, is Daphne bhuloa “Jacquiline Postill”.

2016 01 04_7675_edited-1 2016 01 05_7740_edited-1

On the page opposite I put the spotlight on a plant called “Physalis alkenengi” as I had come across the skeletal remains of its fruiting head while gardening in the Hot Garden.

2016 02 02_8162

I write “Physalis alkekengi is a strange little plant. It is inconspicuous for most of the year apart for twice when it gives splashes of colour. We rarely notice its off-white flowers in mid-summer but bright red papery “lanterns” soon follow. Inside its lanterns are hidden glossy orange berries. The wet decay of winter breaks down the papery cases which turn biscuit coloured before the flesh falls away leaving a lantern shaped net within which sits the orange berry.”

I illustrated this page with a watercolour painting of this little garden treasure. It was a great challenge!

2016 02 02_8161

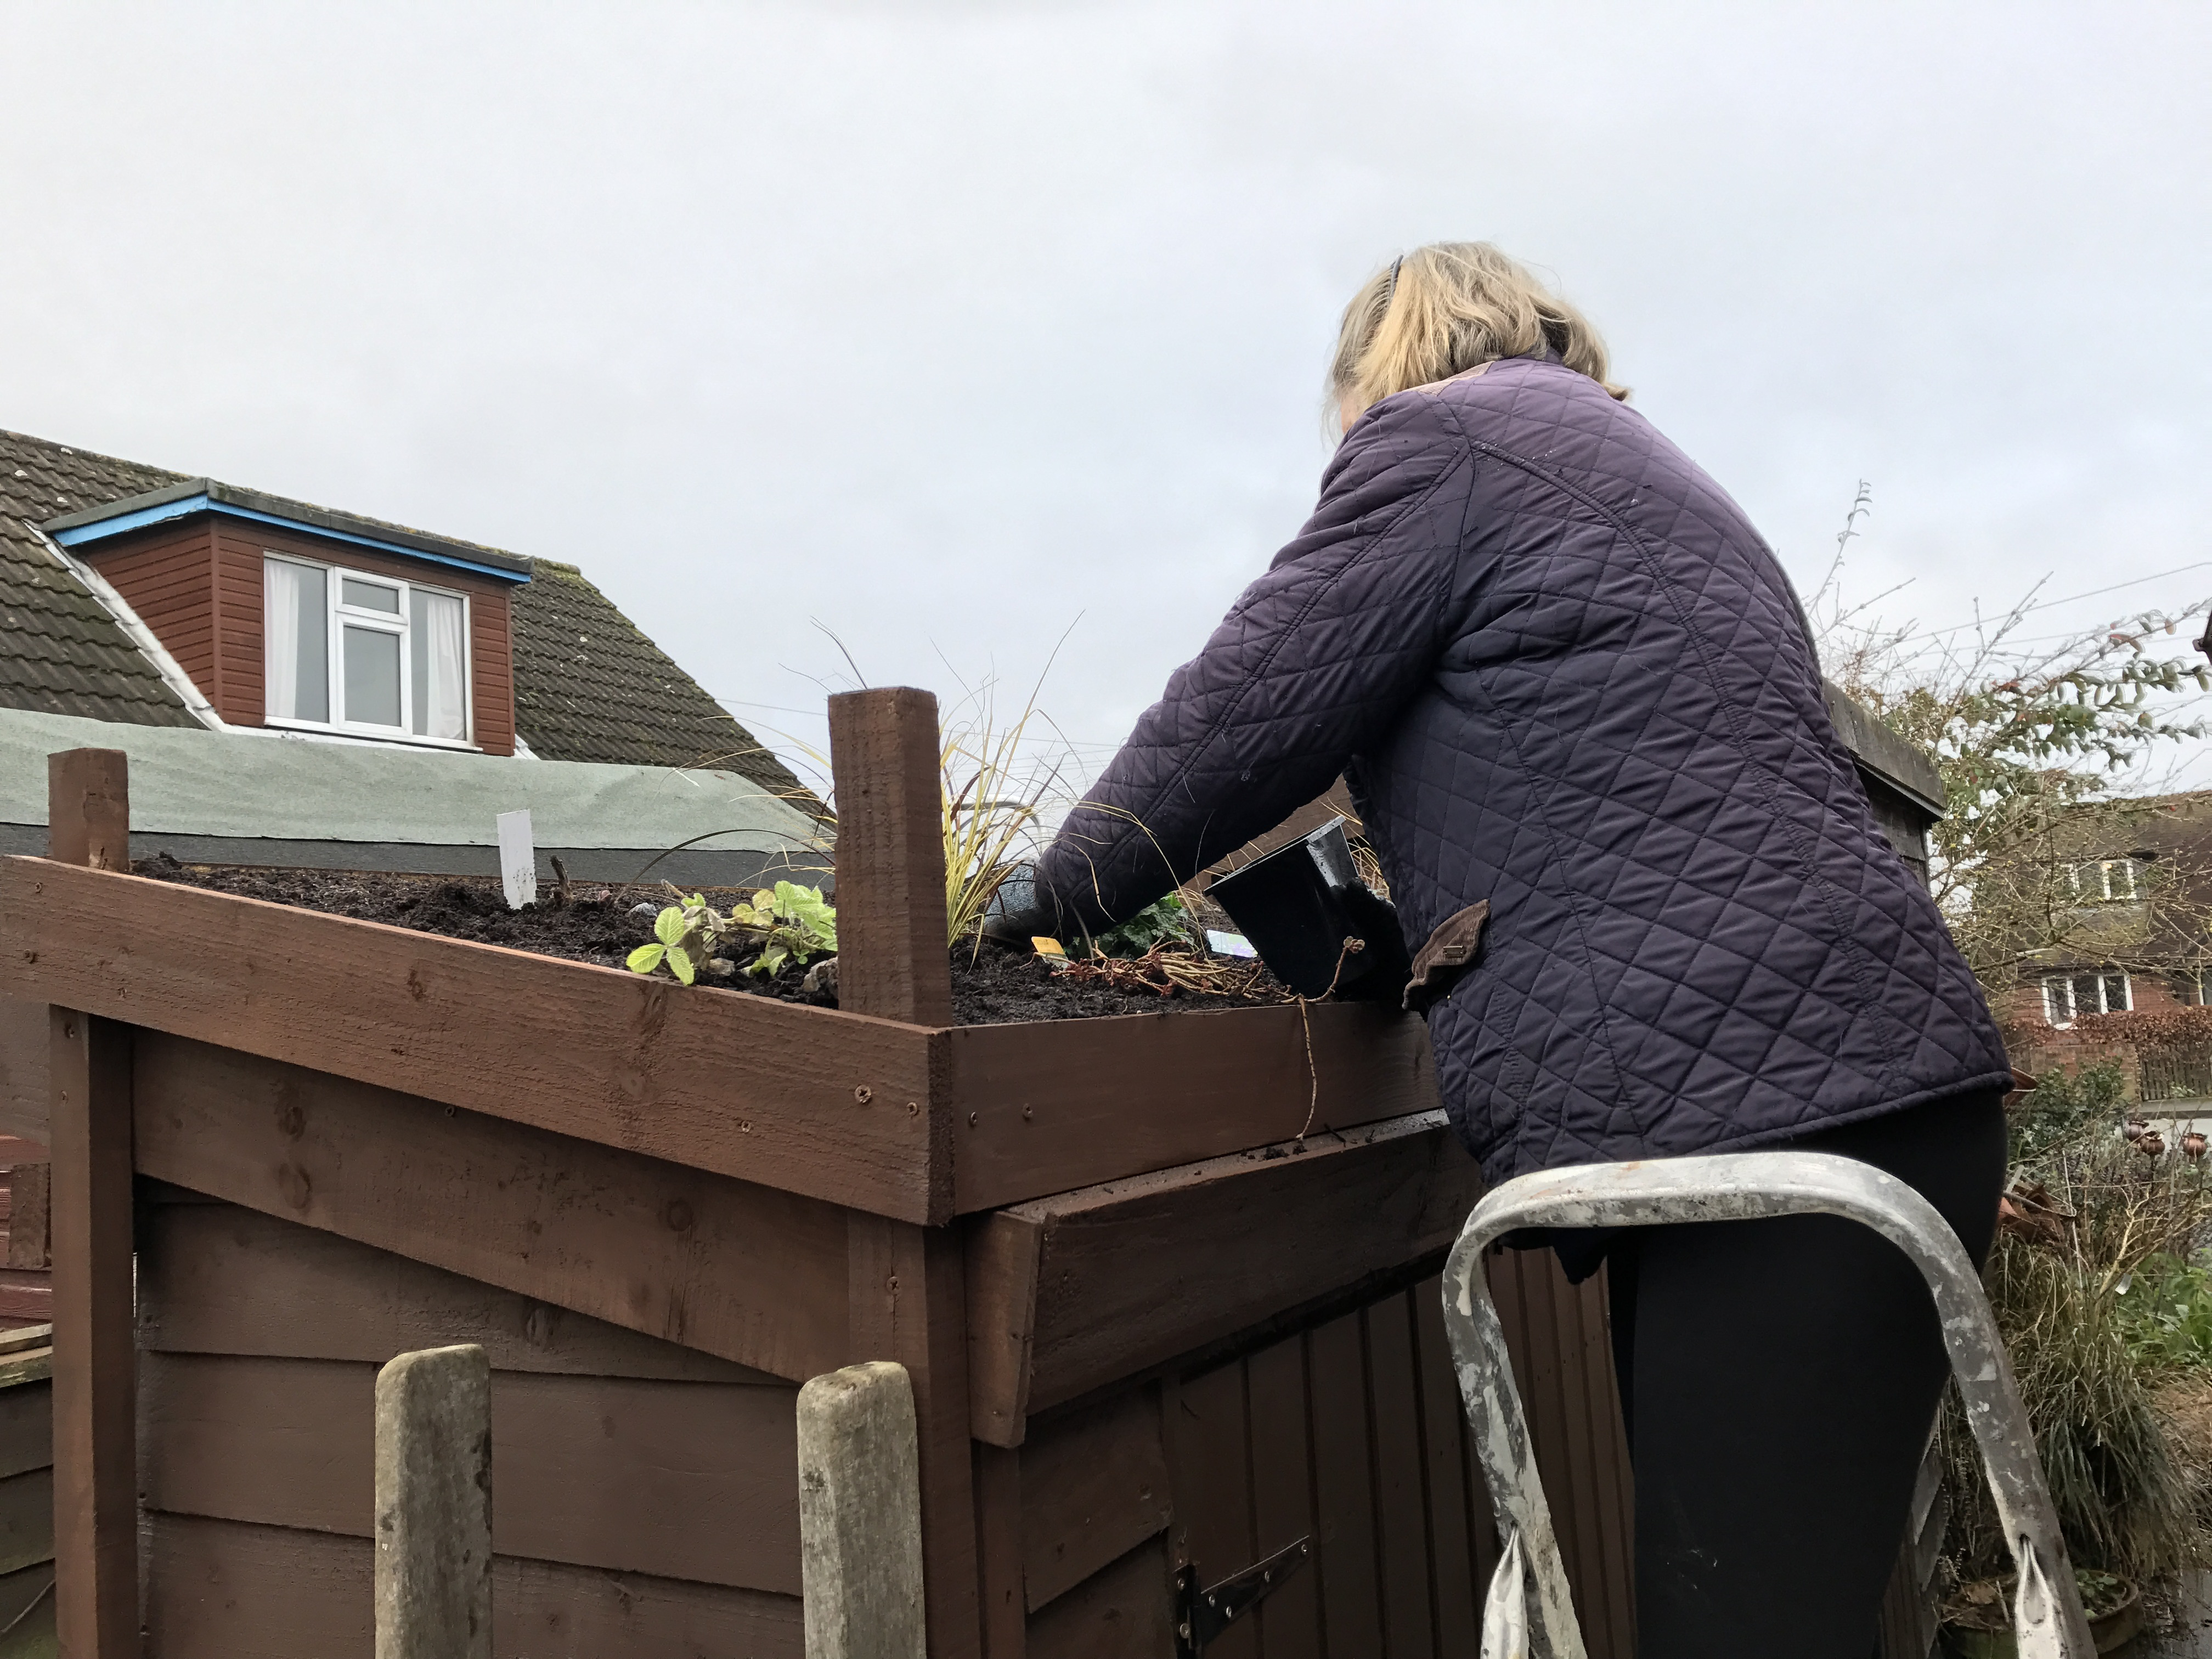
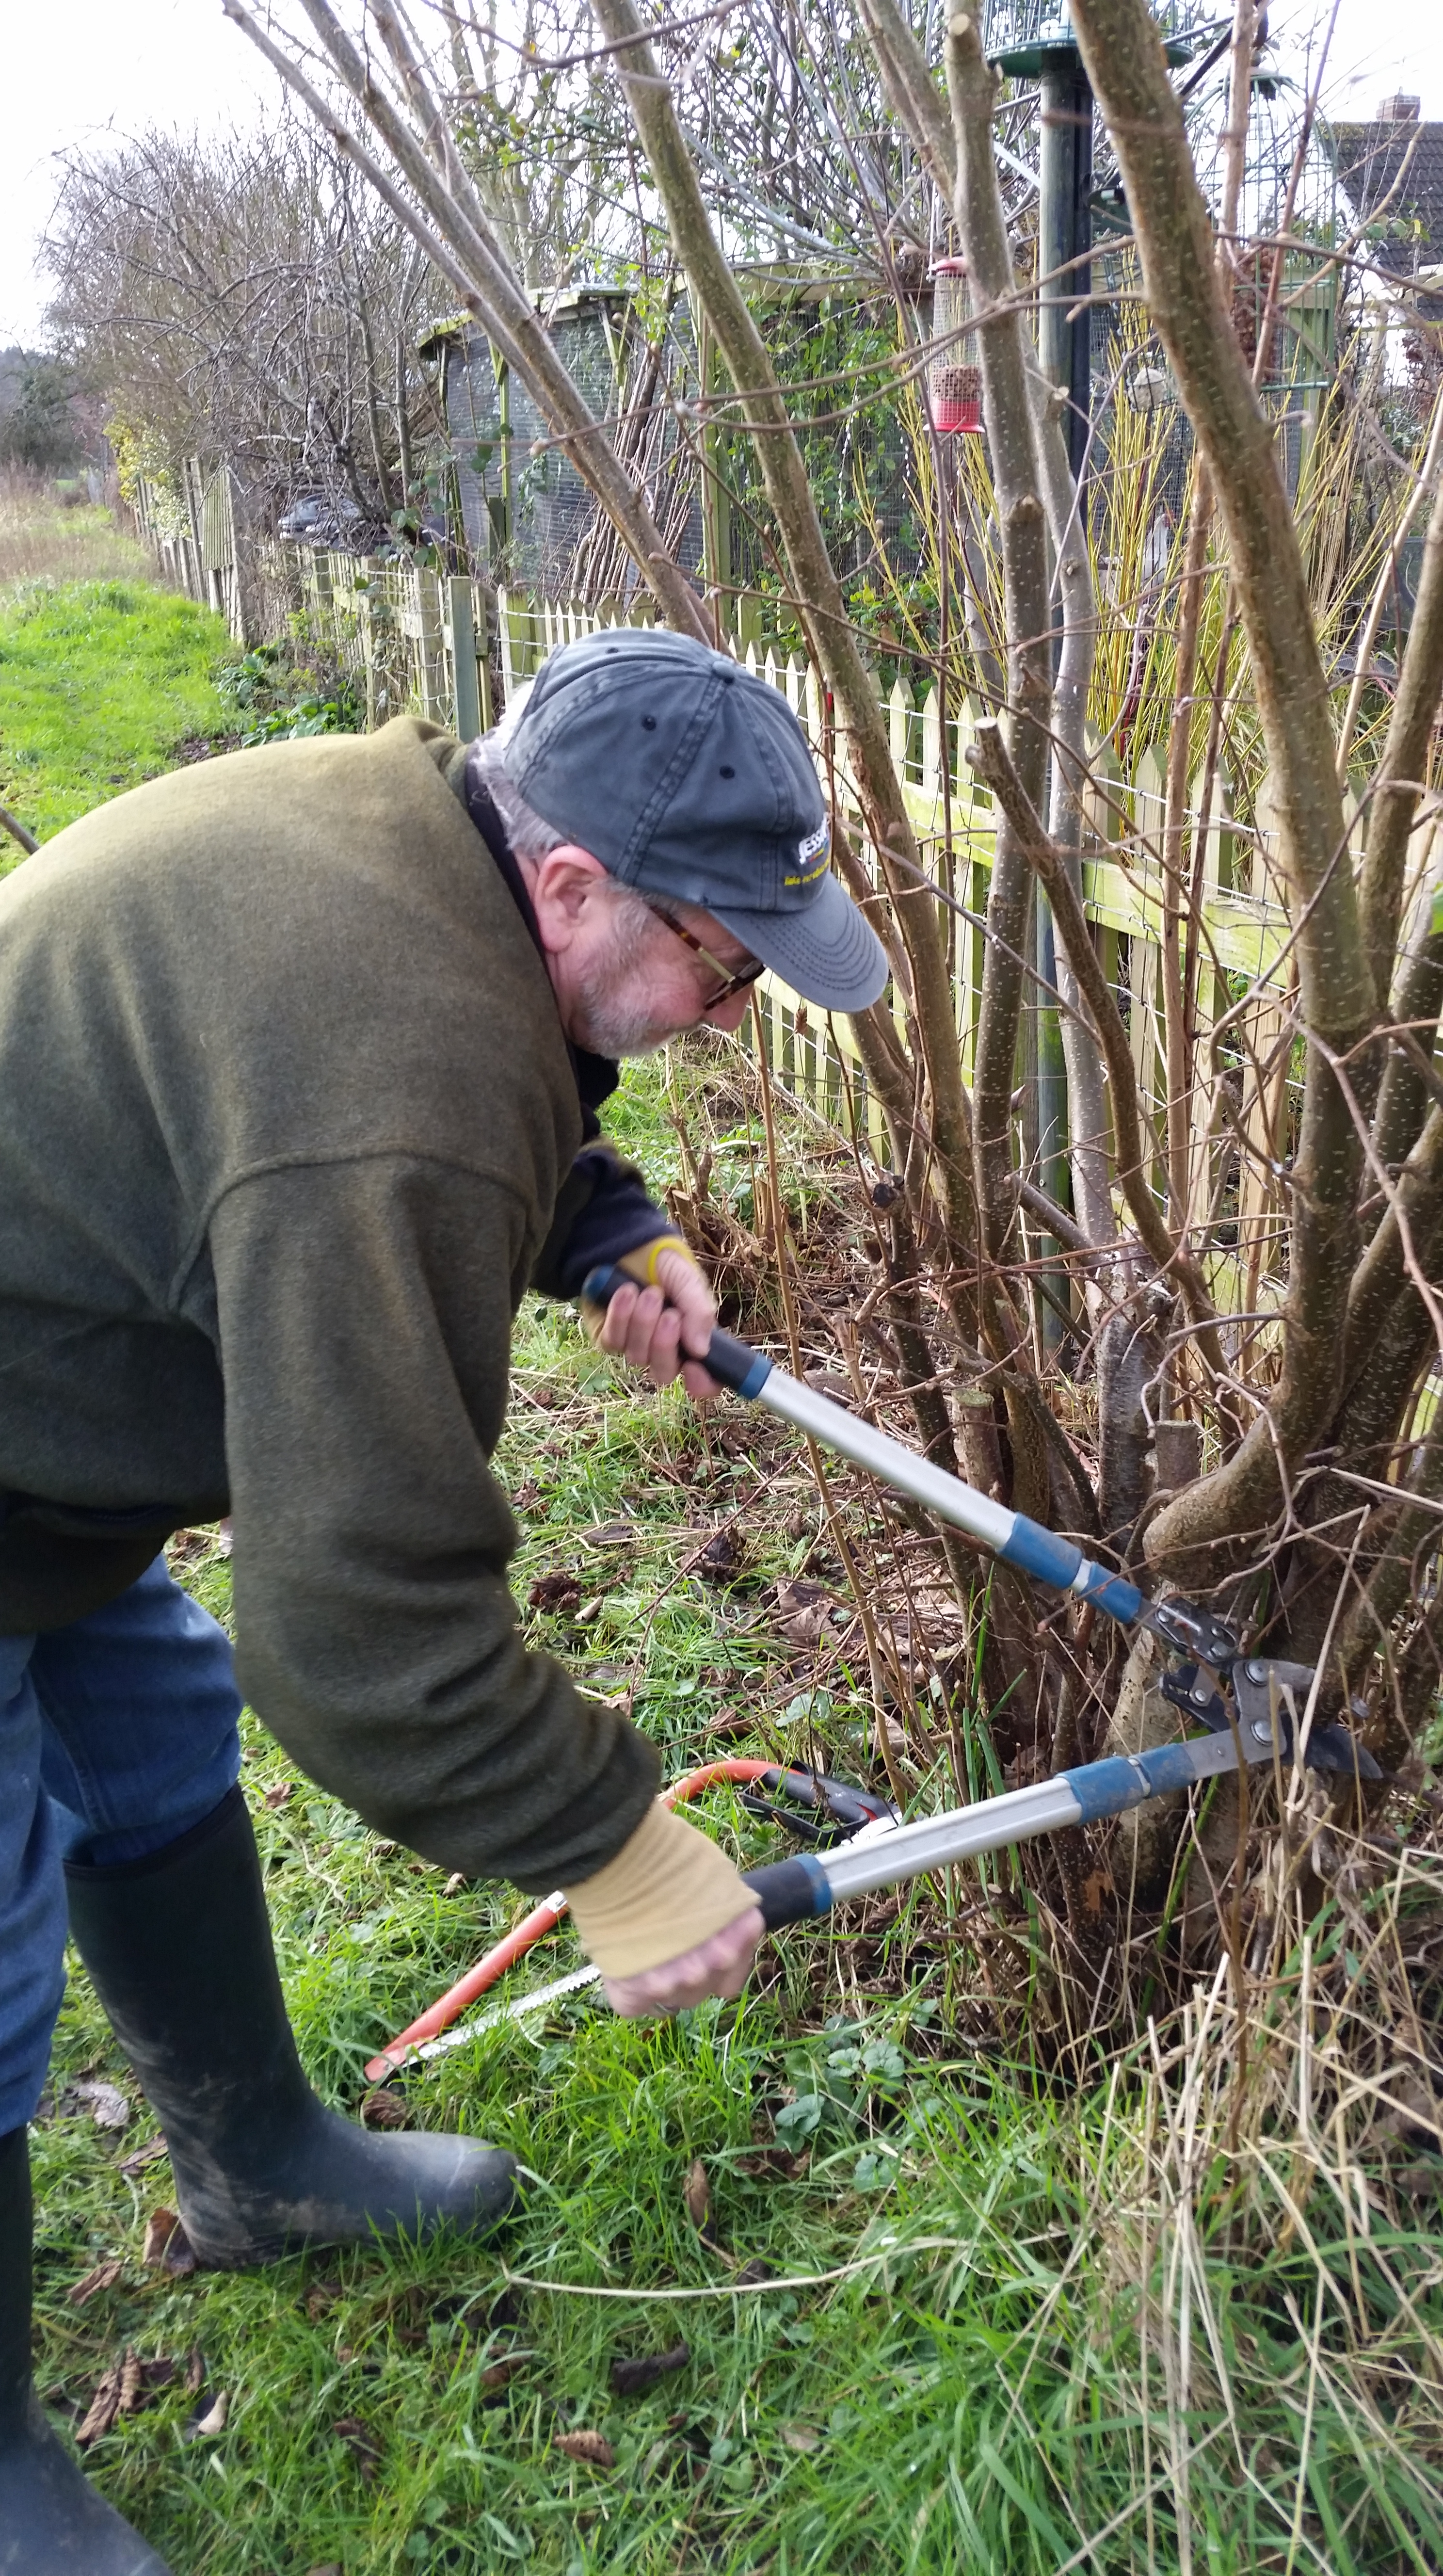
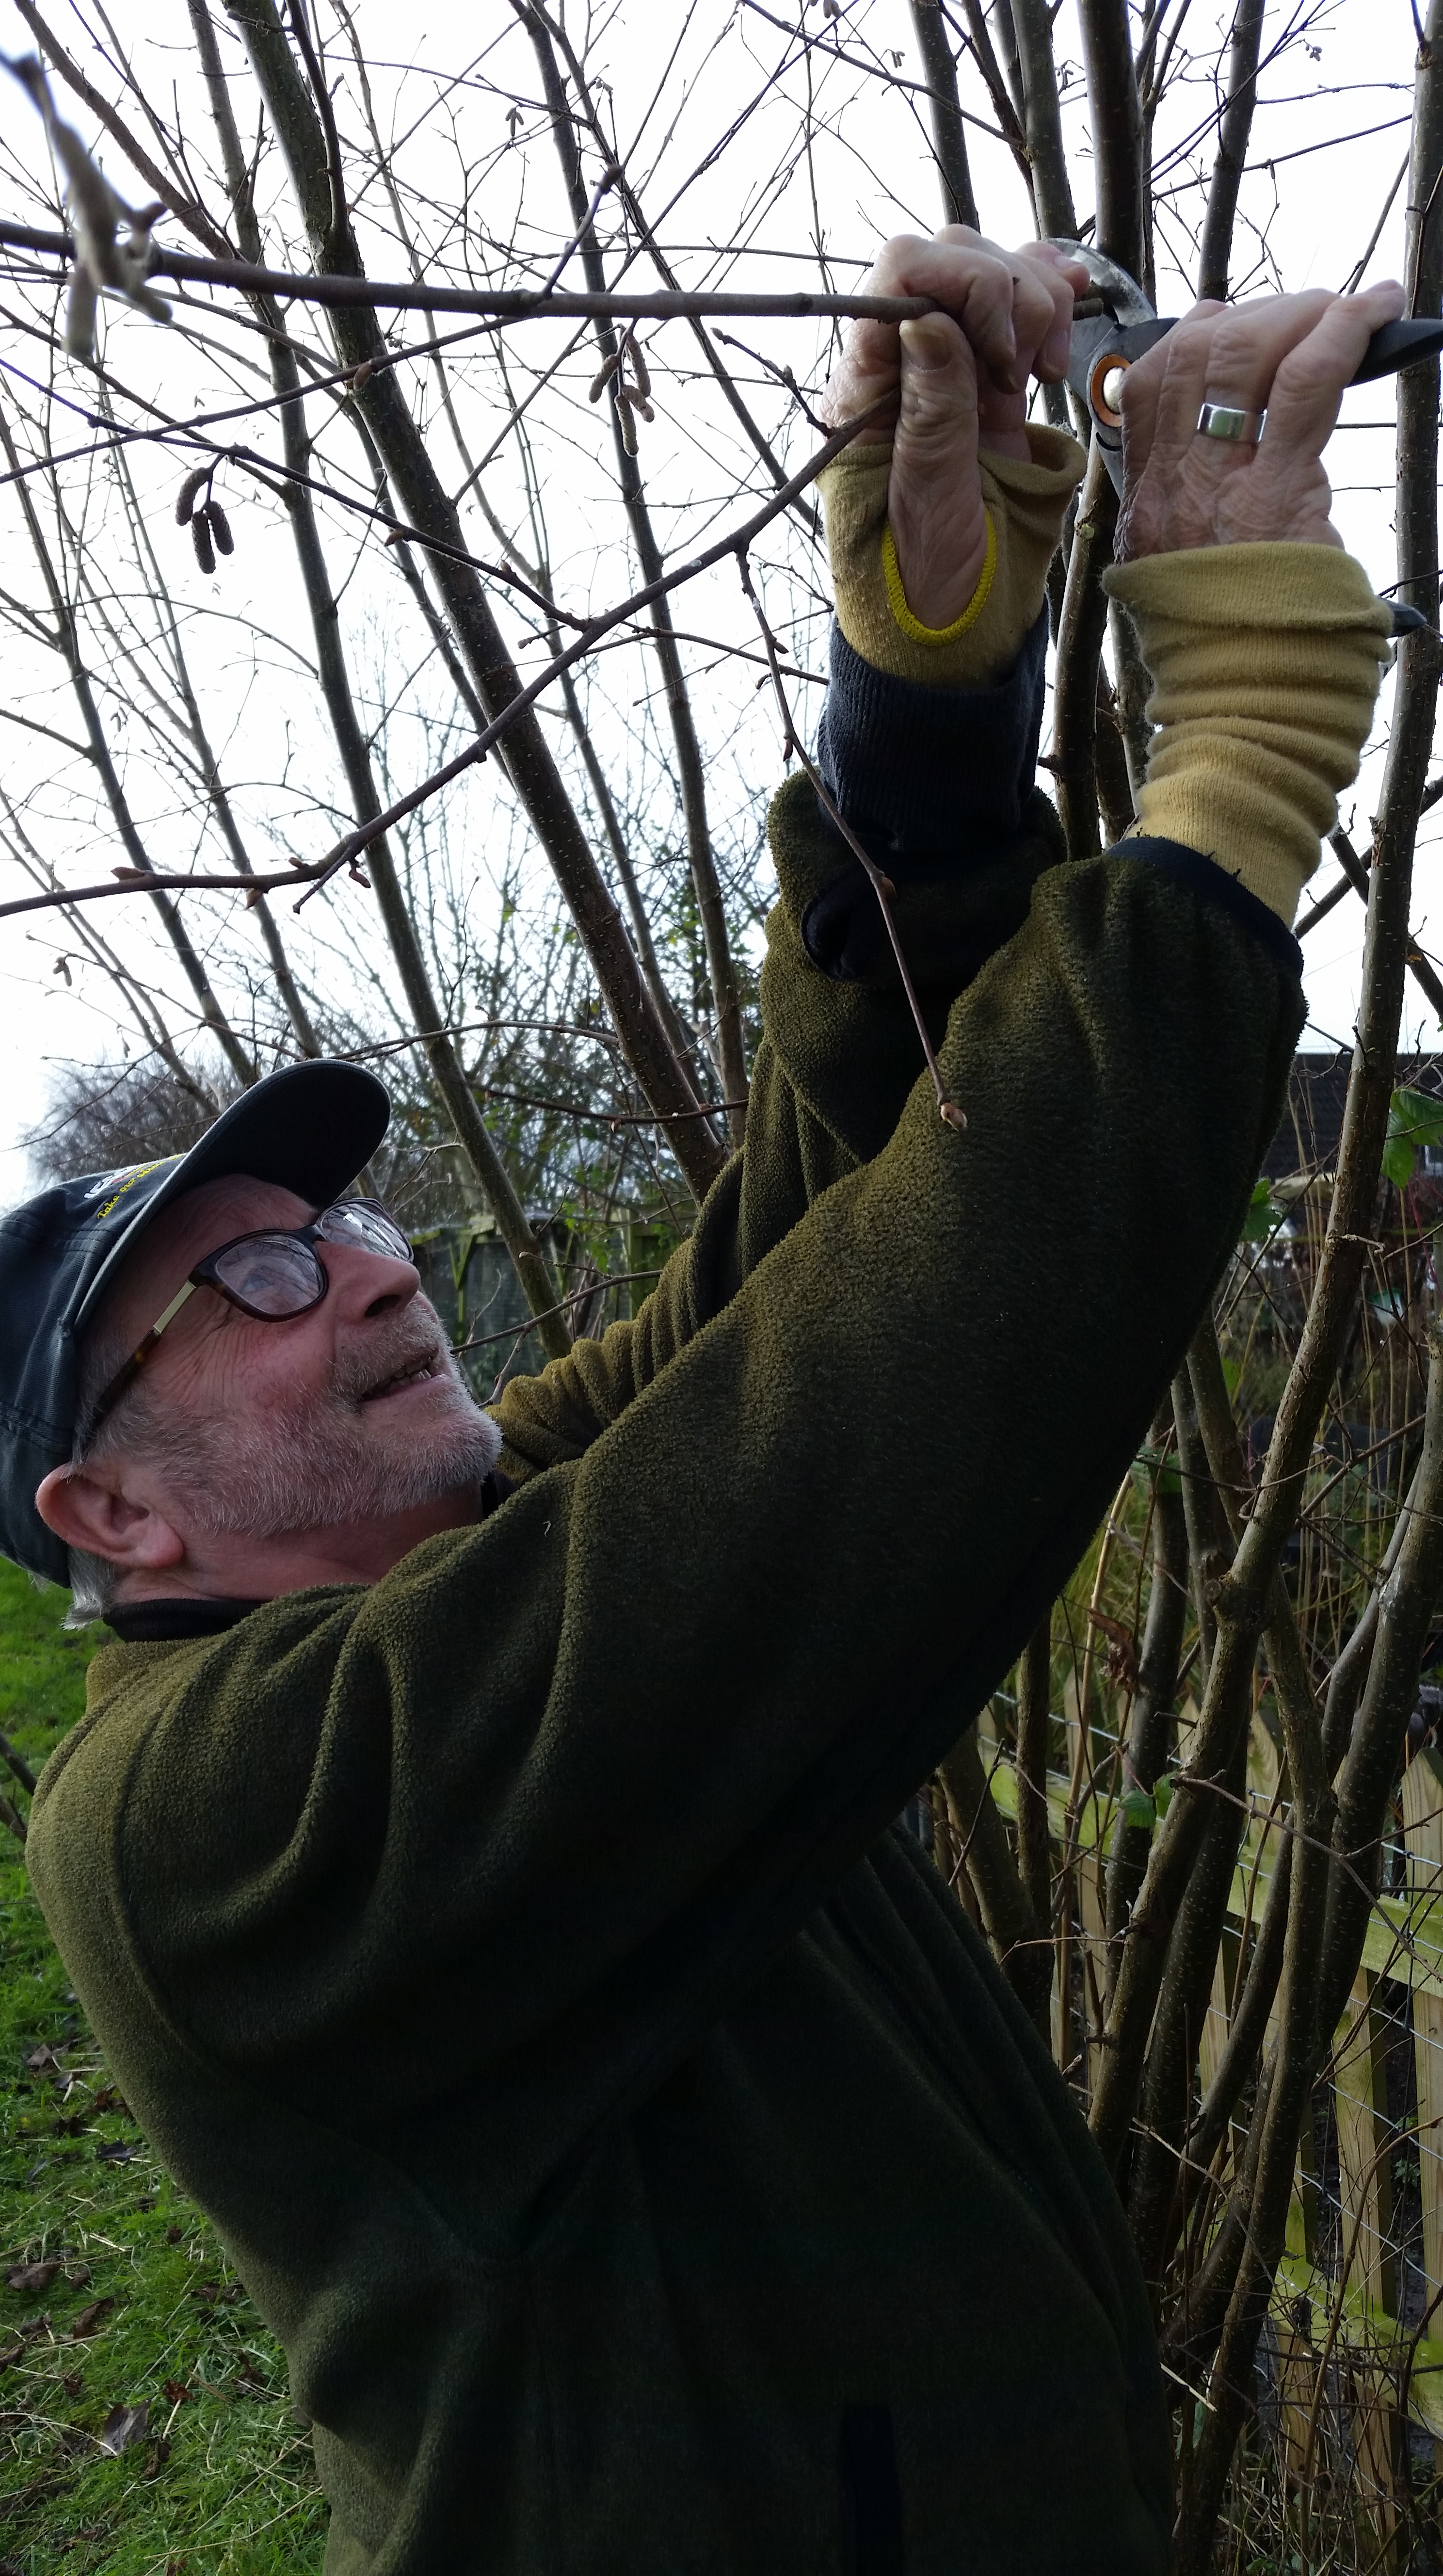
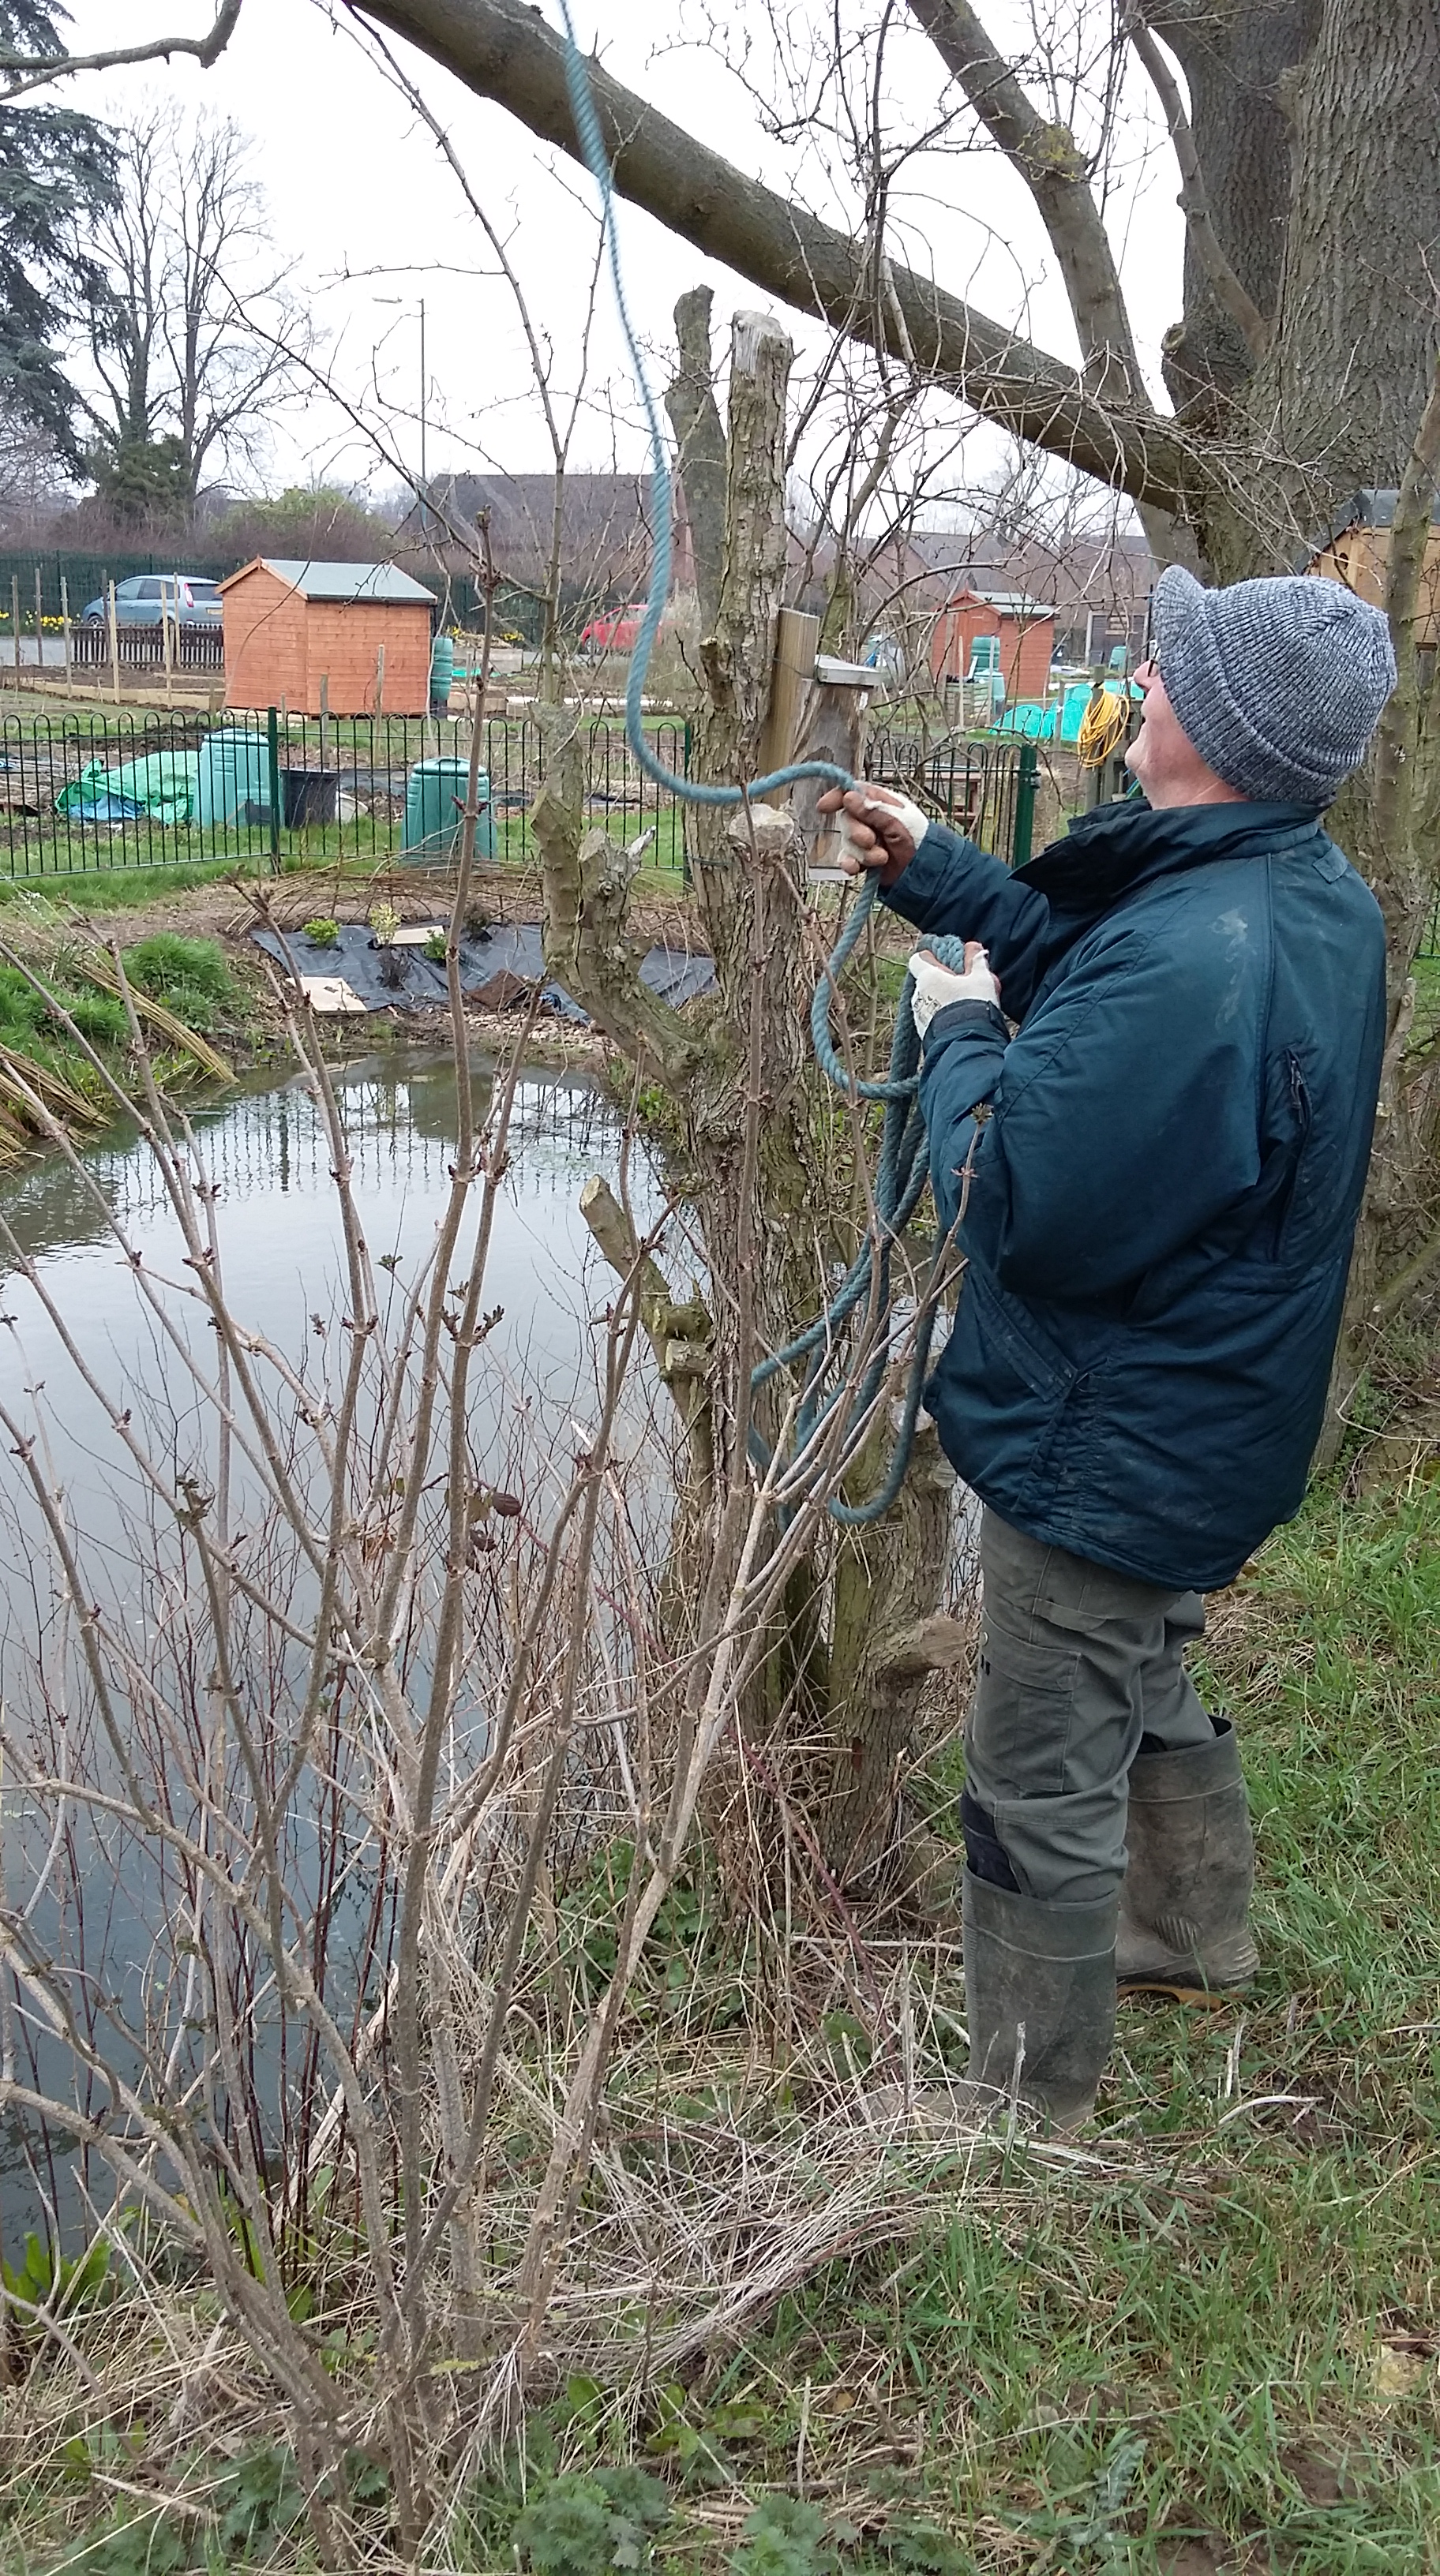
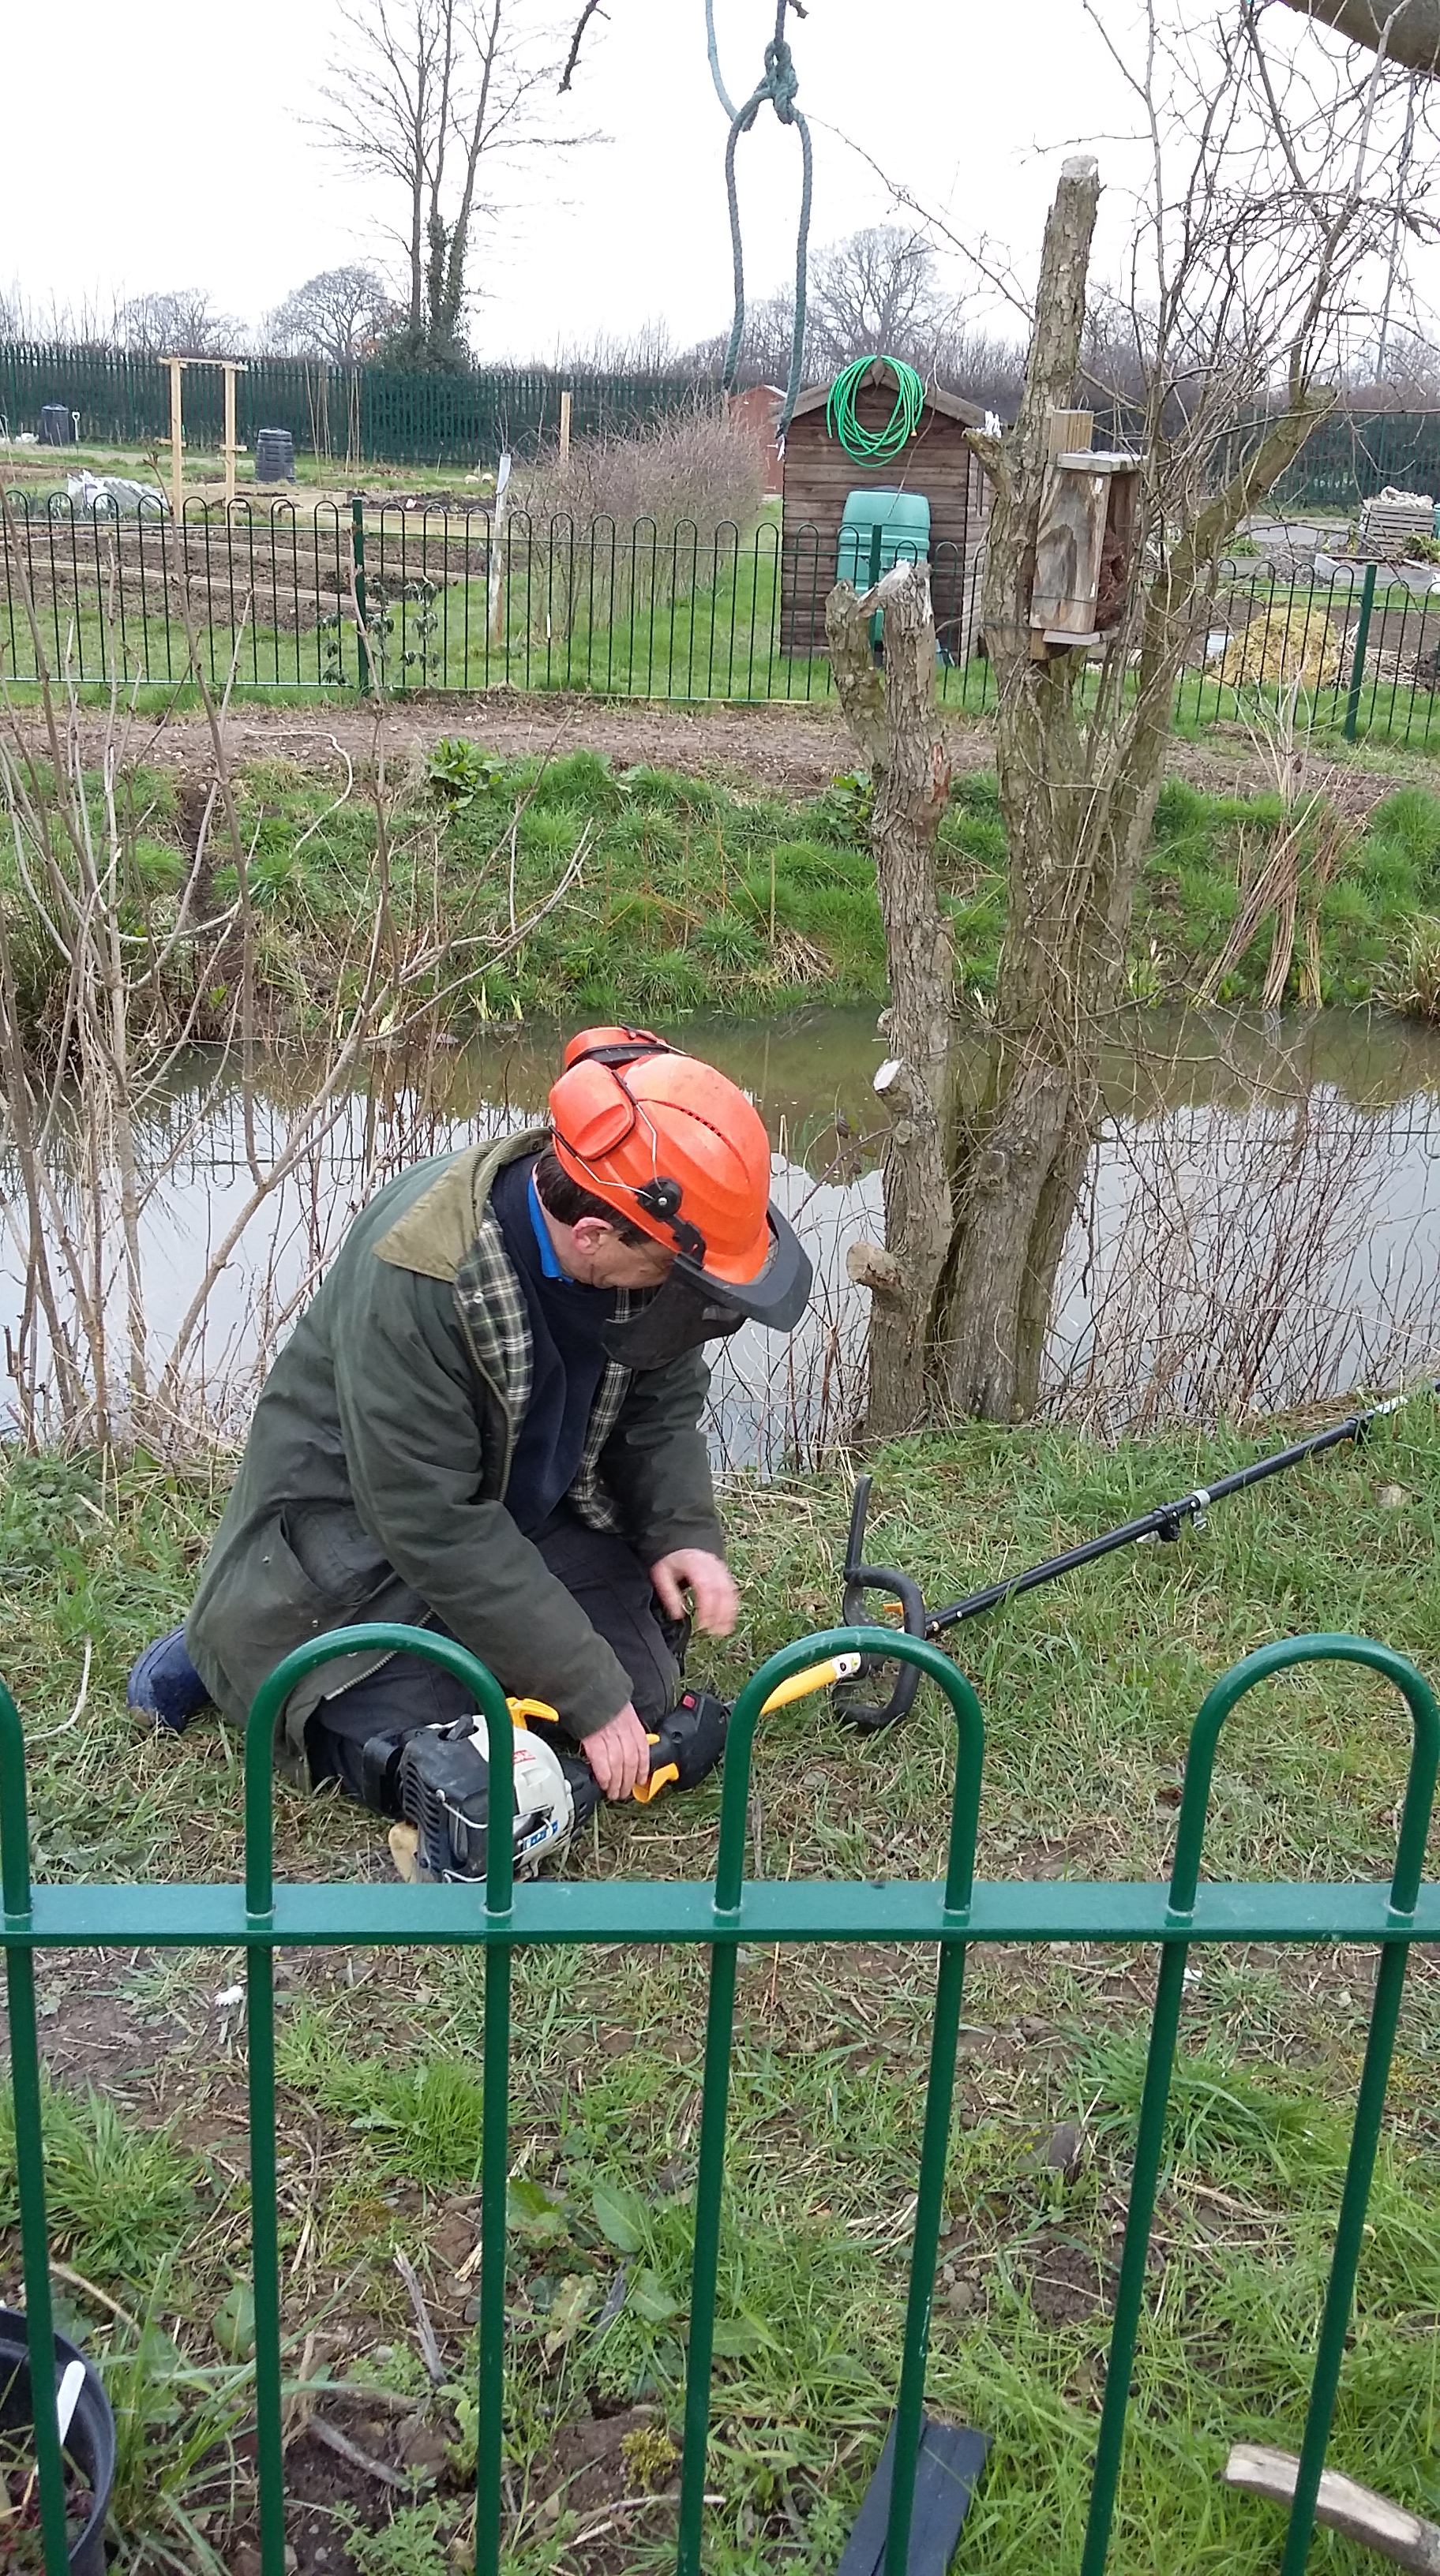
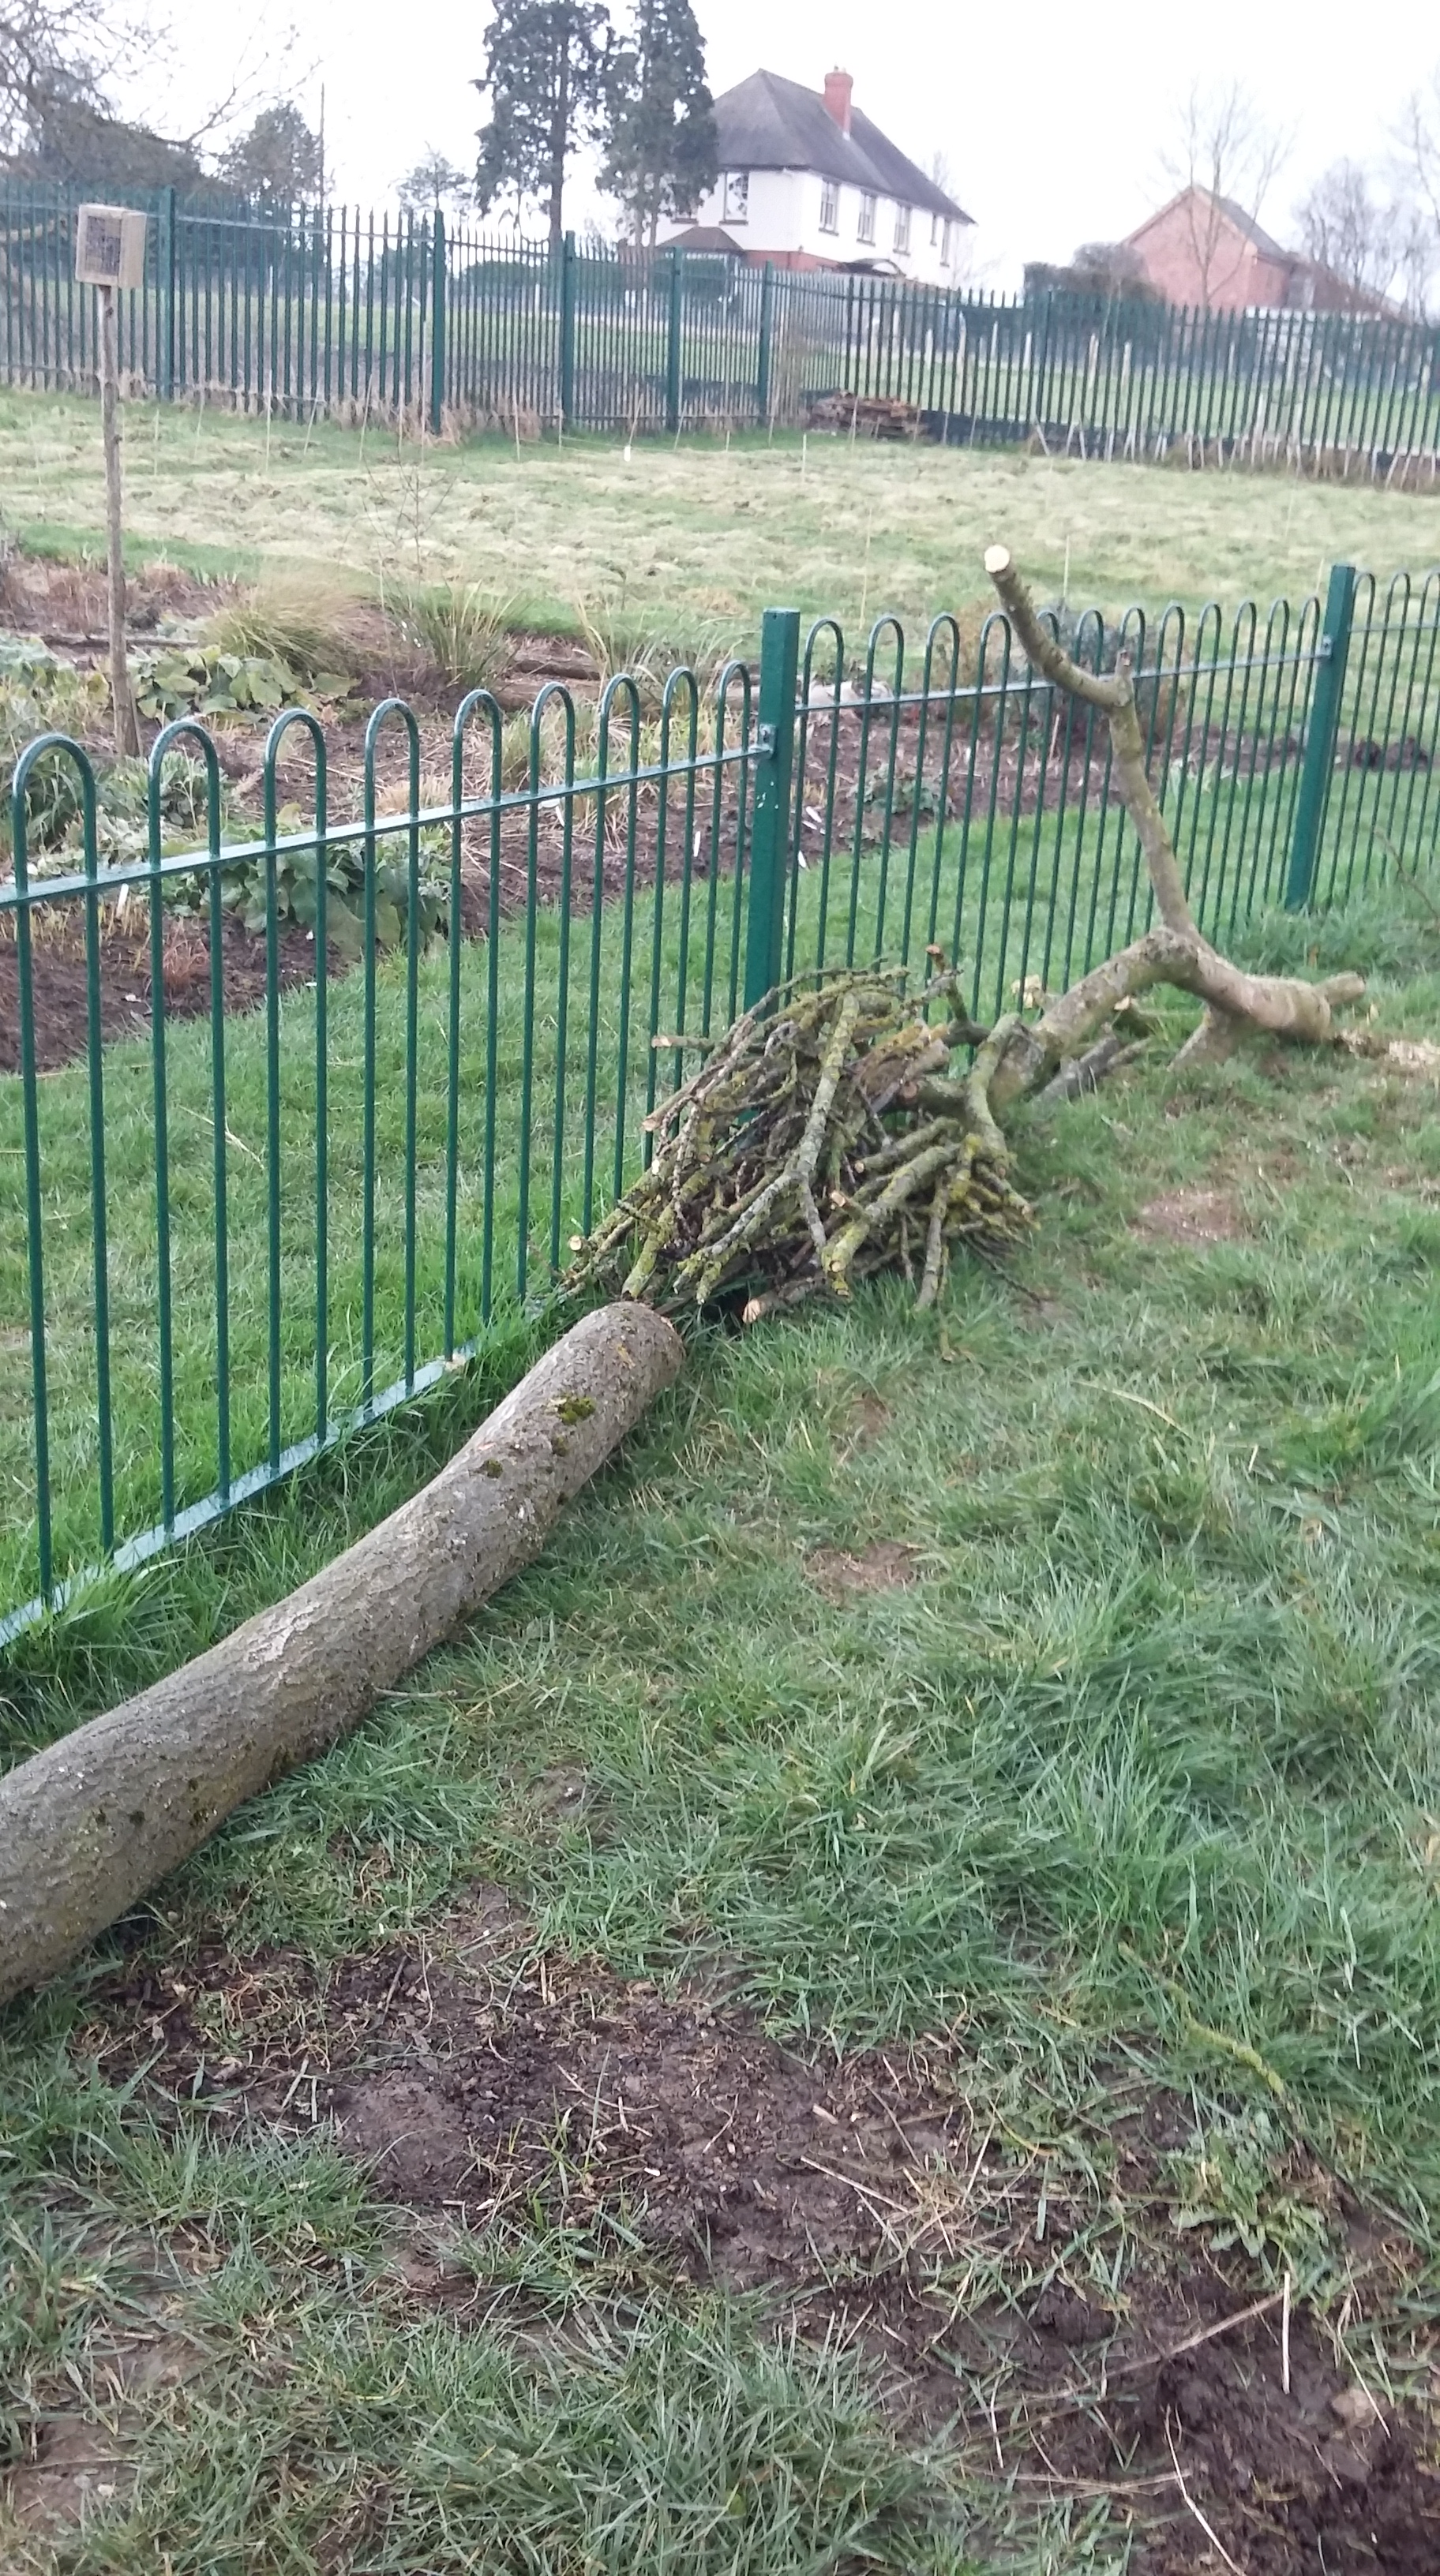
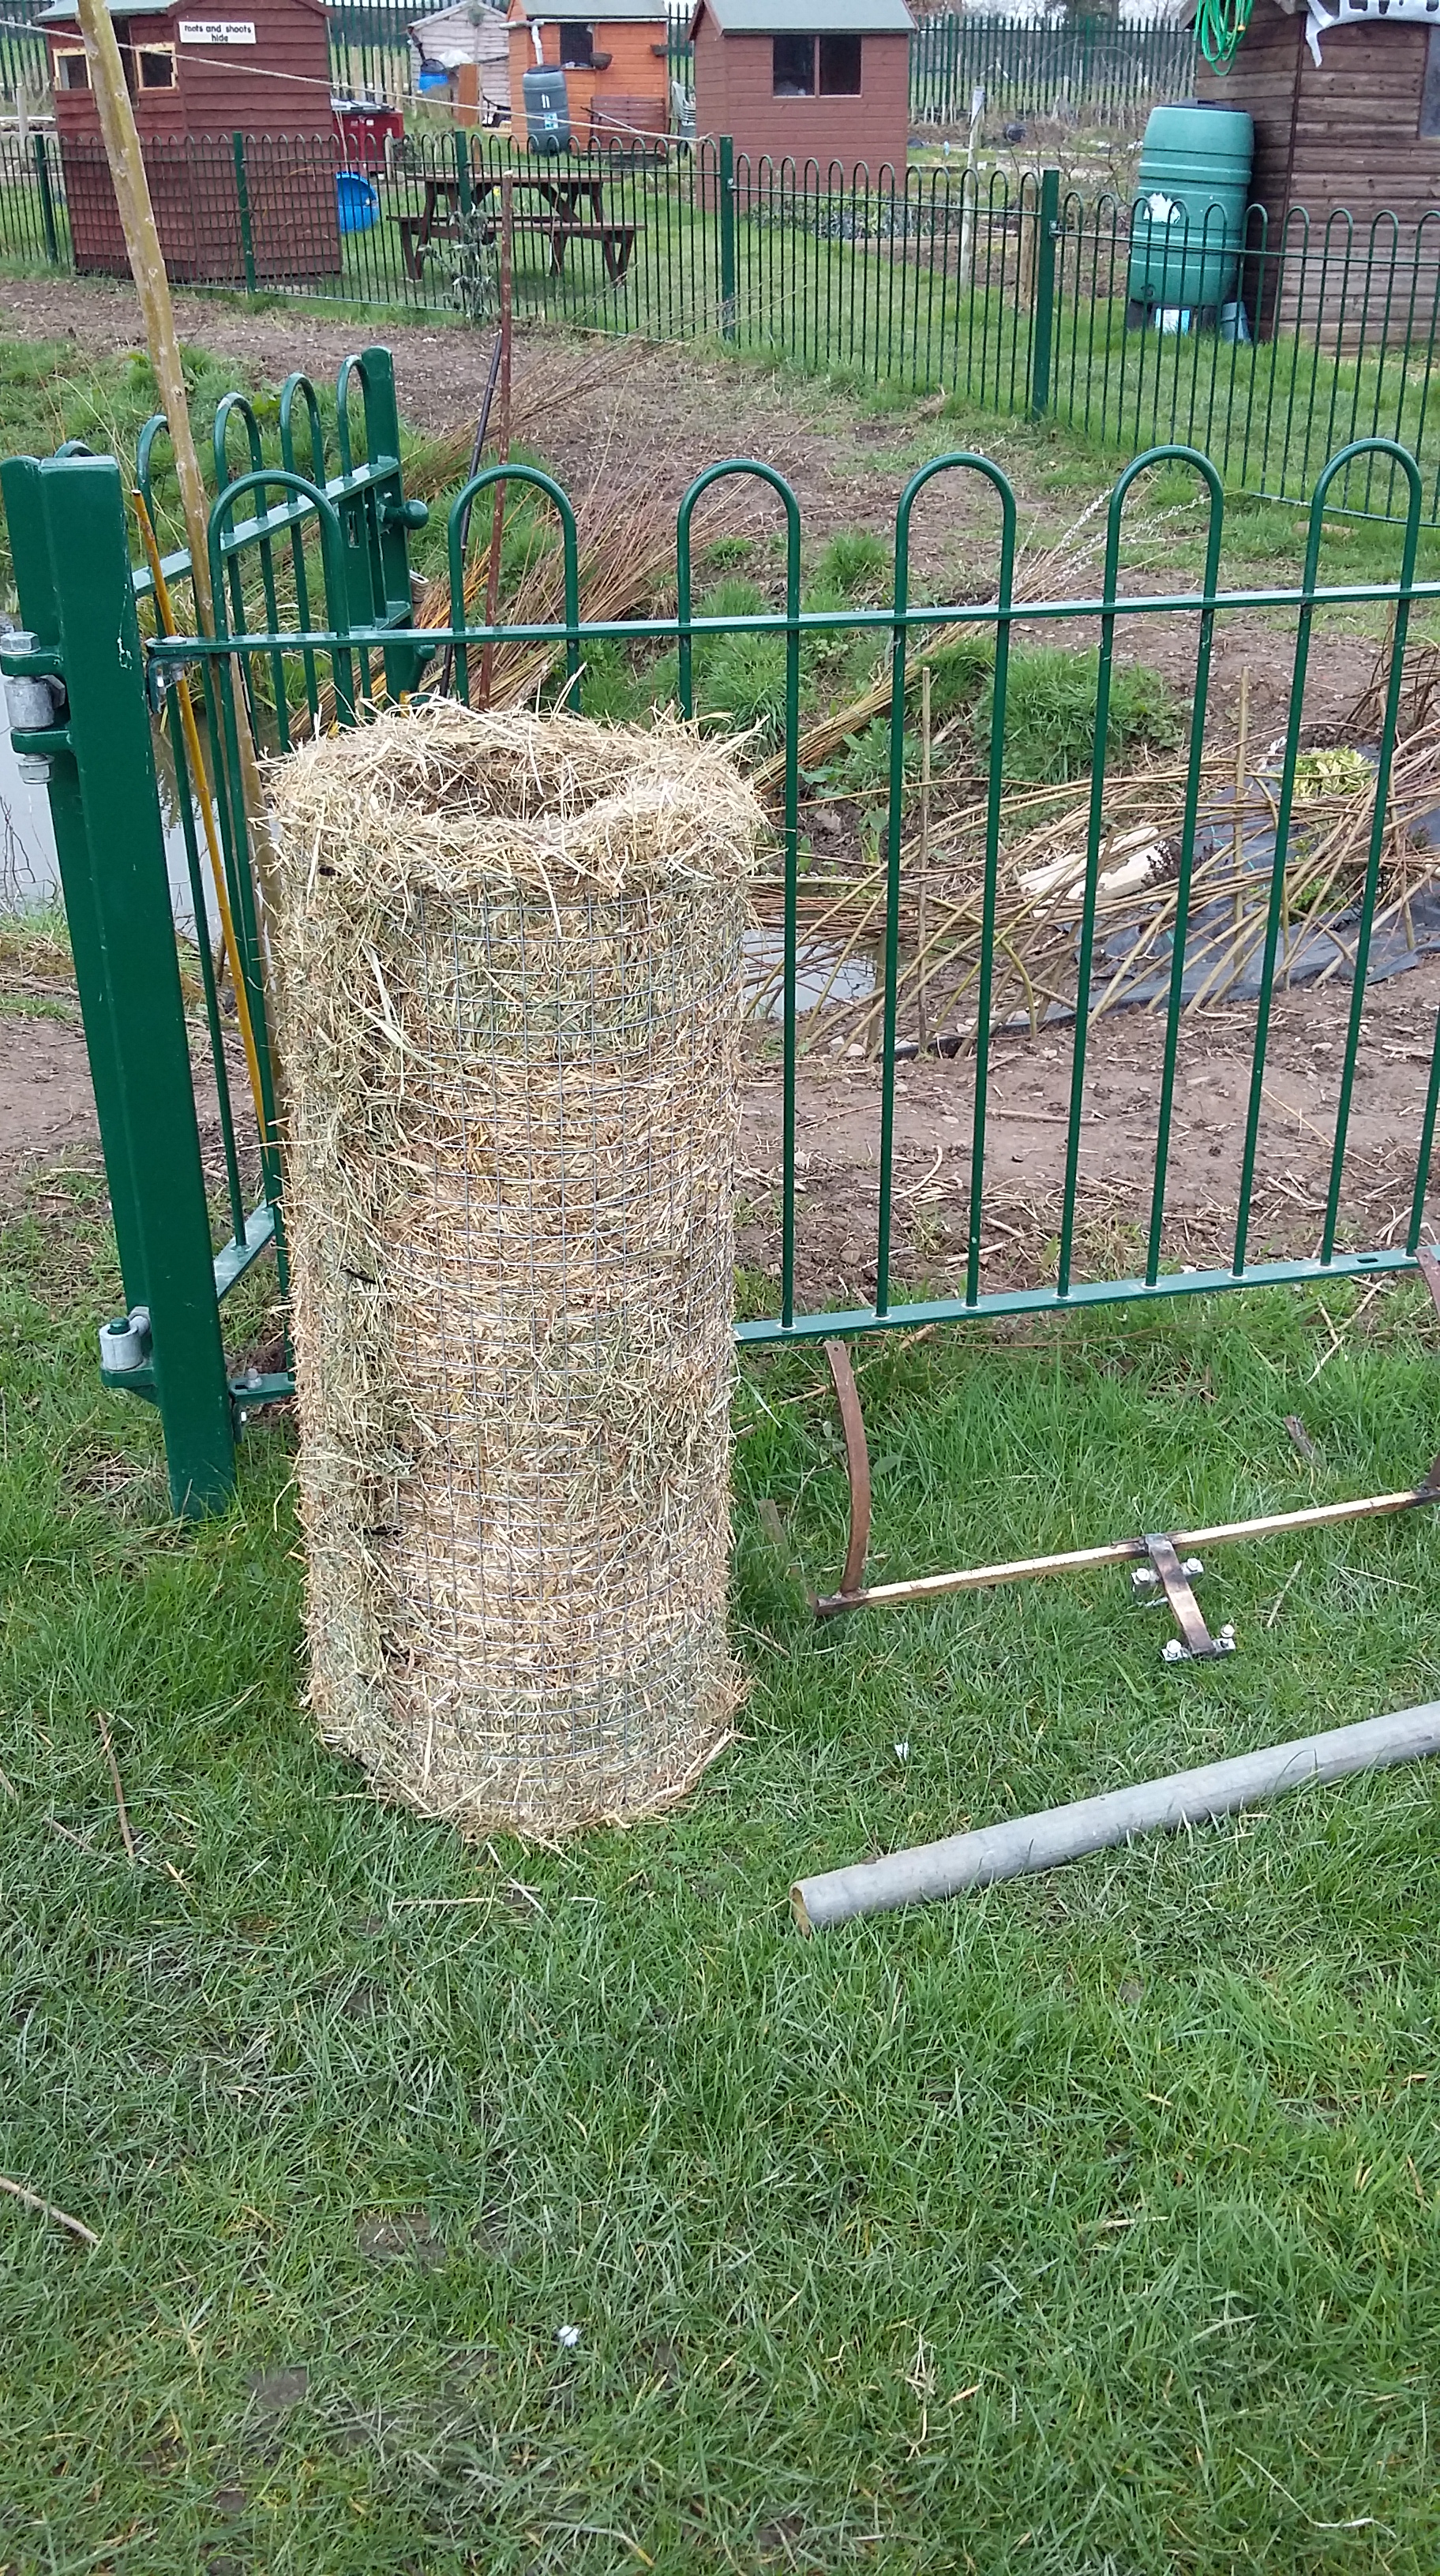
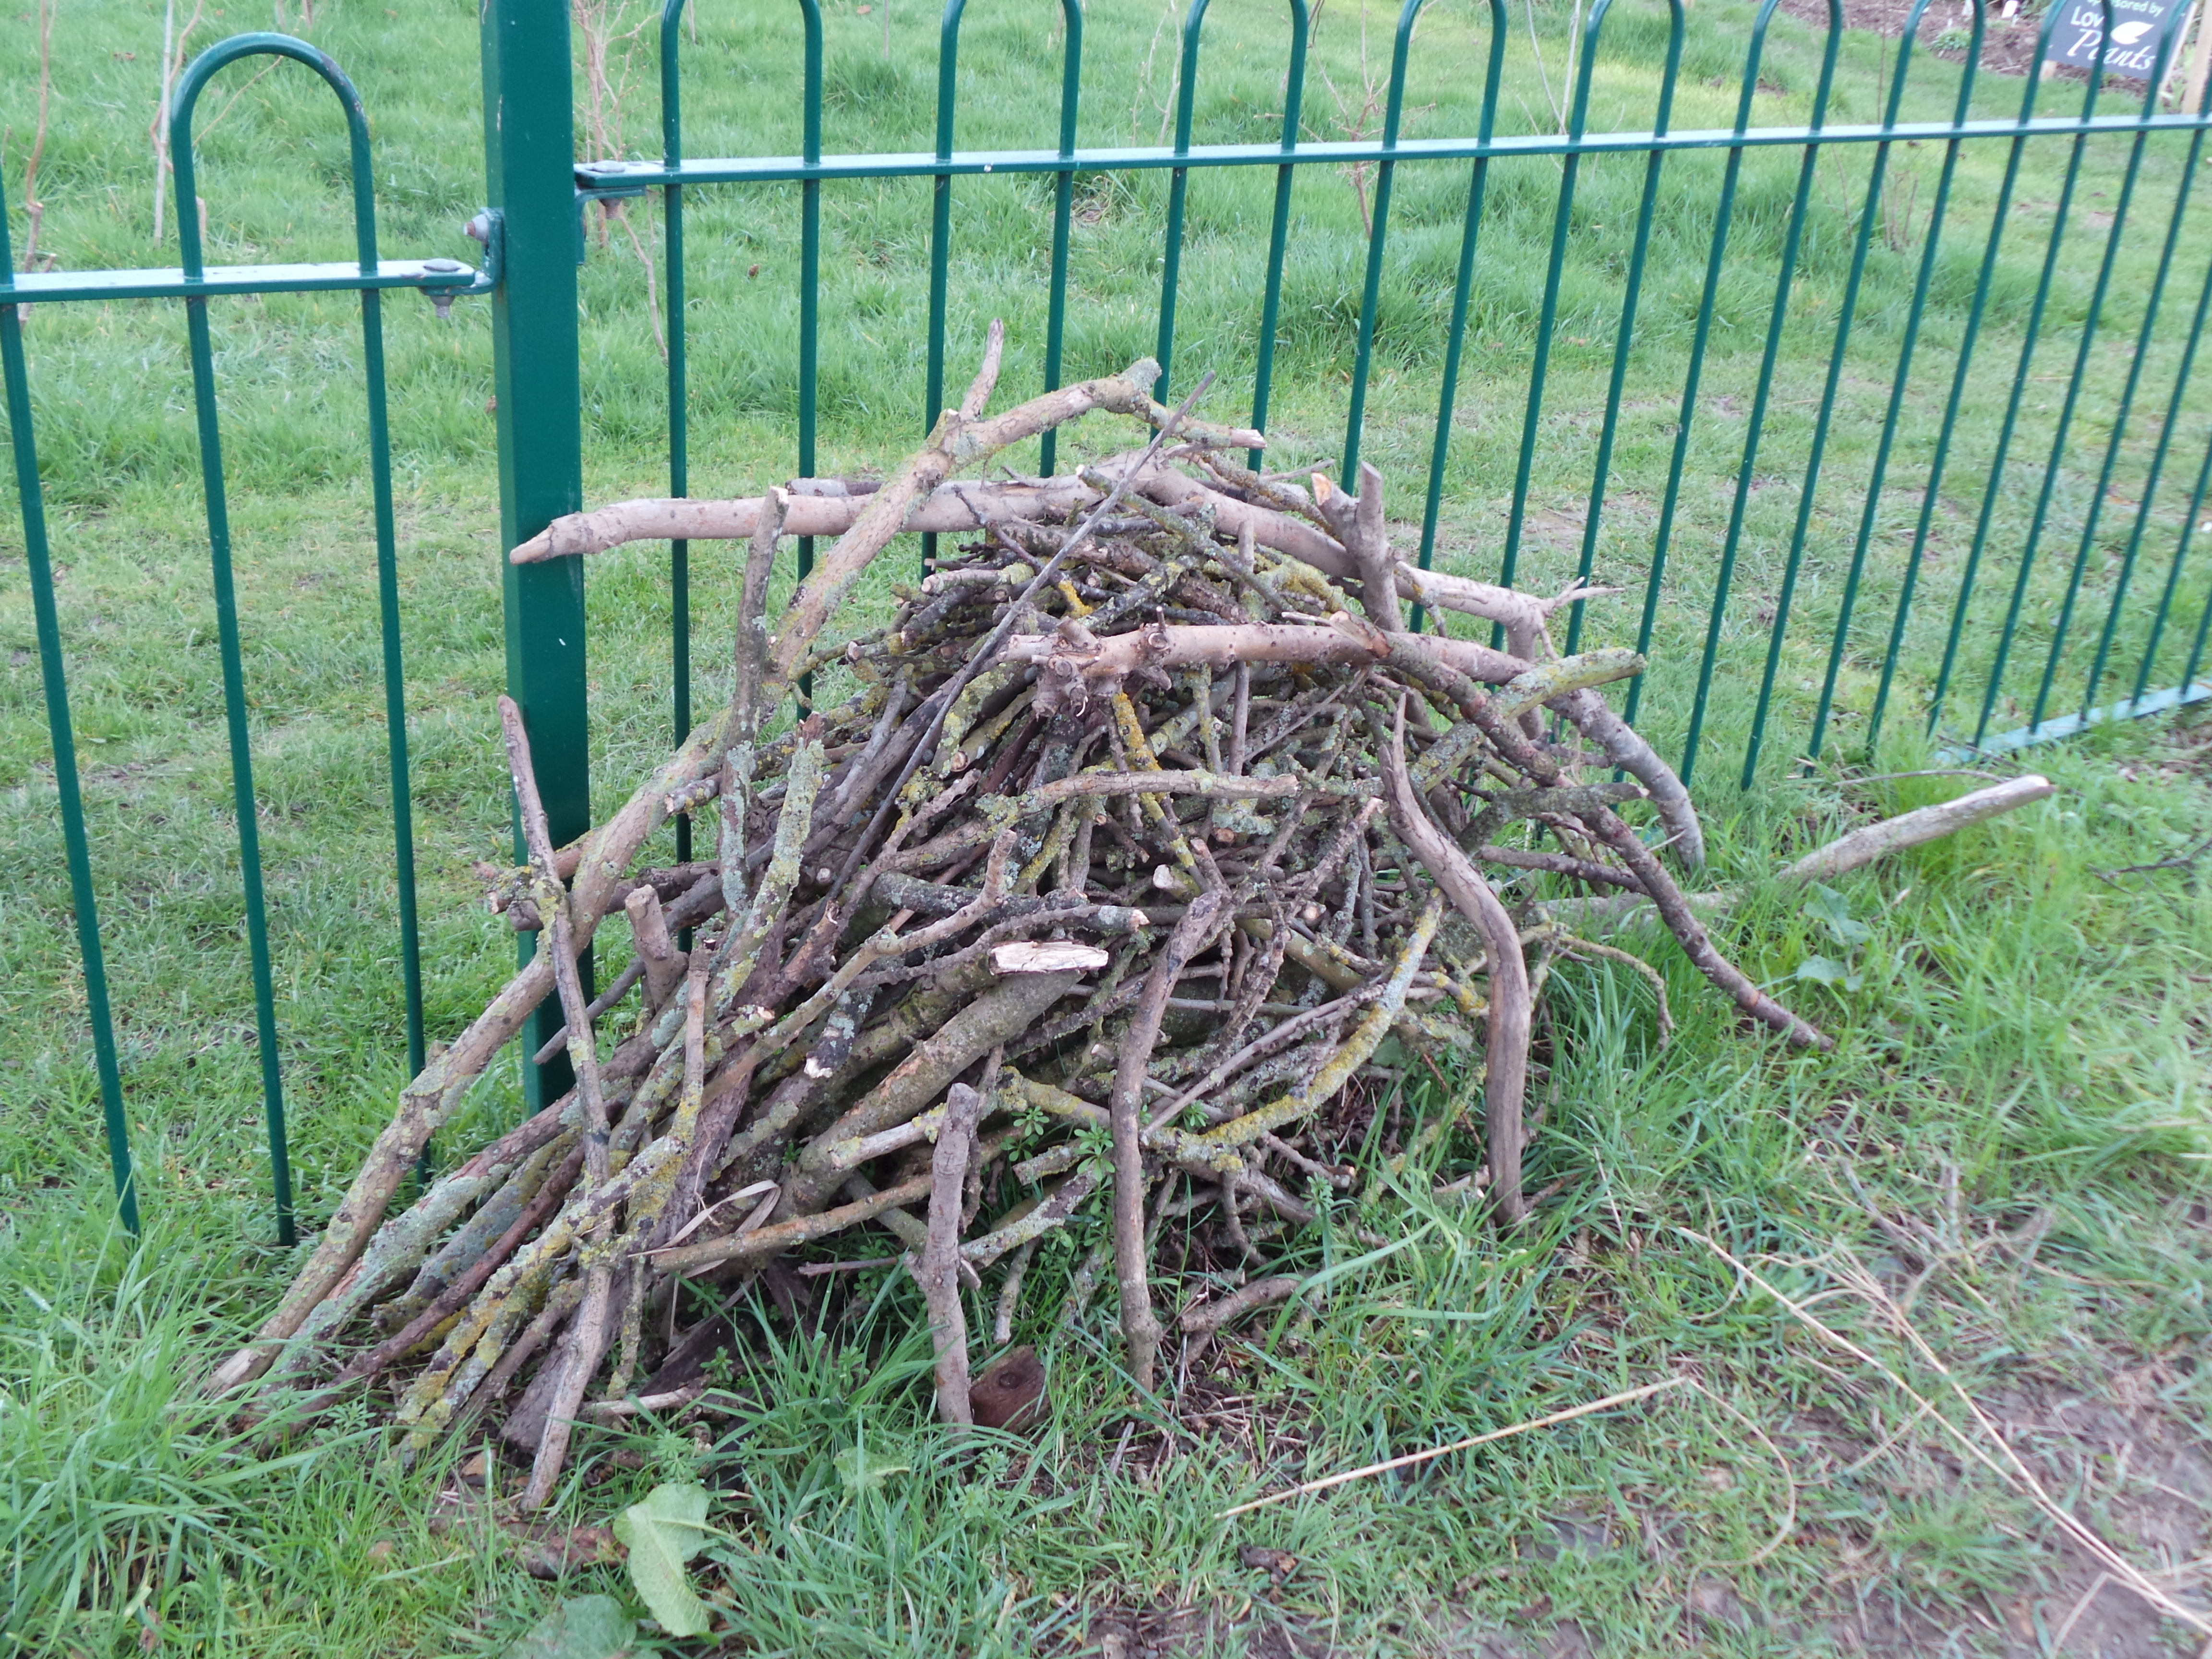
My next page is about two gardeners at work. Jude the Undergardener and I produce our own bean poles and pea sticks to use on our crops which we grow on our allotment plot.

2016 02 02_8163_edited-1

“Bean Poles and Pea Sticks

We have reached the stage now where our garden has matured enough to allow us to produce our own bean poles and pea sticks to use on our allotment. Our two Hazels provide us with the majority, but other shrubs add to our stash when we prune them.”

2016 01 26_8041 2016 01 26_8040 2016 01 26_8038 2016 01 26_8044 2016 01 26_8054 2016 01 26_8049

On the page opposite I share my photos of the first frost of 2016.

“The first frost of the year arrived in the third week of January. It added a new white dimension to foliage which sported rims of tiny white crystals.”

2016 01 17_7925-1 2016 01 17_7928-12016 01 17_7915-1 2016 01 17_7923-12016 01 22_8011 2016 01 17_7927-1

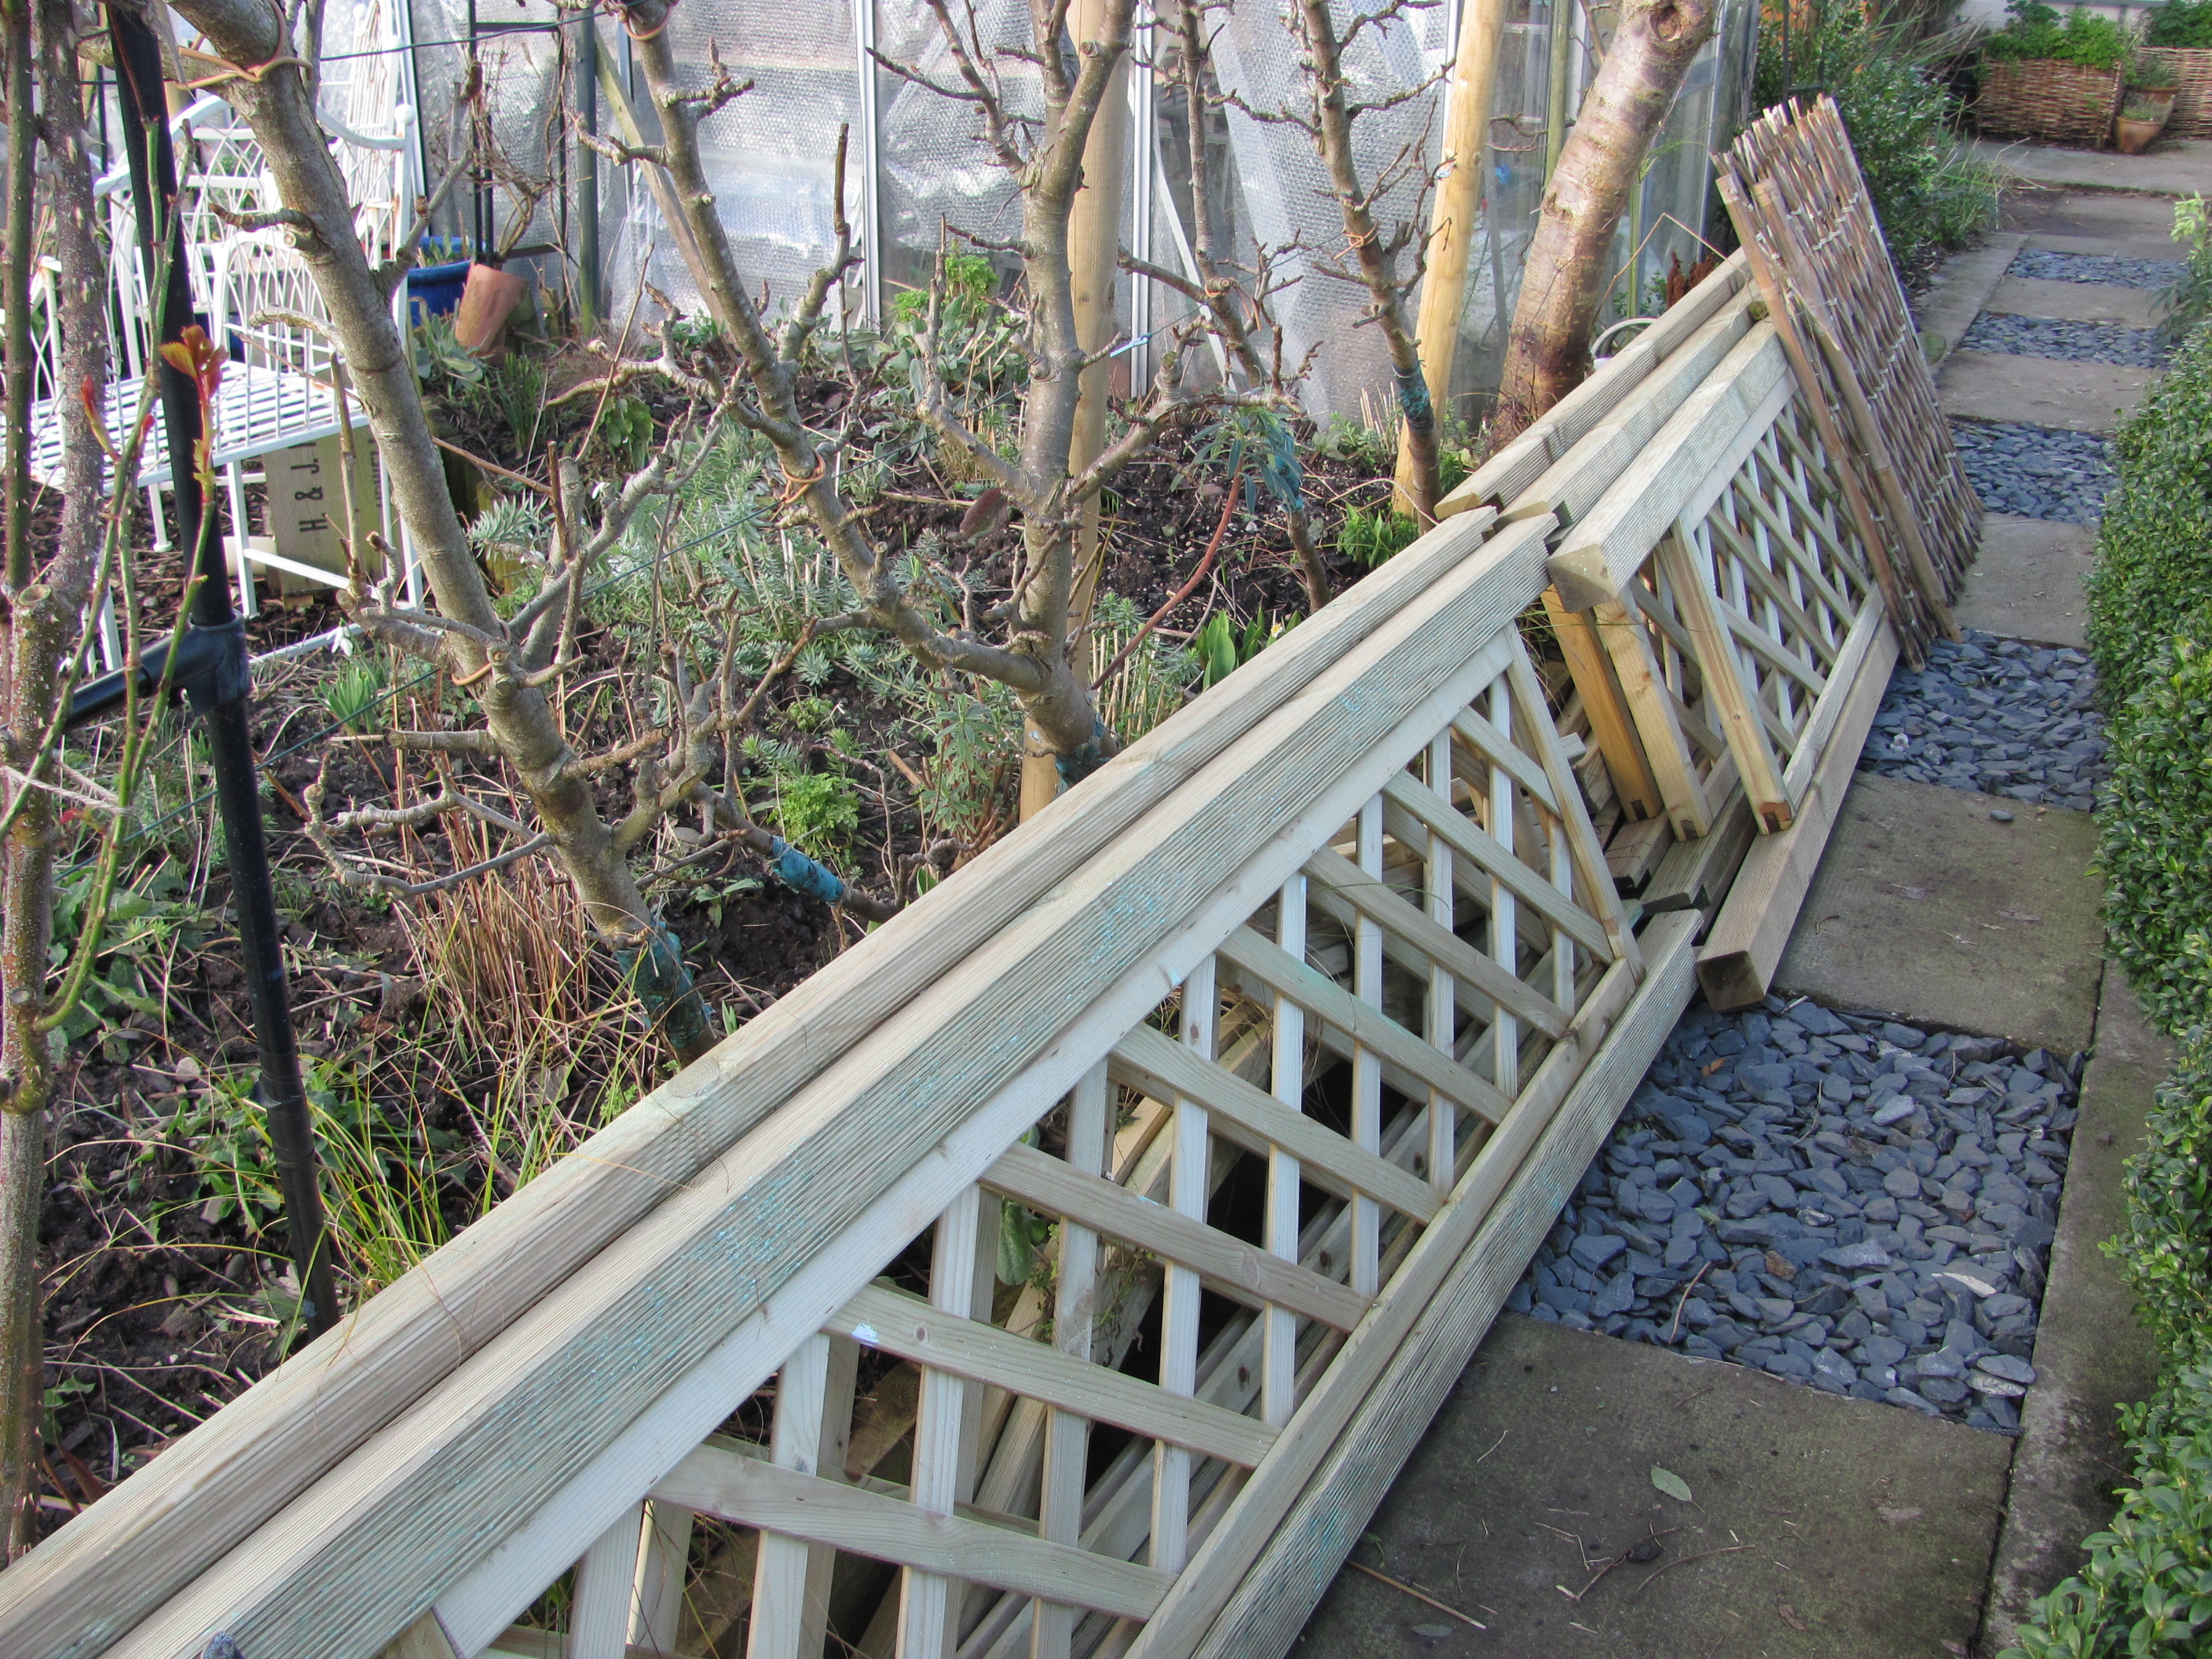
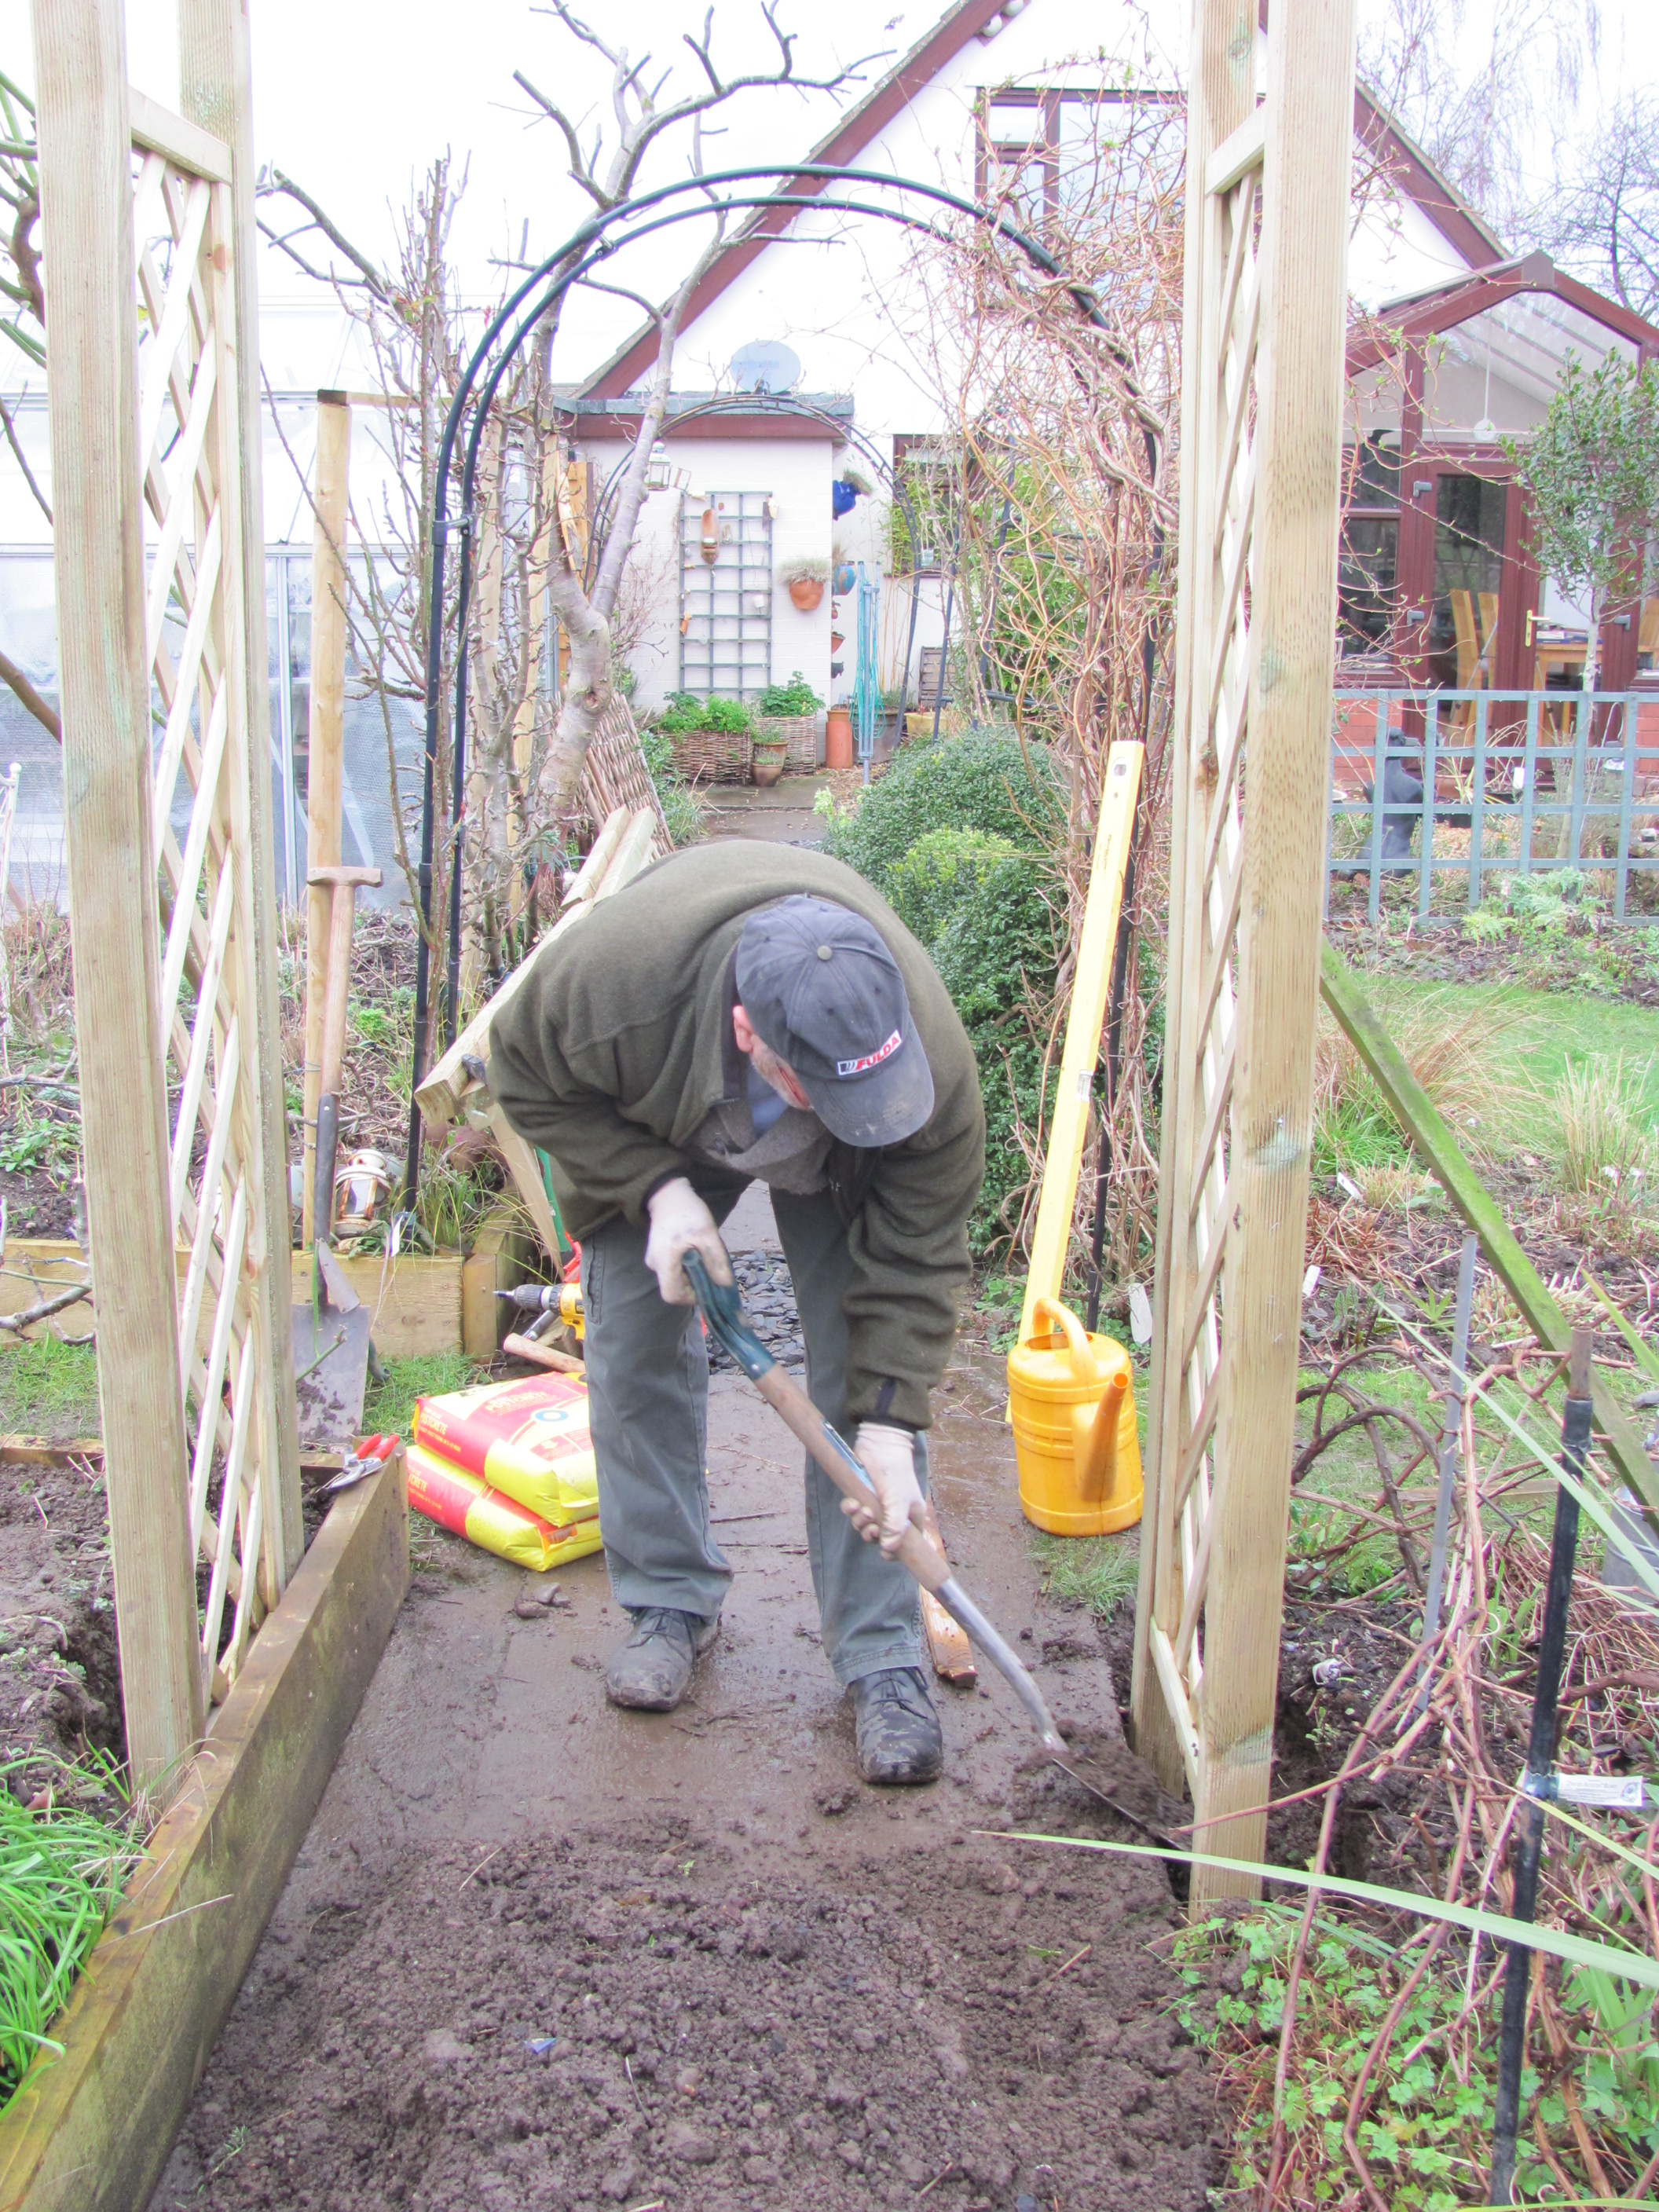
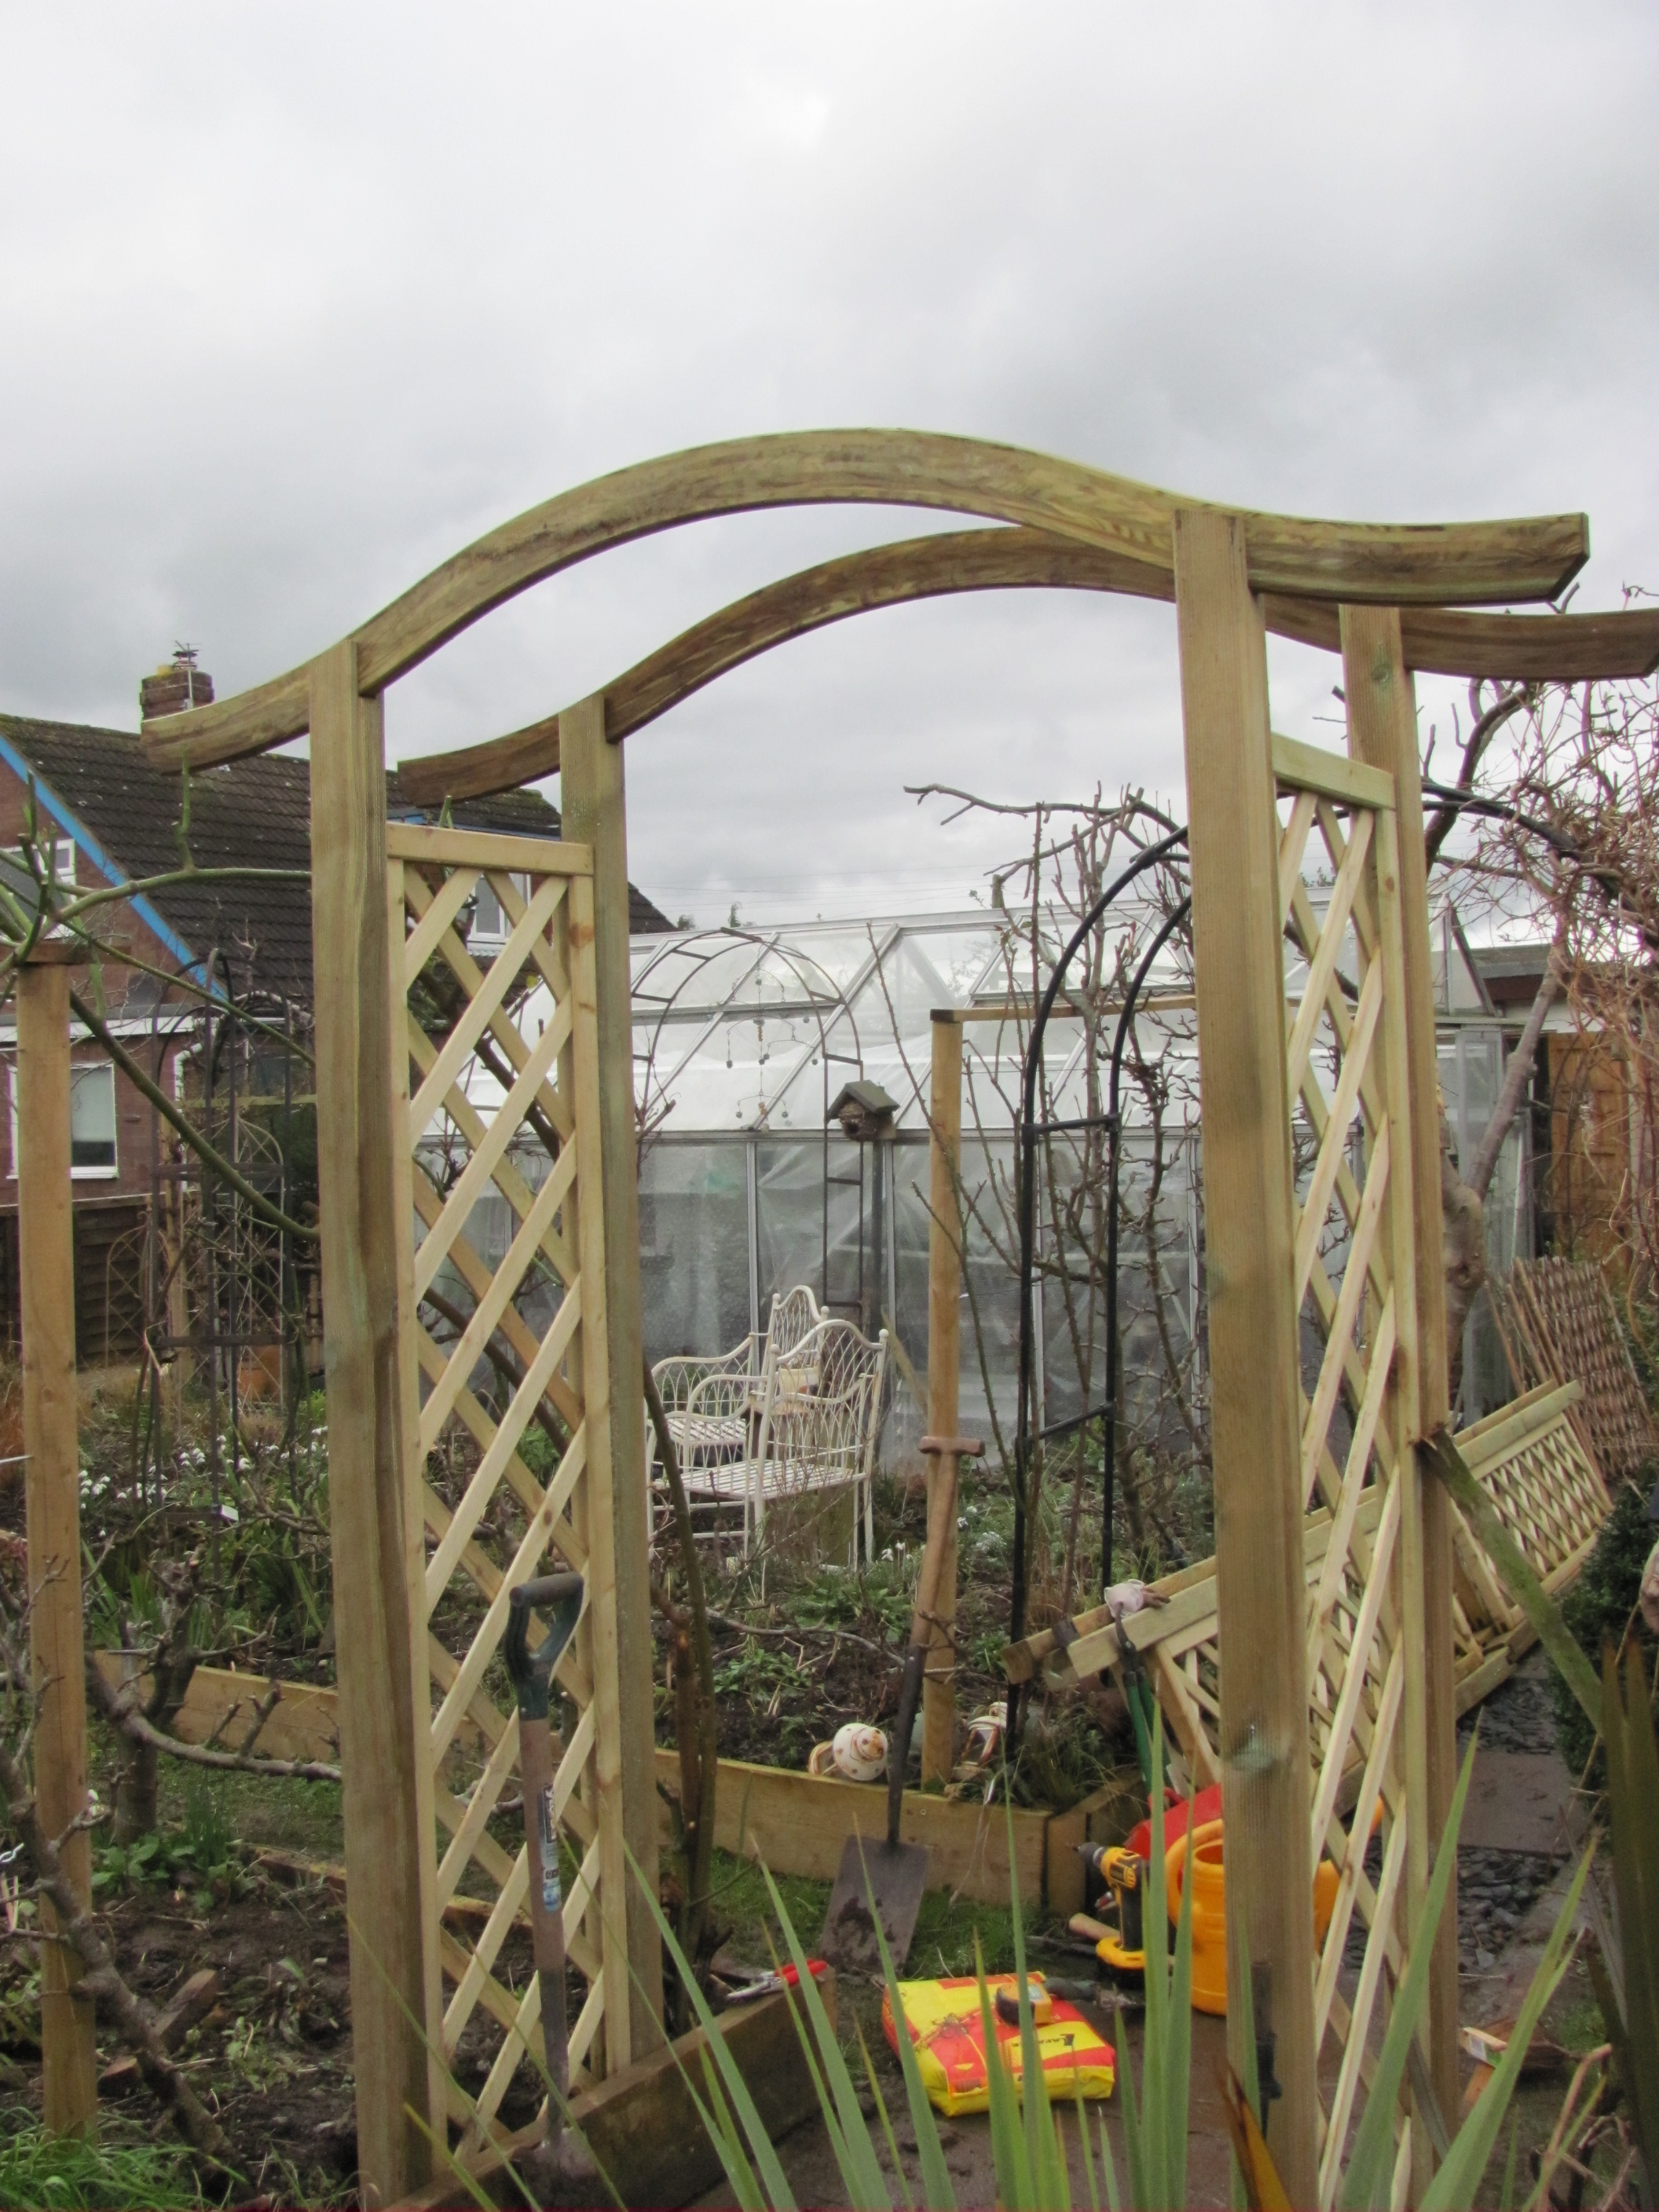
My final words and pictures in my January entry in my garden journal look back at my 2005 garden journal and a current garden project.

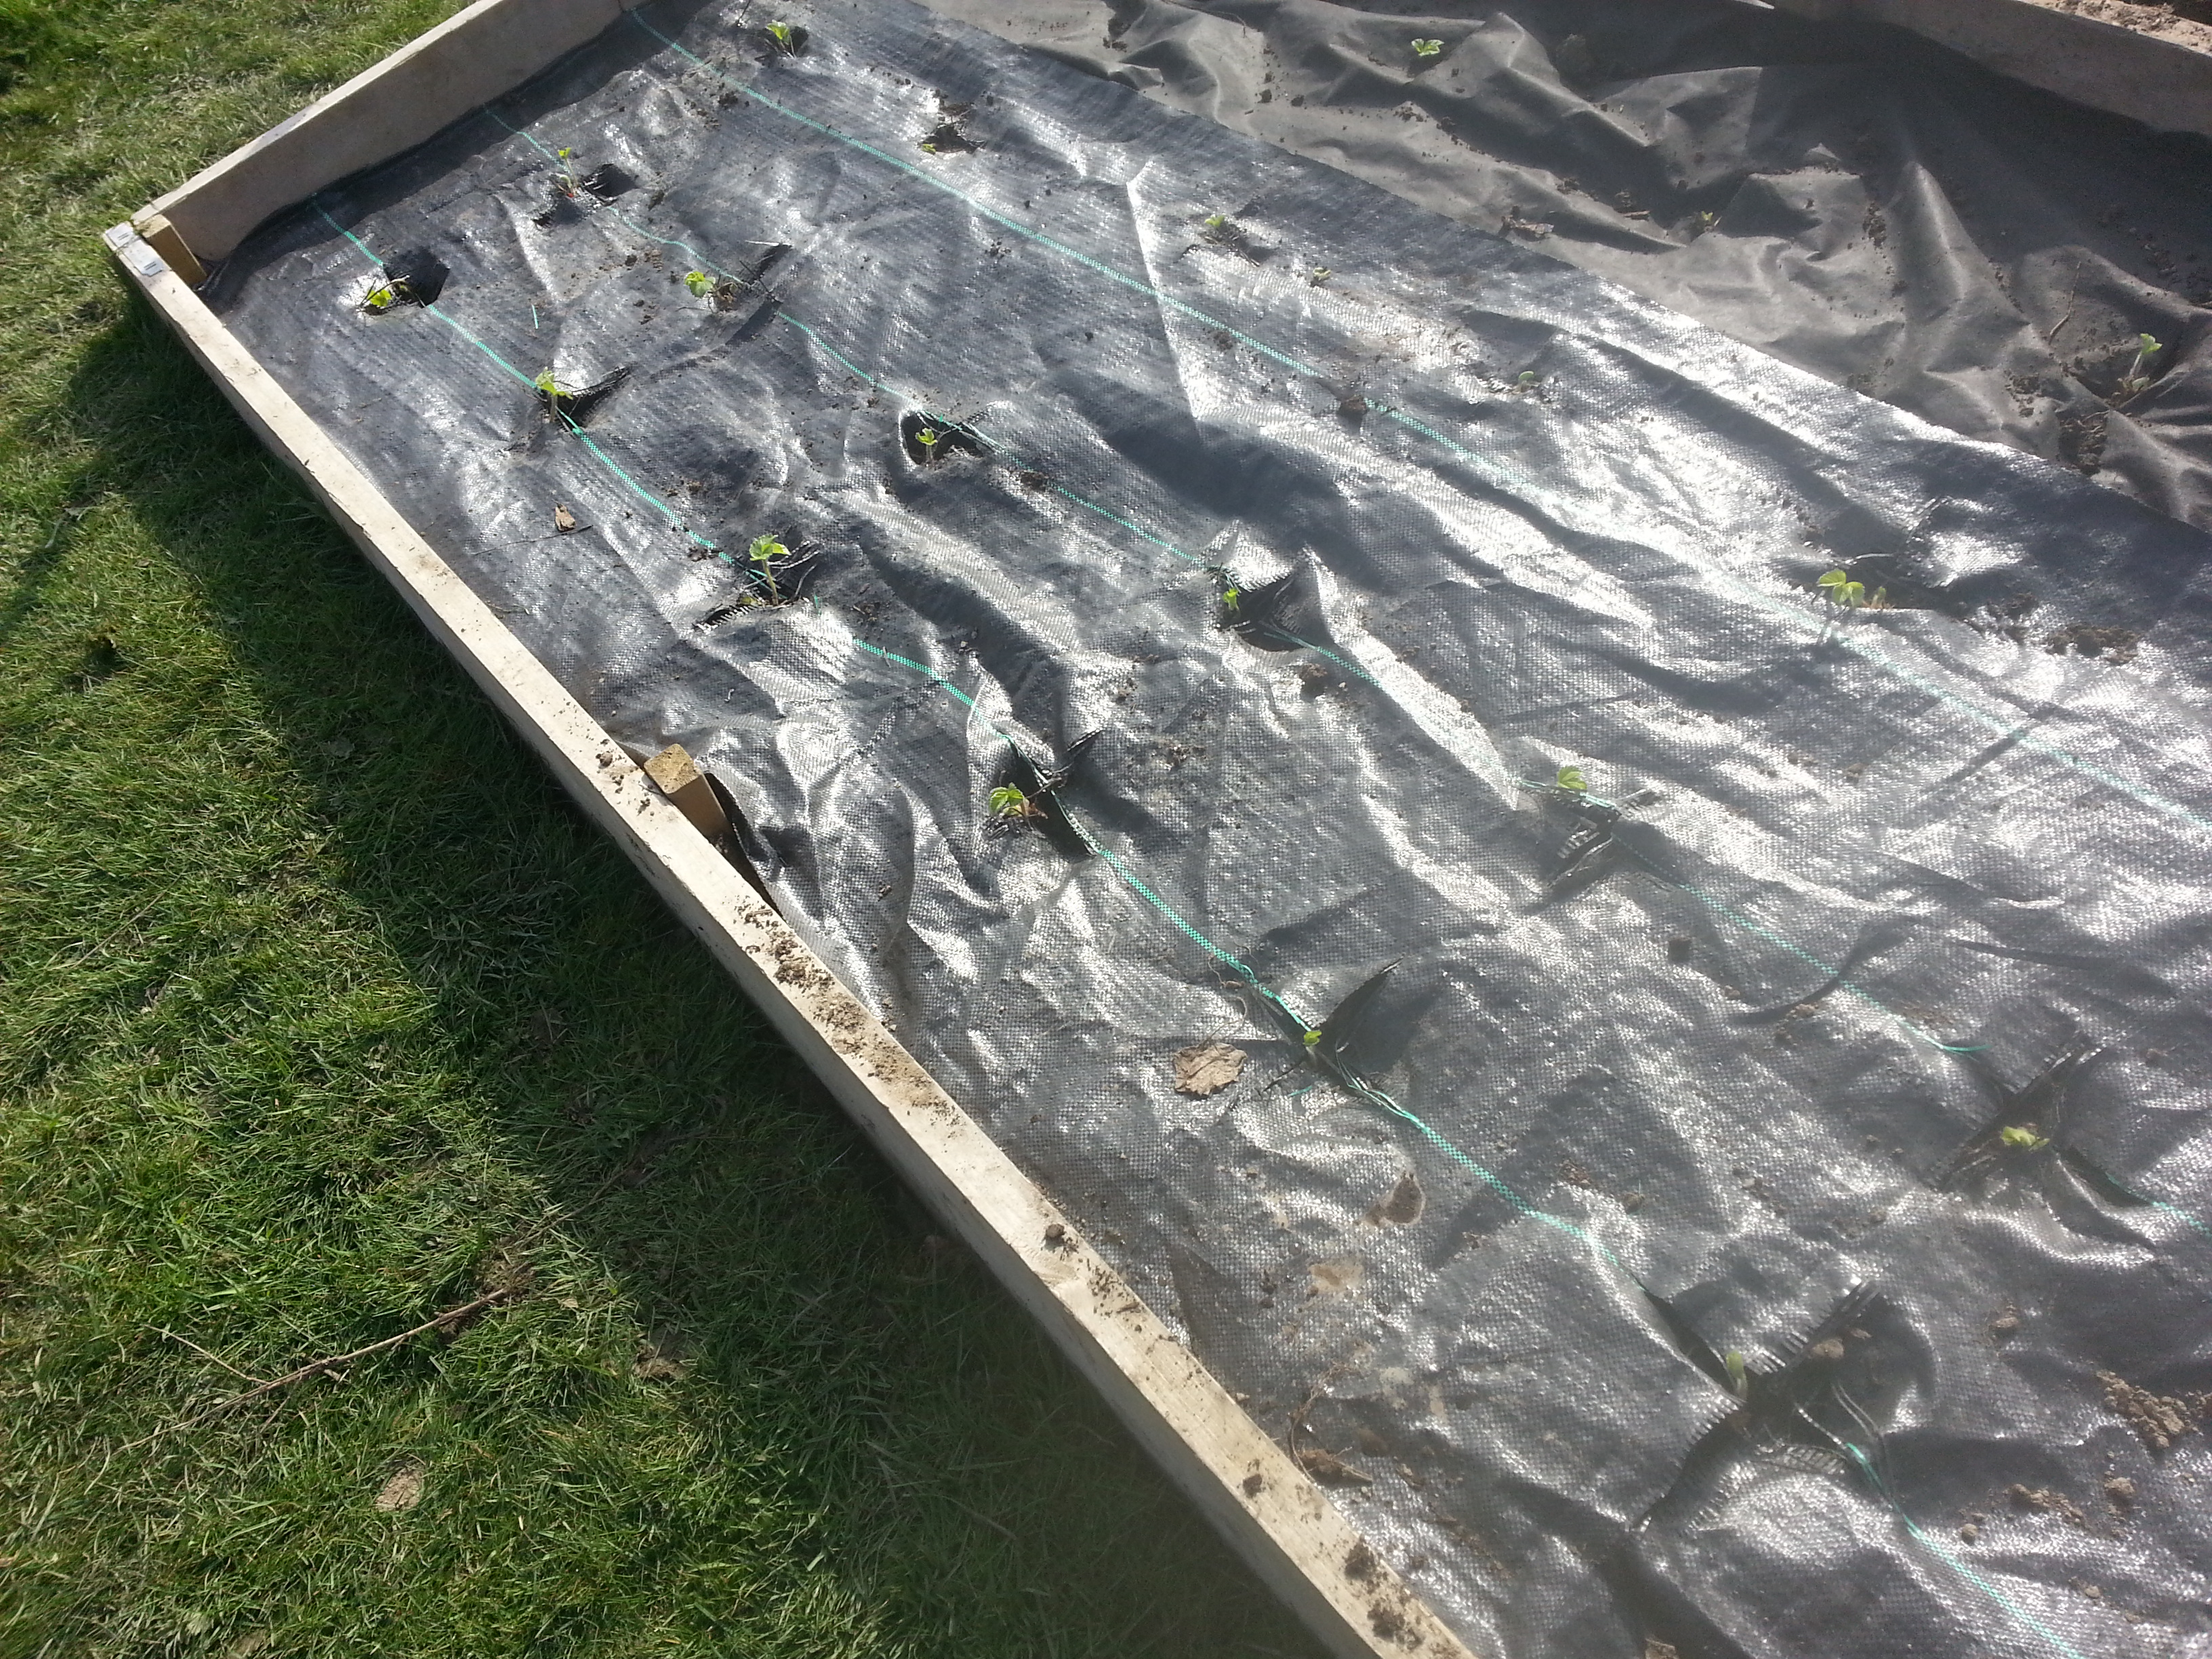
“Looking back at my January entries in my garden journal of 2005, I notice that I was then building a heated propagator in our new 14 foot by 8 foot greenhouse. This has served us well over the years making seed germination so much easier. This year I am making a much bigger propagating bench. For this version I will need support of my Undergardener, Jude.”

I hope you enjoy my photographic journey through this most enjoyable two day project. It was a good task to do while the weather outside was too cold, windy and wet to get any outdoor gardening done. The greenhouse was warm and snug so a good place to be working.  When describing our efforts I used short captions for each photograph.

2016 02 02_8150 2016 02 02_8151

Using recycled wood we made a new bench. We checked it was perfectly level.”

2016 02 02_8136 2016 02 02_8137

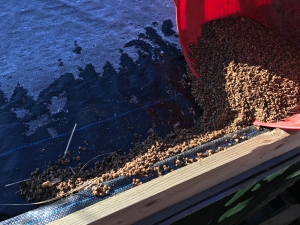
“We fixed in a double layer of insulation boards after adding an edge of 6 inch board. Then we fixed on a layer of plastic sheet.”

2016 02 02_8142 2016 02 02_8133

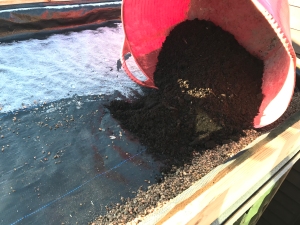
“We added a 2 inch layer of soft sand. The control box, thermostat and probe were fixed to the box.”

2016 02 02_8127 2016 02 02_8128

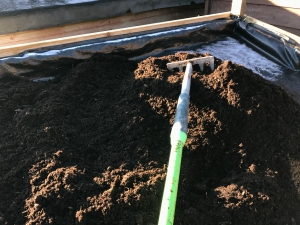
“Then we laid out our heating cable carefully. The cable had to be covered in soft sand.”
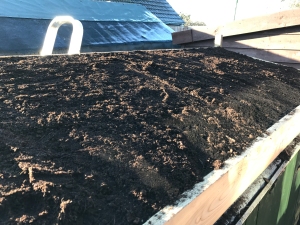
2016 02 02_8129 2016 02 02_8118

A second layer of soft sand was added to a depth of 2 inches. We carefully made it level. The final touch – a layer of capillary matting”.

Here ends the entries from the first monthly entry into my Garden Journal for 2016. See you in February when we will start to use our newly constructed heated propagation bench.


Categories
allotments bird watching birds community gardening conservation diy garden buildings garden ponds garden pools garden wildlife gardening irises log piles natural pest control recycling renovation Shrewsbury Shropshire trees water garden water in the garden wildlife

The wildlife pond and hide at BAC – part two

As promised we make a return visit to see the work we have been doing on the development of our pond and hide at our allotment site, Bowbrook Allotment Community. In this part we shall look at our hide, some tree surgery and our new duck tube.

So first let us return to our new hide. If you remember those pictures of us rolling the battered and rather shaky old shed you will be surprised by the photos of it finished. So how about a before and after pair of pics? We made the hide for our allotment youngsters, our Roots and Shoots group, to give them the chance to secretly and quietly watch the life of our pond. With this in mind we set to work on our renovation which took an amazingly large number of volunteer hours.

2014 12 08_8466 2015 03 16_0004

Whenever we go by the pond we can’t help but smile at the transformation! As you can see the old hide was firstly repainted outside by my young apprentice Thomas before we handed it over to two volunteer helpers Sean and his Dad Vince. They are great carpenters so brilliant volunteer helpers to have on board. They put fresh felt on the roof and fabricated a strong framework inside the shed. They made a concrete and slab base and placed the newly strengthen shed on a framework of wooden struts.

20150207_162506-1 sean 3-1

Thomas returned to give the shed another coat of wood preserver and I added a sign I created from wooden letters. It began to look the part from the outside but even more so once the two men added a new sheet of perspex to the window and added two hatches for clear viewing on dry days. These can be seen in the photo below.

2015 03 16_0005

Within a few weeks Sean and Vince with extra help from Sean’s children had put up a noticeboard, made a kneeling bench and shelf for leaning on when the children used the hatches and window. The pictures below show first the bench and secondly the view the children get from the hatch.

2015 03 16_0018 2015 03 16_0016

This is the view our Roots and Shoots youngsters will get as they open the hide door. You will see that Jude and I have added identification charts for birds and dragonflies and damselflies and a poster displaying the life on and under the surface of a pond. We also made a little bookcase from a vegetable crate and placed in it some wildlife books for youngsters. We also mounted a whiteboard on which we are inviting the children to note their observations. The final touches are a pair of binoculars a notebook for children to jot down their nature notes.

2015 03 16_0019 2015 03 16_00142015 03 16_0015  2015 03 16_0017

Last job of course was a celebratory cup of coffee perching on the children’s bench and admiring everyone’s handiwork and great efforts.

2015 03 16_9952

Now let us enjoy a bit of tree surgery carried out so professionally by some more of our volunteers, Pete and Mike. As mentioned in part one we have a few elderly Ash trees around the pond which for safety sake need remedial work. Earlier on we managed to pull down broken branches that had rotted but got tangled in the lower branches as they fell, but this day was a day for the chain saw attachment on our strimmer head to get in the action. One large branch hung right over the pond to the far bank and was slowly splitting so getting lower and lower. The final cut shows the weakness.

2015 03 16_9993

First Mike and Pete looked and stared and studied! They needed a strategy!!

2015 03 16_9925 2015 03 16_9926

This strategy involved rope thrown up and over a much higher and stronger upper bough, with which they could keep control of the branch once it was sawn through.

2015 03 16_9932 2015 03 16_9928 2015 03 16_9929

Attachment attached and they were off!

2015 03 16_9933 2015 03 16_9934 2015 03 16_9936

The cut bough hanging obediently could then be pulled in and dealt with on dry land. It will soon be seating for the youngsters, edging for borders and parts of insect homes and log piles and brash heaps to help attract ads shelter wildlife. We discovered an awful lot of rot within the bough so it was great relief to see it down. Trouble is there are a few more going the same way.

2015 03 16_9937 2015 03 16_9938 2015 03 16_9939

Finally we need to look at our duck tube! The photo below shows why we need one! A pair of Mallards patiently waiting!

20150217_100524

Just follow the picture sequence below and watch Mike’s adventure. Before we made the dam and changed the drainage around it to gain depth for wildlfie the pond was rarely more than 6 inches or so deep!

2015 03 16_9930 2015 03 16_9940 2015 03 16_9941  2015 03 16_9944 2015 03 16_9945 2015 03 16_9946 2015 03 16_9947 2015 03 16_9948 2015 03 16_9949 2015 03 16_9950 2015 03 16_9951 2015 03 16_9994

He is a good chap is Mike! What would we do without him? And below the duck tube in pride of place in the pond in a position where the children can watch activity from their new hide. Brilliant!

2015 03 16_9954

We still have further work on the pond mostly planting but we have a plan for a floating island to give wildlife somewhere to find safety and shade. Pete and Mike have a plan as you might have guessed! But of course that may be the subject of a future post visiting our super wildlife pond! One piece of info I have not mentioned are the dimensions of the area, useful I think to put things in perspective and to emphasise the size of the project. The pool is 22 yards long by 11 yards at its widest point, and the marsh area at the one end is 9 yards by 7 yards at the widest point. Around the pool and marsh between the pond and the fence, the walk around together with the planted areas vary from 3 yards to 5 yards. Quite a size!

Categories
allotments bird watching birds community gardening conservation diy garden buildings garden photography garden ponds garden pools garden wildlife gardening gardens irises log piles natural pest control recycling renovation Shropshire trees

The wildlife pond and hide at BAC – part one

When Bowbrook Allotment Community first opened we had a old farm pond on our boundary fence but it was fenced off and we had no access to it. After a few years though as the site was extended on the pond side it was integrated into our gardens and the town council put a low security fence around it with a lockable gate. We then had to wait for it to be released into our care which finally happened early in the winter of 2014. This is the story of what we have done to it so far and about our plans for its future.

Diggers came in and scooped out all sorts of rubbish thrown into the pond by the farmer over the years, rusted coils of barbed wire, rotting fence posts, old metal fences, branches and boughs of trees. The old puddled clay layer was exposed and smoothed off. The aroma was disgusting! Sadly there was little sign of plant or animal life in the pond. At least all this disturbance didn’t upset the wildlife, the birds soon returned to the trees.

2015 03 04_9790

As a community garden determined to increase the biodiversity in our 6 acres there was no question that it would become a wildlife pond. To begin with we had to recontour the area between the pond itself and the fence to make passage around it easier and safer. It was hard graft and took a lot of volunteer hours to get it done.This will enable us to keep a path mown all the way around the pond for maintenance and enjoyment. But first we must rotavate the pathway to prepare it for grass seed sowing as soon as the weather allows.

You can see from the group of photos below the area we have to work with and the work we have done so far, the lopping of the trees, the path leveling and the preparation of the bog garden. The pond itself is about 20 x 10 metres and the marshy patch about 8 x 7 metres so pretty impressive! And then there is a margin area varying in width between just over a metre to about 4 metres. W have set ourselves a mammoth task! But we have allowed ourselves a year to get it right. So far things are moving along much more quickly than anticipated as opportunities have come our way.

2015 01 18_9352-1

The next photo shows the bog area at the end of the pond where the drainage pipes from adjacent farm land brought the water into the pond. This was a steep sided marsh area with a tiny stream meadering through it. We have piped the water below the area now and re-contoured the sides to make it safer. This area will be planted with native and other wildlife attracting plants such as King Cup, Liatris, Yellow Flag and Flowering Rush.

2015 01 18_9353-1

We have recently started the planting and will soon be adding far more. Some we will get as donations from our members and neighbours but others we will get from local nurseries once they have got their stocks out. So far we have planted different sorts of Irises, Water Mint, Water Forget-me-Not, Bog Beans and oxygenators. The first pair of pics shows Jude collecting plants from our pond at home and the second pair shows Sherlie planting some in the new pond.

2015 03 17_0035 2015 03 17_0034

2015 03 16_9942 2015 03 16_0007

Several mature Ash trees surround the pond so some surgery was required to let more light in and help plants grow healthily. The bough below was slowly collapsing right over the water across to the far bank so caused us great concern. We had to cut it before it fell! We need to look after the health and safety of our members. I shall show this work in part two.

2015 03 16_9993

We have put up nest boxes, created a bird feeding station and are creating lots of mini-beast and amphibian habitats. Several are up in the group of Ashes that border one end of the pond.

2015 02 26_9670 2015 03 16_9991 2015 03 16_99852015 03 16_99862015 03 16_9995

We have created extra wildlife habitats and shelters along the perimeter fence creating them from recycled items and natural materials. 2015 03 16_99872015 03 16_9988 2015 03 16_9989          Probably one of the most exciting elements of the whole project has been the creation of a bird hide for the children to use. This began as a battered old shed donated to us by a plot holder and transformed into a rather fine hide complete with a noticeboard for recording,some identification charts and a small library of identification books. Two plotholders, Sean and his dad Vince volunteered to carry out the conversion and soon other family members joined in. The finished hide was way beyond our expectations as they managed to fit a kneeling bench down the one side to enable children to look through the hatches they had constructed. For wet days when the hatches need to stay closed they added a perspex window. All this from my very simple plans and drawings!

Here we are moving the old shed from one side of the site to the other in true Roman style, rolling it along on round stakes. It proved a great adventure as it kept trying to change shape and the door constantly flew open.

2014 12 08_8466 2014 12 08_8468

And here is the shed now transformed into a hide, just like the ugly duckling turning into a swan. The rest of the story of how the transformation came about will be in part two.

2015 03 16_0004  2015 03 16_0005

Wherever the pathway gets close to the bank we have planted a low boundary hedge from willows harvested on site and have woven whips of different coloured willows from the brightest yellow to the darkest black  through it. Similarly at the outlet end where water drains to prevent flooding, we have a steep area bank which we have given a similar low willow fence and we are slowly planting up the slopes with small ground covering shrubs that also attract bees, butterflies and hoverflies.

2015 03 16_9998 2015 03 16_00022015 03 16_0000 2015 03 16_9983


We stored the willow prunings we had after coppicing and pollarding our “Withy Bed”. The photo shows these awaiting action and illustrate just how many colours of willow we have to play with

2015 02 26_9667 2015 02 26_96682015 02 26_9669

A recent job was to make barley straw pouches to drop in the water to help keep down the growth of algae and blanket weed – a good organic solution. Look closely at the picture below to see if you can spot one.

2015 03 09_9802

We know there are some critters who are looking forward to us finishing or at least being somewhere near a livable place for them. the resident group of Weasels, our Mallard families and the site’s frogs. We must pamper to their needs as they entertain us and do much of our pest controlling.

2014 11 28_7933 2014 12 08_85932015 02 28_9789_edited-1 20150207_141312

The bird in the fourth of the above photos though arrived amid mixed feelings from us all. Our Grey Heron is most definitely a handsome bird but he is a threat to our fish. We have a small population of native Rudd in the pond brought in as eggs on the feet of the ducks. Sadly until we get some plant cover for them to seek refuge beneath they will soon be wiped out by the Heron. The photo was taken on a member’s mobile phone through our green fence.

In part two we will look at details of how the hide ended up, some of our tree surgery work and the adventures we had putting in our duck tube.


Categories
allotments diy fruit and veg gardening grow your own natural pest control recycling

Revamping our Strawberry Bed

We have now had our allotment for 5 years and this means our strawberries and raspberries are getting weaker and producing poorer crops. After this period of time the threat of virus hangs over them.

We renewed our raspberry canes last autumn and so it is time to renew our strawberry plants. A bright warm early spring day found us digging up and composting our old plants which had become woody. We got rid of the old weed suppressing membrane and dug over the flattened soil below. We then added lots of organic matter in the form of old growbags, our own chicken manure and composted chicken bedding. A quick rotovate and the soil looked good, full of organic matter and a great texture.

We made the wooden surround from recycled scaffold boards which fits our 3-Rs policy which we follow on our plot. Reduce – Reuse – Recycle.

To protect our strawberry plants from pests and to help effective pollination we have sown a wildflower strip close by.

Soon we had new membrane down and we spread out our new little plants spaced out to give the best yields.

2014 03 14_7135 2014 03 14_7137

We planted the little plantlets very carefully as they felt so delicate. When we had finished they looked tiny in their new raised bed. We now have 12 Honeoye and 12 Cambridge Scarlet which will hopefully keep us in strawberries for the next five years.

2014 03 14_7134 2014 03 14_7133

The little plants looked so vulnerable when we had finished but just a week later we checked on them and they were showing signs of strong bright green growth.

2014 03 14_7136  

Categories
diy garden design gardening roses

Replacing the garden arches at Avocet

We made the mistake when we designed the garden here at Avocet of using metal arches to span our paths and grow plants over. We have 8 arches altogether around the garden with all sorts of climbing plants over them including trained fruit trees. Most of the climbers are purely decorative, different varieties of clematis, rose, honeysuckle and a purple vine so not only do they look good but many are scented to give wafts of their gentle aromas as we pass through the arches. The productive trees are apples, blackberry and cherry.

We soon found out that the windy site here close to the hills of South Shropshire was not the place for metal arches. We get strong winds swirling around the hill behind our house which often distort, break or blow over our plant covered arches. For years we have carefully repaired them and put them back up with the plants mostly intact. This winter we found our garden was attacked by frequent gale force winds and howling storms so we have given up on the metal arches and are slowly replacing them with much more solid wooden constructions.

We began with the arch nearest the bottom of the garden which by the end of January was leaning at an uncomfortable angle so we had to duck to get through it and parts of it had broken off. This arch was clothed with a rose called Goldfinch, a small yellow early flowering variety which flowers profusely every year without fail but it also grows strongly so has to be pruned extremely hard, so hard you feel cruel doing it! On the other side of the path climbs a purple leaved vine which looks amazing when then the sunlight glows through its foliage. It also flowers and fruits some years producing tiny dark purple grapes which are very bitter – even the birds turn their beaks up at them.

First job was to prune the climbing planting carefully and even more carefully unwind their main stems from the remains of the arch. Then we extricated the arch. It looked a sorry sight lying on our lawn.

2014 02 18_6441

Once pruned the rose hung limply without support until we carefully bent it sideways and tied it onto the wooden support for our cordon plums.

2014 02 18_6440

We had three arches delivered and luckily they came in pieces as they were so heavy. At least we could unpack them and move them to where they were to be put up one piece at a time.

2014 02 18_6450

Once the plants were pruned and tied out of the way we could get on with digging out 12 inch deep trenches to fix the uprights into.

2014 02 18_6463 2014 02 18_6435

Once the hole was dug out to the correct depth we then spent a while with a metre long spirit level making sure the upright piece was vertical in both planes. We then poured in the post fix concrete mix and left it to dry.

2014 02 18_6436 2014 02 18_6437 2014 02 18_6438

Once the concrete had set we could fit on the top decorative pieces and the job was done. Just the easiest part left – re-tying the climbers back in place. They should now be ready for the spring. Just seven more arches to go!

2014 02 18_6439

Categories
allotments autumn community gardening diy garden buildings garden wildlife gardening gardens Land Art natural pest control recycling Shrewsbury wildlife

Pumpkins, a BBQ and Homes for Wildlife

At the end of October we held our first ever family oriented working party social day at our allotments, Bowbrook Allotment Community. It was a great success even though the whole day was spent in wellies and waterproofs. The ground beneath our feet was saturated and occasional showers got us from above, but neither distracted us from our aims of the day.

We started just after one o’clock when a photographer from the local newspaper came to take some shots of families working together on our “Homes for Wildlife” projects and one of our most recent award, the RHS Britain in Bloom “National Award of Distinction” which we were awarded for our community involvement.

First task was to make some birdboxes and Wren Pouches. All the materials were collected together by one of our picnic benches and tools readied.  It was heartening to see children, their parents and grandparents working together creating these nest boxes. Three generations together!

2013 10 27_4572 2013 10 27_4580

2013 10 27_4590 2013 10 27_4598

2013 10 27_4622 2013 10 27_4599

We made some hanging bug shelters too, created from broken flower pots, driftwood and bits of bark.

2013 10 27_4579

We wished also to make a couple of bug hotels, a small one along the fenceline and our most ambitious yet a 6 ft high creepy crawly cottage both based on recycled wooden pallets. We began with a stack of pallets and a collection of natural objects collected by allotment holders, sticks, old garden canes, stones, fir cones etc.

2013 10 27_4565 2013 10 27_4567 2013 10 27_4569

The “cottage” soon began to take shape as pallets were stacked and fixed together to give the basic structure.

2013 10 27_4571  2013 10 27_4577

2013 10 27_4581 2013 10 27_4584

2013 10 27_4585 2013 10 27_4586

2013 10 27_4587 2013 10 27_4589

2013 10 27_4588   2013 10 27_4591

2013 10 27_4594 2013 10 27_4593

2013 10 27_4597

All we have to do now is choose a name for our new insect home. We have challenged the youngsters from the allotments, our Roots and Shoots group, to choose a suitable one. So far we have a few ideas – “Minibeast Manor”, “Bugtique Hotel” and “Minibeast Metropolis”. The difficulty will be how to decide!

The smaller insect hotel was made from five pallets and again filled with objects that would provide shelter for wildlife. We finished it off with a stone pile, the perfect home for beetles.

2013 10 27_4582 2013 10 27_4583

2013 10 27_4595 2013 10 27_4596

2013 10 27_4578

The final jobs before our BBQ was to plant lots of acorns, sweet chestnuts and hazel nuts to grow on and plant in our hedgerows and to plant up a whole sack of daffodil bulbs alongside the paths in our meadows.

2013 10 27_4600 2013 10 27_4616

The BBQ brought us all back together and once darkness fell we lit our pumpkin lanterns. And we even found time for Jude to do some face painting.

2013 10 27_4618 2013 10 27_4619 2013 10 27_4617 2013 10 27_4627 2013 10 27_4628

As we enjoyed the BBQ the light disappeared and we prepared ourselves for the Twilight Walk, when we wandered around the site with lit pumpkins to light our way in search of sheds decorated as Spooky Sheds.

2013 10 27_4624   2013 10 27_4626 2013 10 27_4623

2013 10 27_4615 2013 10 27_4613 2013 10 27_4612 2013 10 27_4611 2013 10 27_4610 2013 10 27_4609 2013 10 27_4608 2013 10 27_4607 2013 10 27_4606 2013 10 27_4605 2013 10 27_4604 2013 10 27_4602

And as the night fell we disappeared into the gloom with our pumpkins to guide our way.

2013 10 27_4629 2013 10 27_4630